Applying Content 

One of the advantages for using smart Content Manager is that you can quickly kick off your project after you have installed the content packs. Since the items in the pack are displayed in a convenient panel, you do not need to jump back and forth between different folders to locate items as you would with a legacy project. For examples, you can easily dress up a character with different clothes made of items across diverse packs, or quickly build up a character with a consistent style with items inside a pack.
When applying content from the Item View, you can show all items in subfolders and use the Category Buttons to quickly find the desired items.
- Open the Content Manager (F4).
The content folders are shown by default in the Item View.
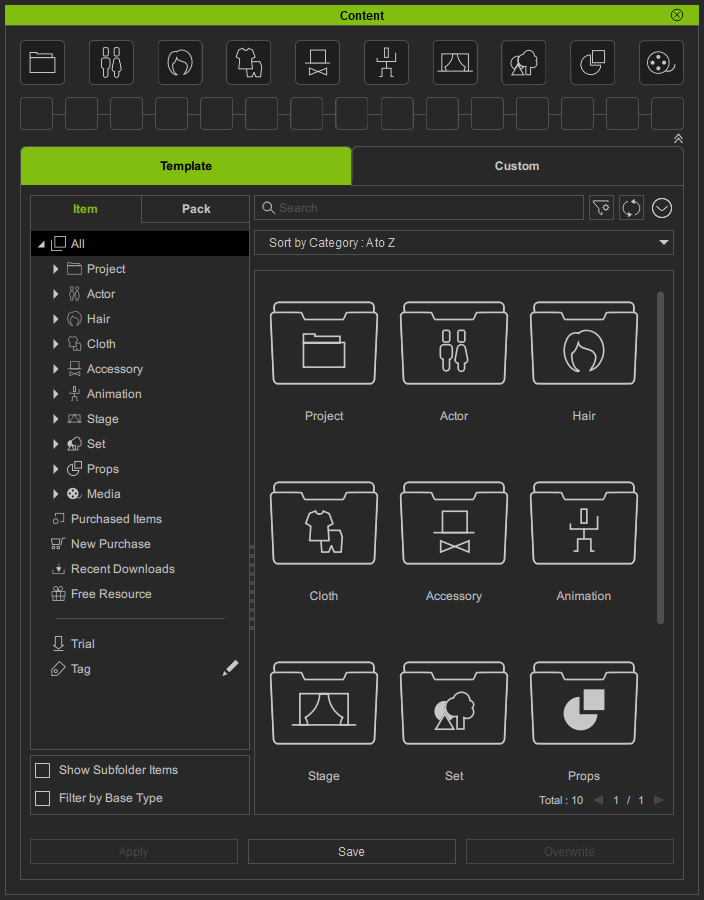
- You can find the desired content from the sorted folders, or activate the Show Subfolder Items checkbox at the lower-left corner to view all items in subfolders.
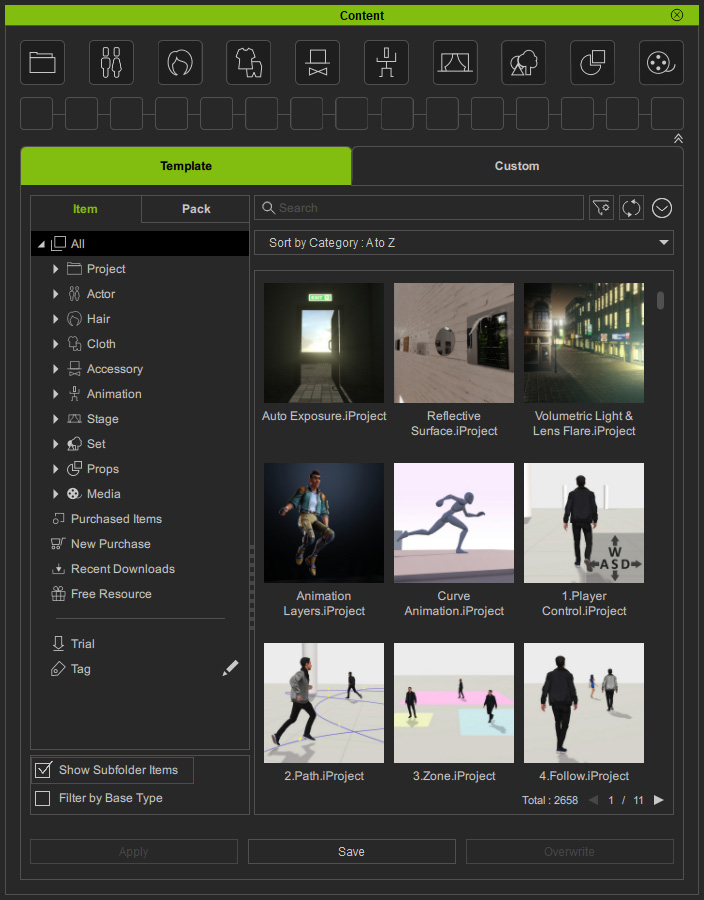
* The Item View displays all available items from the embedded contents, free resource packs, or the packs you purchased, in the All filter by default. - Select the Actor and Character category nodes in the tree-view, or quickly switch to the category by clicking the Category Buttons at the top.
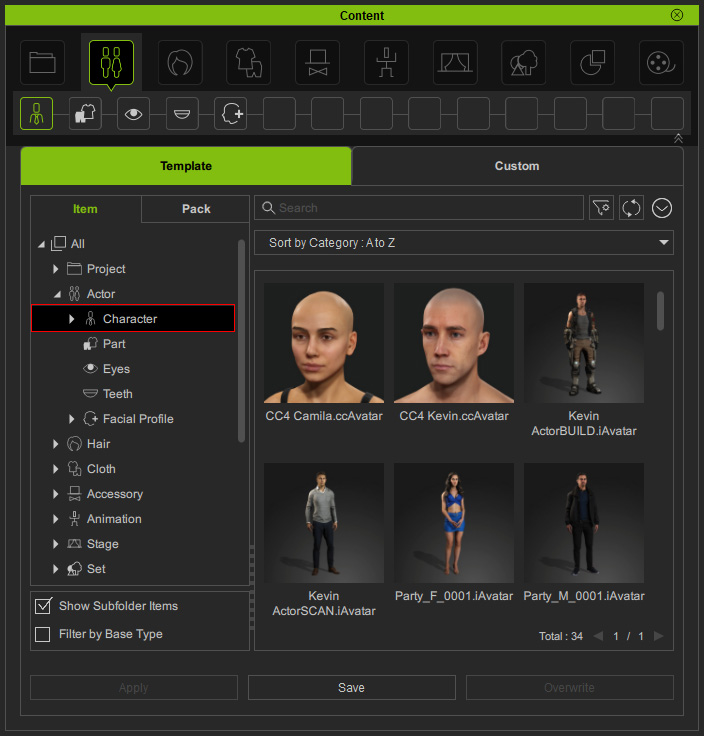
- Apply the desired character using either one of the following methods:
- Double-click on the item thumbnail.
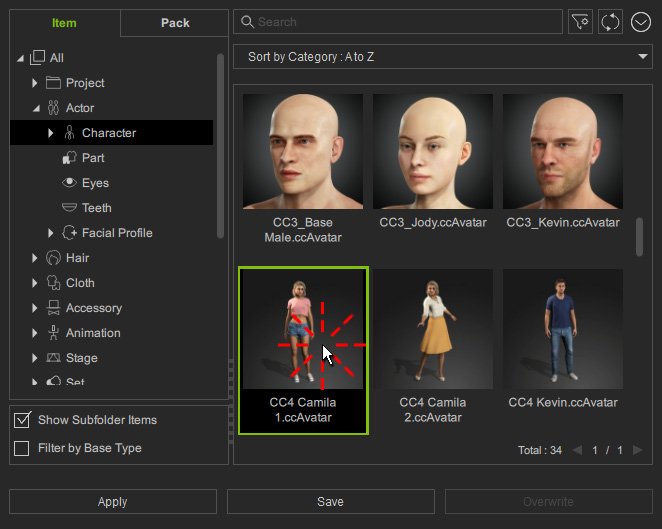
- Select the item and click the Apply button on the bottom left.
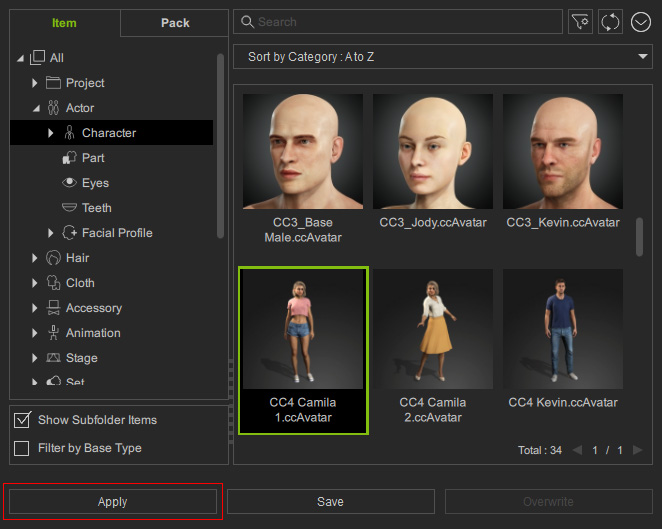
- Drag the item to the viewport.
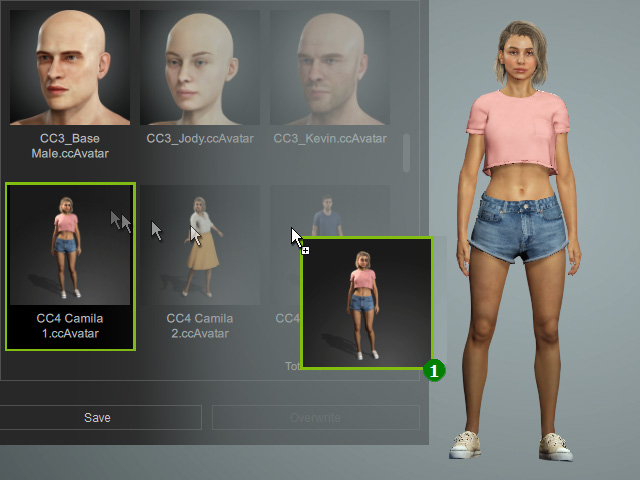
 Note:
Note:There are different applications for drag-and-dropping image-based media content, such as 2D Background (.jpg), Texture (.png) and Video (.wmv, .popVideo). Please refer to the Drag-and-Drop to Preview Window section for more information.
- Double-click on the item thumbnail.
- Make sure the character is selected.
Switch to the Cloth category and then its sub-nodes: Shirts, Pants, and Shoes to apply a new clothes for the character with any of the methods described in the previous step.
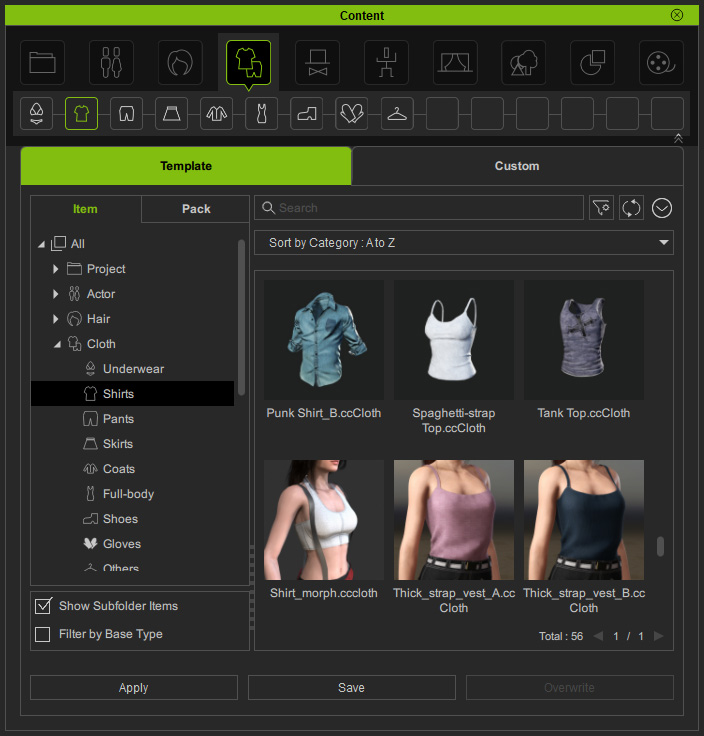
* You can activate the Filter by Base Type checkbox to only show compatible items for the current character.
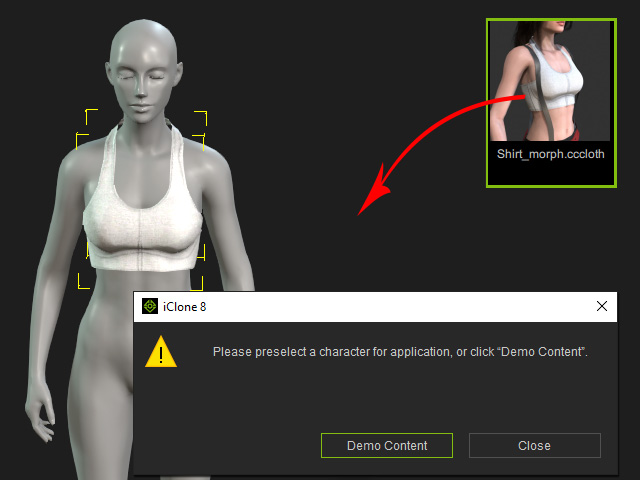
* For Cartoon Animator, you have to enter the Composer Mode in order to change the appearance of the characters. - If no character is selected, a dialog will appear suggesting you use a mannequin to demonstrate the Cloth content.
Click Demo Content to proceed, or Close to choose a different character.
 View Related Content
When applying a Material Plus content created by Reallusion, all the base mesh will be applied in order to fully showcase its Material Plus visuals. Base meshes include the actor with its associated hair, cloth, accessory and prop.
The base mesh are downloaded and installed along with the Material Plus. You can right-click on the content and perform View Related command to view the associated assets.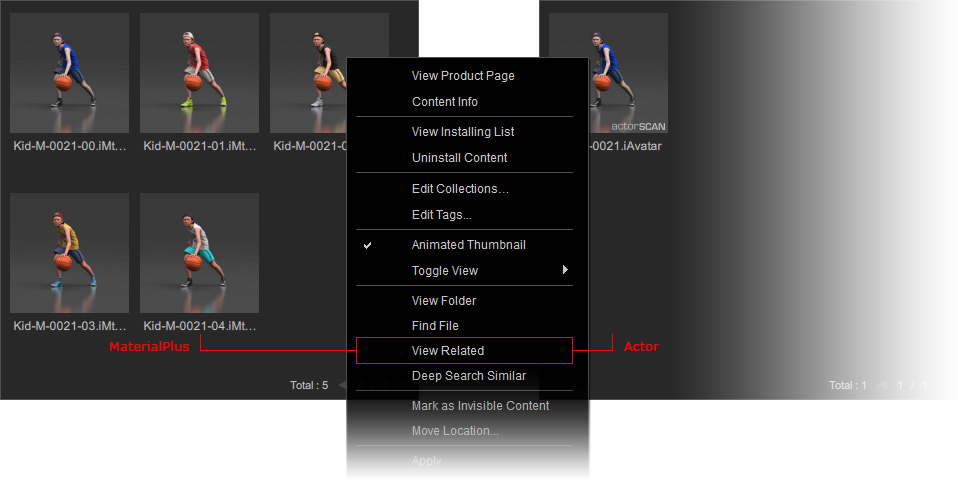
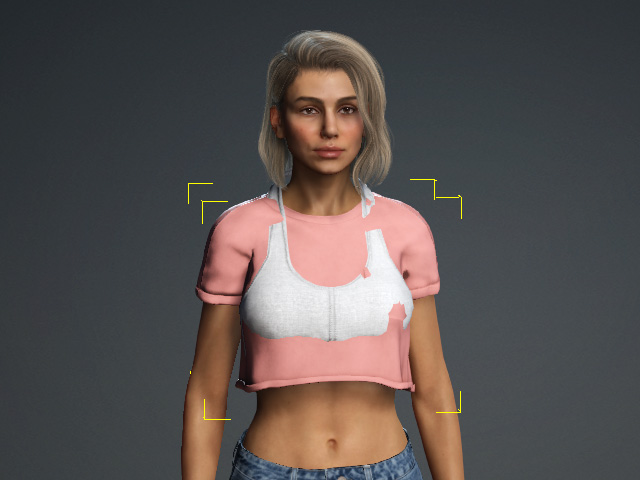
- If the current clothing is not replaced and is stacked together instead, then pick the unwanted clothing and press the Delete key to remove it from the character.
 Note:
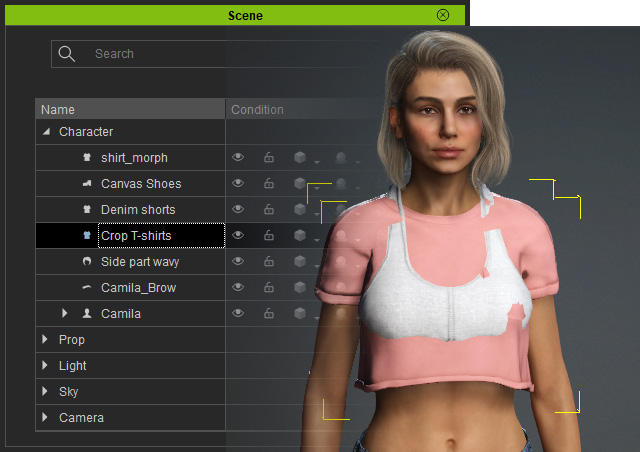
Note:Sometimes, you may find it's hard to pick the desired object as there are multiple objects overlaid in the viewport. In this case, you can also select the target object in the Scene Manager.
- Repeat the above steps to apply an item from the Accessory category, and a body pose from the Animation category.
Now your character will be dressed with items of different categories and different packs.
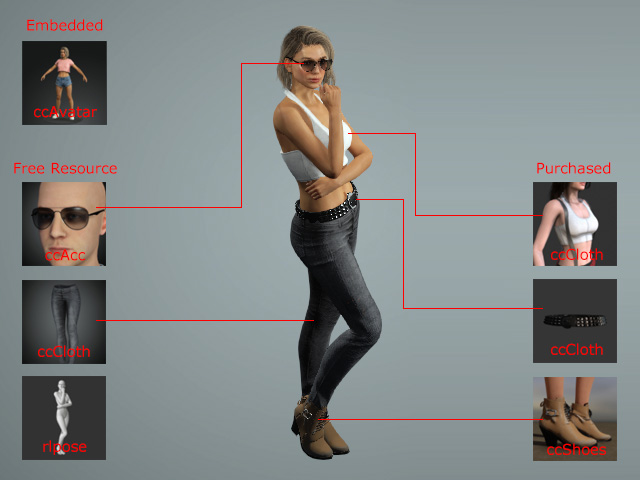
- If you are satisfied with the result, save your content in the Custom folder.
When applying content from the Pack View , you can quickly find all related items of a desired style inside a pack.
- Prepare a character.
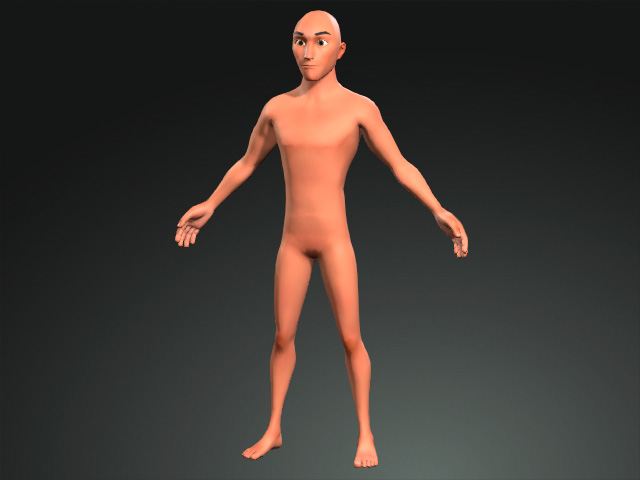
- Open the Content Manger (F4) and switch to the Pack tab.
Double-click on the target pack to open it.
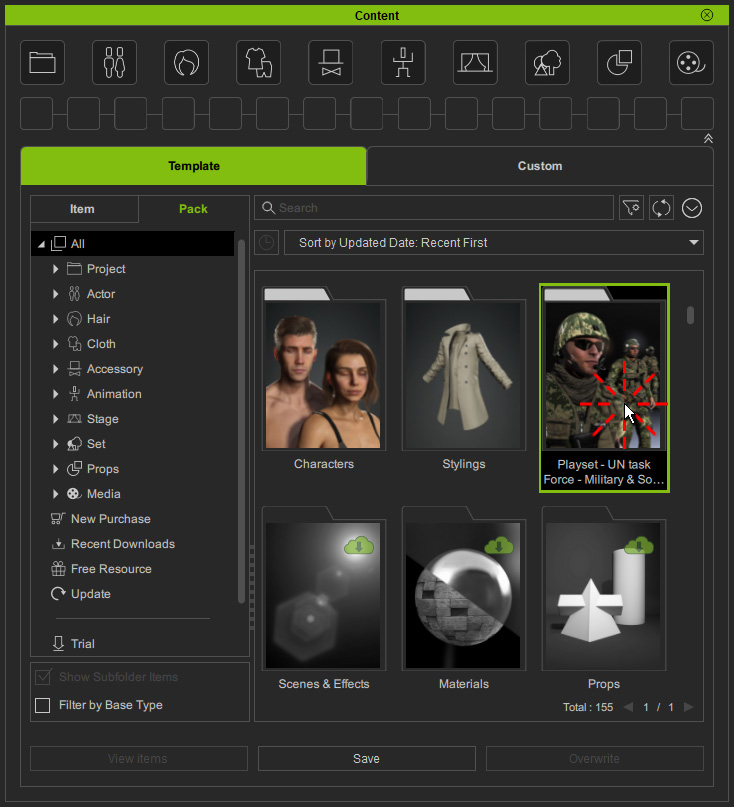
- Make sure the Show Subfolder Items checkbox is activated so that you can see all items in subfolders in this pack.
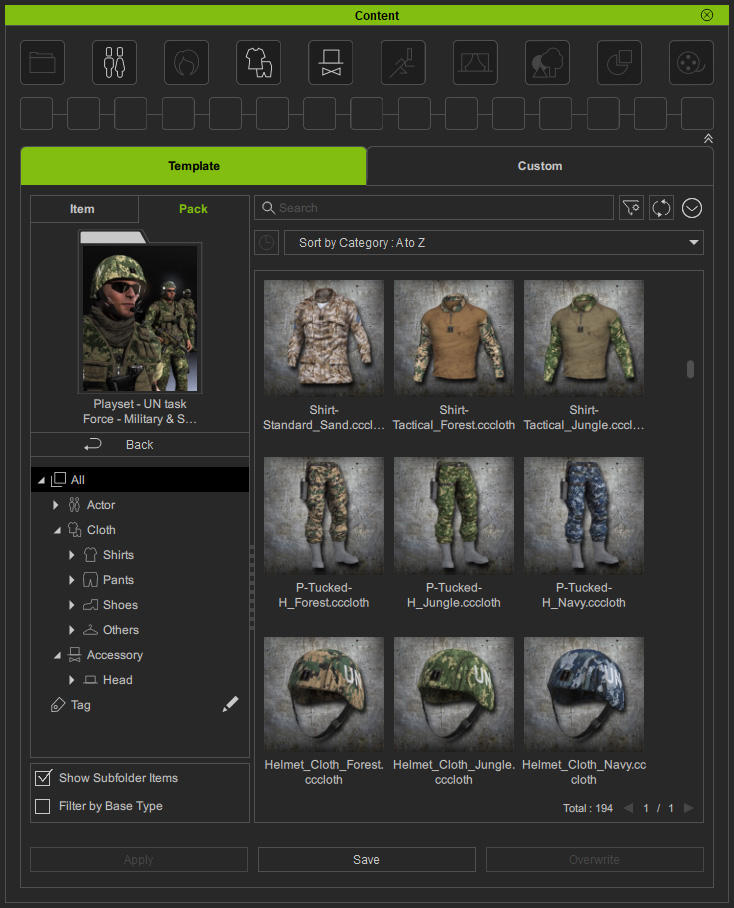
- Apply the desired items of different categories in the pack, including the clothes and accessories, from the top Category Buttons as in the Item View.
Since the items inside a pack are of consistent style, your character can be dressed with all the related items in a pack.
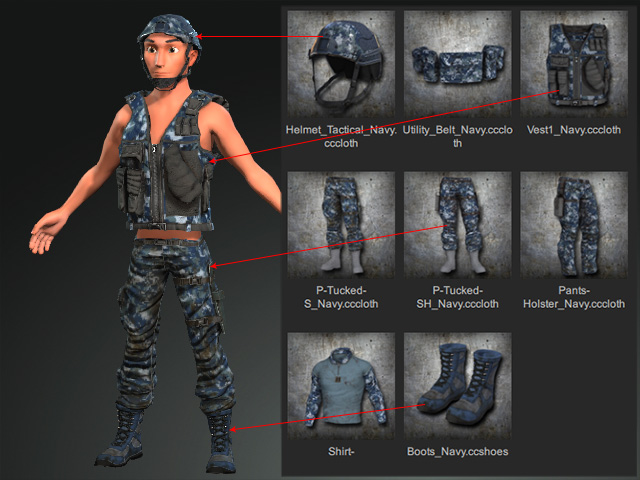
* You can activate the Filter by Base Type checkbox to only show compatible items for the current character. - If you are satisfied with the result, save your content in the Custom folder.
