Exporting and Importing Collections 

You can export your collection settings for templates or custom content, which will prove helpful for retrieval when you switch to another computer.
This feature also allows you to customize an identical file system across multiple computers that share assets within a workgroup.

After exporting the collections you created in Content Manager from the old computer, you can move the entire hard drive (without changing the content files) to a new computer, or share collections among workgroup members.
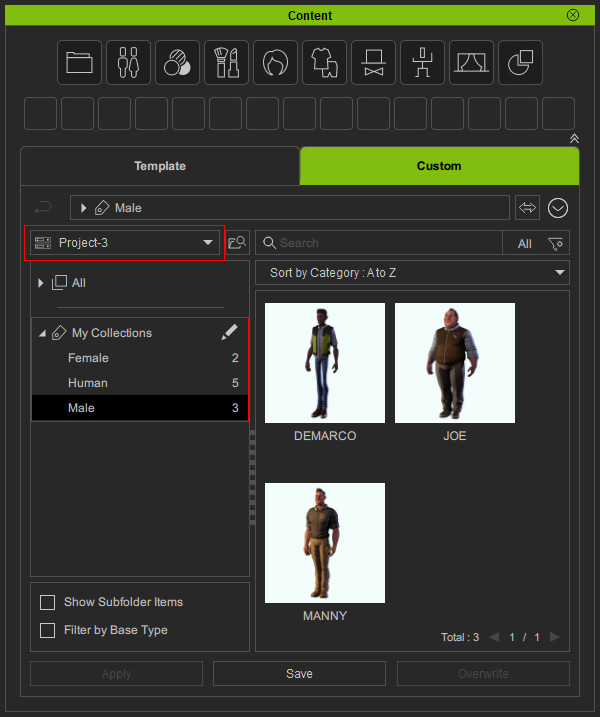
- On the original computer, add template or custom content to your collections in the Content Manager.
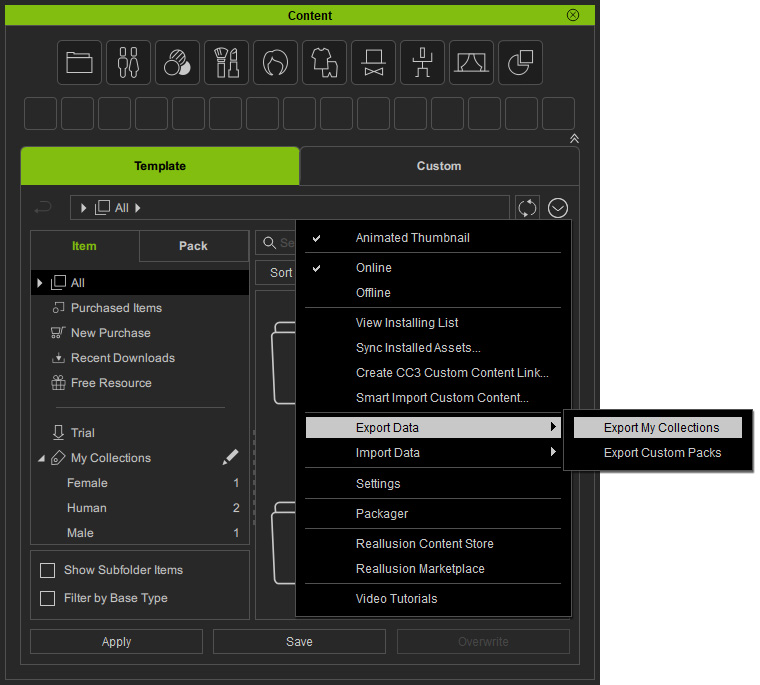
- Click the Menu button (no matter which tab) to execute the Export Data and then the Export My Collections command.
- In the Export Data dialog, you are reminded to make sure all of the assets (template or custom content) are prepared on the target computer, and to jot down the names of custom folders if you have collected content stored inside the folders (other than the default).
Such content file and folder information will be required to make the collection feature work properly on another computer.
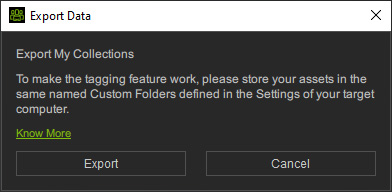
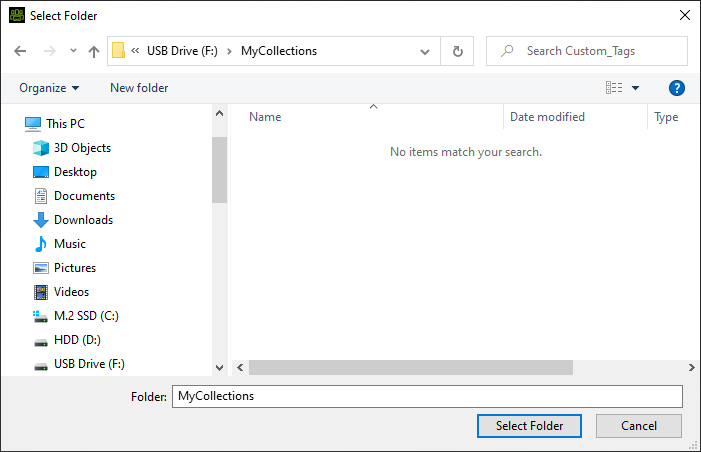
Click the Export button to gather information on the collected content, including their collection folder, and origin categories and custom folders. - Save the collection settings on the hard drive that is about to be moved, or browse to a target network folder or USB drive for sharing the collection.
Click the Select Folder button.
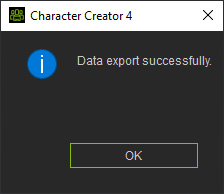
- Click the OK button when the export is done.
* The files of following information are exported to the folder you specified: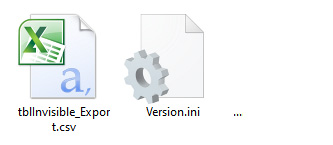
- Content added to collections, including the information on their origin category and custom folder.
- Packs marked as invisible.
- Program version.
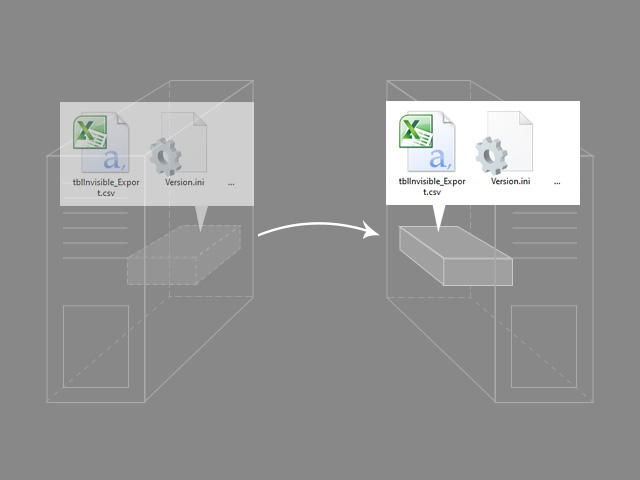
- You can now move the hard drive, where the collection settings are stored, to the new computer.
Refer to the Importing Data section for the ensuing procedure.
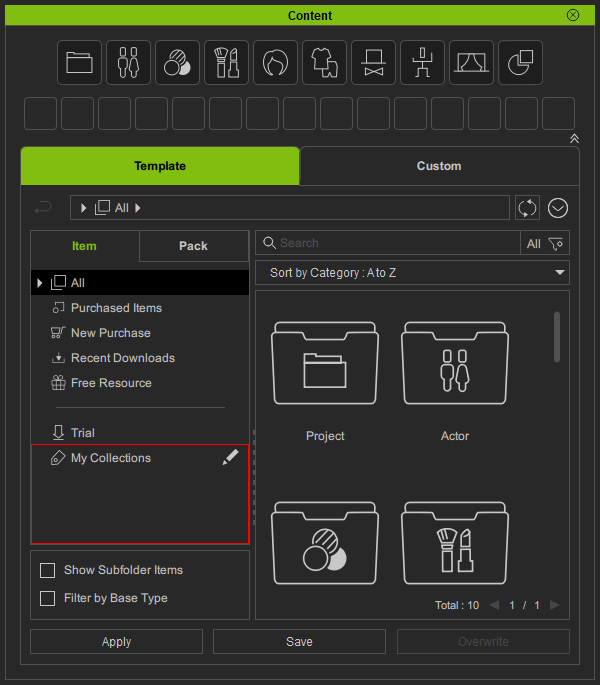
- Open the Content Manager on the new computer.
There is no collection under the My Collections node currently, even though the drive has all the content files.
- Before migrating collections to another computer, make sure you log in with the same account to show identical content.
If any collection is set on content stored in custom folders other than the default location on the source computer, make sure you have created the custom folders with identical names within Settings.
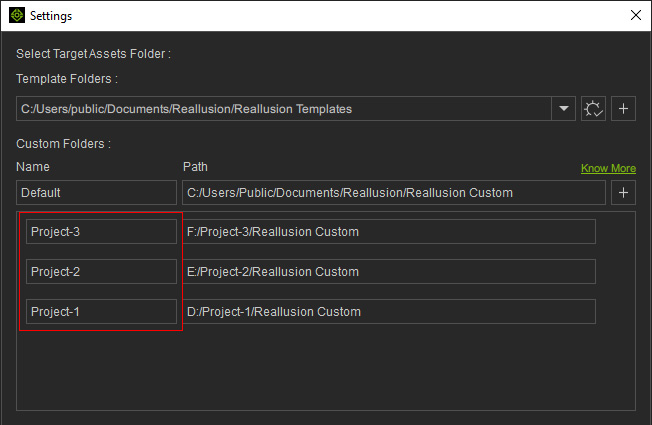
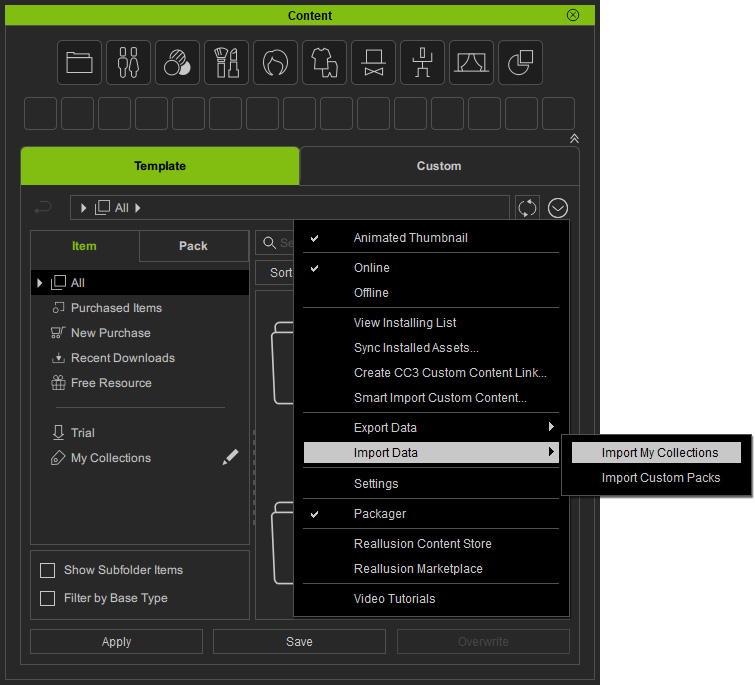
* You can skip this step if all the contents are stored in the default location ("C:\Users\Public\Documents\Reallusion\Reallusion Custom\" as illustrated) on the old computer. - Click the Menu button to execute the Import Data and then the Import My Collections command.
- In the Import Data dialog, you are reminded to prepare all the assets, especially those contents stored in custom folders, and meanwhile set the identical folder name for the collections to refer to (as mentioned in Step 2).
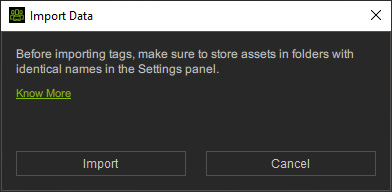
Click the Import button to import the collection information to the contents by categories and custom folders. - Choose the folder in which the export data is saved (as mentioned in Exporting Data > Step 4), and click the Select Folder button.
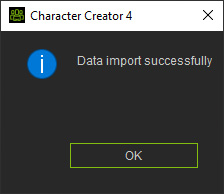
- Click the OK button when the collections are imported.
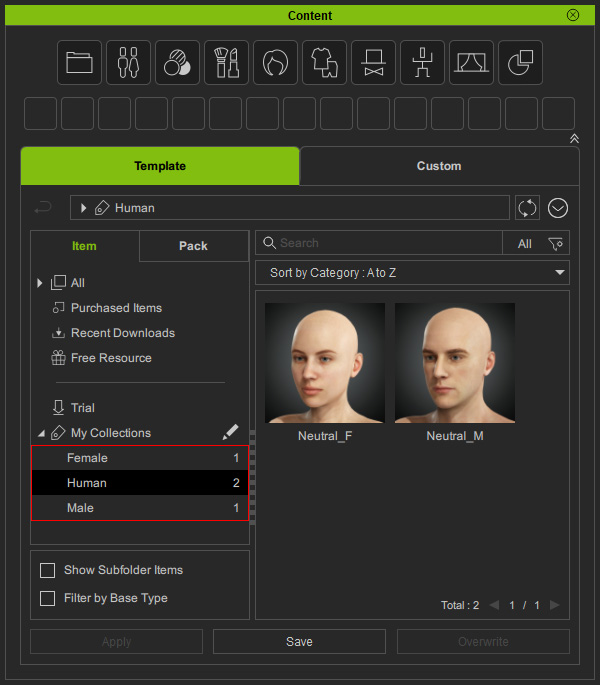
- As you can see, the collections list under the My Collections node in the Template tab.
Filter content by selecting any of them as you do on the source computer, if you have logged in with the same account.
* You may need to re-install those purchased and installed packs and items from the online server for the new computer. - The collections are also shown for content in the Custom tab.
You can filter content from the same custom folder with the selected collection, if the drive has the content files and you have created the custom folders with identical names in the Settings.