How to use Trigger Zone
The purpose of the Trigger Zone for the Lens Flare Layers is to emphasize the image. The size, brightness and the color of the image can be shifted when it is in the zone.
Only Light Source, Reflection and Decoration layer types contain
Trigger Zone features.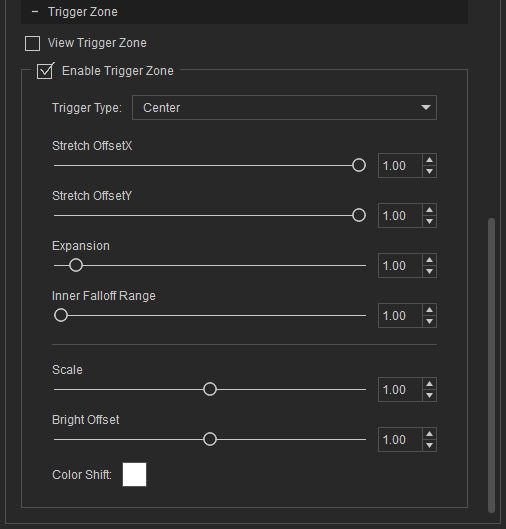
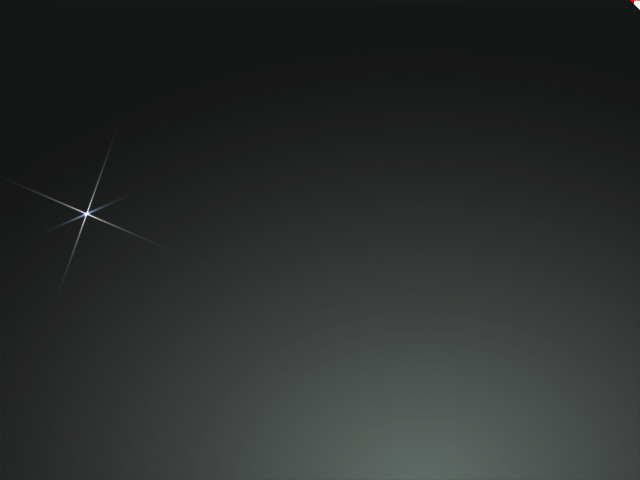
- In this example, there is only one layer of Light Source type in the Lens Flare effect.
- Select the Lens Flare gizmo. Go to the Modify panel > Material tab > Layer List section > Trigger Zone sub-section. Activate the Enable Trigger Zone checkbox.
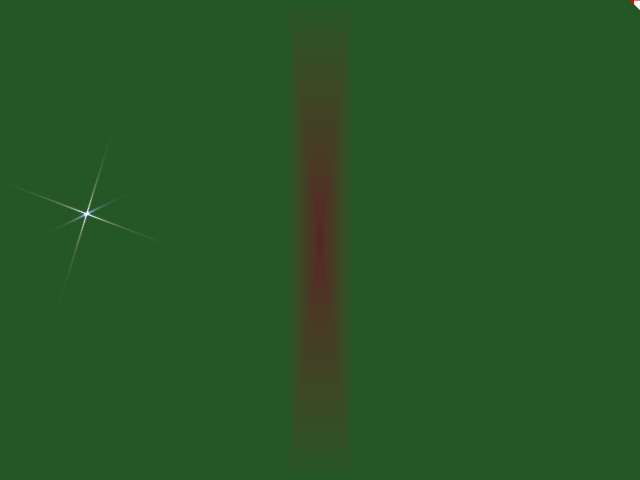
- These settings are for adjusting the trigger zone itself. You can activate the View Trigger Zone checkbox to visualize the trigger zone (in red and green colors).

Adjust the Trigger Zone with the following settings:- Trigger Type drop-down list: Use this drop-down list to determine if the trigger zone is in the center or at the corner of the viewport.

Trigger Type = Center
Trigger Type = Corner
- Stretch Offset X and Stretch Offset Y: These two sliders can alter the width and length of the trigger zone.
Stretch Offset X = 0.50 (Width)
Stretch Offset Y = 0.50 (Height)
Stretch Offset X = 0.10 (Width)
Stretch Offset Y = 1.00 (Height)
- Expansion: This slider scales the trigger zone.

Expansion = 1.00
Expansion = 2.00
- Inner Falloff Range: This slider can be used to set the width of the transition bands surrounding the trigger zone.

Inner Falloff Range = 1.00
Inner Falloff Range = 1.00
- Trigger Type drop-down list: Use this drop-down list to determine if the trigger zone is in the center or at the corner of the viewport.
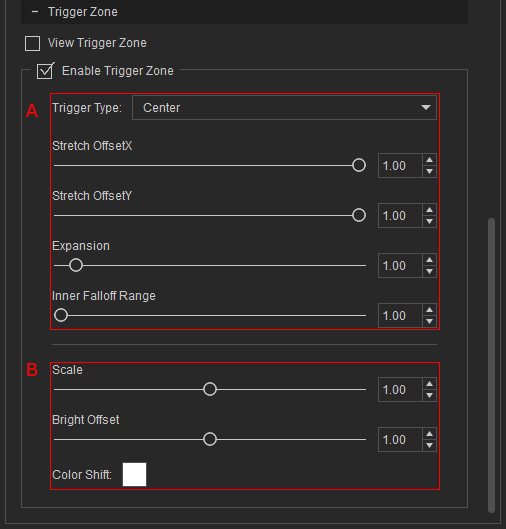
- Use the following settings to define the reactions when the Lens Flare image enters the Trigger Zone
- Scale Offset: This slider can change the size of the flare image.
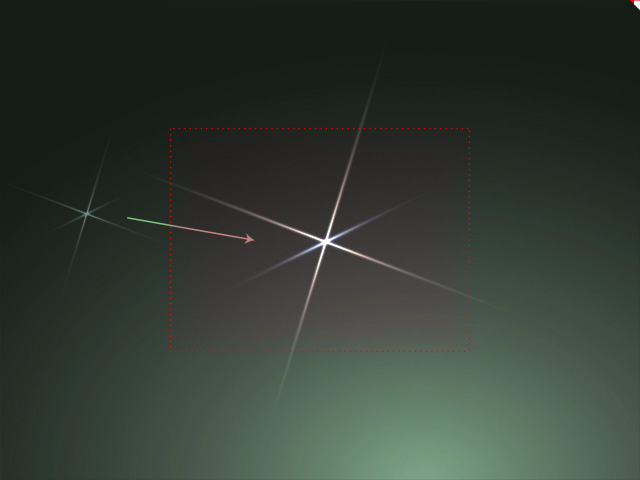
Scale Offset = 2.00
- Bright Offset: This slider can change the brightness of the flare image.
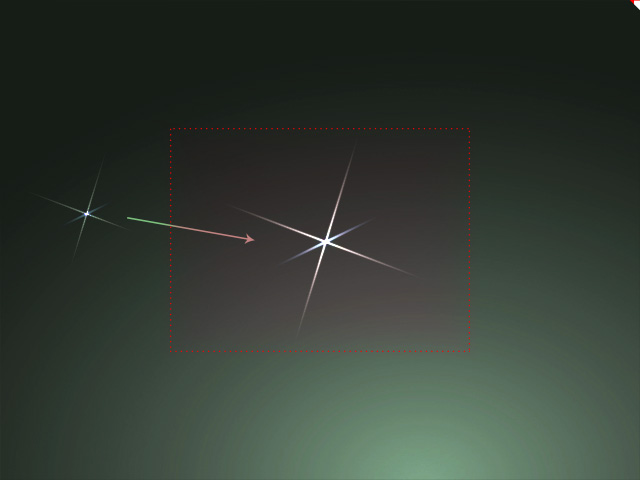
Bright Offset = 2.00
- Color Shift: Use the color picker to set the blending color when the flare image enters the trigger zone.
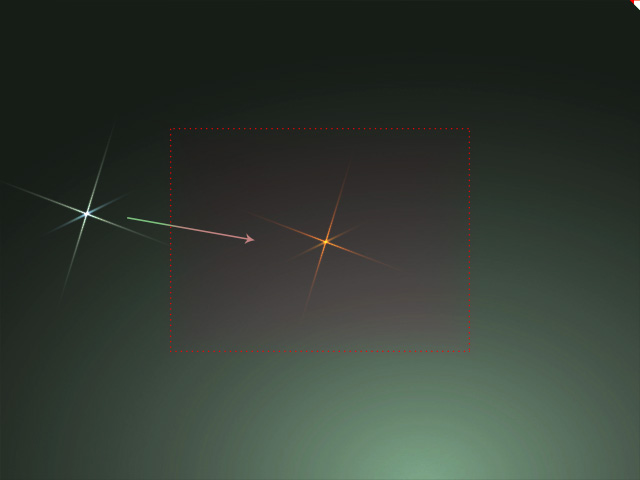
Color Shift = #ff5500
- Scale Offset: This slider can change the size of the flare image.
- These settings are for adjusting the trigger zone itself. You can activate the View Trigger Zone checkbox to visualize the trigger zone (in red and green colors).
