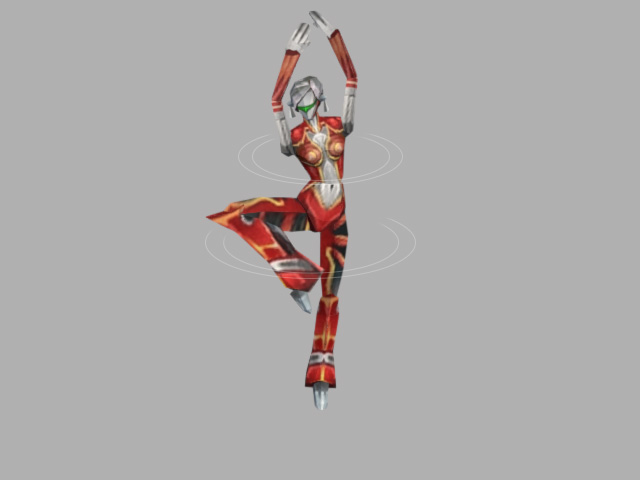
Layering Animation keys to Existing Clips
Once you apply an animation clip to a prop, then you may want to fine tune the offset (position) for each bone. This can be done via the Edit Animation Layer feature. The pose with the edited bones will be kept as a key in the Animation Layer track, and its effect will remain throughout the clip unless another key is set. The transition between the two animation layer keys will then auto-generate.
Adding Animation Layer Keys
If you want to set an animation layer key so that the effect of the key blends into the underlying animation, then follow the steps below:
-
Select a prop that already has an applied animation.

-
Click the Edit Animation Layer button in the prop Modify panel
and Animation tab.
-
Move to the specific time where you want to overlay the offset key in the clip.

-
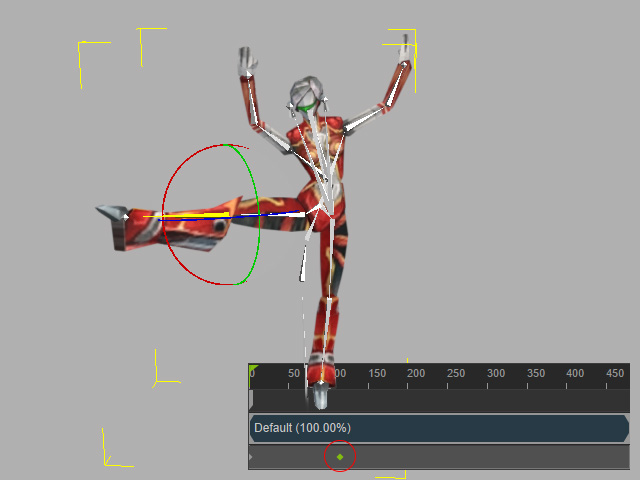
Use the IK/FK methods
with the
 or
or  tools
to add an animation layer to the initial animation.
The key will automatically be added into the Animation Layer track
and be blended in the pose of the animation in the Animation
track.
-
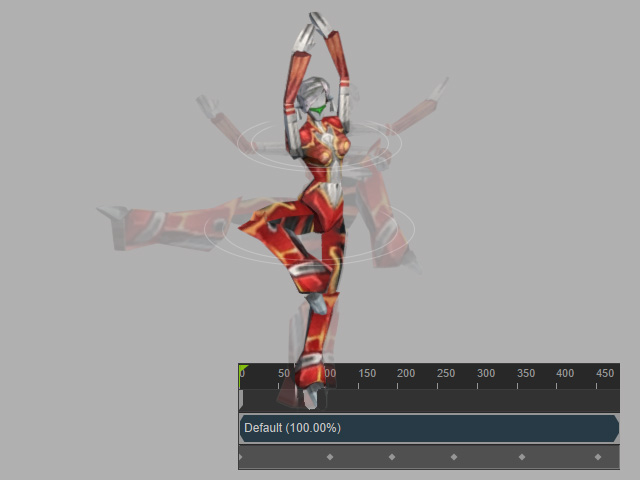
Repeat the same step at a different time frame and you can then fine-tune the
initial animation.

Playback to view the result.
