Translate Bone for Props and Accessories
Key-frame Animation is the traditional method for creating animations for a prop or an accessory, especially ones with bone structures.
In addition to the IK, FK Editing for Props and Accessories, you are able to Translate Bones of them to generate more exotic and dramatic animations.
Setting Translate Keys to Alter Appearances
-
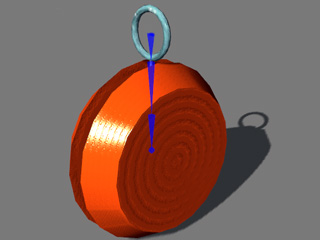
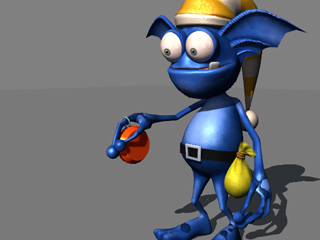
Apply a prop with bone structure, attach it to a character to turn it
into an accessory.
-
Go to specific time frame when the character performs motions.
-
Select the accessory and click the Edit Animation Layer
 button in the Modify panel.
Edit Motion Layer panel will display.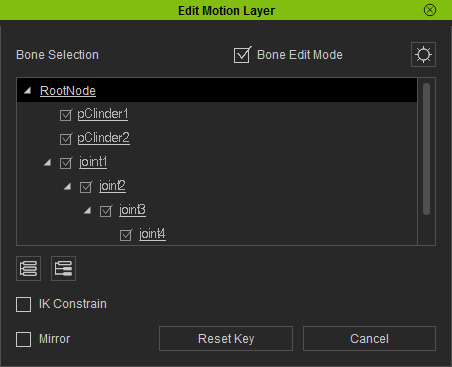
-
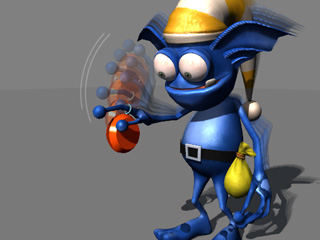
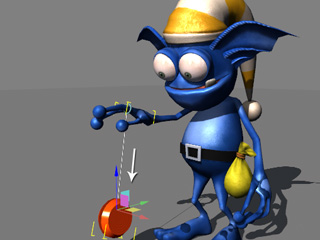
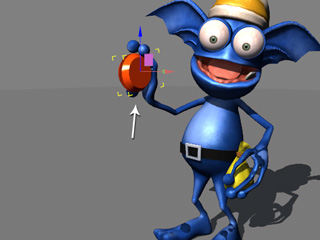
Select a target bone (in this case, joint3) and switch to the Move
 tool
so that you are able to move the bone away from the hand of
the character
tool
so that you are able to move the bone away from the hand of
the character
(please note that the mesh will be stretched along with the bone since they are rigged in the external 3D tools).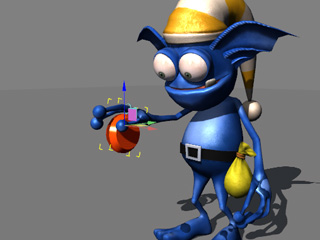
-
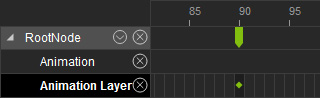
You may then find the layer key for the prop (accessory) in the Animation Layer track.
-
Go to another time frame and then leverage the same manner to add
another key to move the bone back into the hand of the character.
Producing Layer Keys for Existing Animation
When you are familiar with the usage of setting one translate key for bones of props or accessories, then you can append animation layer keys to modify or dramatize their existing animations.
-
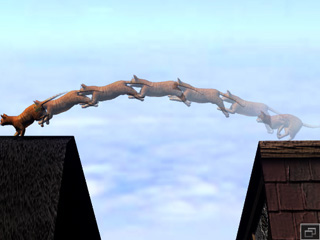
Create animations of a prop with rigged bone structure.
-
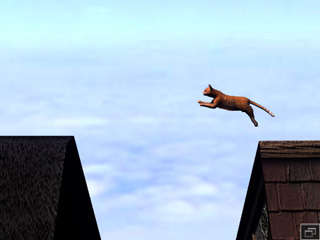
Go to a specific time frame.
-
Select the prop and click the Edit Animation Layer
button in the Modify panel.
Edit Motion Layer panel will display.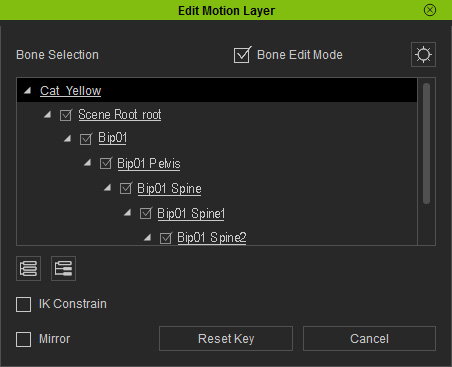
-
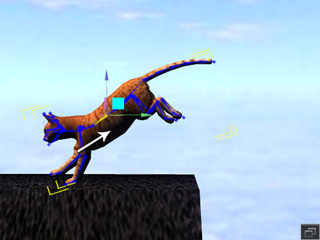
Select target bones (in this case, the spine, forelegs and rear legs) and switch to the Move tool
so that you are able to move these bones away from their initial positions
(please note that the meshes will be stretched along with the bones since they are rigged in the external 3D tools).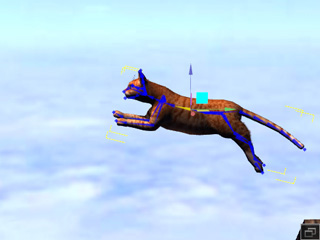
-
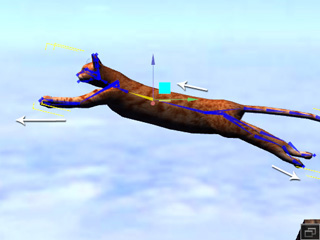
Move the bones away to generate a layer key to affect the animations.
-
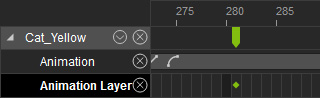
You may then find the layer key that affect the animation clips for the prop (accessory) in the Animation Layer track.
-
Go to another time frame and move the bones back to the rational
positions.