Settings for RGB Mask Layer
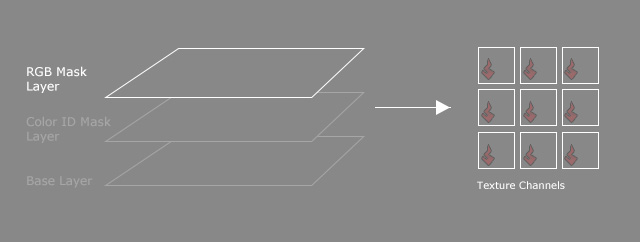
The RGB Mask Layer is the top layer in the Material Modifier mechanism.

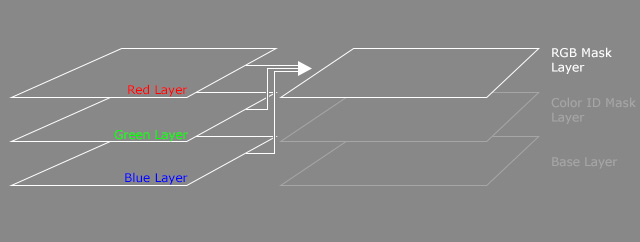
And this layer is composed of three different sub-layers, Red, Green and Blue.

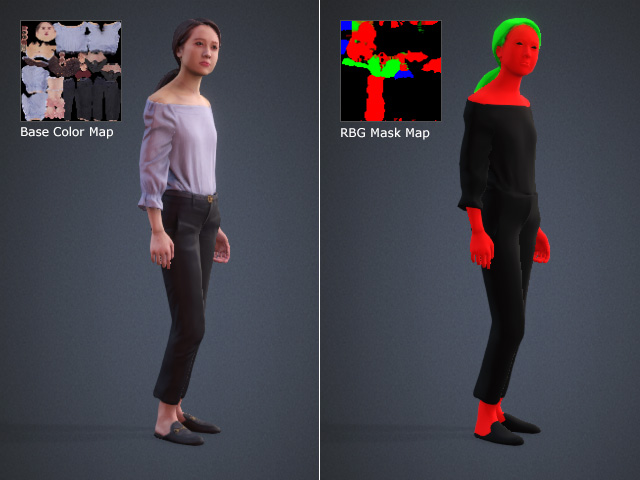
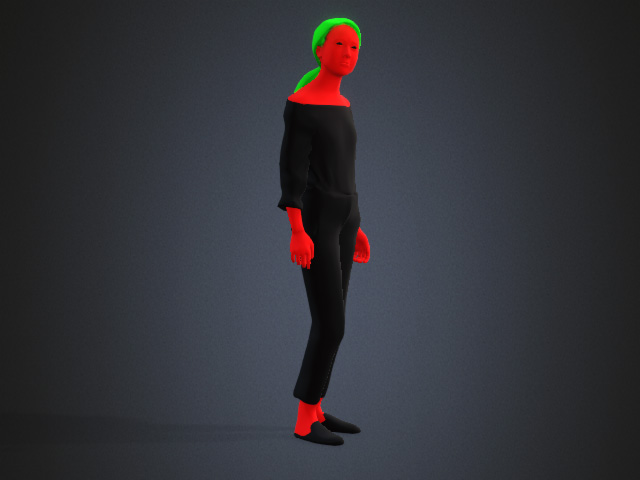
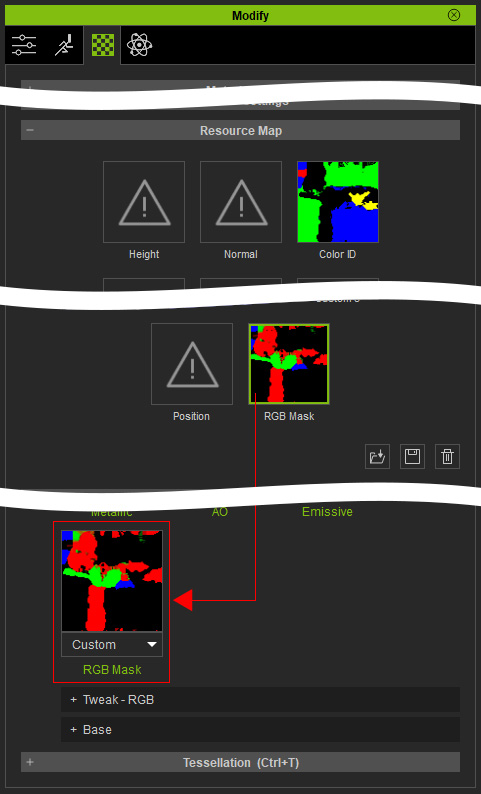
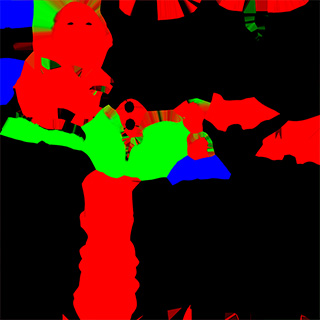
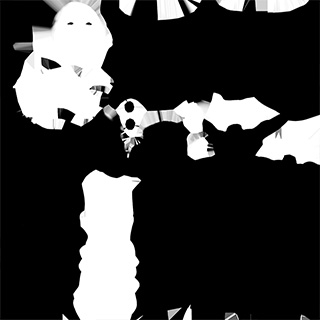
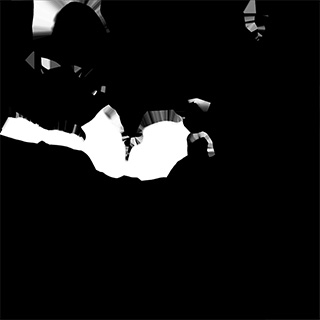
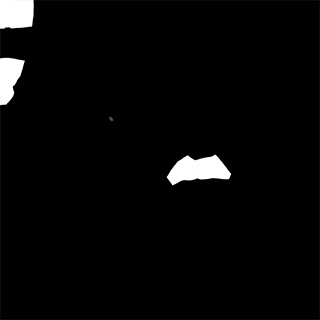
The RGB Mask is an image which integrates grayscale regions data in Red, Green and Blue channels which divides the character's material into specific parts.

With the data, you can separately adjust partial material through the Tweak - RGB Sub-section, unlike the Base subsection that is mostly used to adjust the entire character's material.
RGB Mask Settings
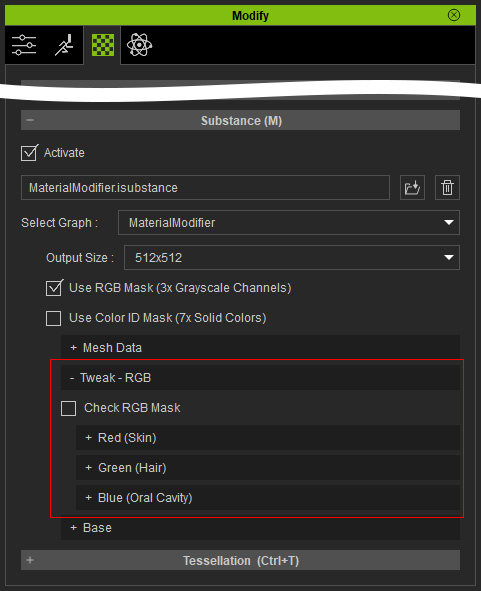
In the Tweak - RGB subsection, there are subsections for adjusting the colors in the R, G, B regions.

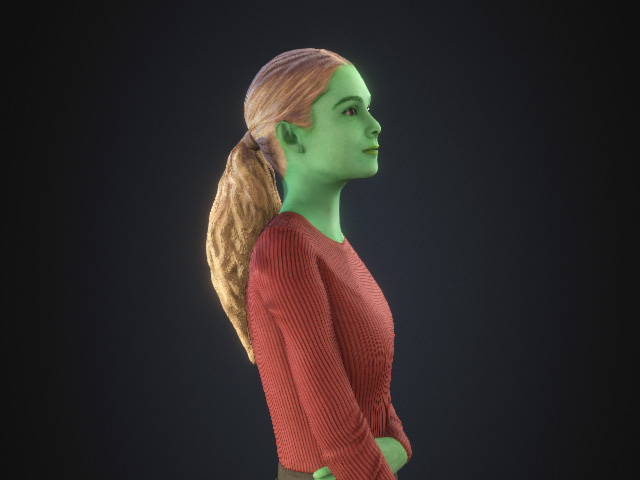
You can activate the Check RGB Mask checkbox to view the RGB regions distributed on the character.

Settings in Red (Skin), Green (Hair) and Blue (Oral Cavity) Subsections
There are identical settings in the three sub-sections to adjust the specified regions, Skin, Hair and Oral / Cavity.

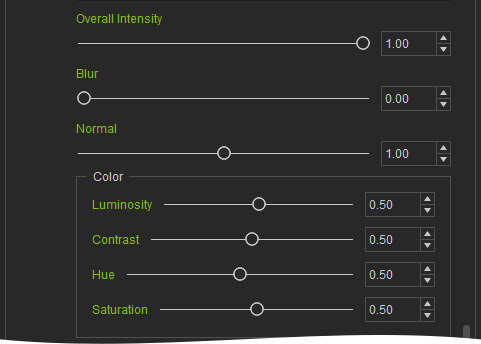
 Overall Intensity
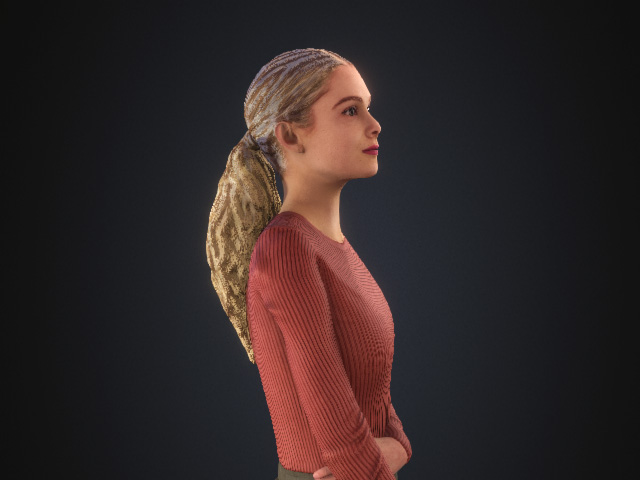
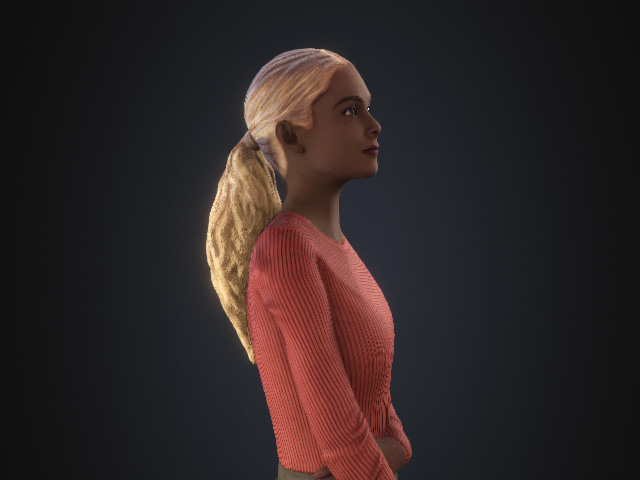
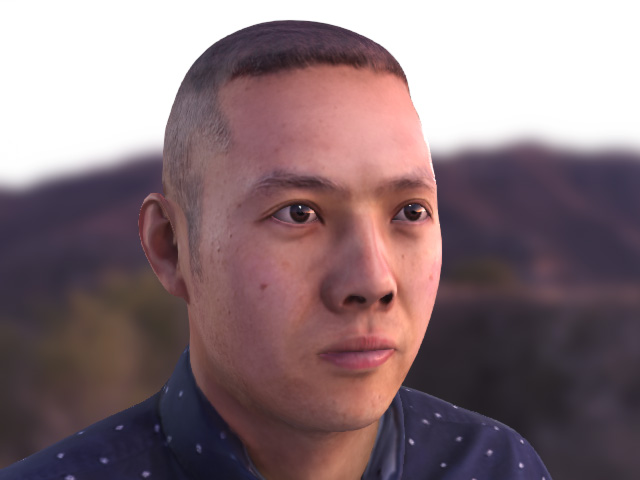
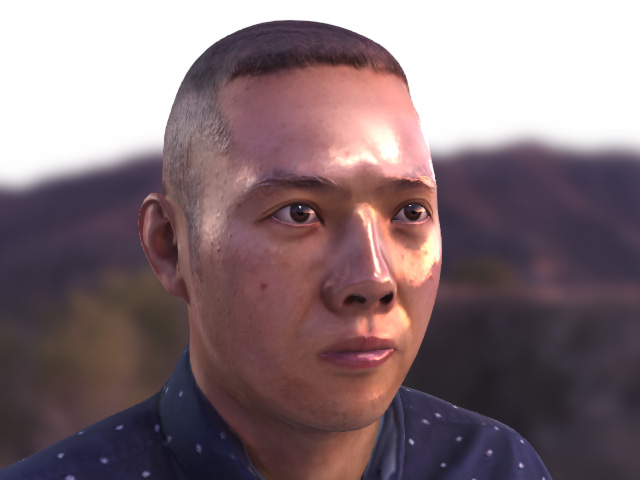
This value is used to individually adjust the intensity of the regions for the 3 sub-layers. The lower the value is, the more the Base layer effect shows, and vice versa.

|

|
|
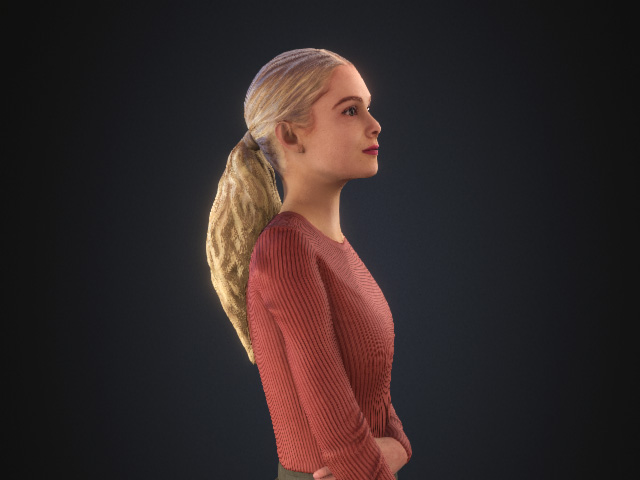
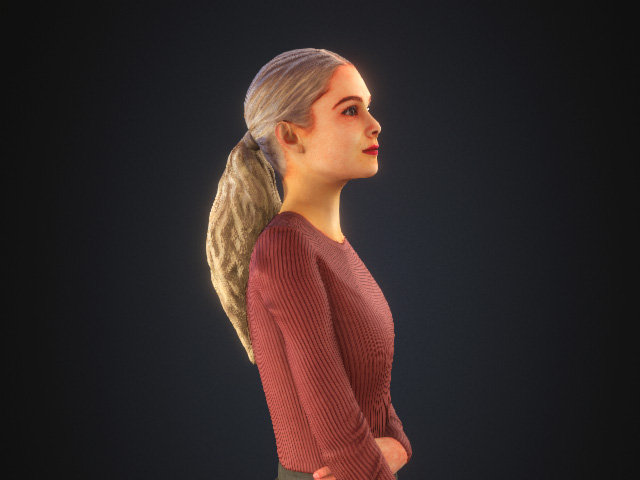
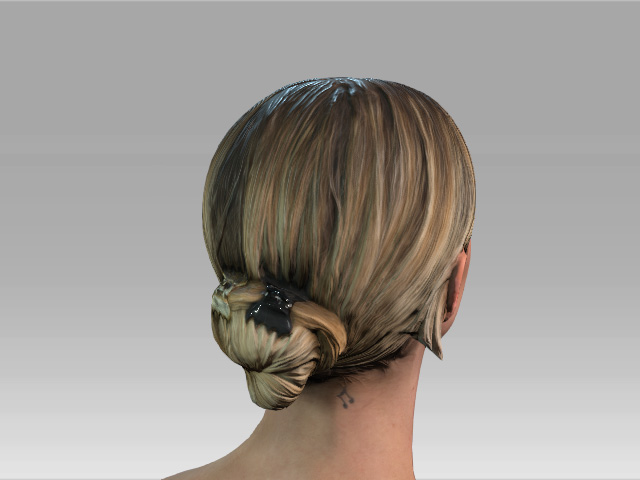
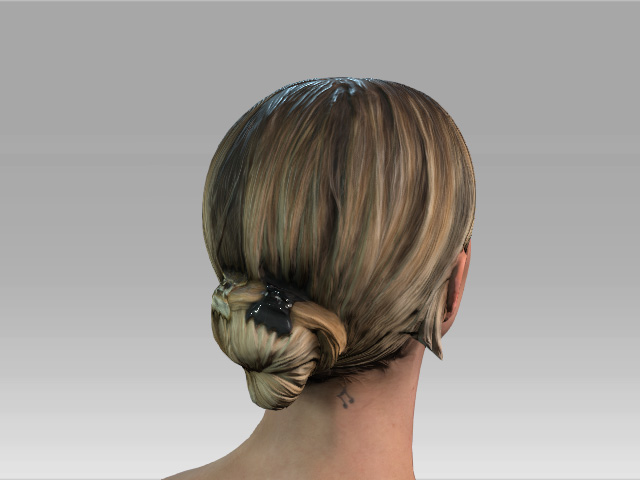
Green (Hair) > Overall Intensity = 1.00 (Default)
|
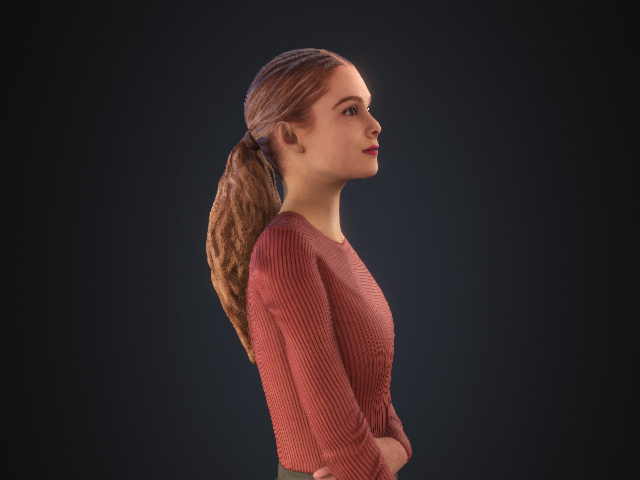
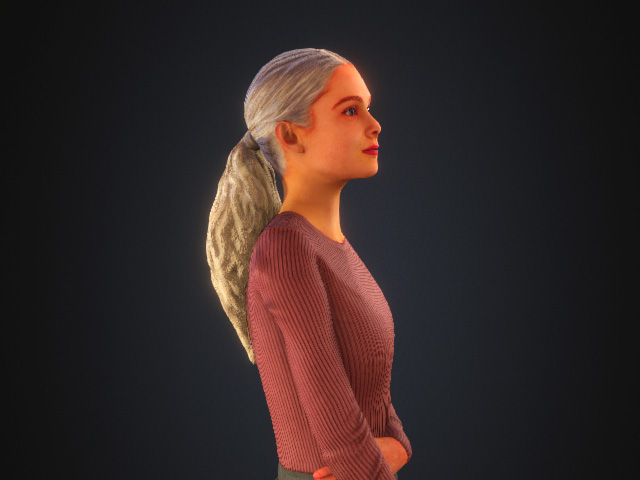
Green (Hair) > Overall Intensity = 0.00 (Base layer reveals)
|
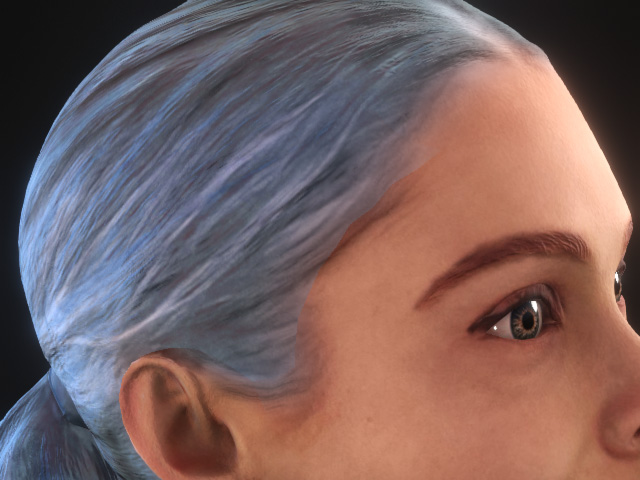
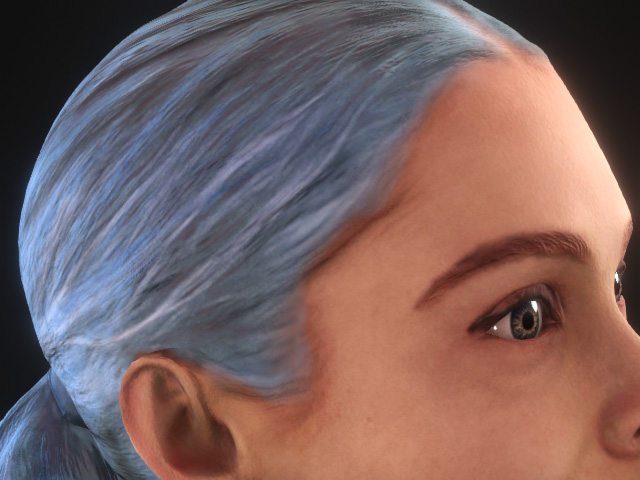
 Blur
Blur
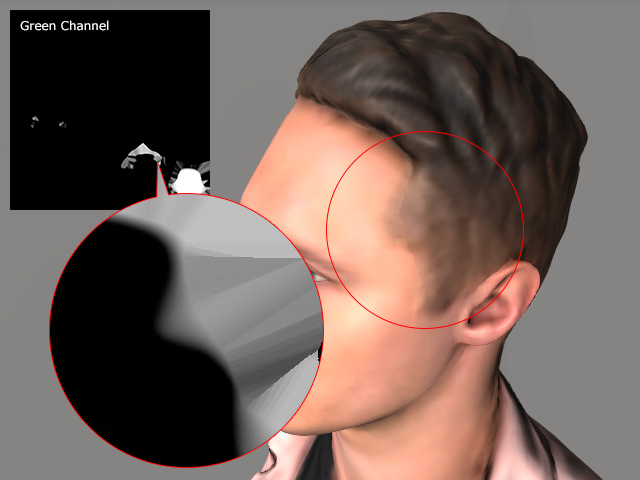
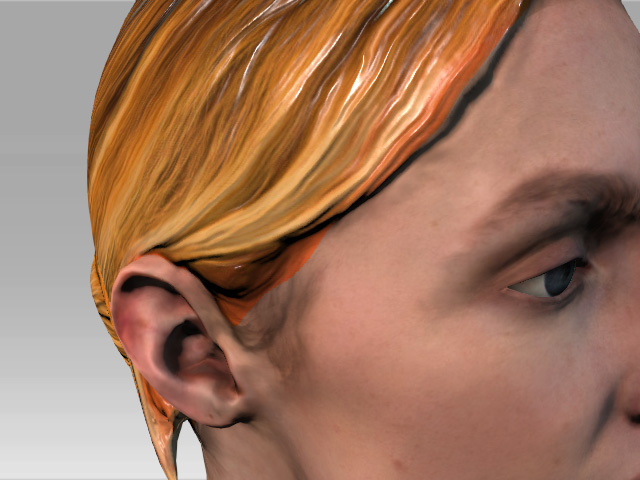
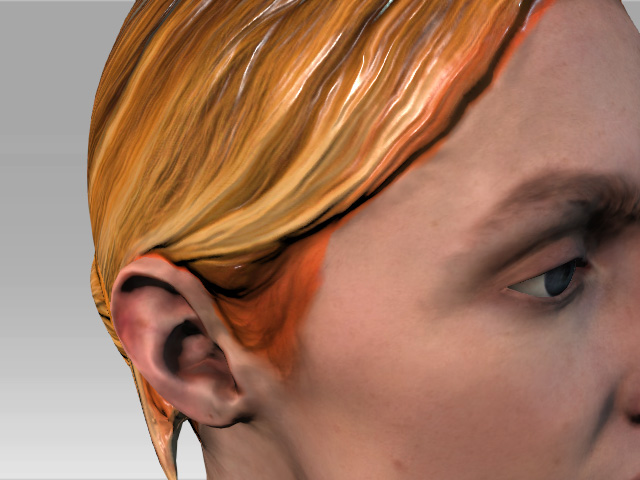
This setting is mostly used to smooth out the sharpness edges of the regions (defined by the image channel data), such as the seam of the hair and forehead.

|

|
|
Green (Hair) > Blur = 0.00 (Default)
|
Green (Hair) > Blur = 5.00
|
 Normal
This slider determines the bumpiness for the Red, Green and Blue sub-layers in order to create the Normal map.

|

|
|
Green (Hair) > Normal = 1.00 (Default)
|
Green (Hair) > Normal = 1.50
|
 Color
Color
These sliders determine the color for the Red, Green and Blue sub-layers in order to create the Base Color map.
- Luminosity:
 |  |
Red (Skin) > Luminosity = 0.50 (Default) | Red (Skin) > Luminosity = 0.25 |
- Contrast:
 |  |
Red (Skin) > Contrast = 0.50 (Default) | Red (Skin) > Contrast = 0.85 |
- Hue:
 |  |
Red (Skin) > Hue = 0.50 (Default) | Red (Skin) > Hue = 0.15 |
- Saturation:
 |  |
Red (Skin) > Saturation = 0.50 (Default) | Red (Skin) > Saturation = 0.75 |

 Roughness
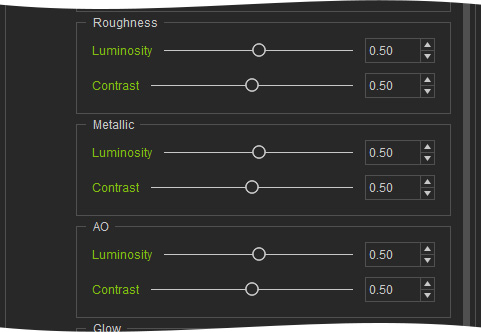
The Luminosity and Contrast values can individually determine the distribution of the grayscale texture for the Red, Green or Blue sub-layers.

|

|
|
Blue (Oral Cavity) > Luminosity = 0.50 (Default)
Blue (Oral Cavity) > Contrast = 0.50 (Default)
|
Blue (Oral Cavity) > Luminosity = 0.25
Blue (Oral Cavity) > Contrast = 0.50
|

|
|
|
Blue (Oral Cavity) > Luminosity = 0.25
Blue (Oral Cavity) > Contrast = 0.25
|
|
 Metallic
The Contrast and Luminosity values can individually determine the distribution of the grayscale texture for the Red, Green or Blue sub-layers.

|

|
|
Blue (Oral Cavity) > Luminosity = 0.50 (Default)
Blue (Oral Cavity) > Contrast = 0.50 (Default)
|
Blue (Oral Cavity) > Luminosity = 0.75
Blue (Oral Cavity) > Contrast = 0.75
|
 AO
AO
The Luminosity and Contrast values determine the soft shadows effect for the Red, Green and Blue sub-layers in order to create AO texture.

|

|
|
Green (Hair) > Luminosity = 0.50 (Default)
Green (Hair) > Contrast = 0.50 (Default)
|
Green (Hair) > Luminosity = 0.00
Green (Hair) > Contrast = 1.00
|

 Mask
Mask
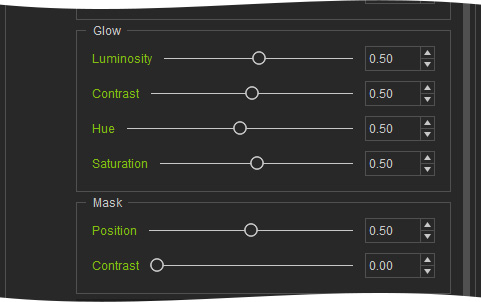
- The Position values dynamically expand or contract the masks edges defined in the Red, Green and Blue channels.
 |  |
Green (Hair) > Position = 0.50 (Default) | Green (Hair) > Position = 0.90 |
- The Contrast can be used to distinguish or weaken the edges of the masks.
 |  |
Green (Hair) > Contrast = 1.00 | Green (Hair) > Contrast = 0.00 |
