How to use weight settings for animation layers
The Animation Layers can not only be activated or deactivated, it can also be set weight values to determine the influence strength of the keys in the animation layer. The weight values are key-able and different animation layers can have different weight keys.
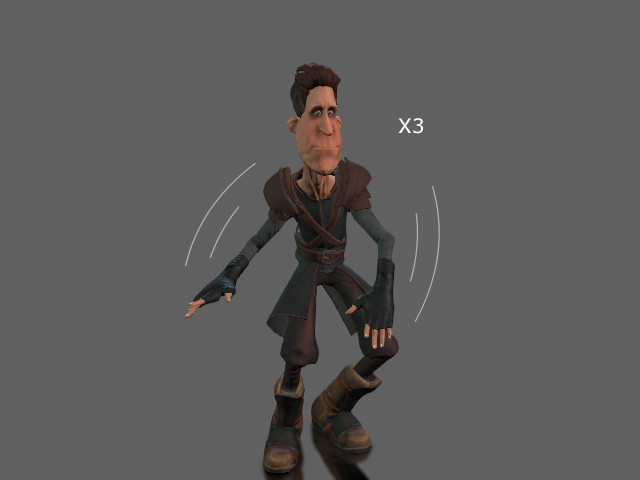
- Create a project and apply a motion to the character. This
example uses a dance motion that repeats the same motion three
times.
- Open the Edit Motion Layer panel. Set a pose to adjust the original motion clip at the start frame.
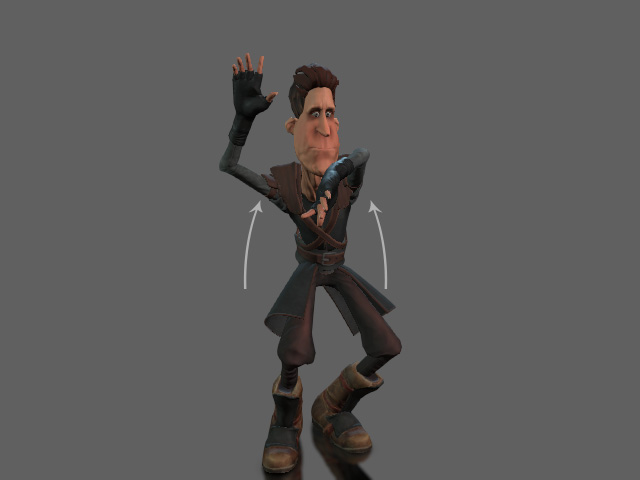
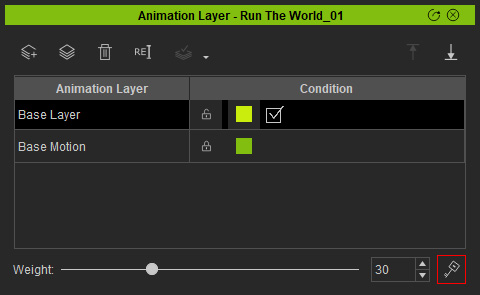
- The pose key will be stored into the animation layer (Base Layer).
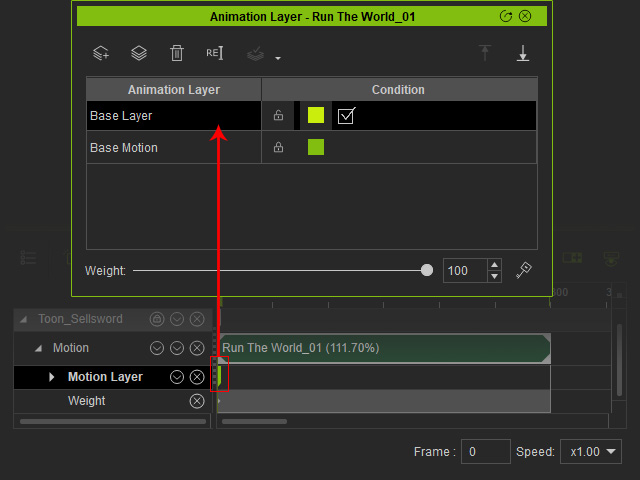
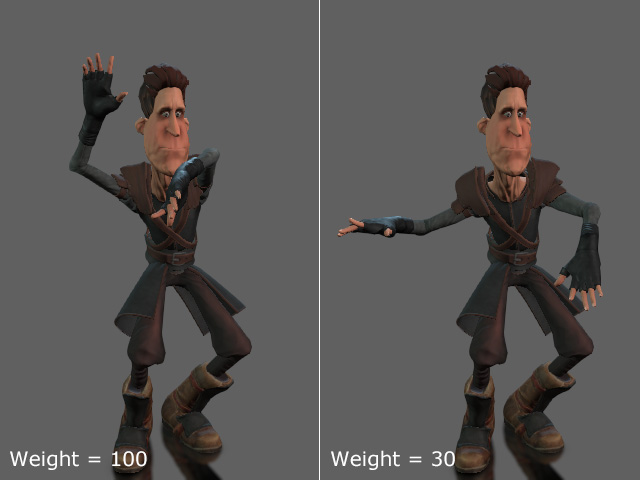
- The Weight of this animation layer is 100, by default.
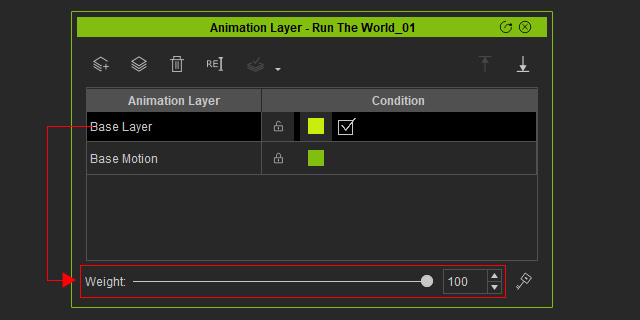
- By adjusting the Weight value (30, for example) at
the first frame, you can increase or decrease the influence of the
layer on the original motion clip.
This value will be kept in a key on the Weight track.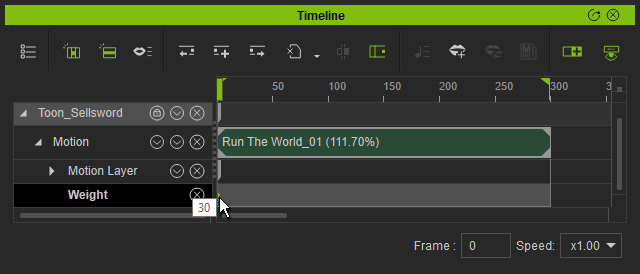
- Go to another timeframe and click the Key button on the right bottom corner of the Animation Layer panel.
- Another key with the same value will be added on the Weight track.
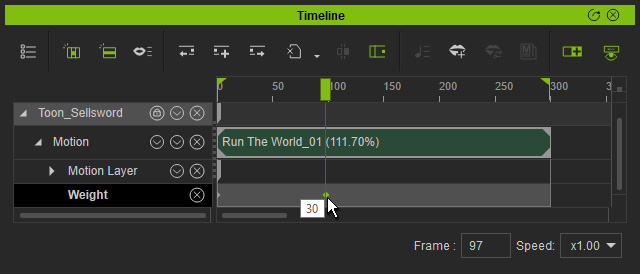
This step ensures the weight value is unchanged throughout these timeframes.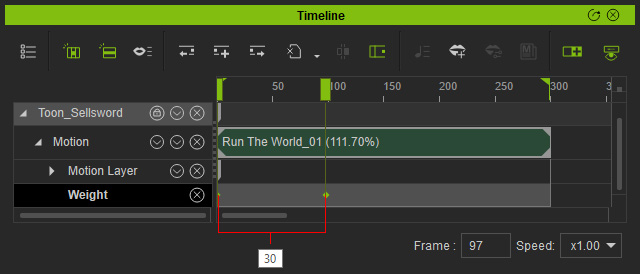
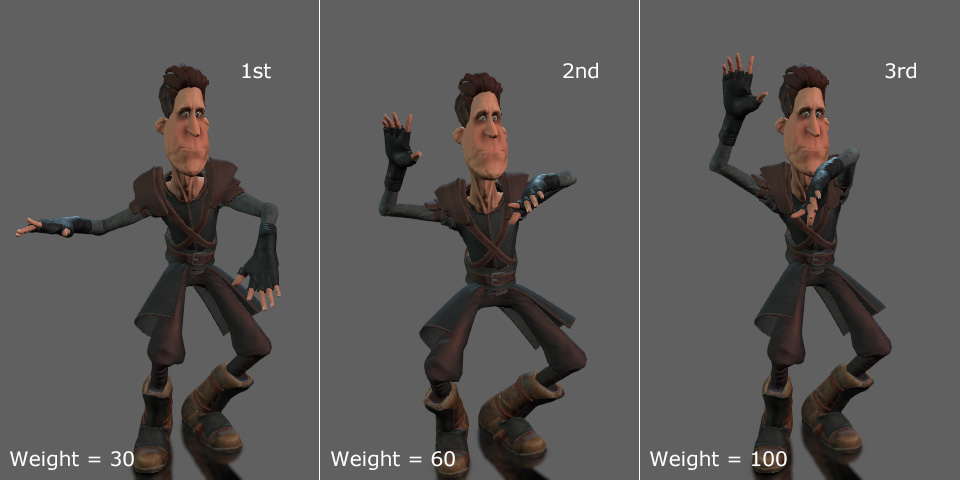
- Go to another timeframe when the second move starts and set the Weight value again (60, for example).
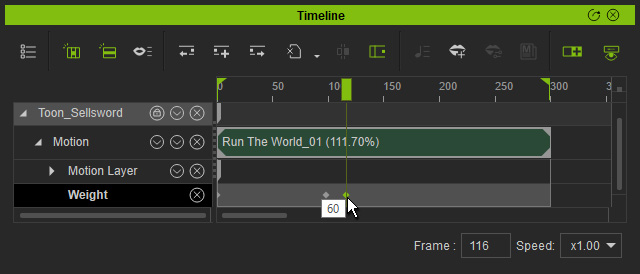
The pose key effect increases along with the Weight value.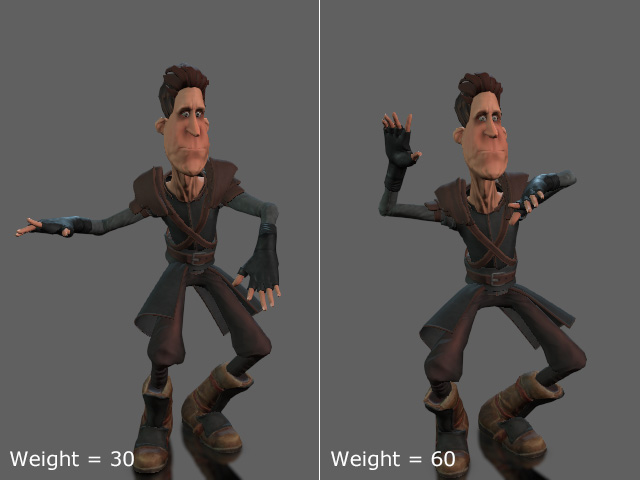
- Repeat the same steps for the second and third movement of the motion clip.
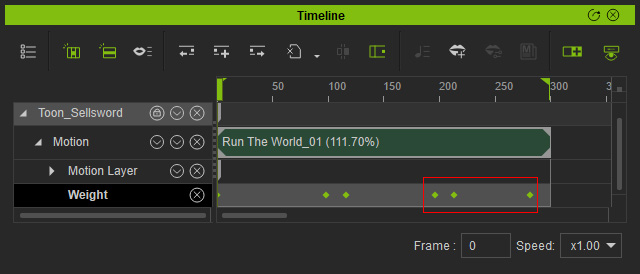
Set the Weight value to 0 at the final frame to turn off the pose key.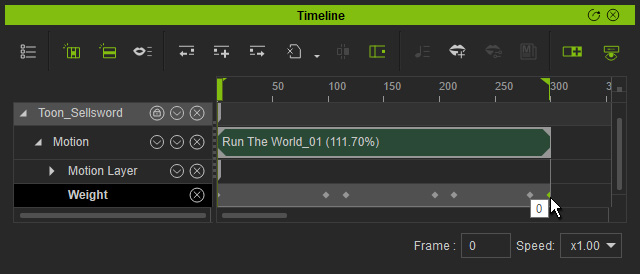
- Instead of adding motion layer keys repeatedly, using Weight key can quickly set different but similar poses derived from one pose with different weight values.
- Playback to view the result.
