Hinge
The Hinge constraint is one of the most commonly used constraint types. Whenever you need
to have physics objects to rotate on a certain axis, then you can use this type of constraint to ensure
the direction of rotation.
View the Video
-
Apply a prop (in this case, a gear). Transform it to a desired position, size and angle.
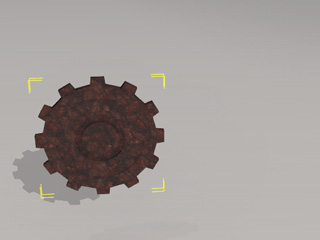
-
Duplicate it and relocate the new gear.
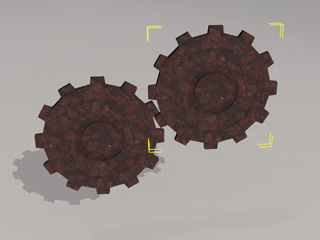
-
Set one of them as Dynamic and the other as Kinematic so that you can control
the kinematic one to push the other gear.
Please refer to The State of Rigid Body section for more information.

-
Because the Dynamic rigid body will fall by default, you need to constraint it to
its current location.
In the Modify >> Constraint tab, click the Add Constraint button.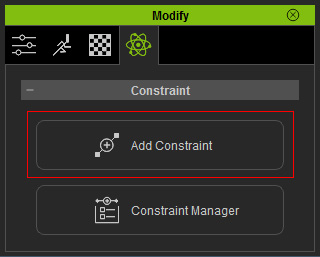
The Add Constraint panel displays.
-
Drag and drop the Hinge template onto the dynamic rigid body.
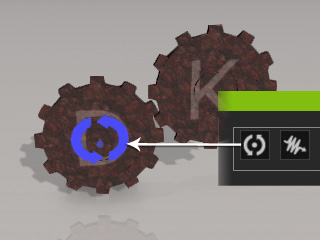
- You may need to transform the constraint so that its indicating arrows match the desired rotating direction of the rigid body.
- Make sure the constraint is selected.
- In the Modify >> Constraint section, you can connect the constraint to the world or another target physics object by clicking the Pick Target or World buttons. Please refer to the Setting Connection Relationship section for more information.
-
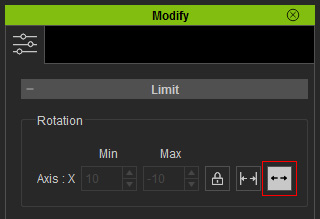
Move to the Limit section, you are able to decide the rotation axis by
setting the parameters in this section. In this case the
Rotation is set to Free.
-
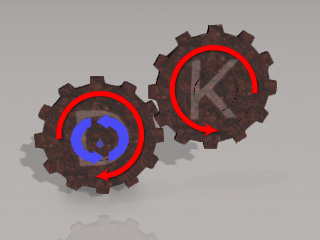
Set transform keys or puppet the kinematic physics object to animate. The dynamic one will then be triggered to move along with it instead of dropping down to the floor.
 Note:
Note:You may also create a motor by using the Hinge constraint instead of using Kinematic rigid body that is animated by transform keys or puppeteering method. Please refer to the Creating Motor with Hinge section for more information.
