Using iMD from Walkway Settings (New for version 8.4)
When setting up a walkway, you can incorporate various iMD files along with various Action Settings. This enables automatic iMD applications to the actors when the walkway is selected use with Motion Director. These settings and iMD files can then be transferred to the Crowd Generation panel, ensuring that the actors are deployed with this embedded data from the walkway.
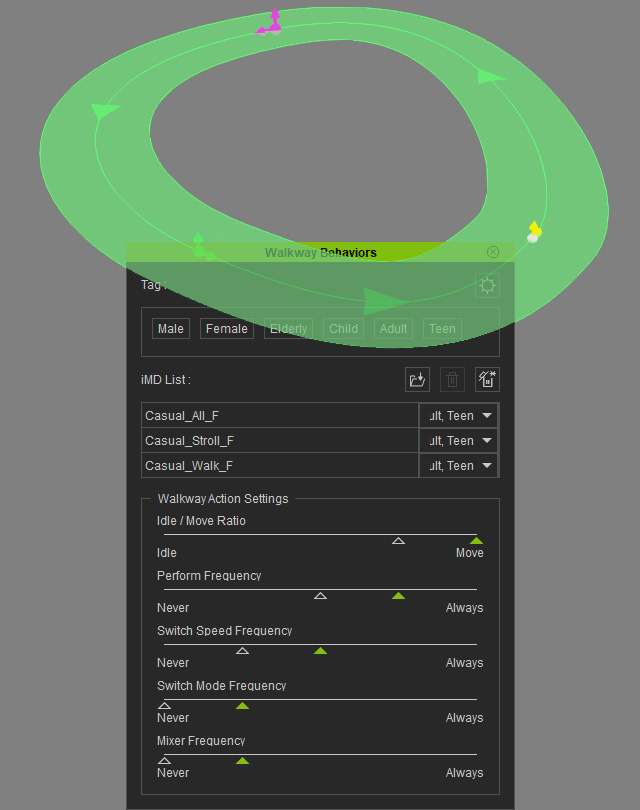
- Prepare a walkway using the Walkway Behaviors
panel:
- Open the Crowd Generation panel.
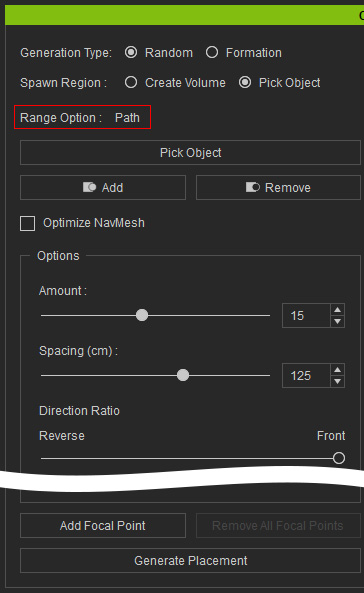
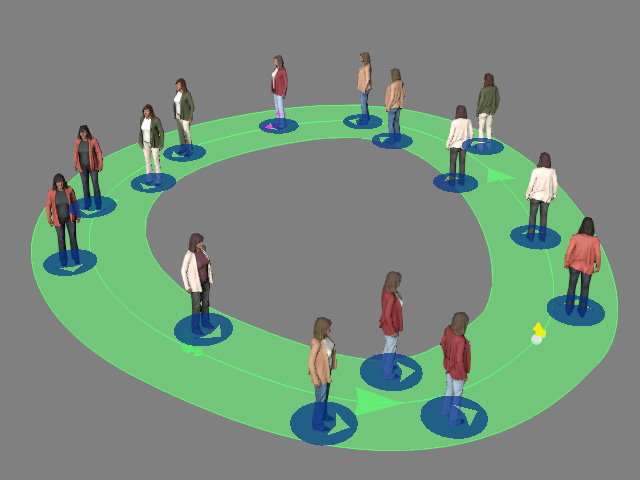
- Set the walkway
range, generation types and options as shown in the
following illustration.
The placement markers will be scattered on the range.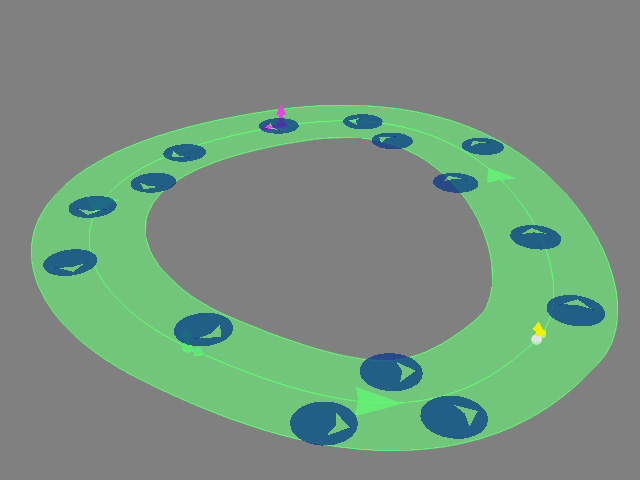
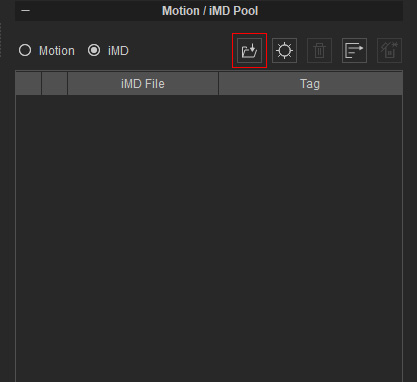
- Add one actor into the pool.

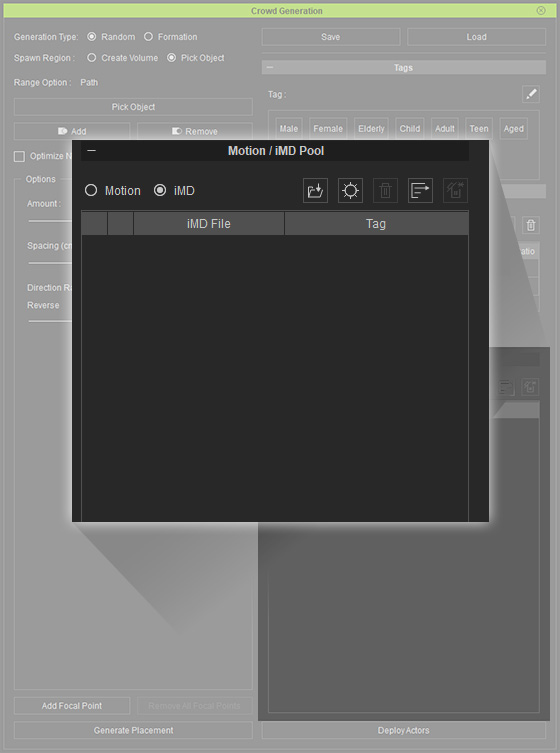
- Choose the iMD radio button. As you can see the list is empty.
- Click the MD Action Settings button.

You can observe the initial settings.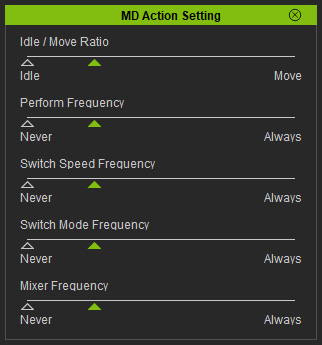
- Close the MD Action Setting panel and click the
Use iMD from Walkway Settings button in the Crowd Generation panel.
The iMDs and MD action settings (including ranges) stored in the walkway is auto-loaded into the iMD pool and the MD Action Settings panel.
You can still manually adjust the ranges in the MD Action Settings panel. - Click the Deploy Actors button again. Notice
that the actors are all statically posed.
Since the Deploy Actors with Variant Materials checkbox is activated, the actors are created with randomized color combinations. - Close the Crowd Generation panel.
- Click the Start Motion Director button on the
Motion Direction toolbar. Notice that the Auto On Path
button is already enabled.

The actors will begin to animate according to their iMD and MD action settings.
