Creating MotionPlus with auto-loading accessories (New in version 8.5)
In addition to applying MotionPlus with embedded Smart Accessories, you can also create MotionPlus assets with similar characteristics.
- Create a project containing a character.
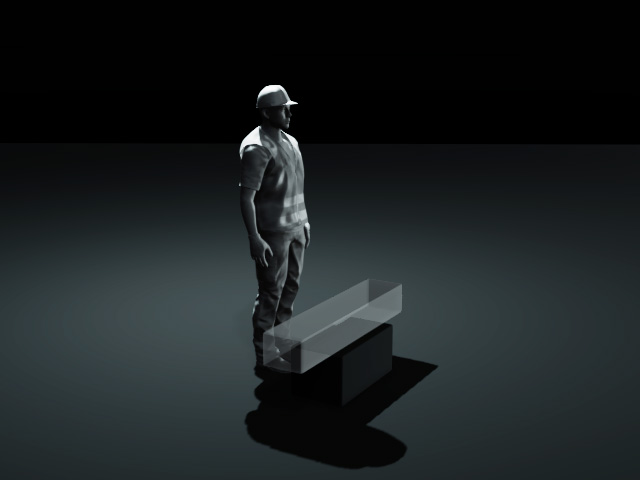
- Apply an accessory to the character. The item may need to be offset to be properly fitted onto the character.
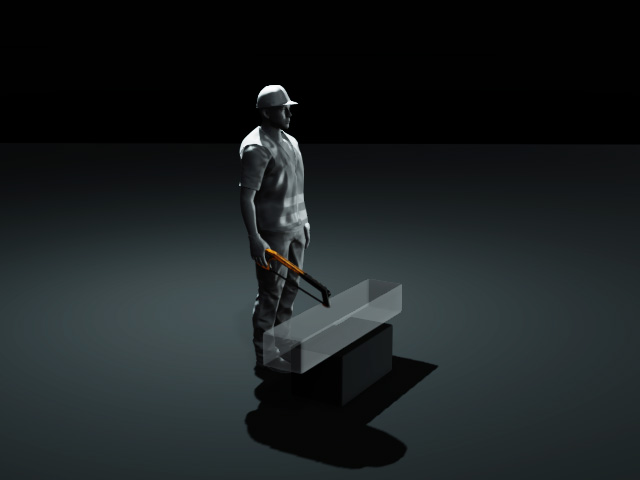
- Apply the desired motion onto the character.
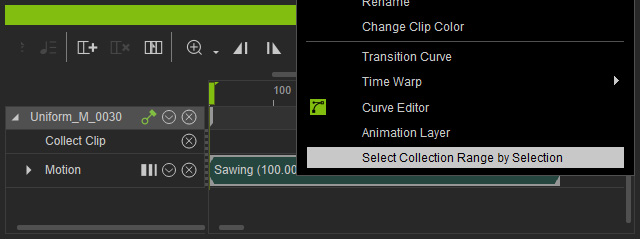
- Right-click on the clip on the Motion track of the character. Choose the Select Collection Range by Selection command.
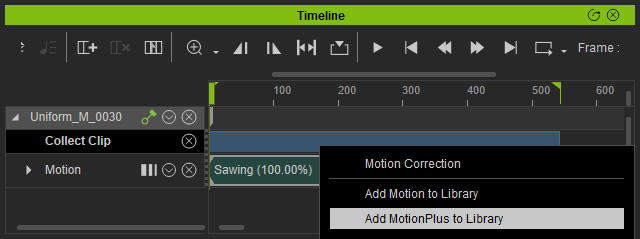
- Save the motion clip as MotionPlus file by two methods:
- Right-click on the range and choose the Add MotionPlus to Library command.
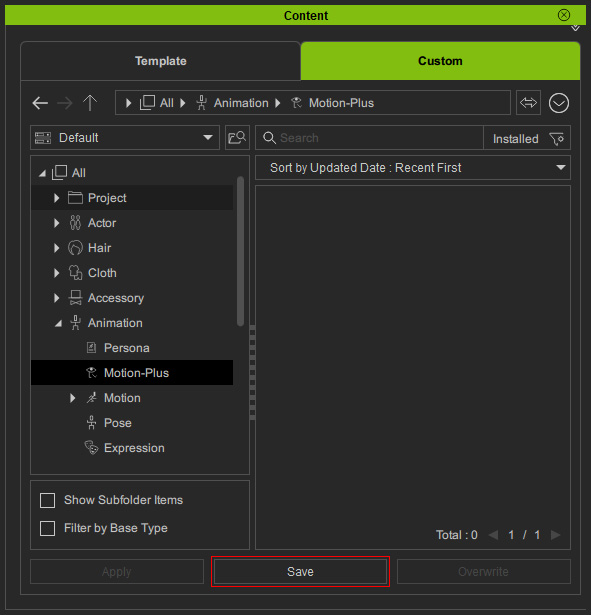
- Access to the MotionPlus library and click the Save button on the Content Manager.
- Right-click on the range and choose the Add MotionPlus to Library command.
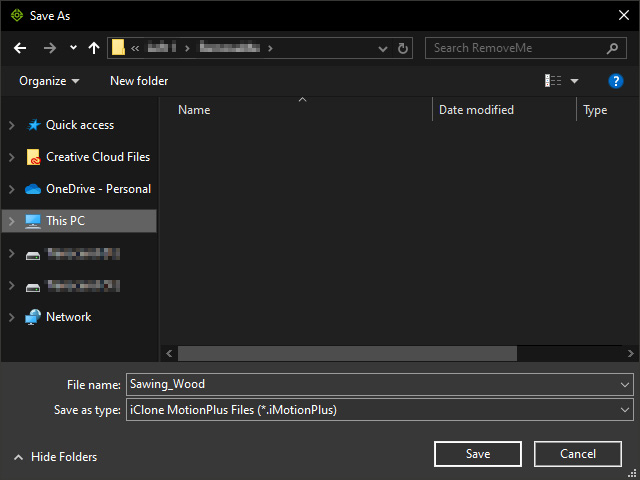
- Select the target directory for saving the MotionPlus file.
- The MotionPlus Options panel will display.
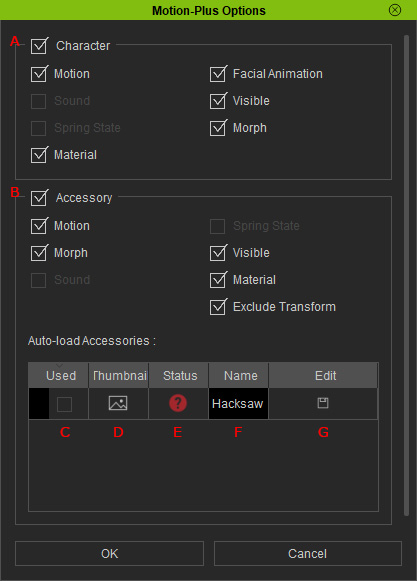
- Character: Character related animation settings. You can toggle on or off the items to have their animations to be included in the MotionPlus file.
- Accessory: Accessory related animation settings. You can toggle on or off the items to have their animations to be included in the MotionPlus file.
- Used: Toggle on or off the checkbox to include the accessory's file path to the MotionPlus file. This checkbox is disabled when the accessory does not have an entity in a virtual directory. You can click the Save button (in the Edit Column) to save the current accessory to a virtual directory.
- Thumbnail: Displays the thumbnail of the accessory.
- Status: There are three statuses in this column.
 : There is no real path for the current accessory. You can click the Save button (in the Edit column) to save the current accessory to a virtual directory.
 : The accessory has real path in the Content Manager for access.
 : The accessory has real path but not in the Content Manager. There is a risk of missing accessory for this status.
- Name: Displays the name of the accessory.
- Edit: Saves the current accessory to a virtual directory. A reference path to the accessory is created in the process. This reference path will help to locate the accessory when the associated MotionPlus asset is applied to another character.
- Click the Ok button to keep the settings and close the MotionPlus Options panel.
- Click the Save button (browser in step 6) to save the MotionPlus file with the auto-loading accessories.
- You can then apply this MotionPlus file to another character with Left Mouse Button or right-mouse button for a choice of a different accessory behavior.
