Editing MD Prop Structure (New in version 8.5)
Each MD prop tool is actually based on dummies integrated and structured within. Every dummy has its own purpose and you can customize the MD prop by editing structure, adding or deleting dummies.
Translate Dummies
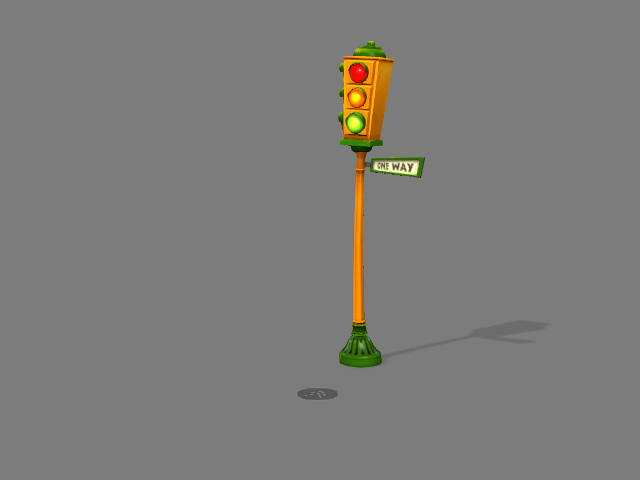
- Apply any MD prop from library or create one from the Create menu (in this case, the Observe one from library).
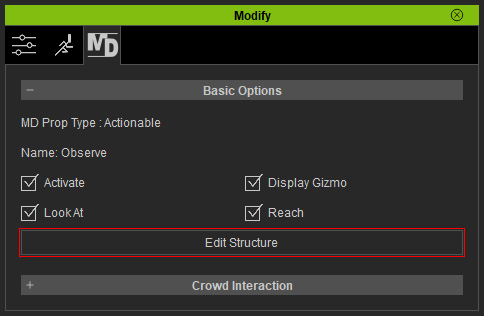
- Make sure the prop is selected and In the Modify panel, click the MD tab > Basic Options > Edit Structure button.
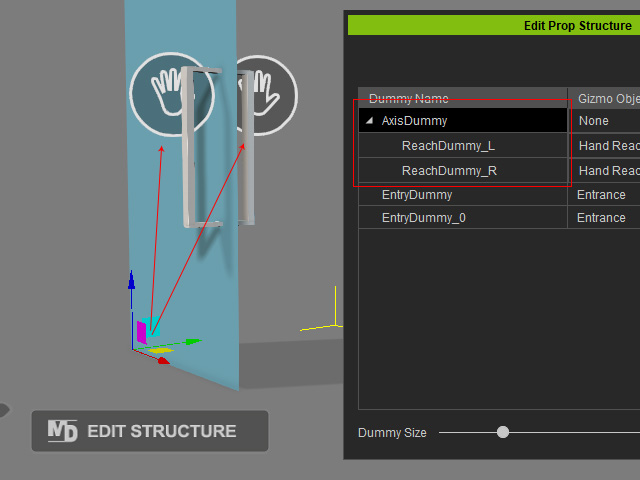
- The Edit Prop Structure panel will show.
All dummies in the prop will appear as well.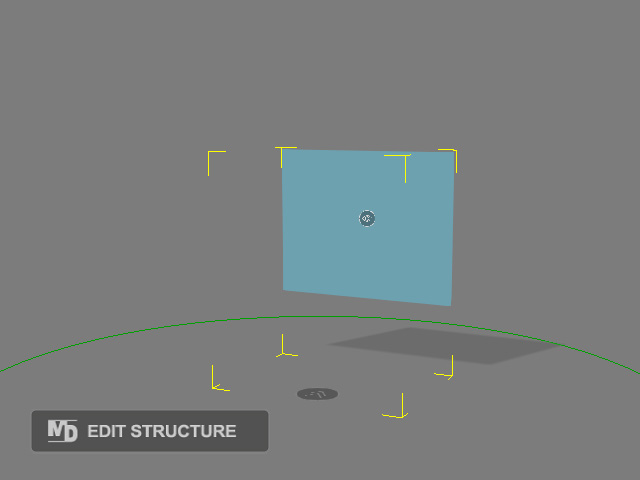
You can select the dummy and adjust the size by dragging the Dummy Size slider at the bottom of the panel.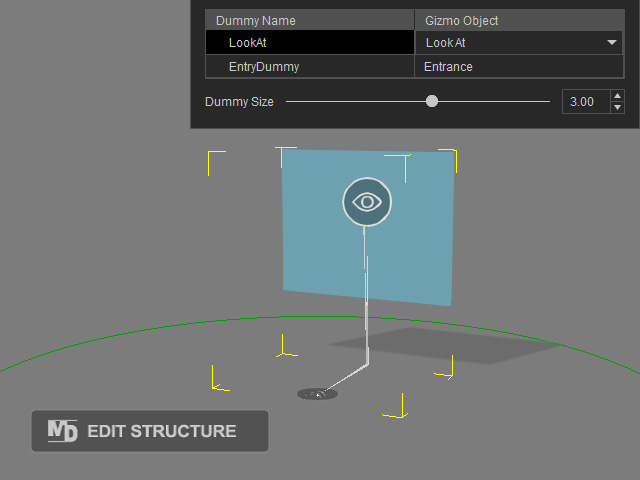
- Click on either of the dummy and use the Move or Rotate tools to translate it.
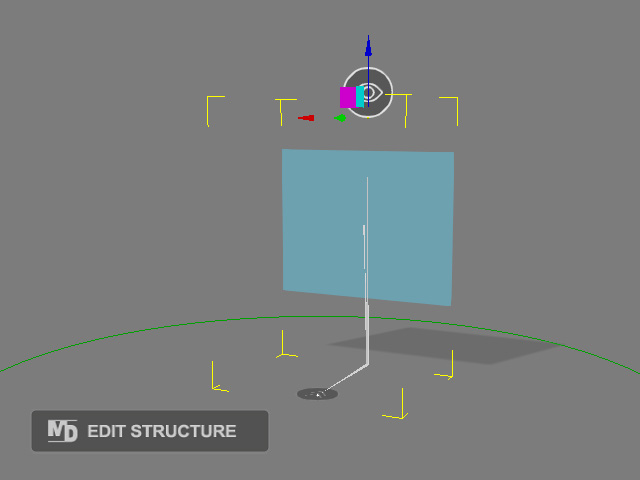
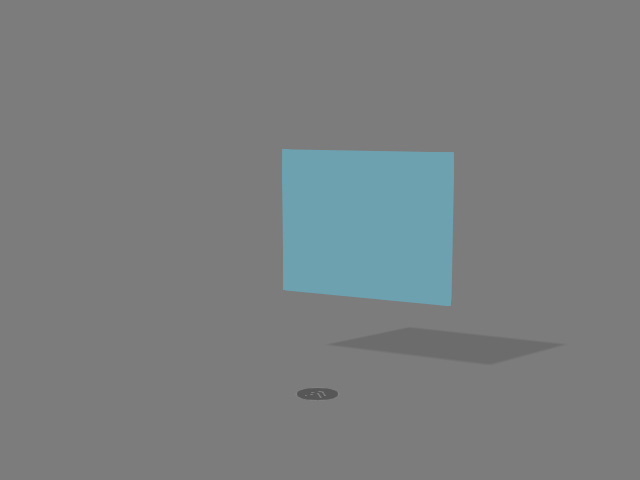
- Close the panel if you are satisfied with the result (the dummies will disappear except the position point one).
- Apply desired prop to the scene, translate it if necessary.
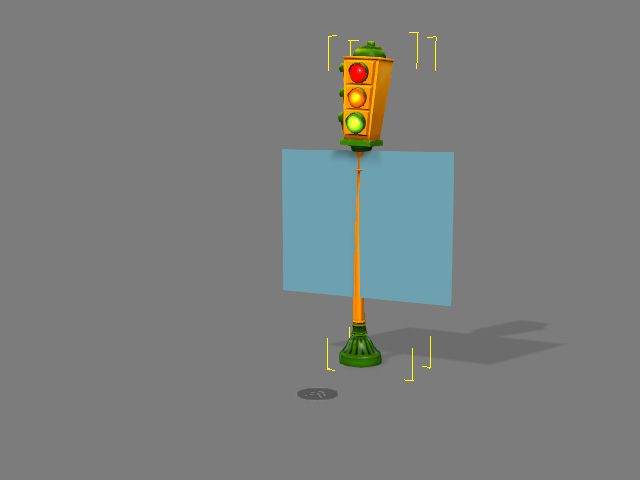
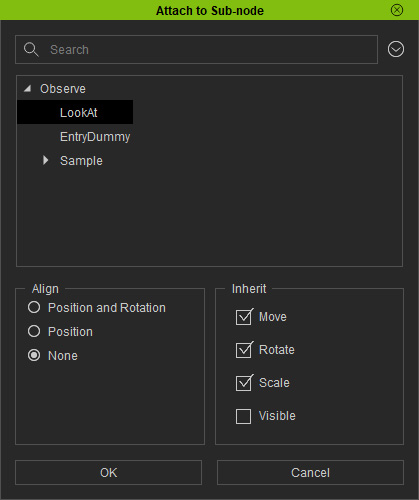
- Attach the prop to the dummies.
- You can then delete or hide the original mesh.
- The edited MD prop can be used to interact with characters (you need to edit the behavior motion to have the correct interaction performance).
Adding / Deleting Dummies
- Apply any MD prop from library or create one from the Create menu.
- Make sure the prop is selected and In the Modify panel, click the MD tab > Basic Options > Edit Structure button.
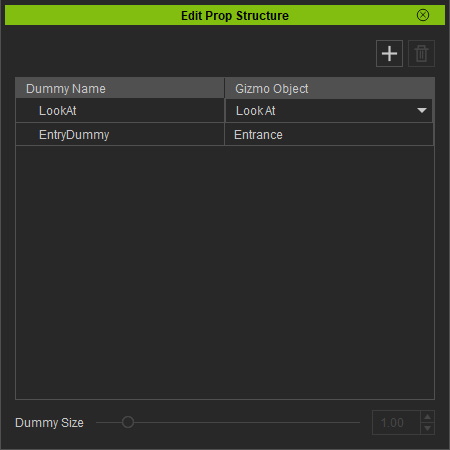
- The Edit Prop Structure panel will show.

- Add dummy: Click the + button to add a new dummy.
- Delete dummy: Click the Trash can button to delete the selected dummy. The Entrance ones are un-deletable.
- Choose dummy types: Each dummy can be assigned as None, Look At, Hip Reach or Hand Reach.