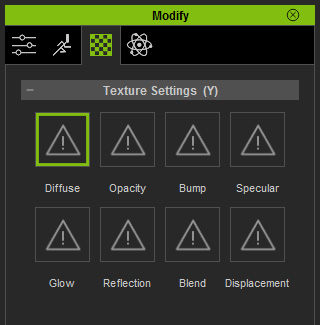
Each material can have up to 8 map channels that collaborate
with each other to form the texture of the object the material is applied.
You may go to the Texture Settings section in the Modify >>
Material tab to see these channels.
|
|
|
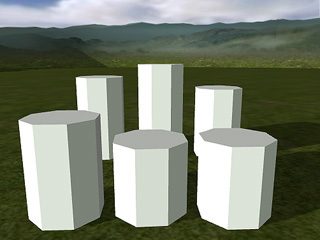
Props with no diffuse |
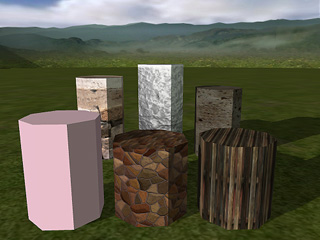
Props with different diffuse maps. |
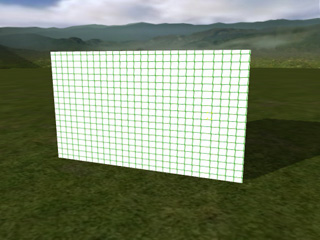
|
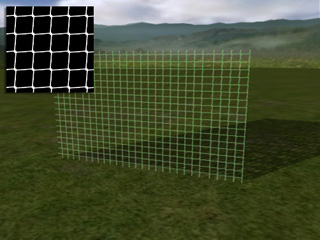
|
|
Prop with diffuse map |
Prop masked out by Opacity map |
|
|
|
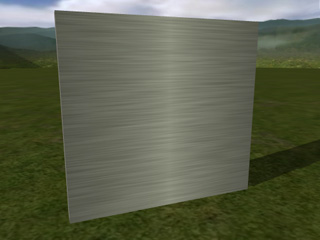
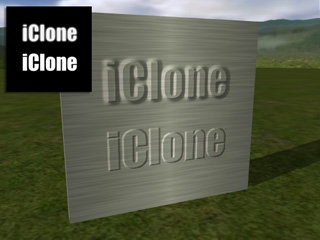
Prop with diffuse map only |
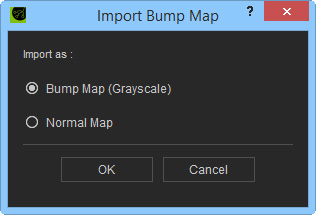
Bump - the edge blur from the bump source |
|

|
|
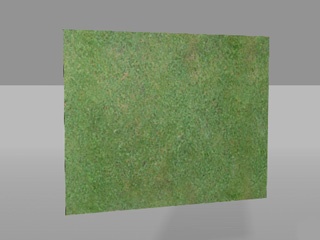
Prop with diffuse map only |
Normal bump |
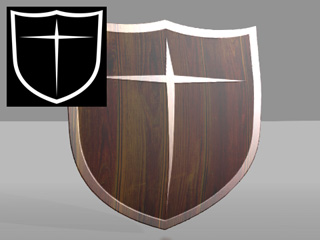
This texture mapping method allows parts of an object to have a Specular (light-reflecting) effect.
|
|
|
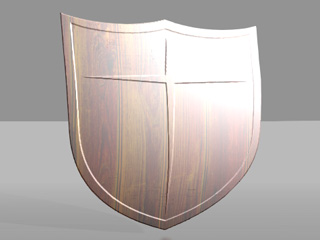
Prop with diffuse and bump maps |
Specular map determines the areas that reflect the light |
|
|
|
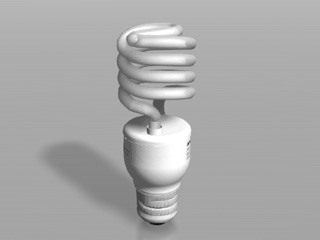
Prop without any texture maps |
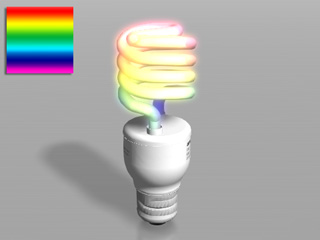
A Glow map is applied |
|
Note: |
|
Tips to create a subtle and effective glow effect:
|
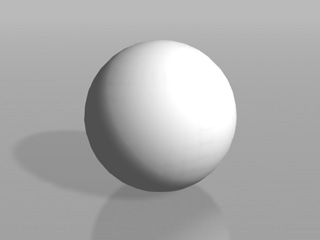
Reflection map is also referred to as environment map. The image map is projected onto a 3D surface to represent a fake reflection of the environment.
|
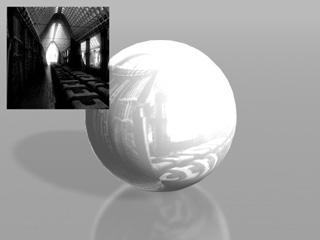
|
|
Prop with diffuse map only |
Reflection image is projected onto the object |
|
Tips: |
|
To create good Reflective effects you should start by using an object that has high specular highlight and gloss values. Then apply black or darker images as the Diffuse map to help making the surface work like a mirror which can fully reflect the reflective map content. If the diffuse map itself is too bright the front light plus reflective setting could cause the result to be overexposed.
If you place a reflective object on a simple 2D background you can use high contrast scenery images to mimic the reflective look by importing them as reflection map.
Sample: Combining Several Texture Effects - Semi-transparent and reflective surface |
You may add any kind of images as the Blend map to blend with the Diffuse map, which increases the details and subtleties of the object. iClone also provides three methods, Multiply, Addition and Overlay, for blending.
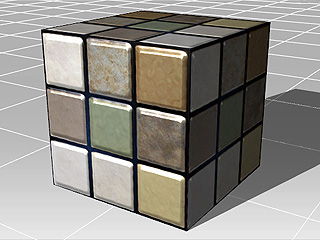
|
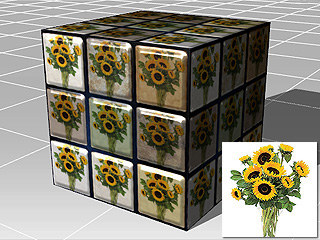
|
|
Blend Mode: Multiply |
|
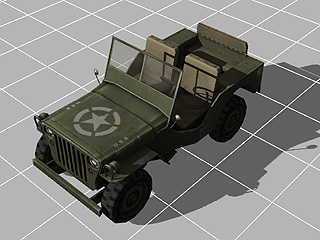
|

|
|
Blend Mode: Addition |
|
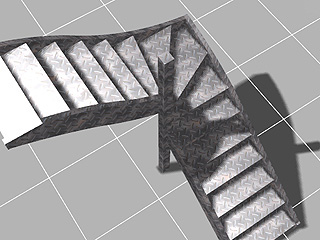
|
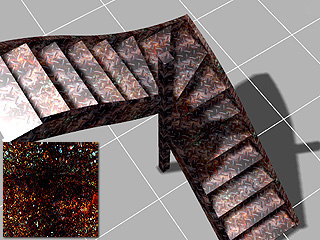
|
|
Blend Mode: Overlay |
|
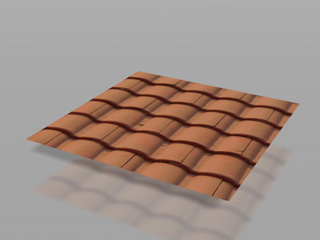
You can create monochrome image maps with popular image-editing tools such as Photoshop. By using grayscale height maps, you can push and pull the surface of a 3D model to achieve the ideal look you desire.
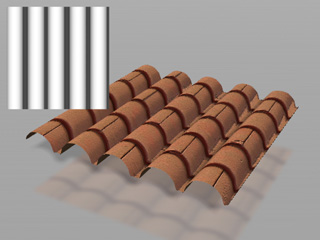
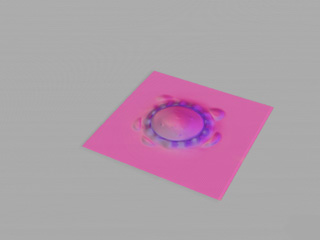
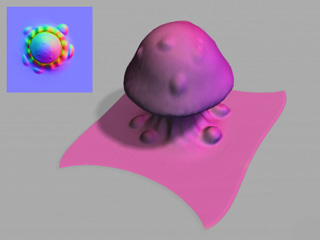
Using a vector-based displacement map can produce undercut details on your model. Unlike the height displacement map (monochrome) simply stretches out geometry, vector displacement produces refined curves and edges, creating an unparalleled sense of detail to your model.
|
|
|
A prop with diffuse map only |
A displacement map (monochrome) is applied |
|
|
|
A prop with diffuse map only |
A displacement map (vector-based) is applied |