


Aligning 3D Entity to Target Object
Unlike the Align feature that aligns multiple objects to an average position, the Align to feature helps you to align and snap a 3D entity to another targeted object without moving the object. Although it can be used to almost any 3D entity, it is specially useful for locating constraint to the certain part of a rigid body without moving the rigid body.
|
|
|
The Align feature relocates selected objects to an average position. |
The Align to feature relocates selected objects to another target object without moving it. |
Using "Align to" Feature
The Align to feature can be used to snap a certain 3D entity to another object without moving the object.
-
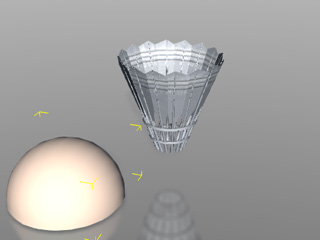
Prepare a prop and relocate its pivot.
Prepared prop with relocated pivot (not in the center).
-
Prepare another prop, transform it and adjust its material.
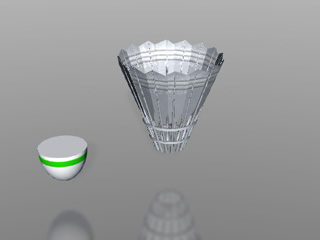
An embedded 3D block is applied, transformed and texture changed.
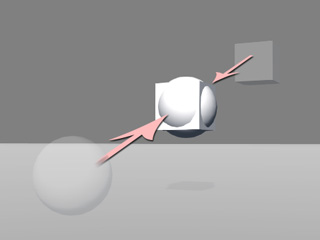
- Make sure the new prop is selected, click the Align to button on the General Toolbar and then click on the object prepared in step 1 to make it a target for being aligned.
-
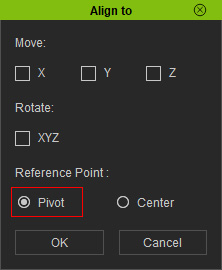
Enable the X, Y and/or Z
boxes and choose the Pivot radio button on the Align to
panel.
-
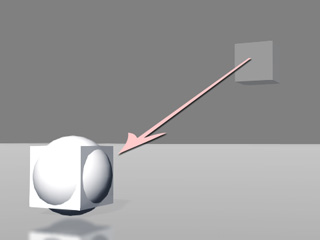
Click the OK button to leave the panel.
Aligning 3D Entity to Center of Another Object
In addition to align a 3D entity to the pivot of a target, you are able to align it to the center of the target. This method is most suitable for applying Constraint to the center of a rigid body.
-
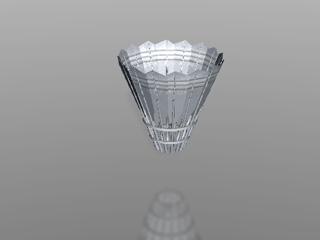
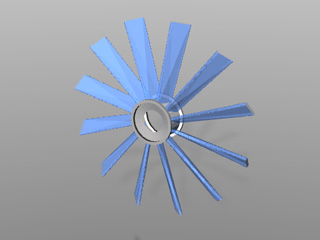
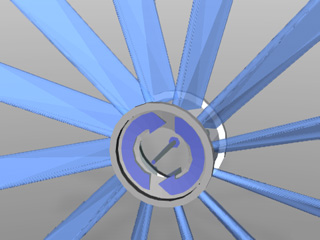
Prepare a prop (in this case, a fan-blades set).
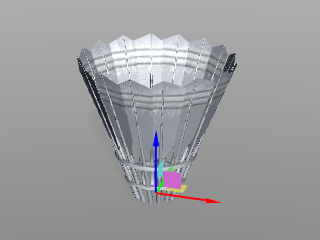
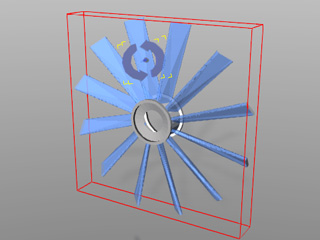
- Apply a Hinge constraint to
any place of the fan.

-
Adjust the angle so that the constraint is perpendicular to the front of the fan.
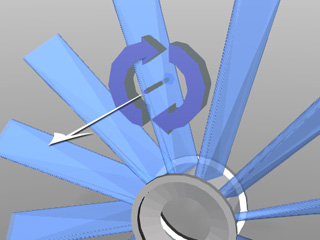
 Note:
Note:In this case, the center of the fan-blades is a hollow, which provides no reference for you to manually adjust the position of the constraint to its center.
- Make sure the constraint is selected and click the Align to button on the General Toolbar.
-
Click on the fan-blades set as the target for aligning the constraint. The Align to panel will show.
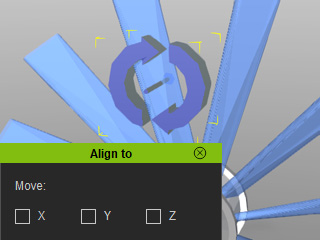
- Individually activate the X, Y, Z axis according to your need for relocating the constraint.
-
Choose the Center radio button to align the constraint to the center of
the fan-blades on the X, Y or
Z axis (by activating the boxes in the previous step).
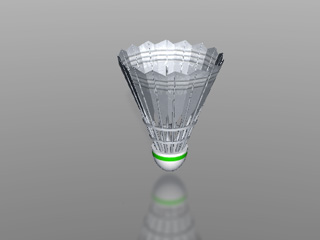
- If you are satisfied with the previewing result, then click the OK button to leave the panel.
-
Set the
hinge as a motor. Play back to view the result.

