Range Options for Traversable Surfaces (New for version 8.4)
You can select any prop as the surface for positioning actors. The
spaces on the surfaces may be contiguous or disconnected. The upward-facing mesh faces
will serve the staging area for scattering actors.
There are five ways to set up the ranges for scattering actors: single prop, multiple props, custom volume, NavMesh controller, and Walkway.
- Create a new project with a prop, such as a flat plane.
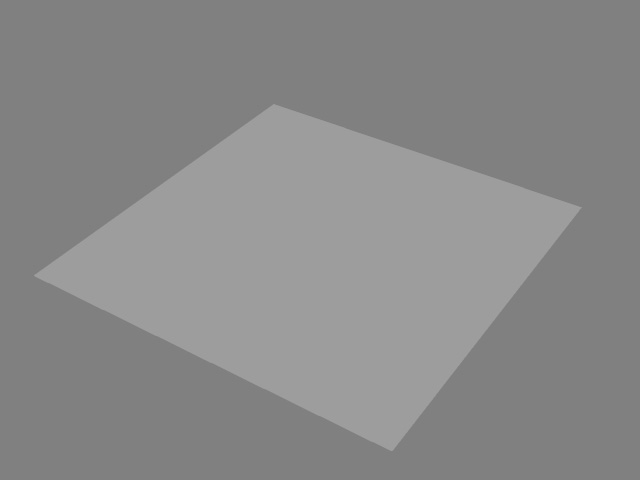
Keep in mind that height map terrains do not support crowd generation. - Launch the Crowd Generator panel.
- Choose the Pick Object radio button, click the
Pick Object button, then click the prop in the viewport or Scene Manager.
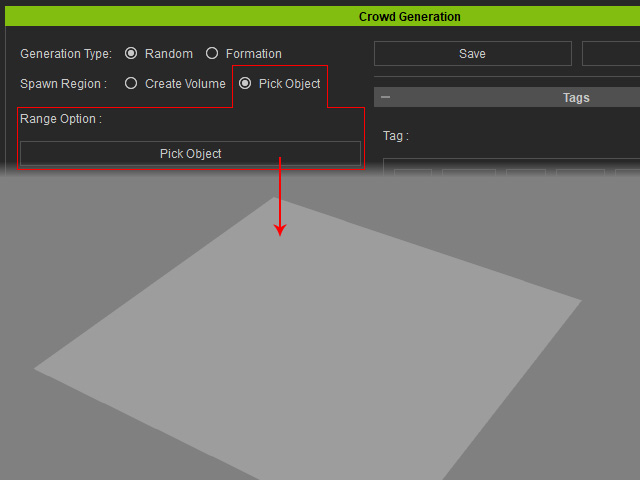
The placement markers will appear.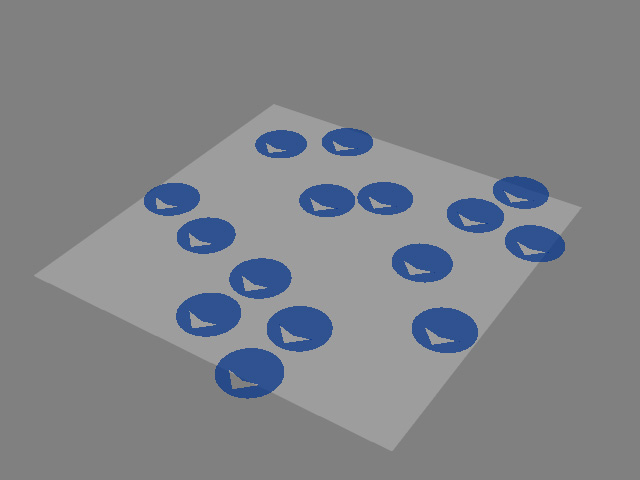
- Follow the same steps described under Workflow for Distributing Actors for placing actors
from the candidate pool.
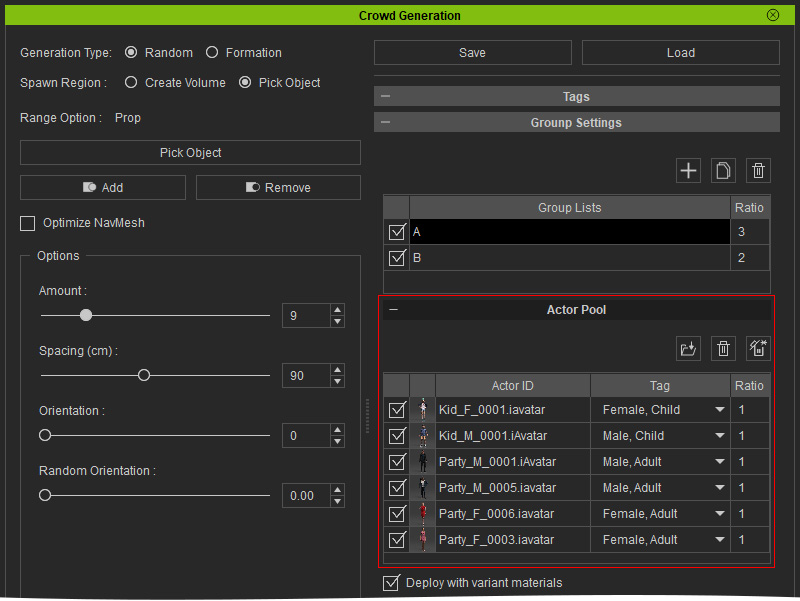
- Click the Deploy Actors button place
actors onto the markers.
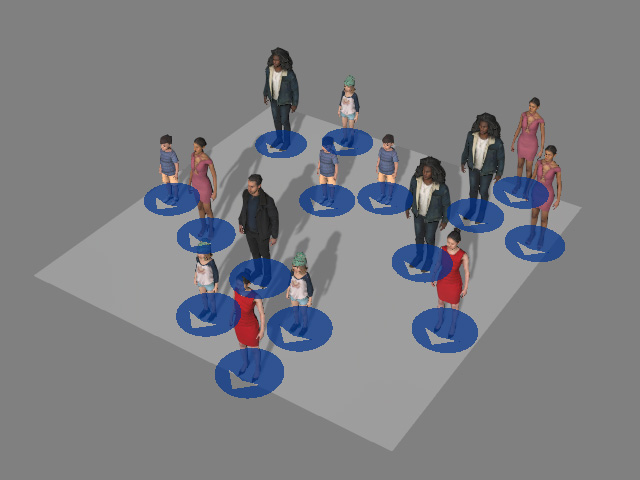
- You can change the displacements density and pattern by editing the Generation Type and Option
settings.
 Note:
Note:Click the Generate Placement button repeatedly to arrive at an ideal permutation.
- Close the Crowd Generator panel and orbit the camera to observe the results.
- Create a new project (ideally a scene composed of
multiple props).
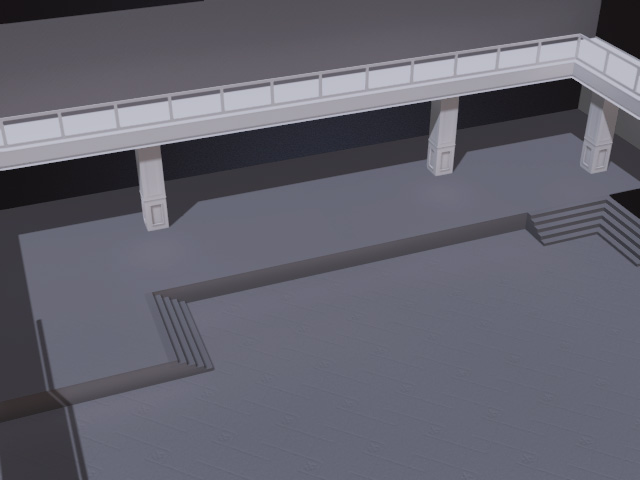
Keep in mind that height map terrains do not support crowd generation. - Launch the Crowd Generator panel.
- Choose the Pick Object radio button, click the
Pick Object button, then click one of the props in the viewport or Scene Manager.
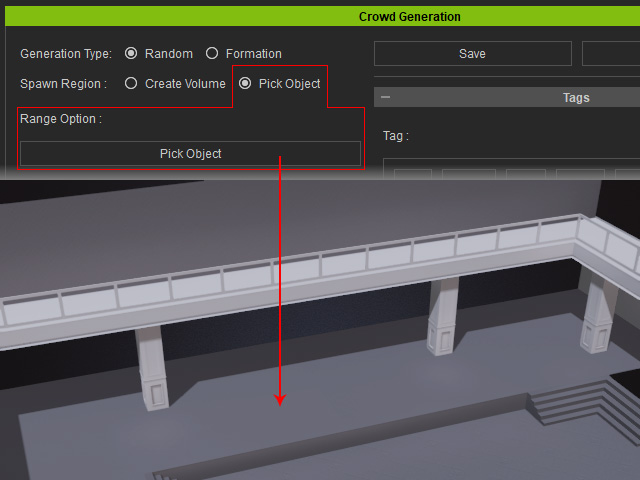
Placement markers will appear.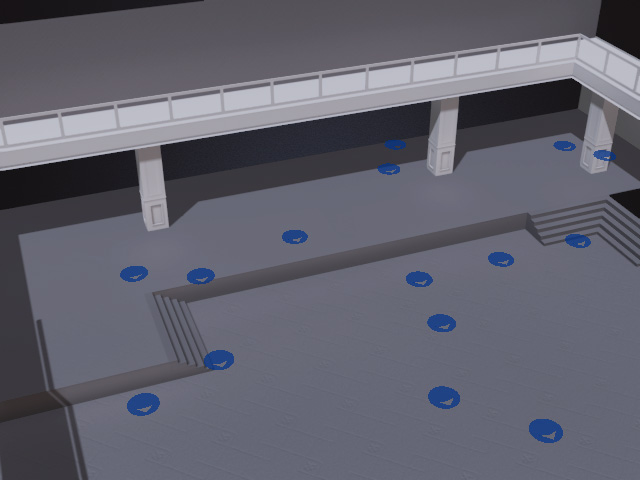
- Click the Add button under the Range Option, then pick the other desired props (if you want to remove the prop, then click the
Remove button and pick the target prop).
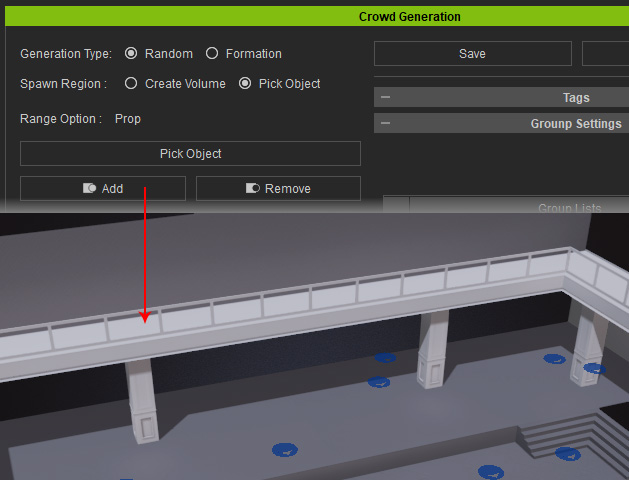
Placement markers are then scattered on the up-facing surfaces.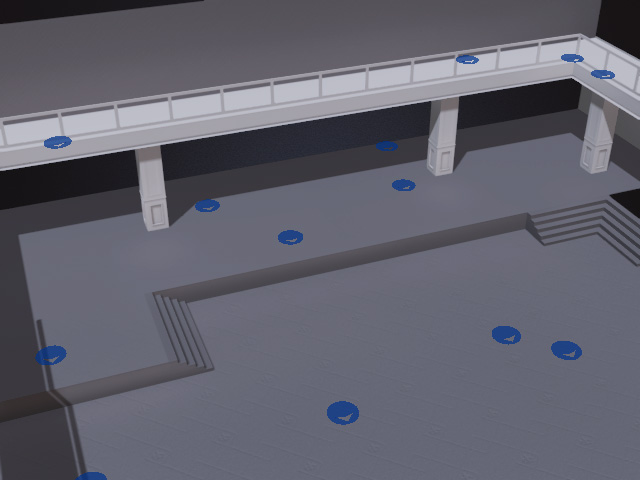
- Click the Deploy Actors button. The actors in the pool will be placed on the surfaces of the newly added props.
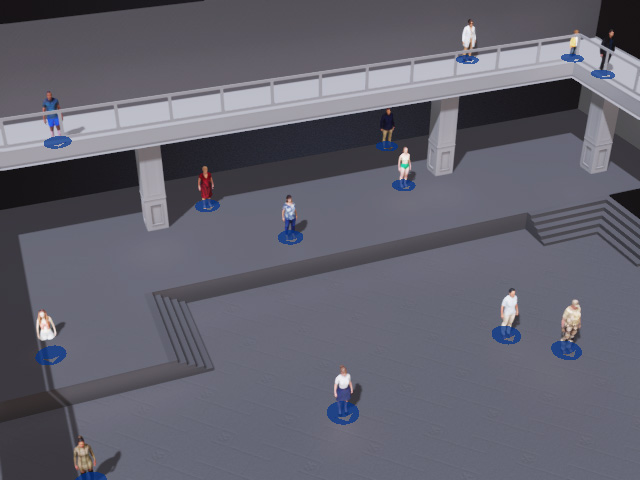
- You can change the displacements density and pattern by editing
Generation Type and
Option settings.
 Note:
Note:Click the Generate Placement button repeated for the ideal permutation.
- Close the Crowd Generator panel and orbit the camera to observe the results.
- Create a new project (in this case, a corner of an industry park).
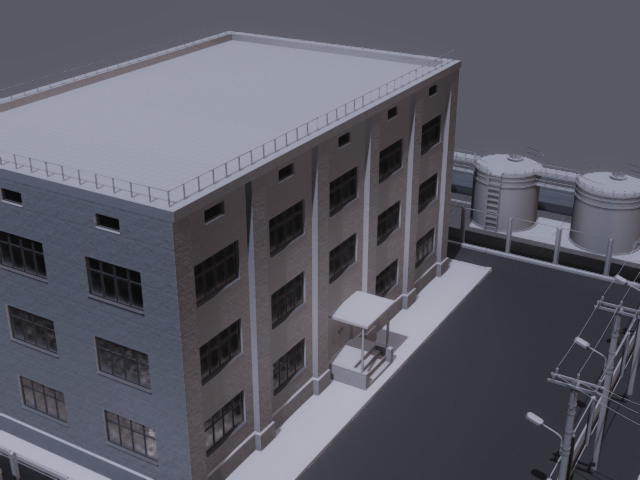
Keep in mind that height map terrains do not support crowd generation. - Launch the Crowd Generator panel.
- Choose the Create Volume radio button then click the
Create Volume button.
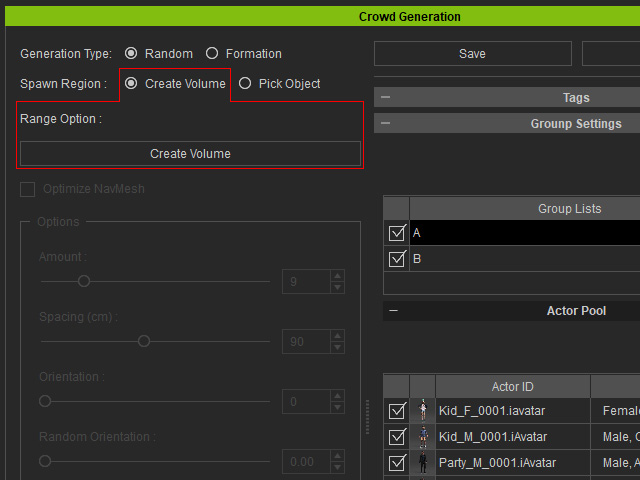
- Drag a rectangle on a desired location.
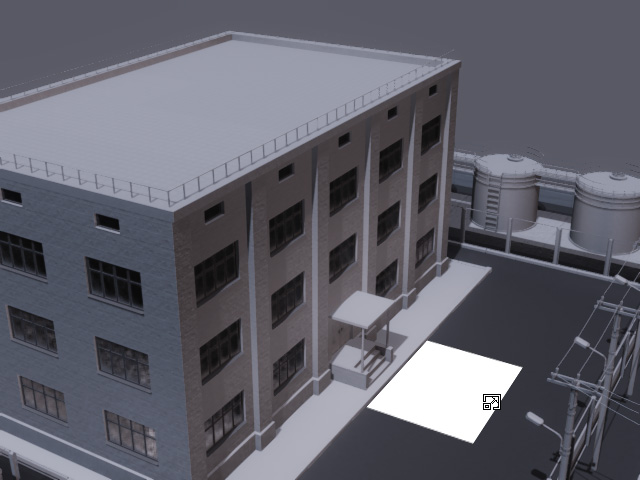
- A box volume will be automatically deployed. All
placement markers will be generated onto of the upward
surfaces within this volume.
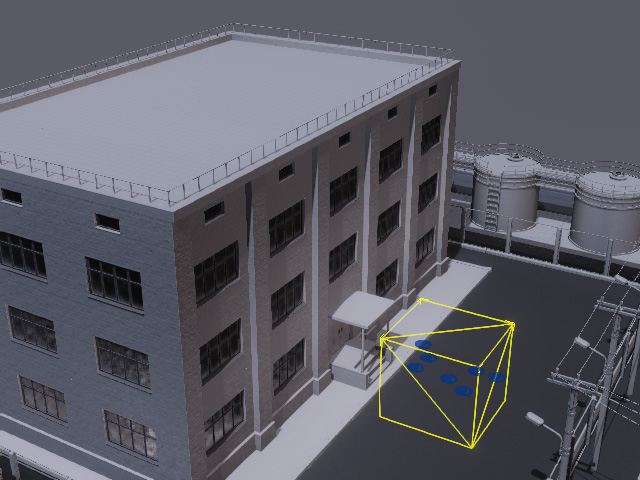
- You can then transform the volume box.
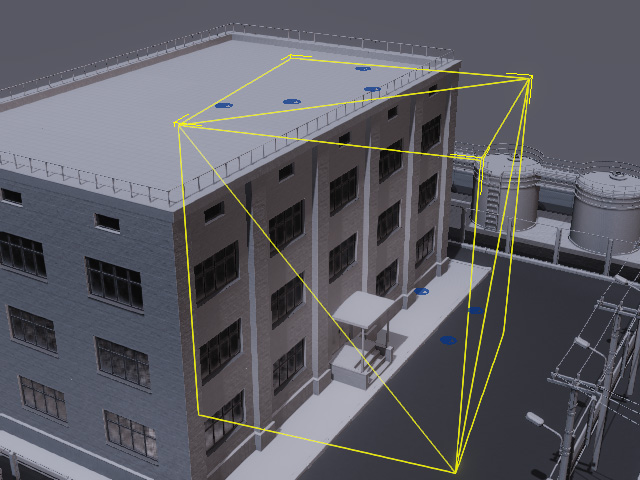
- Click the Deploy Actors button.
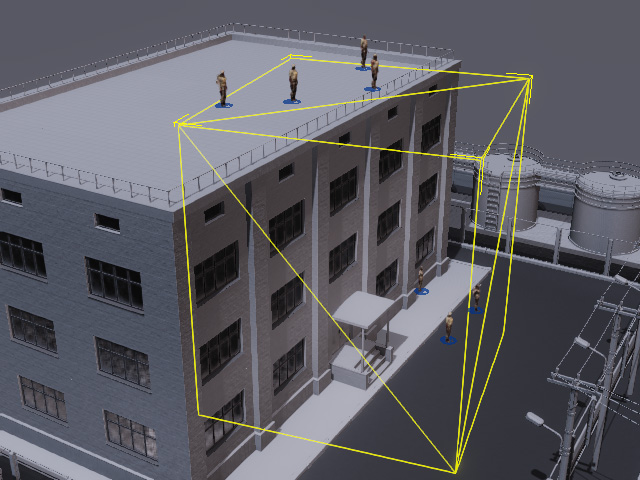
- You can change the displacement density and pattern by
editing the Generation Type and Option
settings.
 Note:
Note:Click the Generate Placement button repeatedly for the ideal permutation.
- Close the Crowd Generator panel and
orbit the camera to observe the results.
- Create a new project, in this case, a project composed of a plane and other multiple props.
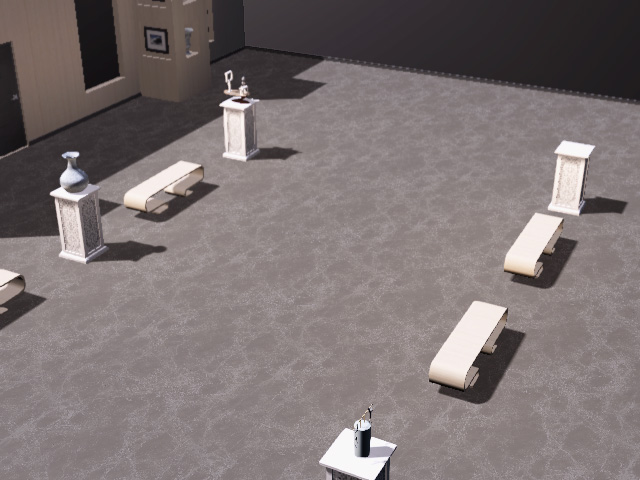
Keep in mind that height map terrains do not support crowd generation. - Create a navmesh based for the floor.
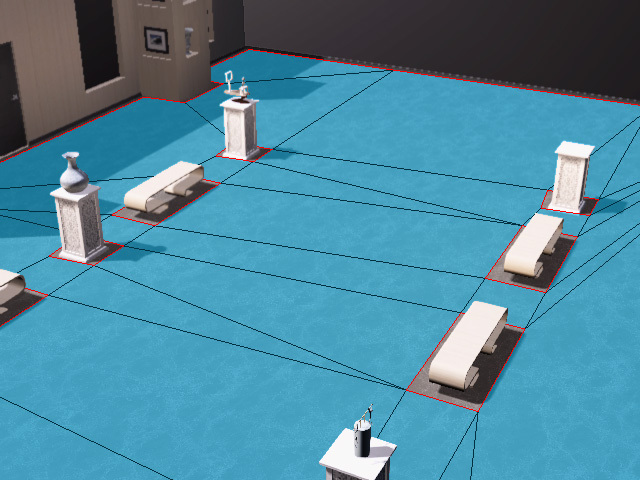
- Launch the Crowd Generator panel.
- Choose the Pick Object radio button, click the
Pick Object button, then click the NavMesh Controller in the viewport or Scene Manager.
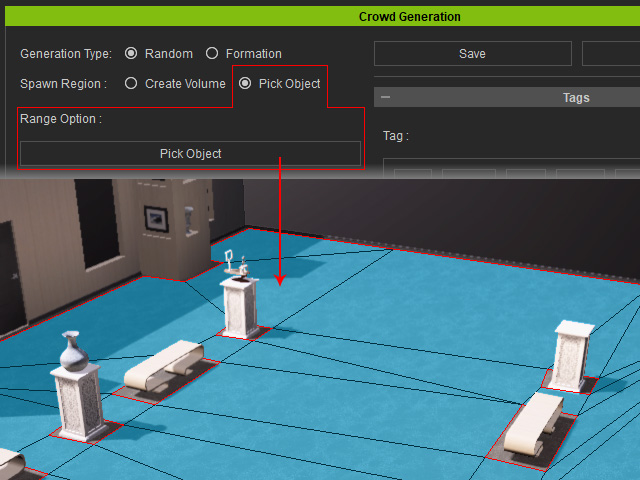
Placement markers will appear.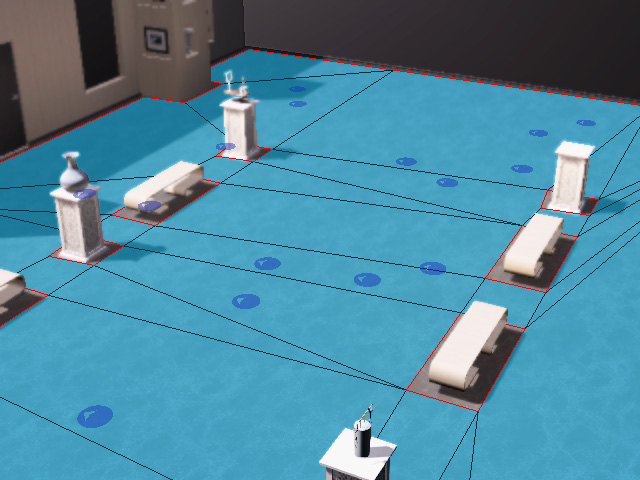
- Follow the same steps described in under Workflow for Distributing Actors
to place candidates from the actor pool.
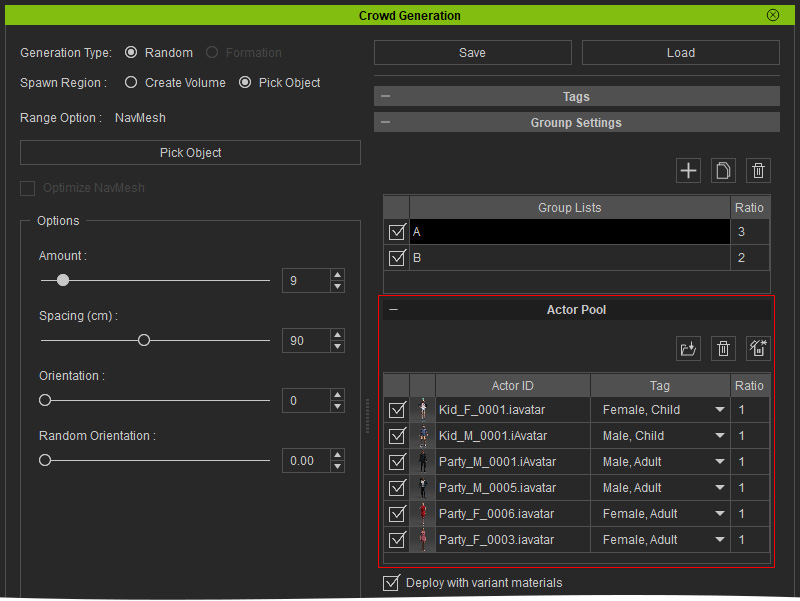
- Click the Deploy Actors button to place
characters onto the markers.
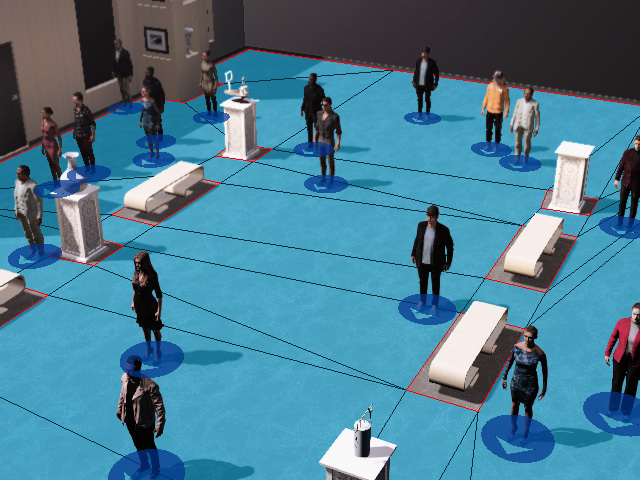
- You can change the displacements density and pattern by
editing the Generation Type and Option
settings.
 Note:
Note:Click the Generate Placement button repeated for the ideal permutation.
- Close the Crowd Generator panel and
orbit the camera to observe the results.
- Create a new project, in this case, a project composed of a plane and other multiple props.
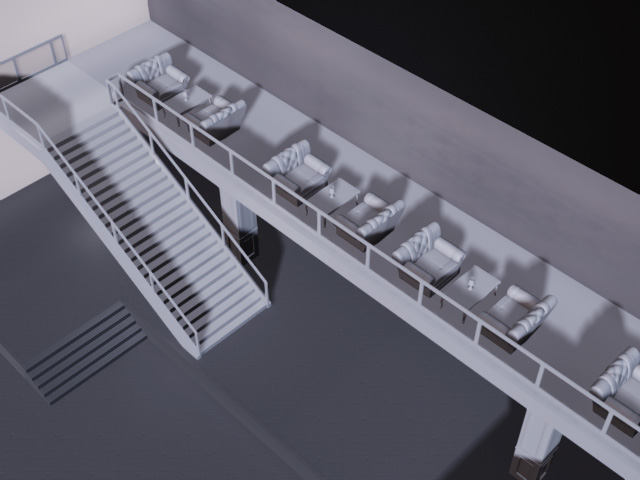
Keep in mind that height map terrains do not support crowd generation. - Create one or more walkways based on the props in the scene.
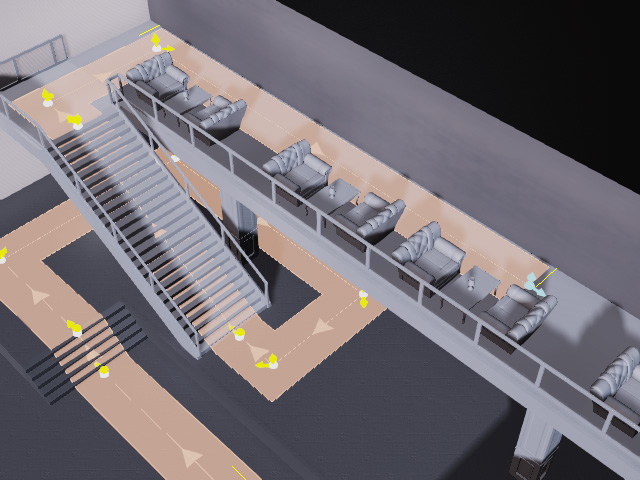
- Launch the Crowd Generator panel.
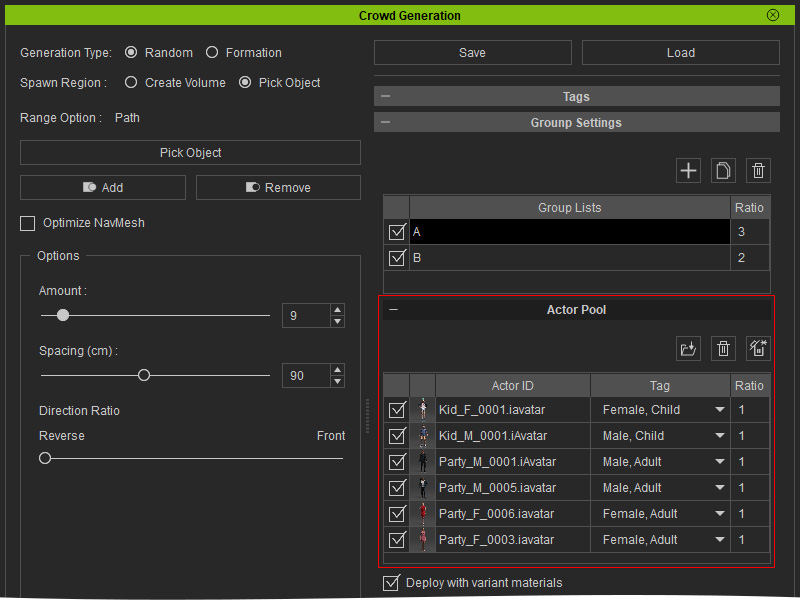
- Choose the Pick Object radio button, click the Pick Object button, then click the walkway in the viewport or Scene Manager.
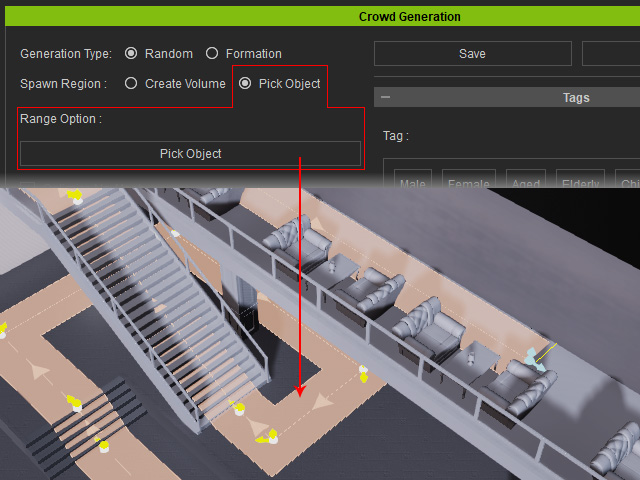
The markers of the placement will be placed automatically on the walkway.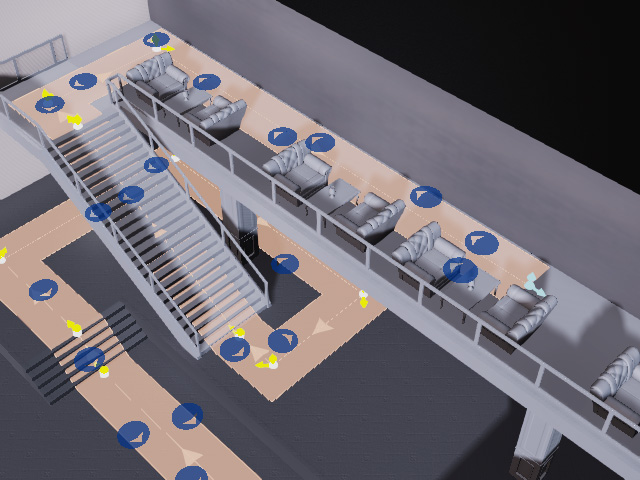
- Follow the same steps described in the Workflow for Distributing Actors
section to place candidates from the actor pool.
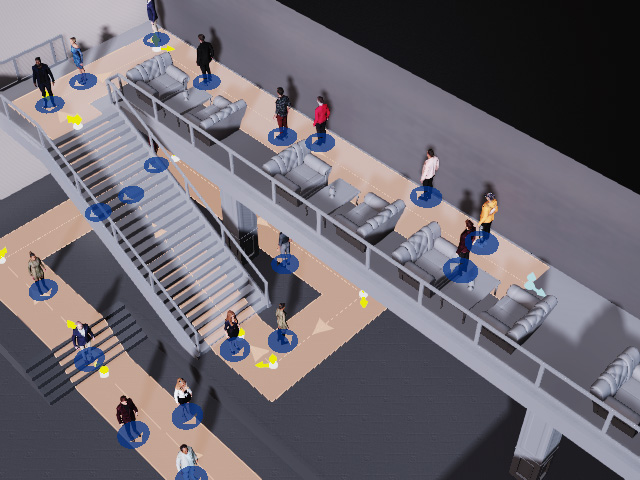
- Click the Deploy Actors button to place
characters onto the markers.
- You can change the displacements density and pattern by
editing the Generation Type and Option settings.
 Note:
Note:Click the Generate Placement button repeated for the ideal permutation.
- Close the Crowd Generator panel and
orbit the camera to observe the results.
