Basic Modifications for Cloth Texture
The basic modifications for texture involves with adjustments merely through drop-down lists and sliders. This method can be applied to the head and body skins, the hair, the cloth and the accessories; however, in this section, the texture of the character's cloth is taken as an example.
Setting Fabric Style
-
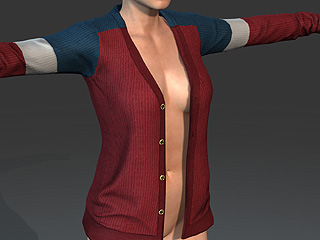
Create a new project and apply cloth to the character.
-
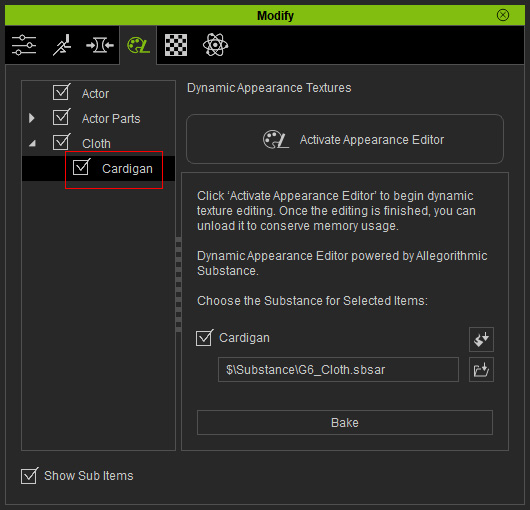
Go to the Modify (panel) >> Texture
(tab).

-
Select the Cloth >> Cloth Name in the tree view.
-
Click the Activate button at the top-right of the
panel to show the layers under the cloth.

 Note:
Note:Because every cloth may contains multiple substance materials composed of parameters and images, which can increase the loading of your system if the details of the substance materials are initially displayed when program is launched; therefore, the settings within the substances are, by default, hidden. You need to click the Activate button in order to load the material and settings of the materials for further adjustments.
-
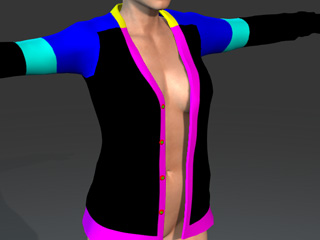
Make sure you check out the distribution of the materials applied on this cloth
before proceeding the following steps.
-
Select the desired sub node under the Cloth (in this case, the Fabric section). The related sections of settings are listed at the right pane in the panel.
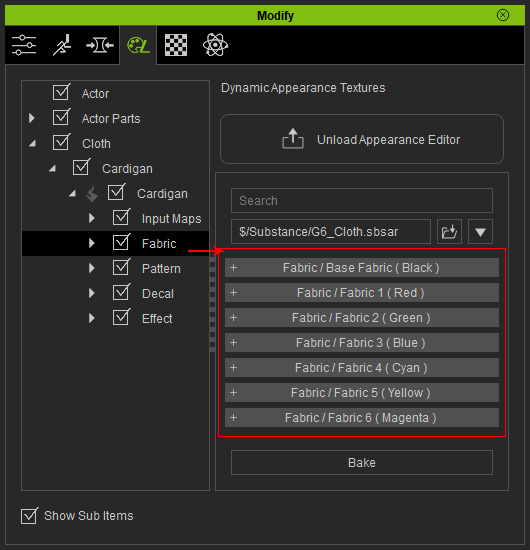
- Open the desired section (in this case, the Base Fabric (Black) section).
-
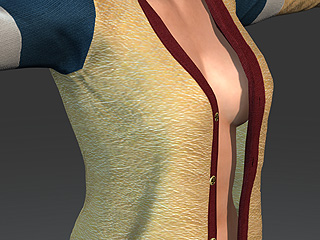
Find the Material drop-down list and set the value from the original one (Cotton) to Leather.
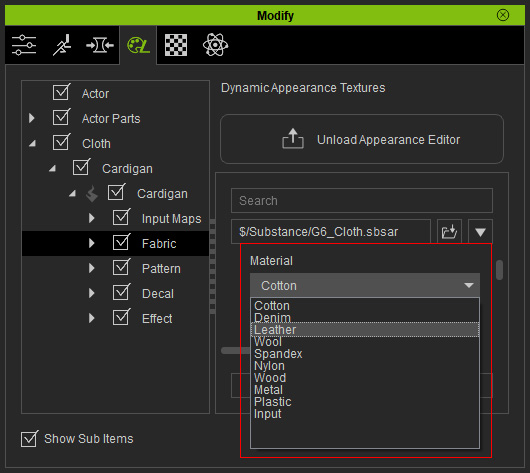
The fabric of this division will instantly be changed.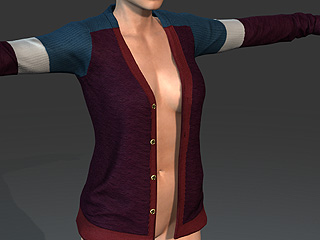

The division of black defined by the RGB mask image is applied with a new fabric.
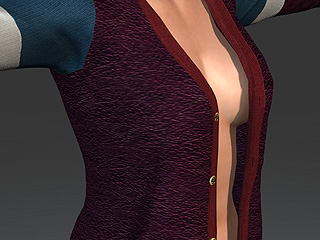
A close-up view for the fabric.
Note:To view the original look of the embedded fabric, you need to select the fabric and then initialize all the settings of them. Please refer to the Resetting Fabric Appearance section for more information.
Basic Settings for Fabric
There are still more sliders can be used to adjust the appearance of the fabric in this section.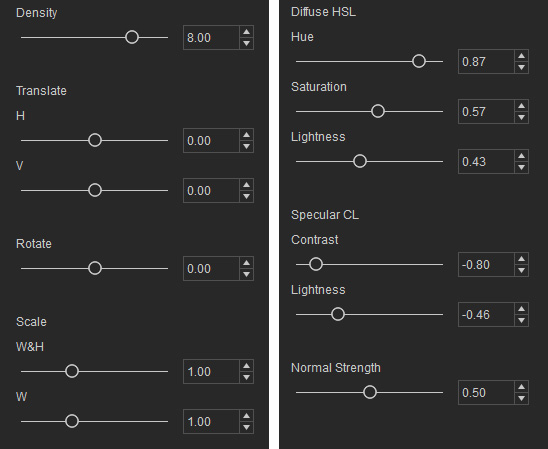
|
|
|
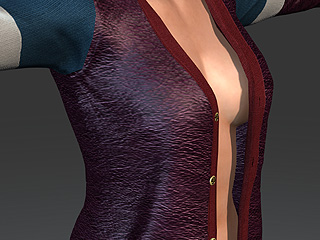
The look of the new fabric |
|
|
|
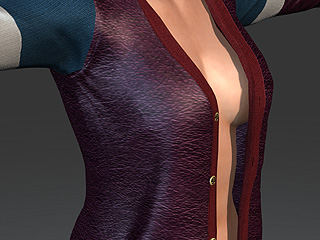
Density: Determines the level of repetition of the
texture. |
Diffuse HSL: The basic color settings for the fabric
can be assigned by these three settings. |
|
|
|
Specular CL: These two values determines how shiny
the fabric appears. |
Normal Strength: This value determines how bumpy the
fabric is. |
