Importing Character and Motion FBX Files to Unreal Engine (Updated for v1.2 only)
After the Character Creator & iClone Auto Setup is installed, you can freely import character FBX files exported from iClone or Character Creator into Unreal. Please refer to the tutorial video for more information.
Before start this document, you need to first export characters with motions from iClone or Character Creator; In addition, in Unreal Engine Plugins panel, make sure three of the plugins under the Importers category is turned off.
When you import the characters into Unreal Engine 5, keep in mind that you need to separately import the skeletal meshes and the motions to prevent from the morphing shape inconsistency issue as shown in the following note:
Before UE 5 version, you can freely import characters with motions to the Content Browser.
However this will cause the morph inconsistency issues in UE 5 or later version.

|

|
Import Skeletal Mesh Character Only into Unreal
- Make sure you have installed Character Creator & iClone Auto Setup into your Unreal project.
- Open your desired Unreal project.
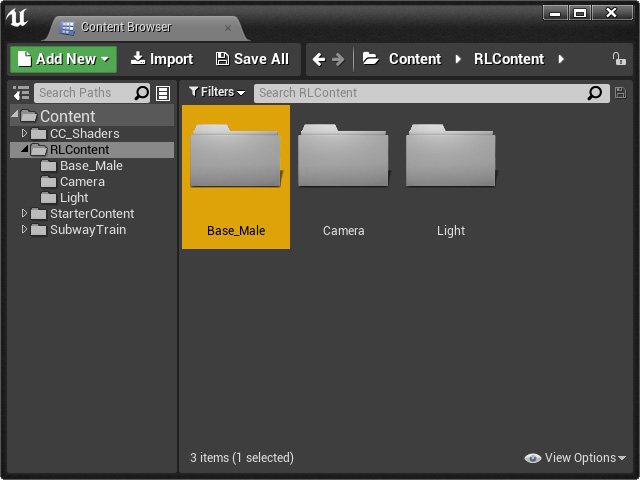
- Create a new folder for importing the character under a custom directory (in this case, RLContent), in the Content Browser panel.
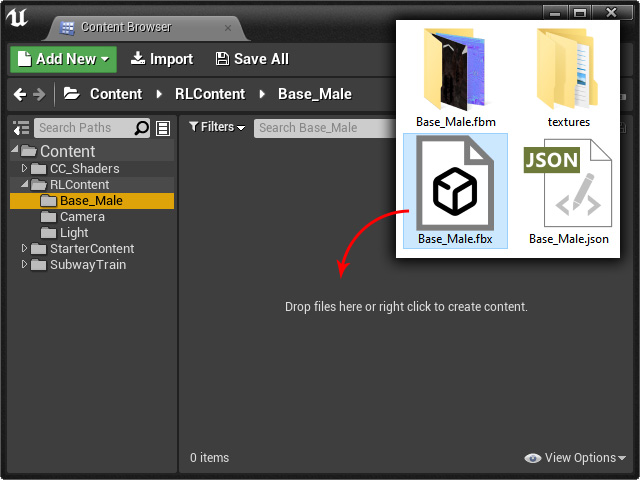
- Drag and drop the FBX file exported from the previous sections into the custom folder.
- Choose the Shader Type you want to utilize on the character (in this case, HQ Shader) and click the OK button. Character Creator & iClone Auto Setup designates compatible materials onto the character specially for the specified shader.

- Unreal will open the FBX Import Options panel. Modified the settings in accordance with the
following illustration.

Make sure the Import Animations checkbox is deactivated in the Animation section.
- Click the Import All button.
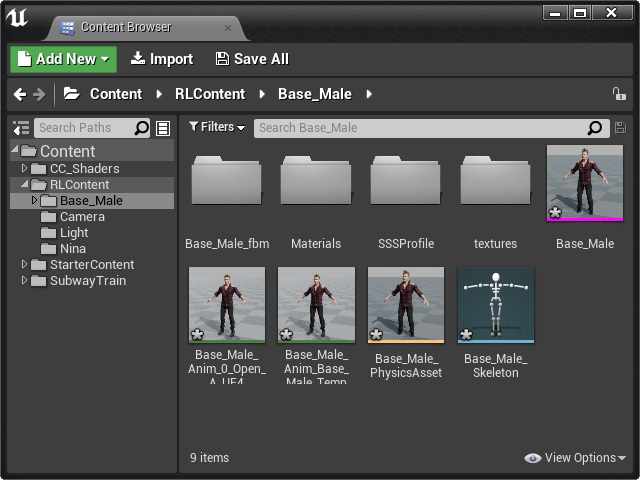
- You will see the assets related to the skeletal meshes and wrinkles are all imported into the custom folder, the motion-related ones are excluded.
- You can check out the morphing results with the Morph Target Previewer panel. The inconsistency issue is solved.

Import Character Motion into Unreal
- In the Content Browser of Unreal Engine, create a new folder for storing the motions to prevent from naming conflicts.

- Import the same FBX (with character's motions) into the new folder.

Also adjust the settings for the Character Creator & iClone Auto Setup Import Options panel. Click the OK button. - In the FBX Import Options panel. Deactivate the Import Mesh checkbox and set the Skeleton to the character skeleton asset.

- In the Animation section, set the Animation Length to Animated Time in order to cropped out the static frames of the motion. Click the Import button.

- Exported Time: This option imports animation frames based on what is defined at the time of export.
- Animated Time: This item imports the range of frames that have animation. It can be useful if the exported range is longer than the actual animation in the FBX file.
- Set Range: This will enable the Start Frame and End Frame properties for you to define the frames of animation to import.
- If you want to import the timecode data embedded in the motion, then activate the Import Attributes as Curves or Animation Attributes checkbox under the Animation section.

- The motion will be imported in the specific folder.

Testing the Imported Animation
- Drag and drop the skeletal mesh to the viewport.

- Create a new Level Sequence by clicking the clapperboard button on the toolbar to house the animation.

Name the sequence and click the Save button.
- Drag the Skeletal Mesh to the Sequence to create a new track.

- Click the plus icon and choose the imported animation to put it into the Animation track.

- Playback to view the animation.
