Creating Motion Path from Transform Keys
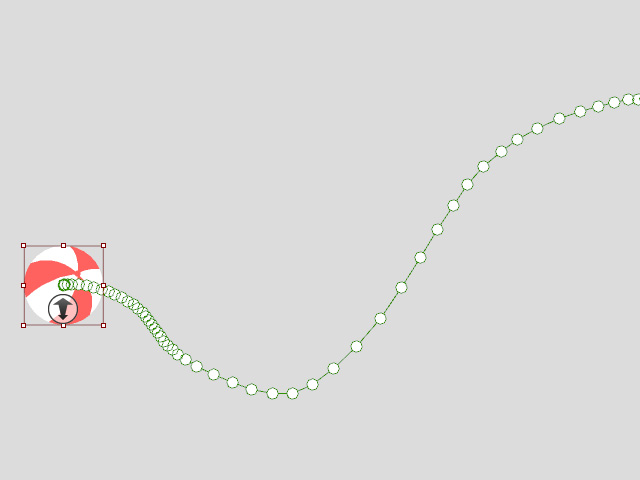
When you have an object moving with transform keys, and the trajectory is ideal, you can proceed to create a motion path. This allows multiple objects to utilize the same path without needing to repeatedly set identical transform keys, ultimately saving a significant amount of time when producing similar transform animations.
- Create an object.

- Create object animation by manually setting transform keys or
using Motion Pilot.
- Generating path from the transform keys using one of two
methods:
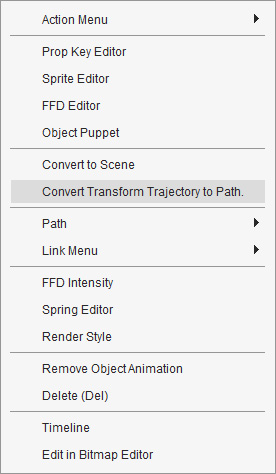
- Right-click Context Menu: Right-click on the object and choose the
Convert Transform Trajectory to Path command.
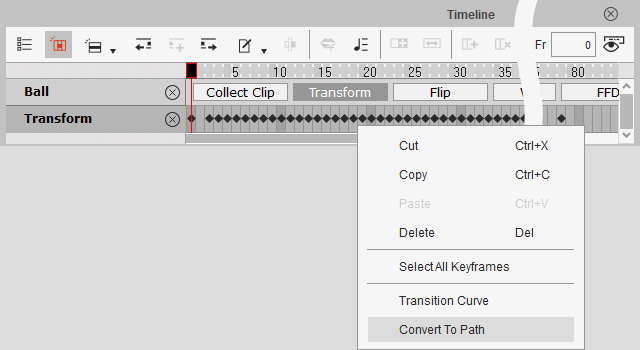
- Timeline Transform Track: Select
the desired transform keys of the object and right-click to show the pop-up menu.
Choose the Convert to Path command.
- Right-click Context Menu: Right-click on the object and choose the
Convert Transform Trajectory to Path command.
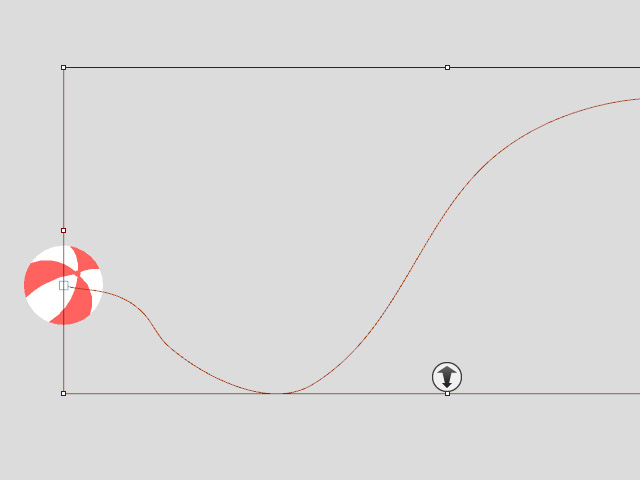
- You will see a new motion path generated in the scene.
You can also hide or delete the object afterward. Note:
Note:The RTS data of the object will also be stored into the path for further usage.
- Create a new object.
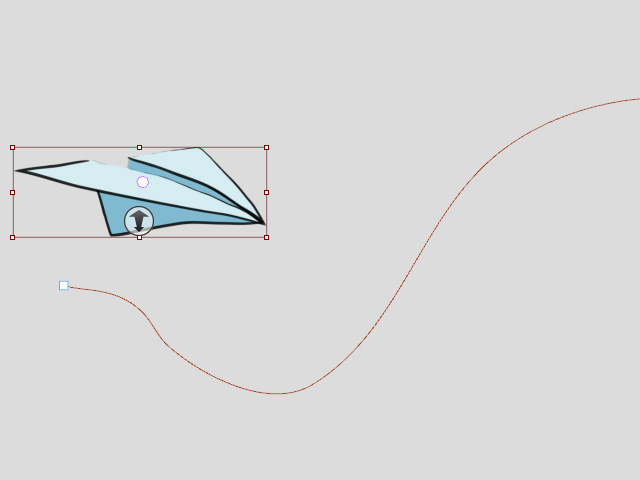
- Right-click on the object and choose the Path > Pick Path command.
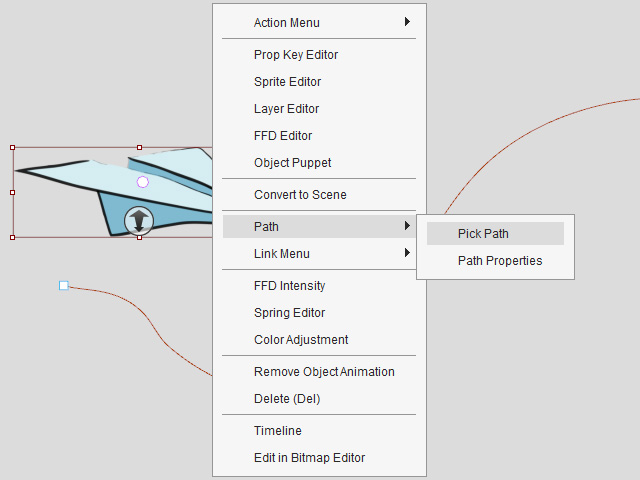
- Click on the starting point of the motion path. Pick a
Method in the following pop-up window.
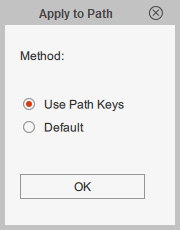
- Use Path Keys (chosen by default): The RTS data on the path (step 4) will be automatically applied to the object.
- Default: The object snap to the picked anchor point (in this case, the start one) with a path key automatically added to the path track. You need to manually set path keys to animation the object.
- Use Path Keys (chosen by default): The RTS data on the path (step 4) will be automatically applied to the object.