PSD Launch in Stage Mode - Adding Sprite Element for Props (New for v4.1) 
For smooth transition between image creation and asset creation in Cartoon Animator, you can modify and add more sprite elements into the template with a PSD editor.
The instruction below will describe how to edit a template with the PSD editor in the Stage mode.
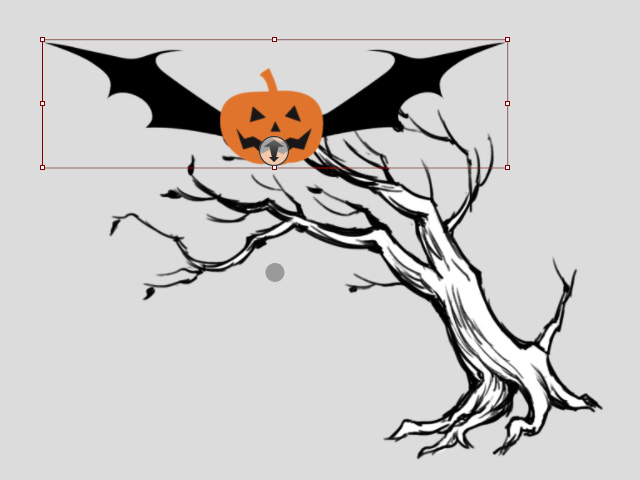
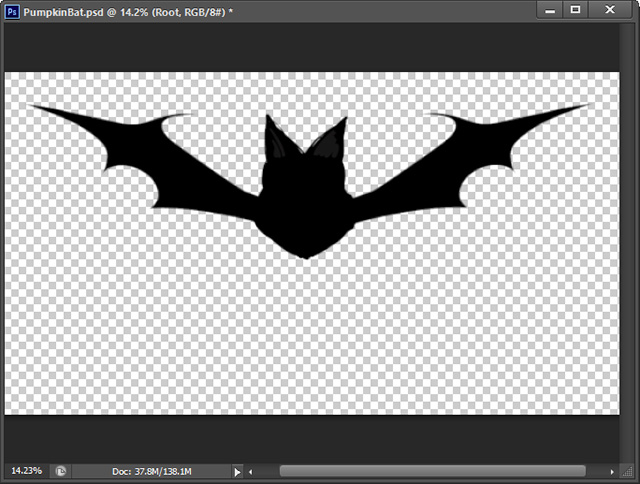
- Apply a matching template (the Pumpkin Bat in this case) to the scene.
-
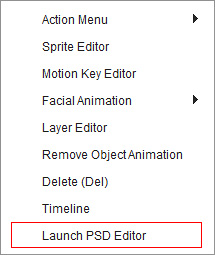
Right-click on the object and select Launch PSD Editor to open the image with the preset PSD editor in the Stage mode.
Alternatively, select the object in the Scene Manager, and then click the Menu (Down Arrow) button to execute the Launch PSD Editor command.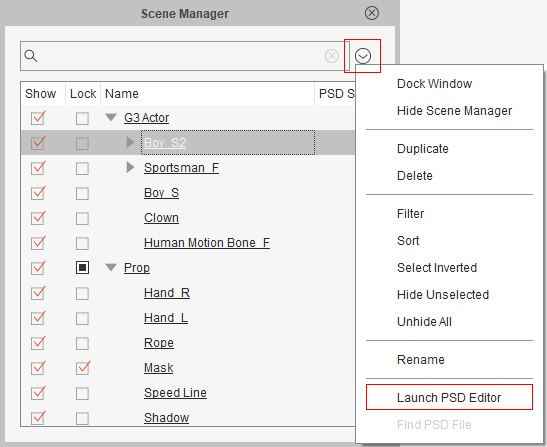
 Note:
Note:You will encounter the PSD Options panel. Please refer to the Exporting Ratio section for more information.
- You may encounter a message which informs you that the element of the sprites will be always turned to a bitmap type, even if the source image is a vector graphic.

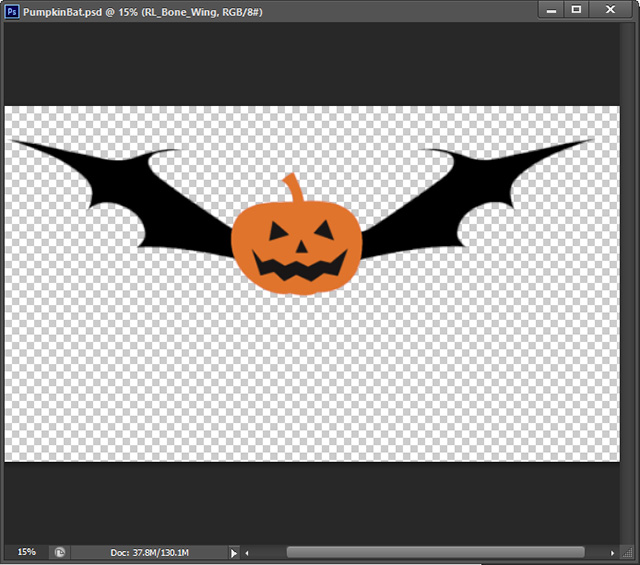
- The file of the object will be opened in your specified image editor that supports files in PSD format.
 Note:
Note:Once an object is launched to the image editor, there will be an
 icon shown beside the object item in the PSD Sync column of the Scene Manager.
Please refer to the Managing Multiple Projects in PSD Editor section for more information.
icon shown beside the object item in the PSD Sync column of the Scene Manager.
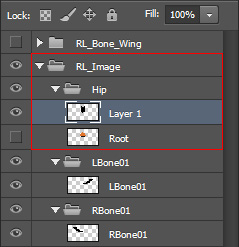
Please refer to the Managing Multiple Projects in PSD Editor section for more information. - Find the group layer named RL_Image.
Add a new image layers (in this case, Layer 1) under the Hip layer folder to serve as an alternative Sprite element of the original one (such as Root).
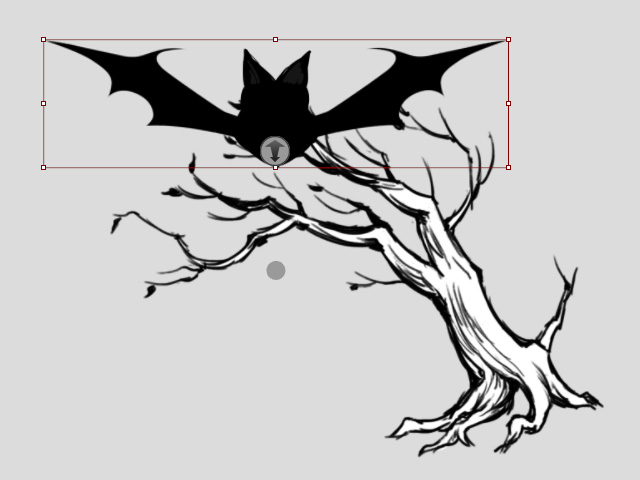
- When you are satisfied with the new image, press the hot keys: Ctrl + S to save the changes.
- The new image layer will then become the default Sprite element for the object in Cartoon Animator.
 Note:
Note:You can add the modified template into the custom Character library of Content Manager for further usage.
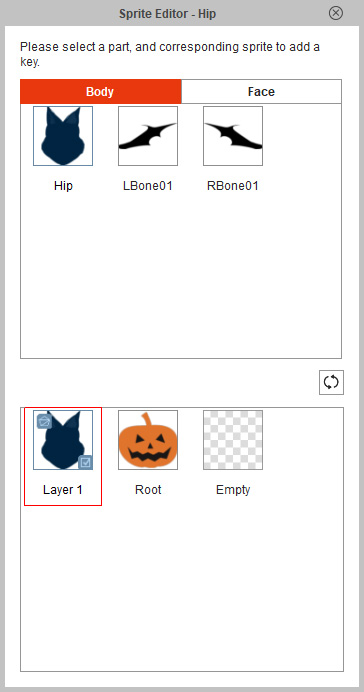
- Select the object and click the Sprite Editor
 button.
You can find the new Sprite element named Layer 1 under the Hip Sprite in the Sprite Editor panel.
button.
You can find the new Sprite element named Layer 1 under the Hip Sprite in the Sprite Editor panel.
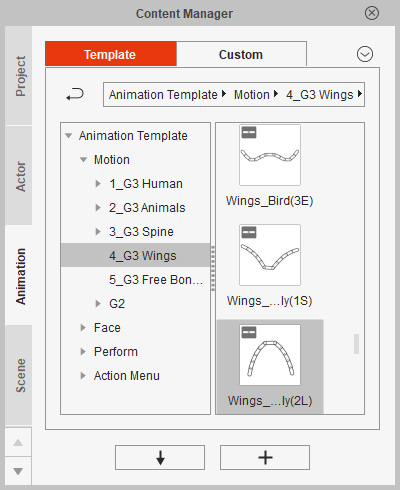
- Apply a G3 Wings motion to the character.
 Note:
Note:You can refer to the Applying G3 Motion Templates section for more information.
- Create a path animation for the character in different time frames.
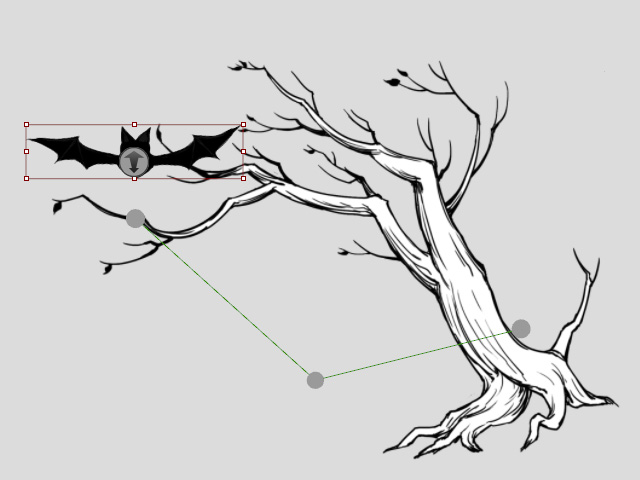
- Duplicate this character and modify its scale or path animation if necessary.
- Play back to view the animation for the new Sprite.