


Setting Floor Contact Planes for the Hands and Feet
In iClone, a Standard or Humanoid character can have floor contacts for the hands and feet, so that when it walks, it's able to touch terrain or any terrain component. You are allowed to customize the contact planes in Character Creator. If they are done correctly, then you do not need to worry about floor penetration with the hands and feet.
|
|
|
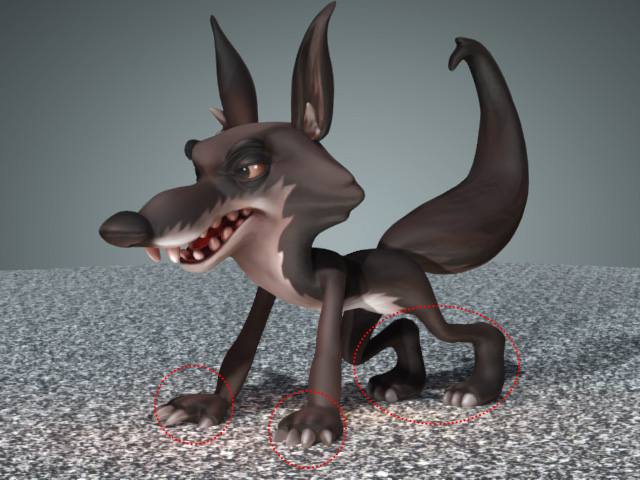
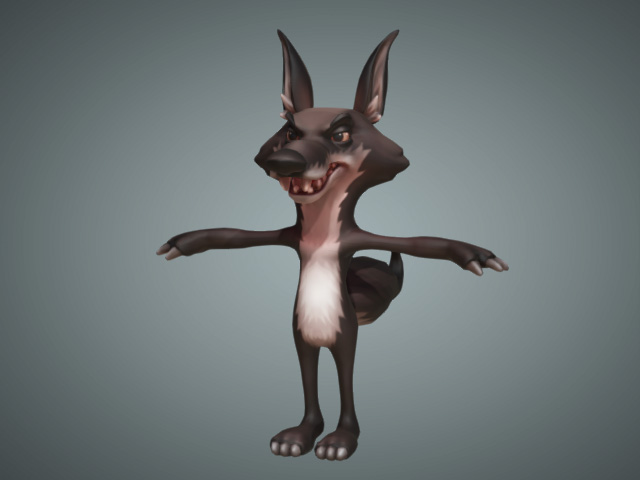
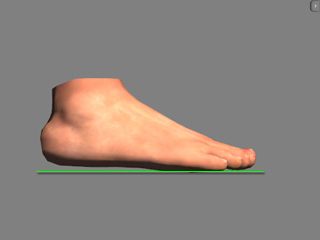
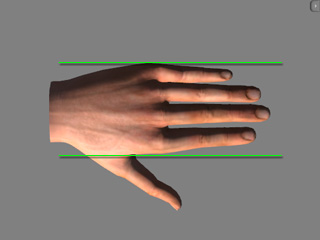
The Floor Contact is ON. |
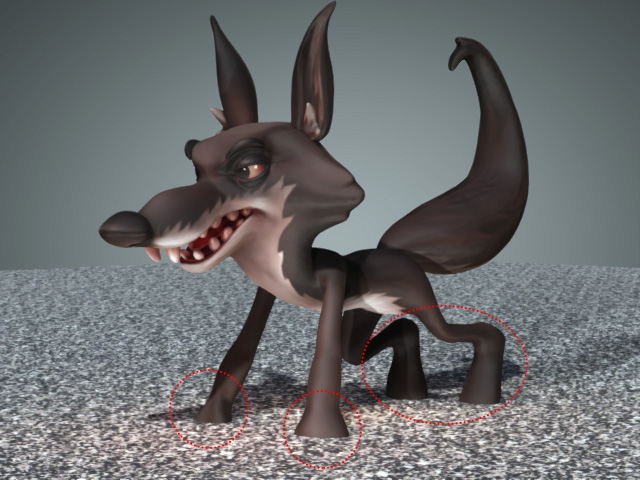
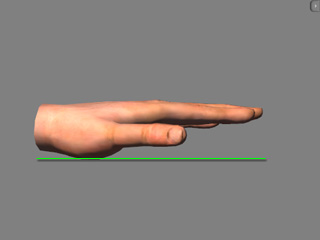
The Floor Contact is OFF. |
The Floor Contact feature is defined for the character with the use of invisible Contact Planes that are appended onto the soles and palms of the character. These planes are areas that can detect the terrain. Once contact with the terrain is detected, they will force the character's fingers and toes to bend in order to keep them from poking through terrain and other surfaces.
|
|
|
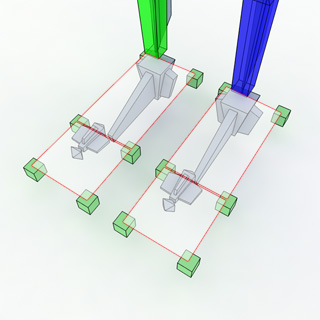
Contact Planes under the soles. |
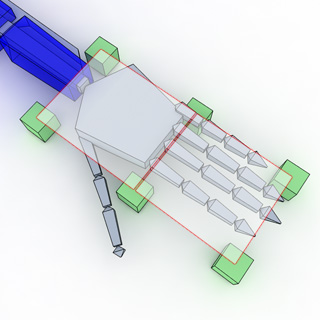
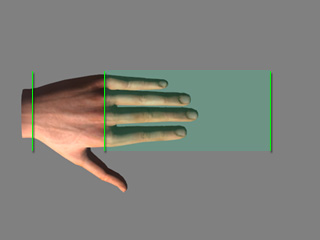
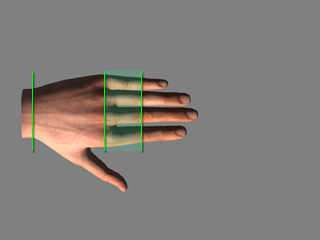
Contact Planes under the palm. |
Setting the Contact Planes
Character Creator will automatically determine the sizes and positions of the contact planes for the character as soon as you create a new project; however, you may manually adjust them if necessary.
-
Apply a character (Standard or Humanoid).
-
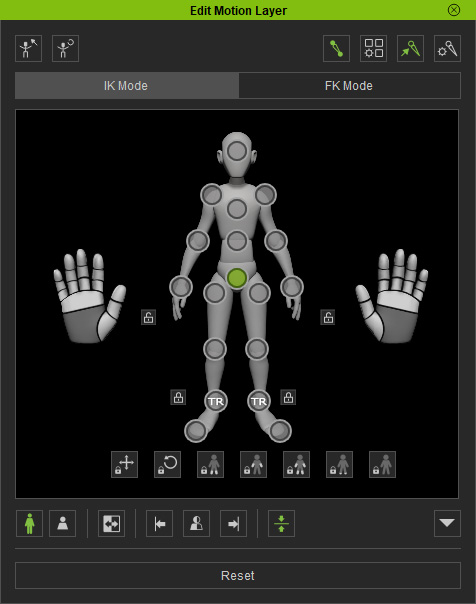
Open the Edit Pose panel.
-
Set a pose that has the
character's hands and feet poke through the floor.
- In the Edit Pose panel, click the Set Current Pose as Default button to save this pose for later use and then close the panel.
- Click the Reset button to retrieve the original T-pose.
-
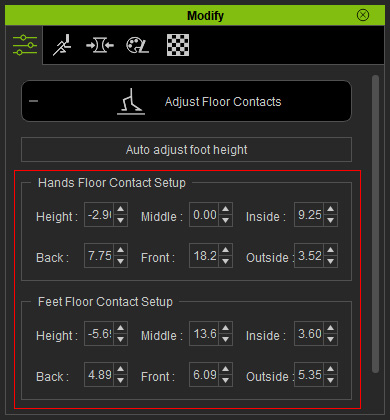
Click the Adjust Floor Contacts button in the Modify panel >> Attribute tab >> Modify section.
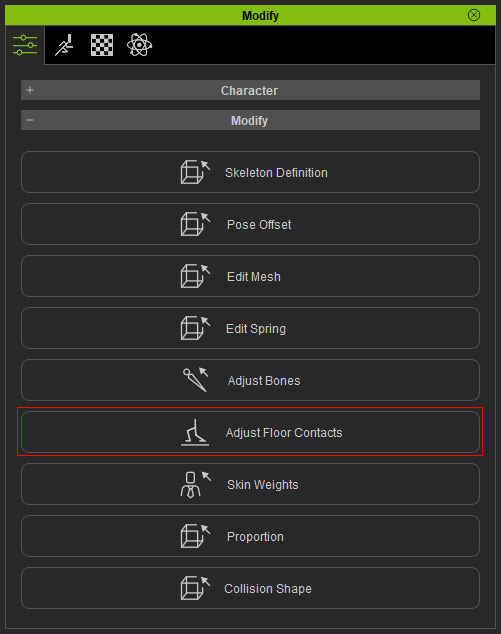
- The contact planes will be displayed in light-blue anchor markers under the soles and palms.
-
Type values into the numeric fields to change the size and positions of the planes.
-
Alternatively, double-click on one of the light-blue anchor markers and use the gizmo to drag the plane to the
desired sizes and positions.
- Open the Edit Pose panel again and press down the Reset to Default button to retrieve the pose you set in the previous step in order to preview the floor-contacting result.
-
Repeat the steps until the floor contacts are appropriately set.
When you wish to manually adjust the contact planes, then please follow the guidelines below:
-
The planes must be right under the soles and palms.
-
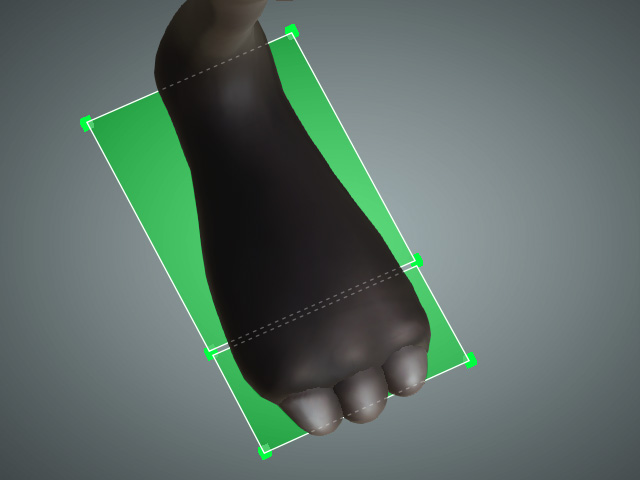
Match the sole planes to be as wide and as long as the soles.

-
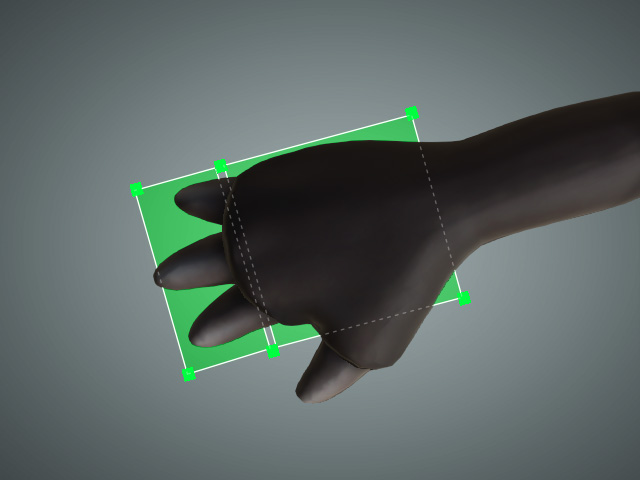
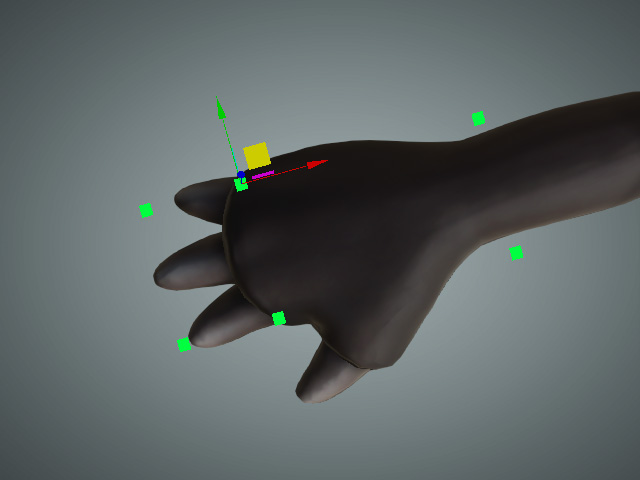
Match the length of the contact plans to the length of the palms.

- Match the length of the contact plans to the width of the palms.
-
Move the middle anchor markers of the hand contact planes to line
up with the knuckles.

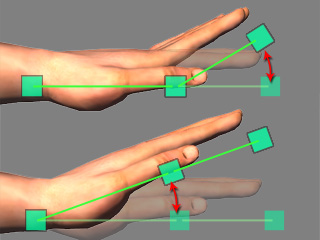
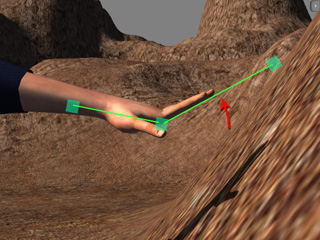
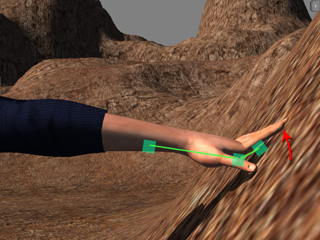
The line formed by the middle anchor markers crosses the knuckles of the palm.
The effects of the fingers and palms, with the front and back planes, when in contact with the terrain.
-
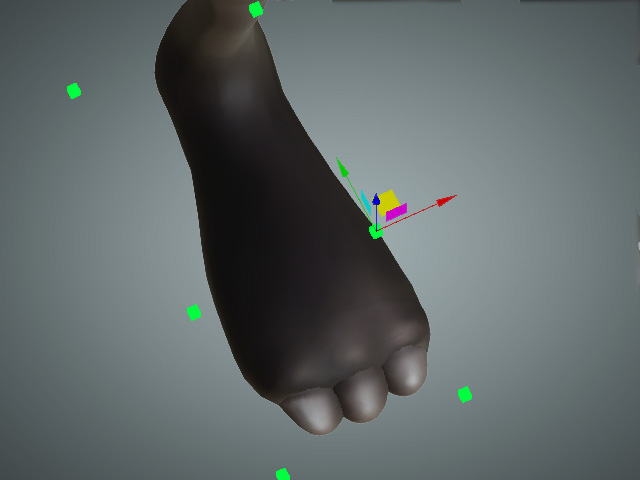
Move the middle anchor markers in the contact planes of the soles so that the lines they generate cross the root of the big toes.


The line formed by the middle anchor markers crosses the root of the big toe.
The effects of the toes and sole with the front and back planes when in contact with the terrain.
-
Contact in the fingers and toes take both the Contact Planes and Tip Bones
as reference.
-
If the front planes are longer than the tip bones, then the
contact reaction happens even when the tip bones do not touch
the surface.
-
If the front planes are shorter than the tip bones, then the
contact reaction happens only when the fingertips or toes touch
the surface.
-
If the front planes are longer than the tip bones, then the
contact reaction happens even when the tip bones do not touch
the surface.
