Adjusting Facial Features
If you want to generate a custom face, whether or not the face template has been applied, you are able to manually adjust the parameters of the facial feature.
Manually Customizing Facial Features
-
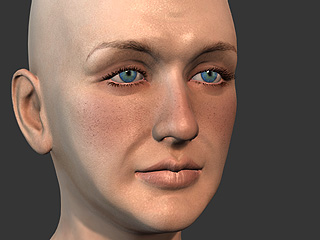
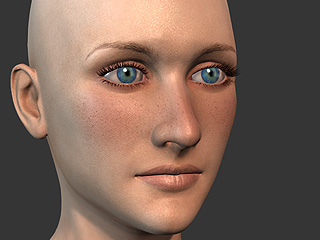
Launch Character Creator, by default, there will be a nude default character
with neutral look.
 Note:
Note:You may optionally apply a desired face template to the character (in this case, no template is applied) to lay down a foundation.
-
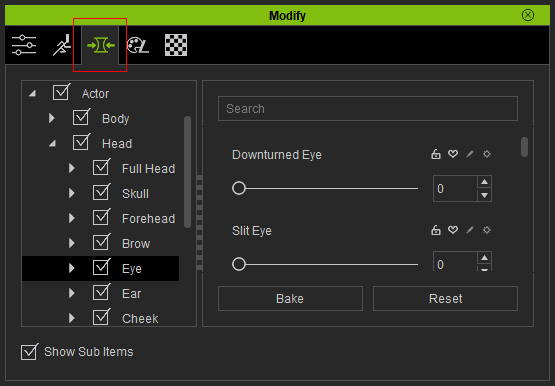
Switch the Modify panel to Morphs tab.
-
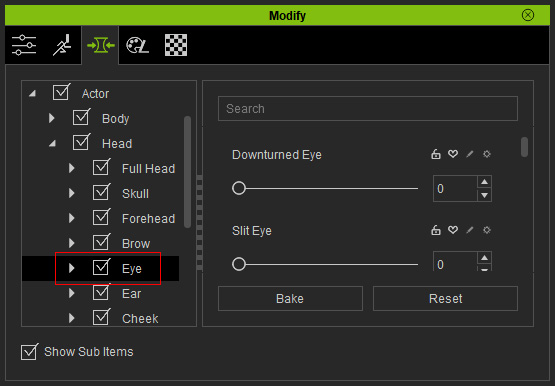
Select the facial feature that you want to adjust (in this case the Eye ).
 Note:
Note:There are two methods to pick the desired body part:
- Tree View: Collapse the tree in the left pane of the Modify panel and then select the desired body part.
- Directly Picking: Select the desired body
part by clicking on it inside the viewport (it will
highlight in yellow).
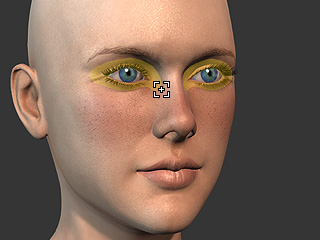
-
Adjust the facial-feature-related parameters by dragging the slider or entering the value
(in this case, the size and width of the eyes).
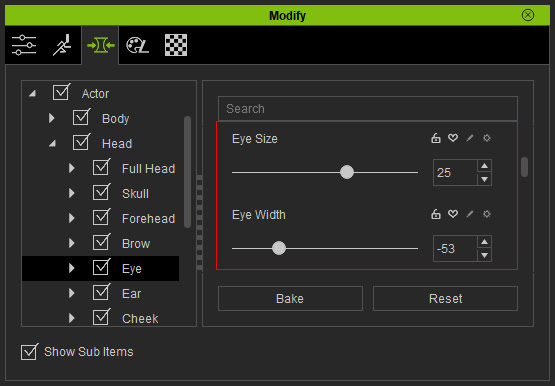
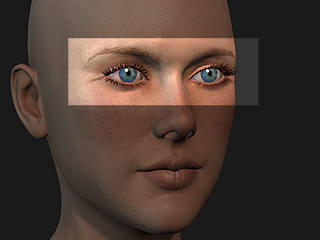
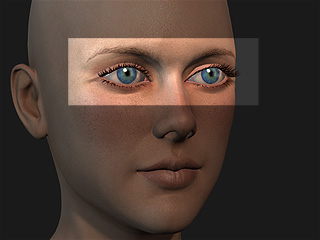
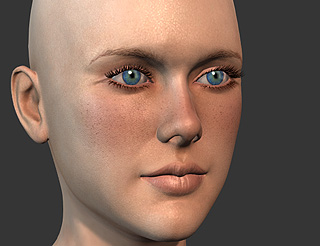
The character's eyes turn larger and closer after being adjusted.
 Note:
Note:In addition to use the sliders or the text fields to modify the facial features, you are allowed to directly drag one them in the 3D viewer to re-shape. Dragging along different direction may change the width and length of the highlighted facial features.
-
Adjusting the other parameters for the eyes, nose, mouth or any other facial
features in the same manner to your desire.
Getting Content Pack
If you want to have more parameters for modifying the facial features of the character, then go to the
official web site for purchasing the content pack.
After the content pack is installed, you may then adjust more details of the
facial features or asymmetrically change them.
After you have installed the pack, you may find more leaf nodes are appended into each item in the tree view.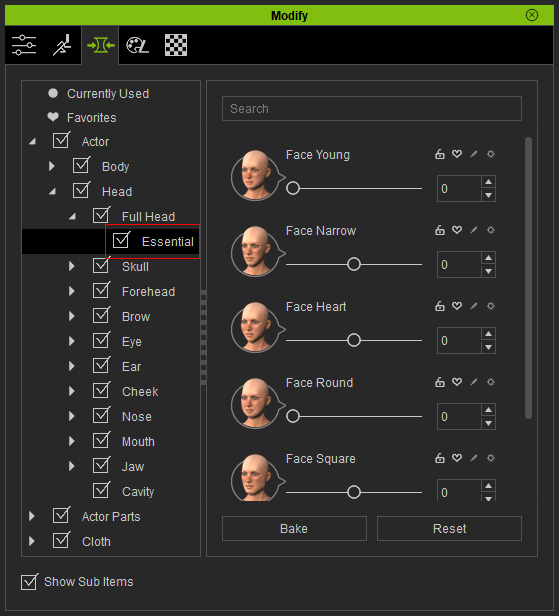
By adjusting the settings in these node, you are able to change each facial feature separately.