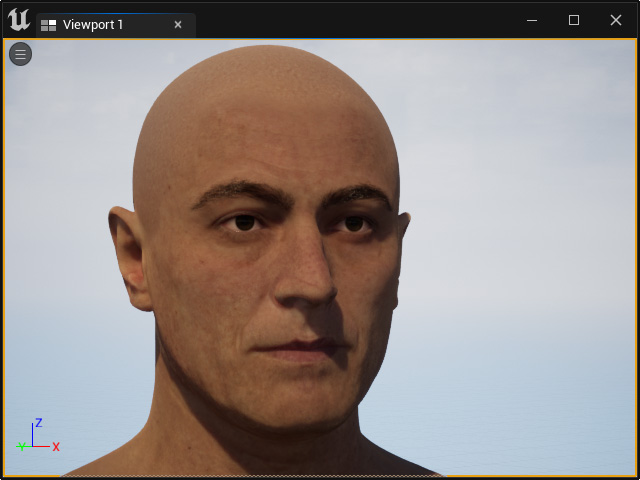
Exporting Head Mesh for Creating MetaHuman (New for v. 4.2)
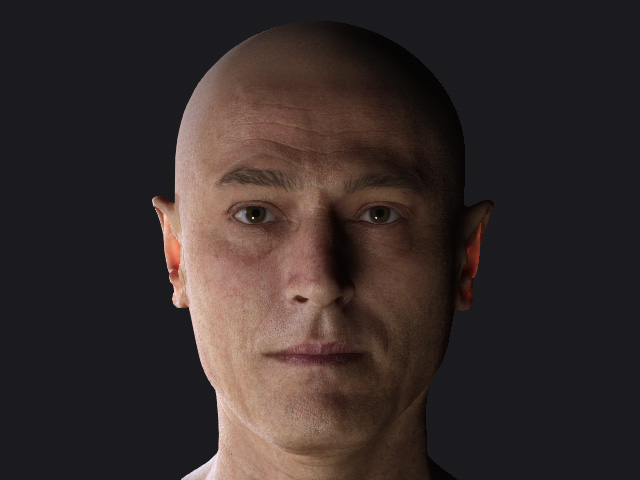
If you want to create an Unreal MetaHuman with the head shape made in Character Creator, then you will need to export a head mesh as a target shape for the MetaHuman to morph to.
- Create a character.
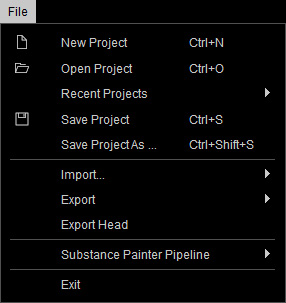
- Execute Menu > Export Head command.
- The Export Head panel will appear.
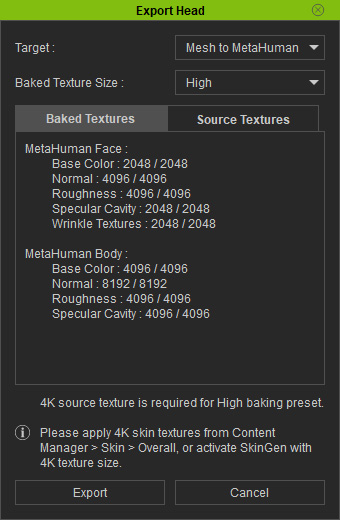
- Target: You can choose to export the head mesh in FBX format only or FBX file specifically creating MetaHuman.

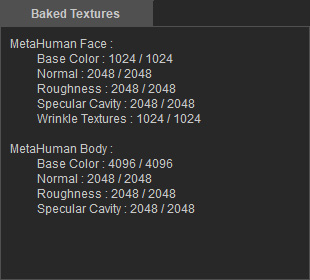
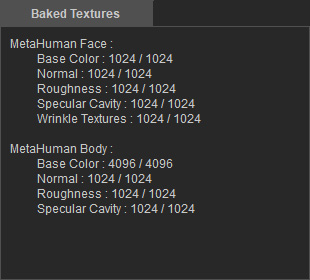
- Baked Texture Size: Sets the texture size to "High", "Medium" or "Low". The actual pixel resolution can be viewed under Baked Textures.

- Baked Textures / Source Textures: Lists the resolutions and information for the source and baked textures.
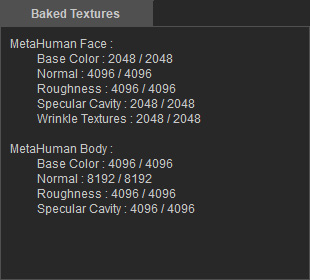
High
Medium
Low
- Target: You can choose to export the head mesh in FBX format only or FBX file specifically creating MetaHuman.
- Click the Export button to export the character's head in FBX format.
- Install the MetaHuman Plugin from the Marketplace in Epic Games Launcher.
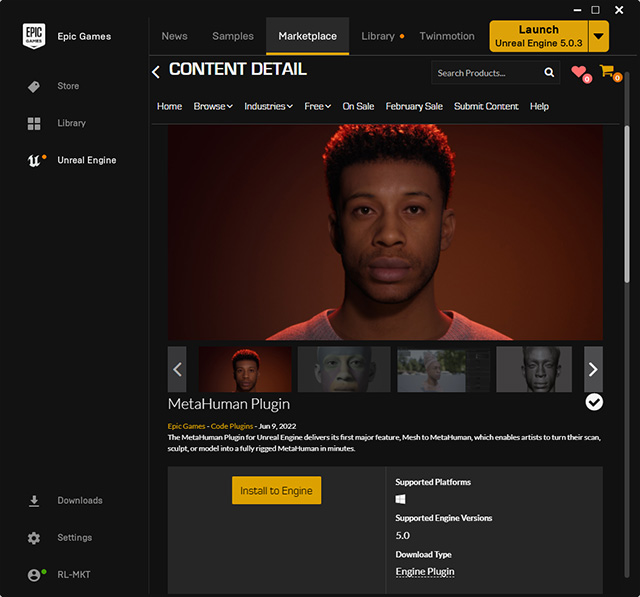
- Also install Quixel Bridge from the Library in Epic Games Launcher.

- Launch Unreal Editor, activate the MetaHuman plugin in the Plugins panel.
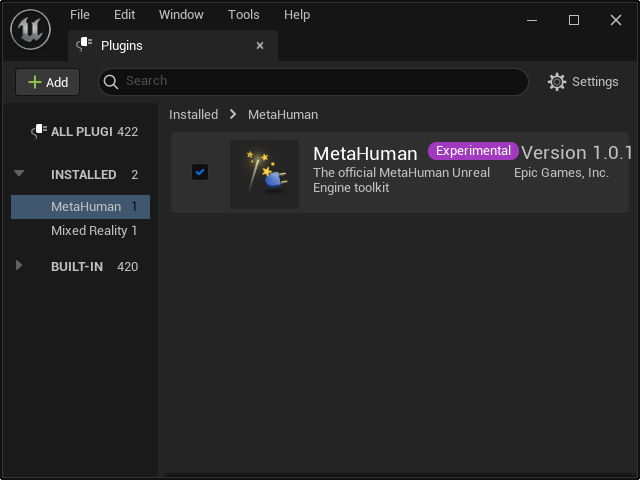
Also make sure the Quixel Bridge plugin is activated as well.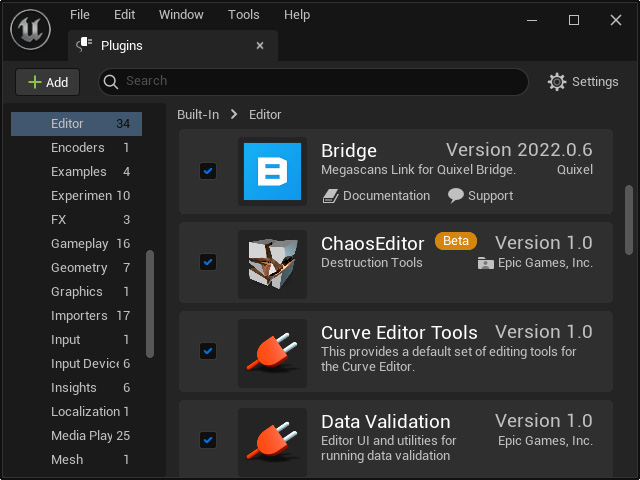
- In Unreal Editor, make sure you have installed the Reallusion Auto Setup Plugin.

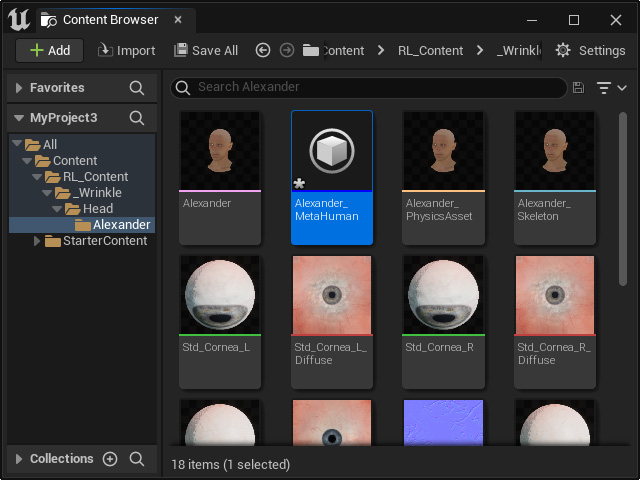
- Import the exported head mesh to the Content Browser.
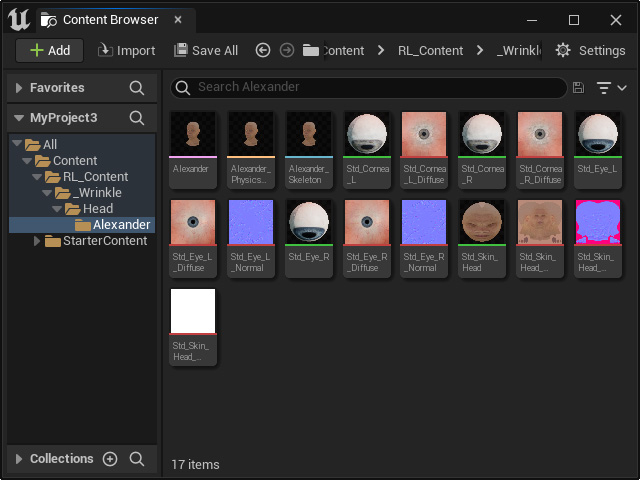
Be sure to execute the Save All command after all data has been imported. - Right-click in the space of the Content Browser and choose MetaHuman > MetaHuman Identity from the pop-up menu.
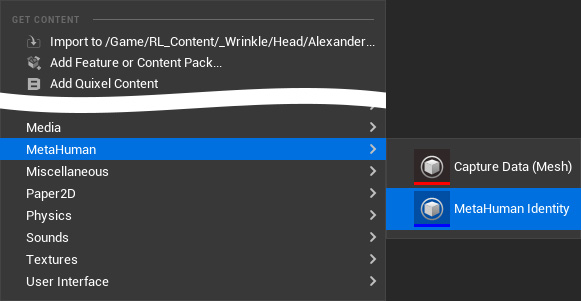
- Rename the identity.
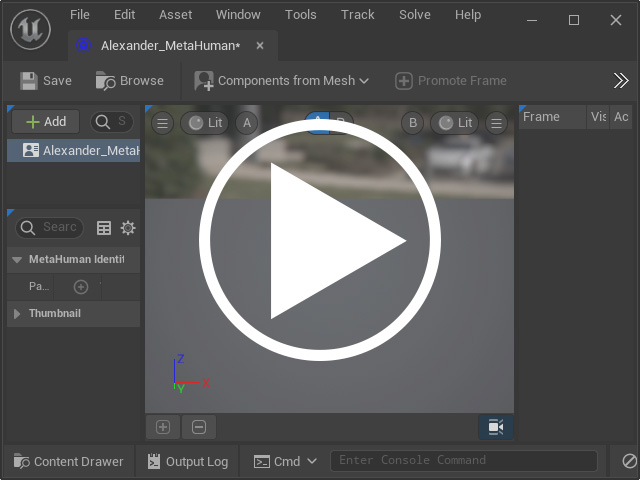
- Double-click on the Identity to launch the MetaHuman Identity panel. Click on the following image to view the tutorial video about morphing the MetaHuman character to the target head mesh (1:45 - 5:30).
- The character will be texture-less for now. You can use the templates at the left side to modify the appearance of the character's skin, hair and so on.
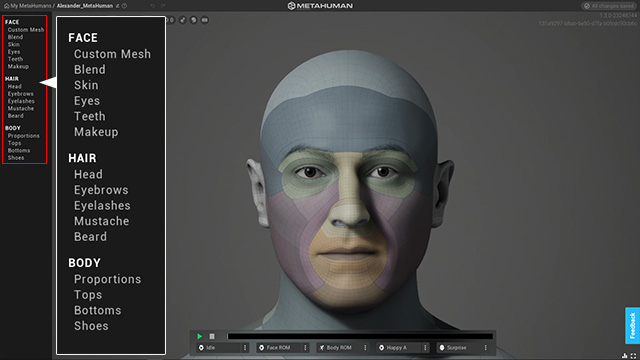
Proceed with the modifications until your are satisfied.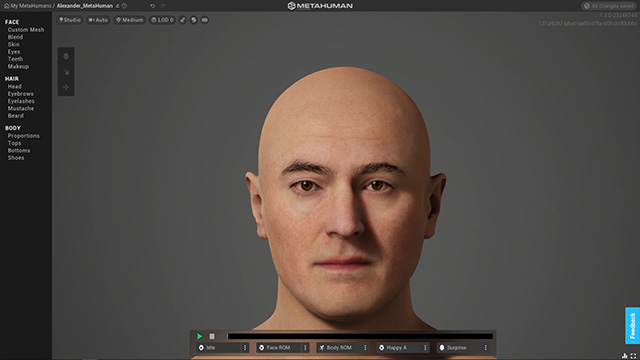
- Click the MyMetaHumans item.
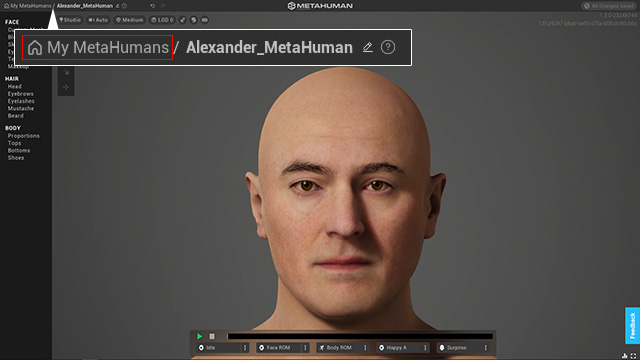
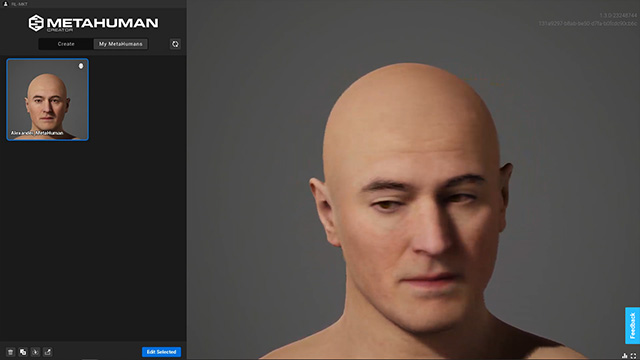
- The authorized MetaHuman will be listed in the left column. You can close the website.
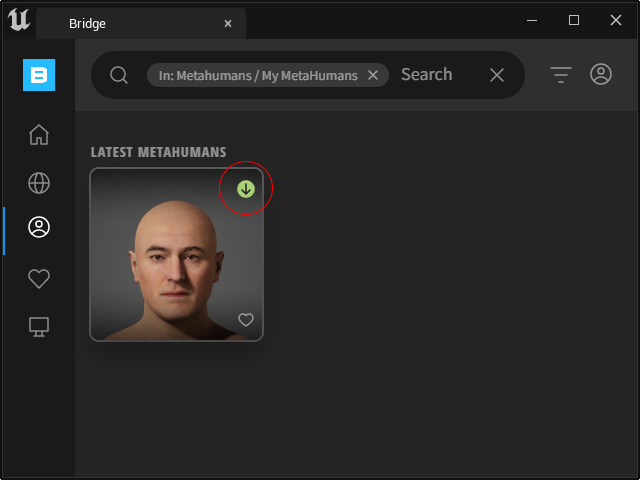
- Go back to Quixel Bridge, to view the newly created custom MetaHuman. Click the download icon.
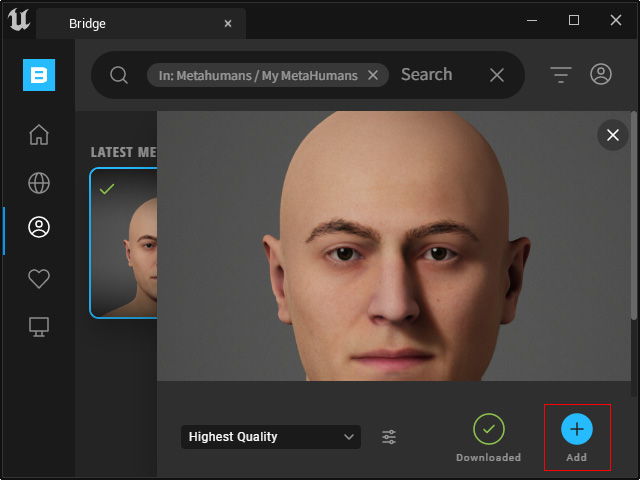
- Press the Add button to add the MetaHuman into your project.
- Find the downloaded and added MetaHuman in the Content Browser. Right-click on it and choose the Apply CC Texture command.
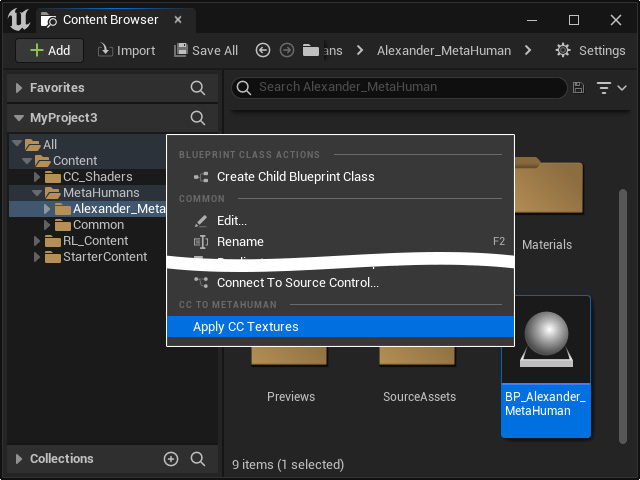
- Choose the imported head mesh in step 9 from the drop-down list.
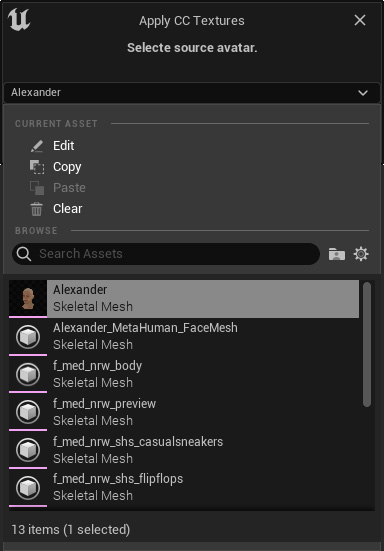
Click the Apply button.
Click the OK button when the CC textures are applied to the MetaHuman's head.
- Drag and drop the MetaHuman to the scene. The MetaHuman now has the CC character's head shape and facial textures in Unreal Editor.
