輸出頭部模型以建立 MetaHuman (4.2 新增)
如果要使用在 Character Creator 中製作的頭部形狀來建立 Unreal MetaHuman,則需要將頭部模型輸出成 MetaHuman 變形用的目標形狀。
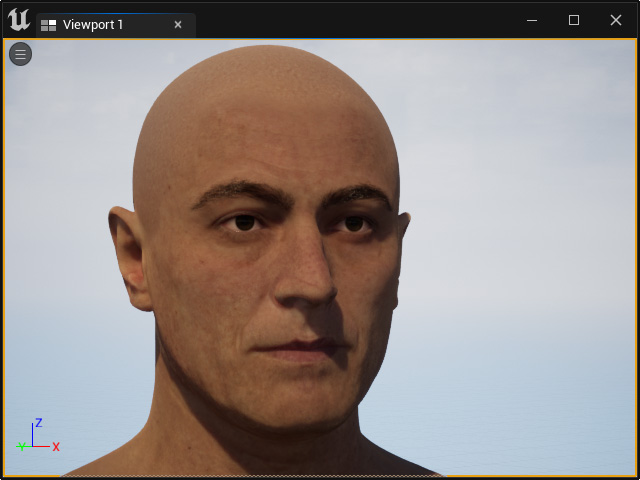
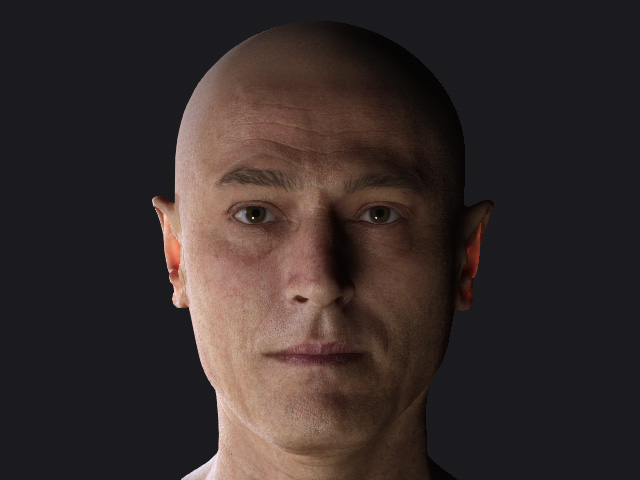
- 建立一個角色。
- 執行 File > Export Head 指令。
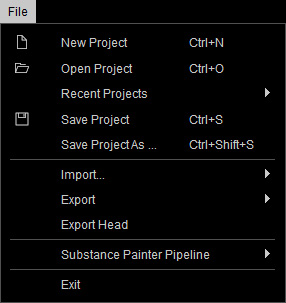
- Export Head 面板會顯示在畫面中。

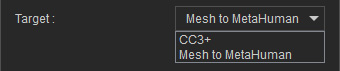
- Target:可選擇僅以 FBX 格式輸出頭部模型,或選擇特別建立 MetaHuman 的 FBX 檔。
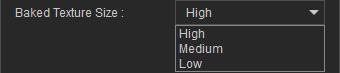
- Baked Texture Size:將貼圖大小設為 High、Medium 或 Low。
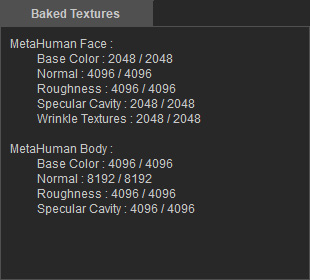
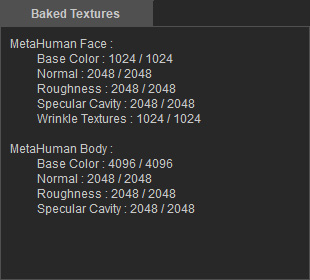
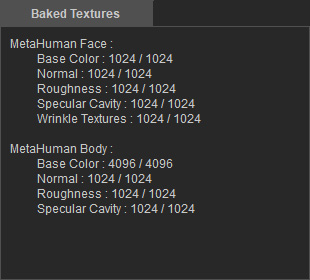
實際的像素解析度可以在 Baked Textures 下檢視。
- Baked Textures / Source Textures:列出來源和焙刻貼圖的解析度及資訊。
High
Medium
Low
- Target:可選擇僅以 FBX 格式輸出頭部模型,或選擇特別建立 MetaHuman 的 FBX 檔。
- 按一下 Export 按鈕,以 FBX 格式輸出角色的頭部。
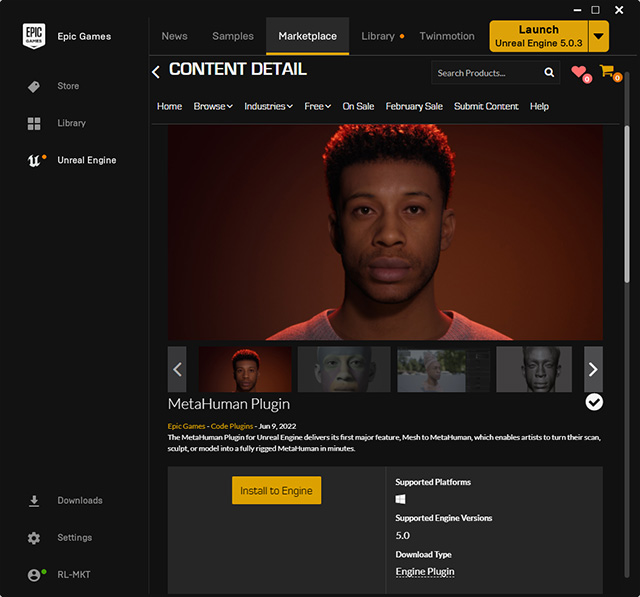
- 在 Epic Games Launcher 中的 Marketplace 安裝 MetaHuman 外掛程式。
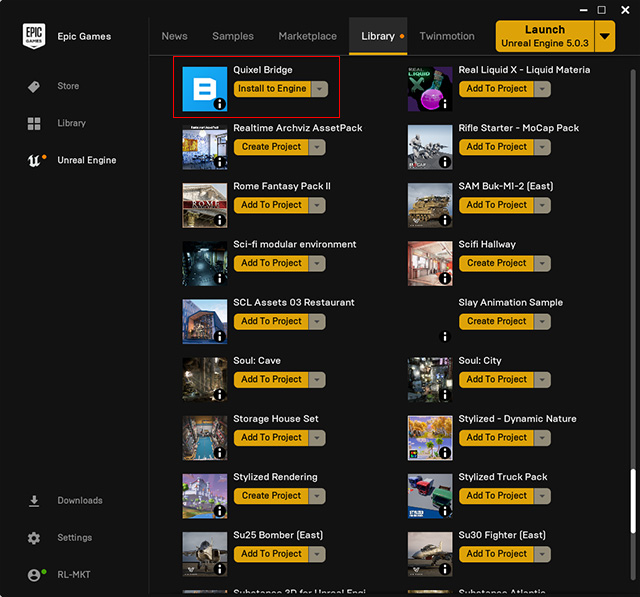
- 同時從 Epic Games Launcher 的 Library 中安裝 Quixel Bridge。
- 啟動 Unreal Editor,在 Plugins 面板中啟用 MetaHuman 外掛程式。
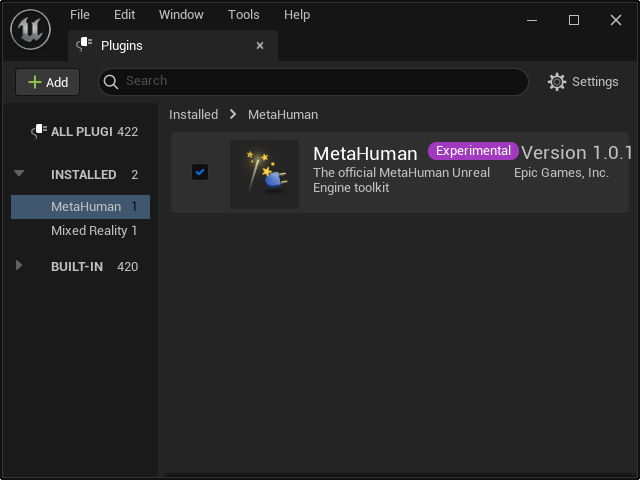
確認 Quixel Bridge 外掛程式也已啟用。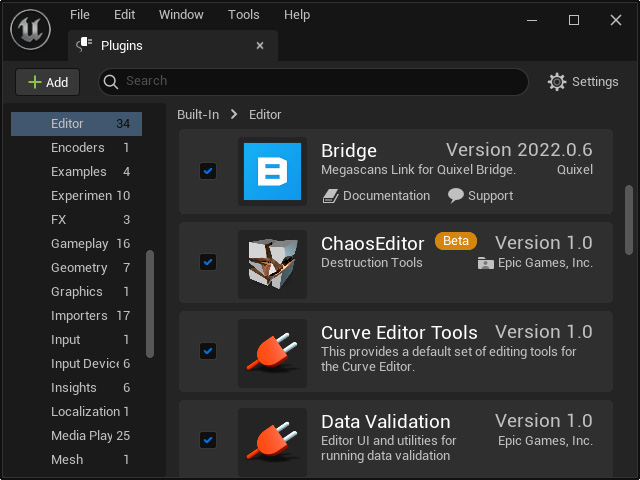
- 在 Unreal Editor 中,確認已安裝 Reallusion Auto Setup 外掛程式。

- 將輸出的頭部模型輸入至 Content Browser。
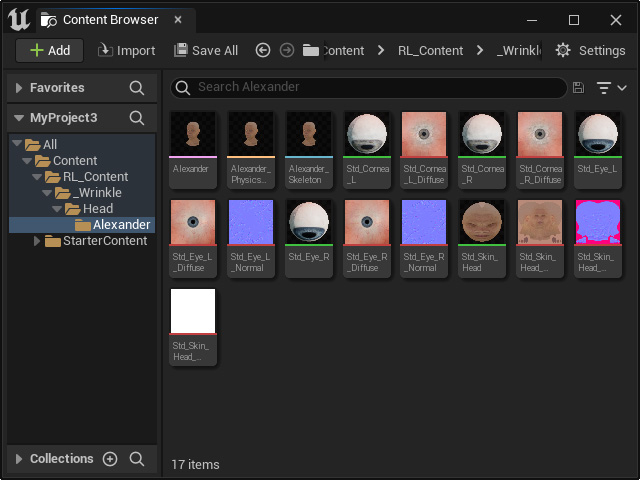
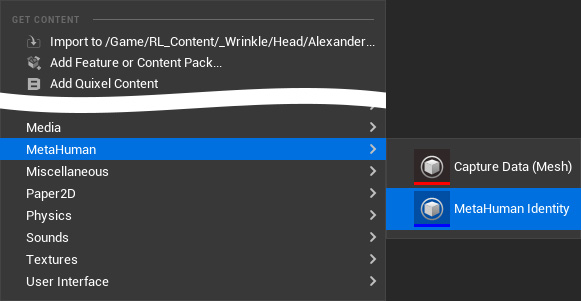
請務必在輸入所有資料後執行 Save All 指令。 - 在 Content Browser 的空白處按一下滑鼠右鍵,然後從彈出選單中選擇 MetaHuman > MetaHuman Identity。
- 重新命名 Identity。
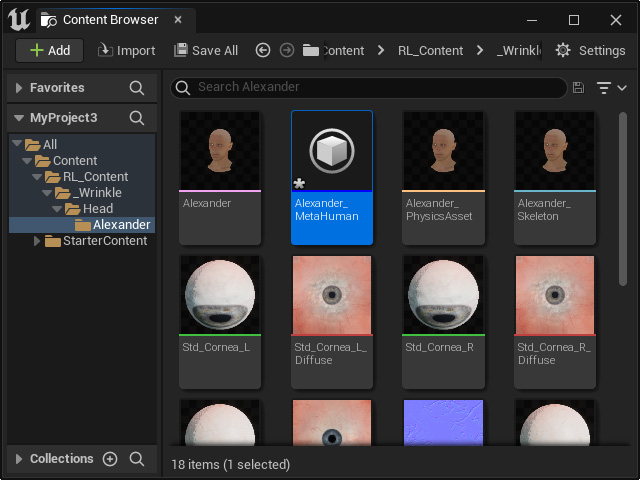
- 在 Identity 上點兩下以啟動 MetaHuman Identity 面板。
點按下圖觀看將 MetaHuman 角色變形為目標頭部模型的教學影片 (1:45 - 5:30)。
- 角色現在沒有貼圖。
可使用左側的範本來修改角色的皮膚、毛髮等外觀。
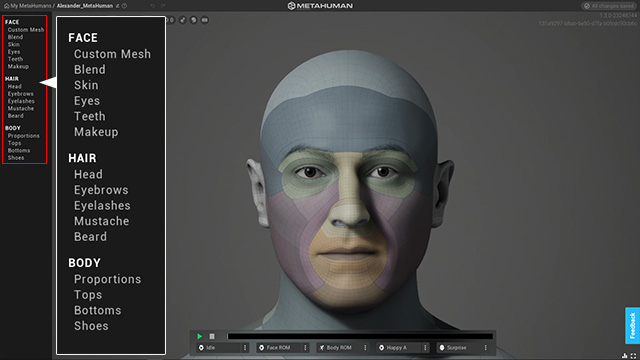
繼續進行修改,直到滿意。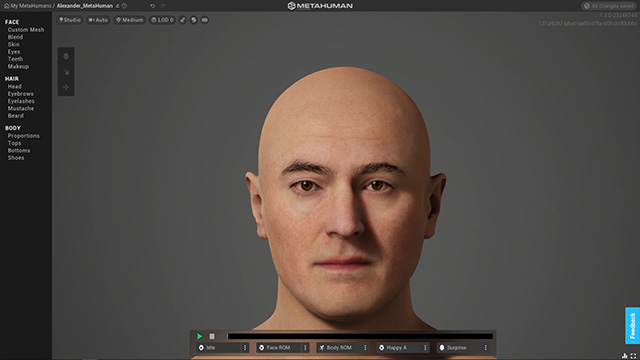
- 點一下 MyMetaHumans 項目。
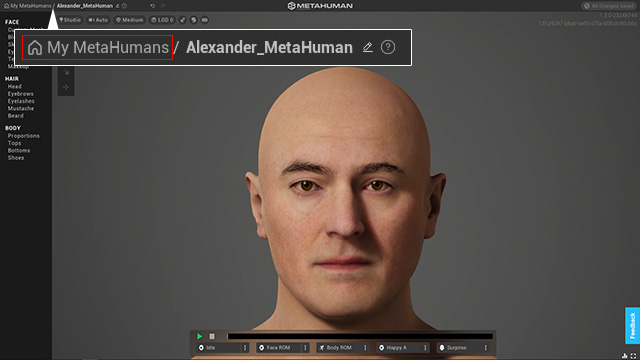
- 授權的 MetaHuman 會列在左欄中。
您可以關閉該網站。
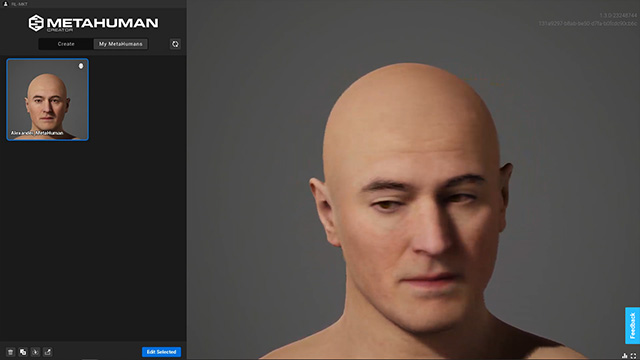
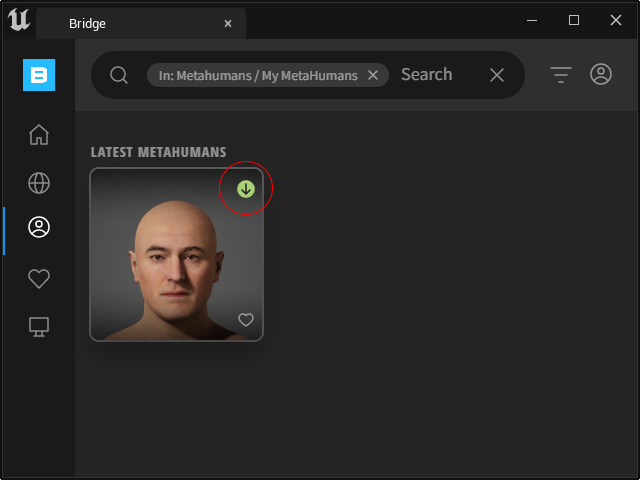
- 回到 Quixel Bridge,檢視新建立的自訂 MetaHuman。
按一下下載圖示。
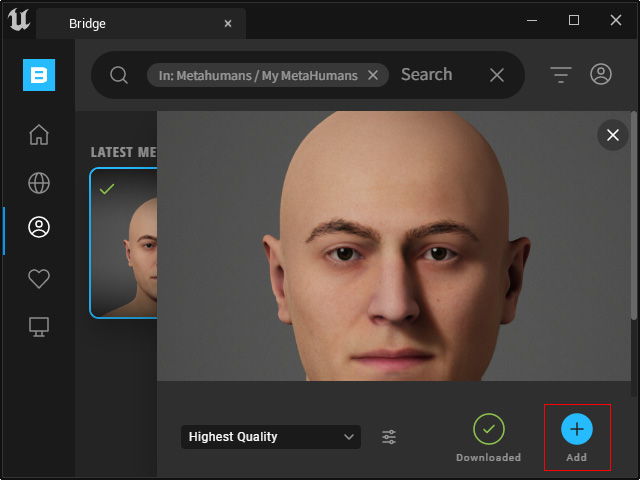
- 按一下 Add 按鈕將 MetaHuman 新增到您的專案中。
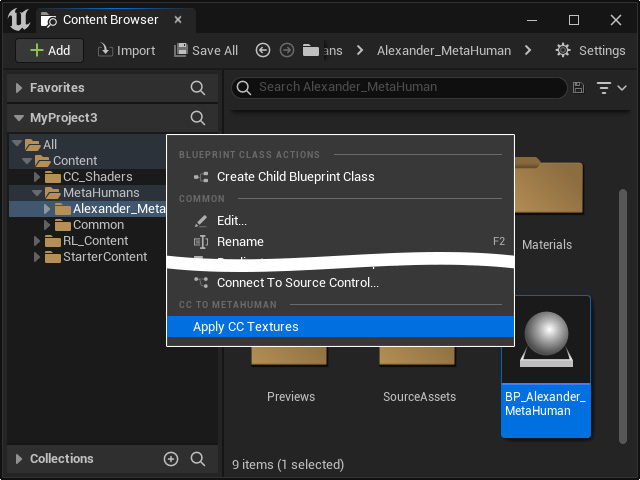
- 在 Content Browser 中找到下載並新增的 MetaHuman。
在其上按右鍵,然後選擇 Apply CC Textures 指令。
- 從下拉選單中選擇步驟 9 中輸入的頭部模型。
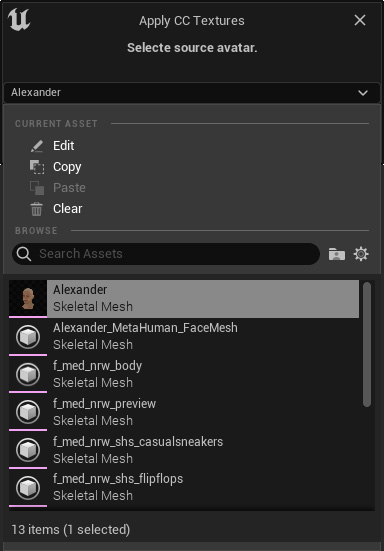
按一下 Apply 按鈕。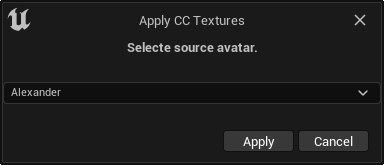
CC 貼圖套用到 MetaHuman 的頭部後,按一下 OK 按鈕。
- 拖放 MetaHuman 至場景中。
MetaHuman 現在在 Unreal Editor 中擁有 CC 角色的頭部形狀和臉部貼圖。