


Real-time Render Options Section
Quality
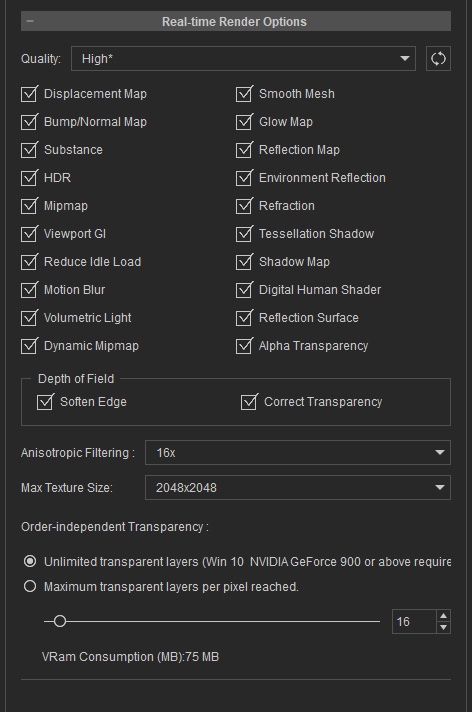
The Quality drop-down list contains different modes to turn on/off certain effects in the viewport in order to release the hold of system resources. Notice that the Custom render option allows users to save their desired render settings for later usage.

|
|
|
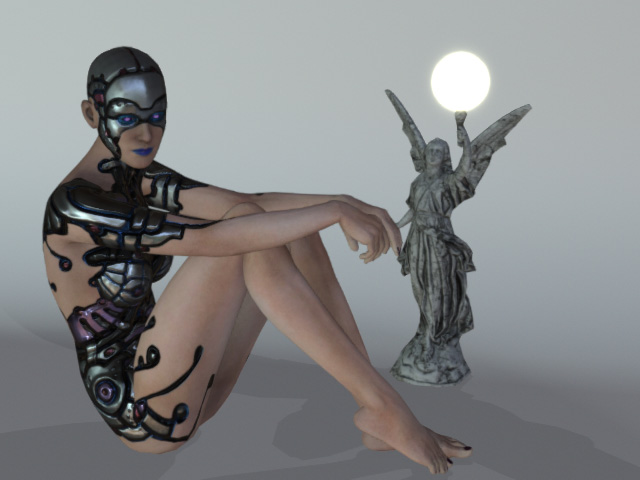
High Mode: All effects are turned on. |
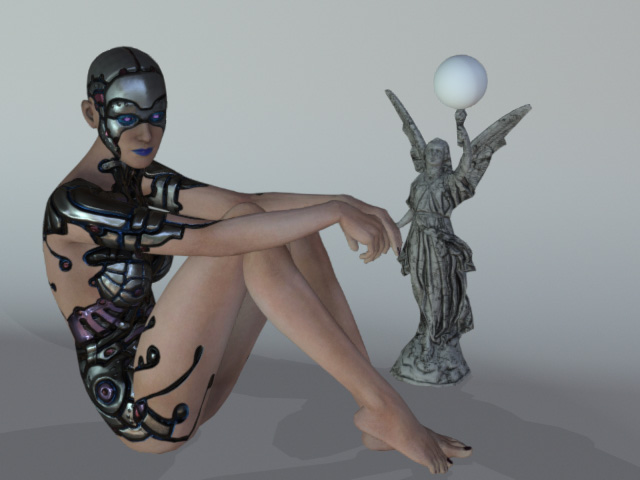
Medium Mode: Displacement, Smooth Mesh, Bump / Normal map, HDR, Viewport GI, Tessellation Shadow, and DOF are turned off. |
|
|
|
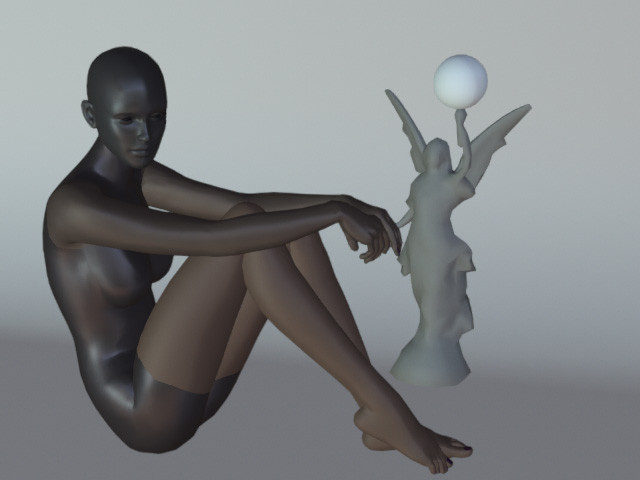
Quick Mode: Only the Substance, Reduce Idle Load, Dynamic Mipmap and Shadow effects are turned on. |
Minimal Mode: Only Substance, Reduce Idle Load and Dynamic Mipmap are turned on. |
TAA (for Real-time Rendering only)
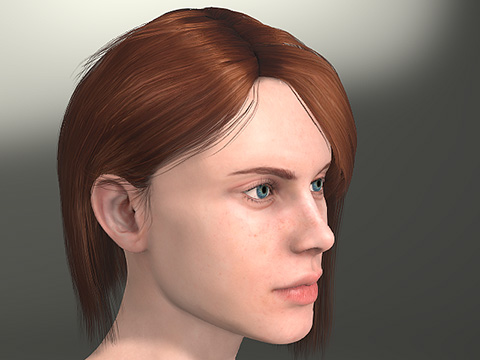
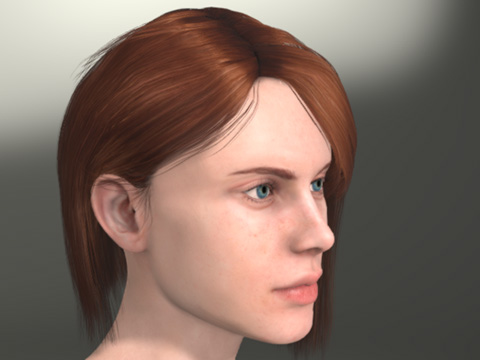
An advanced anti-alias technique (Temporal Anti-Aliasing) for the viewport can minimize jagged edges and pixelated areas. Activate the checkbox to turn on TAA (Shortcut: Shift + T). Real-time anti-aliasing starts to calculate only when the viewport is at a standstill.
|
|
|
TAA = OFF |
TAA = ON |
Mipmap
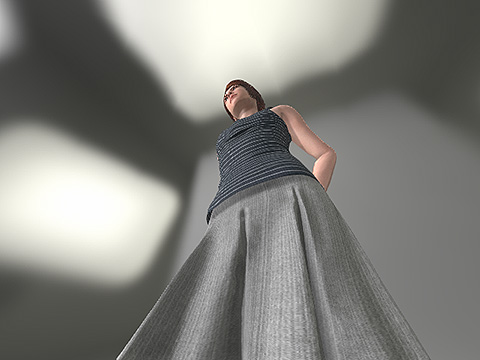
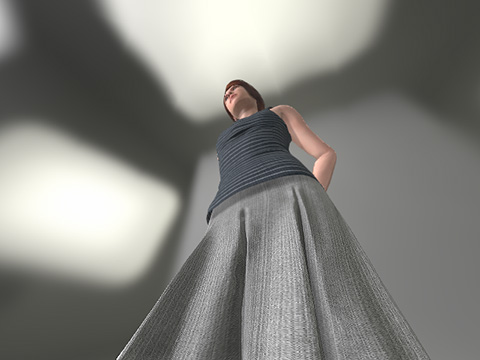
The Mipmap is used for gradually reducing texture quality as the object strays from the camera.
|
|
|
Mipmap Off |
Mipmap On |
Tessellation Shadow
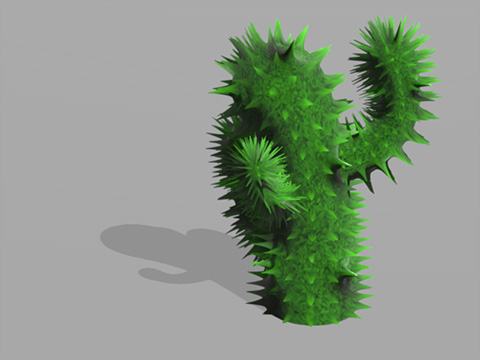
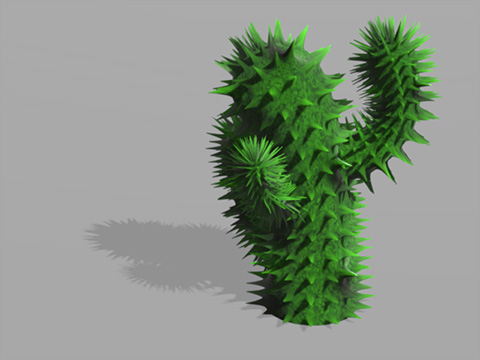
The shape of shadows do not follow the contour of the tessellated or displaced objects, unless Tessellation Shadow is on. However, Tessellation Shadow is heavy to calculate and can degrade system performance.
|
|
|
Tessellation Shadow = Off |
Tessellation Shadow = On |
Viewport GI
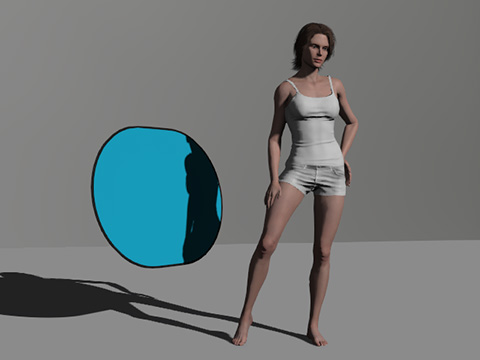
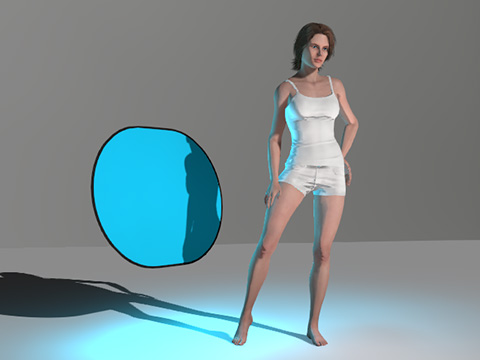
When the GI main switch is turned on and the performance is negatively impacted, the Viewport GI Switch can be turned off temporarily to regain critical framerate. Toggling the viewport GI switch does not affect the GI for final rendering.
You can also click the middle button on the GI Toolbar for turning on or off the viewport GI effect.
|
|
|
Viewport GI = OFF |
Viewport GI = ON |
Shadow Map
This feature turns on/off the overall shadow maps for the Directional Lights, Spotlights, Point Lights, Directional Shadows, Spot Shadows and Point Shadows in the 3D viewport.
See also the Resolution of the Shadow Map.
Reduce Idle Load
This feature actually stops the real-time view-port rendering while the Character Creator is in idle state, effectively reducing unnecessary GPU load, power consumption, system heat and fan noise.
Depth of Field
This group contains two settings that can be used to remedy rendering artifacts in the 3D viewport for DOF. However, activating them increases the consumption of the system resources. Please refer to the Fixing Visual Defects of Out-of-focus Objects section for more information.
Anisotropic Filtering
As the camera angle becomes too oblique, MipMap feature may cause some surfaces that are nearer to the camera to blur. To compensate for this, you can increase the Anisotropic Filtering value to preserve texture quality.
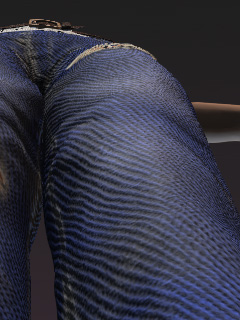
|
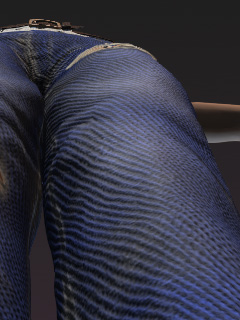
|
|
Anisotropic Off |
Anisotropic = 16x |
Max Texture Size
Your textures may look blurry when you apply them to large objects or view them close-up. This could be a result of the maximum allowable texture size setting.
The default texture size setting for Character Creator is 2048 x 2048. This setting determines the maximum allowable texture size. Therefore, if any texture is larger than 2048 x 2048, after you apply it to a 3D object, the texture size will be scaled down to 2048 x 2048 (pixel as unit), which results in a blurrier look of your texture if it's above 2K resolution.
Users can define the maximum allowable texture size applied to 3D objects from the Max Texture Size drop-down list. If you have high-resolution textures, you can set the texture size higher (from 1,024 x 1,024 to 16,384 x 16,384) to maintain your original texture quality. Since texture images take up video memory, please consider the overall performance budget for better optimization.
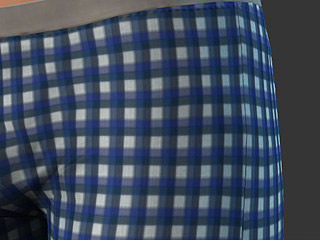
|
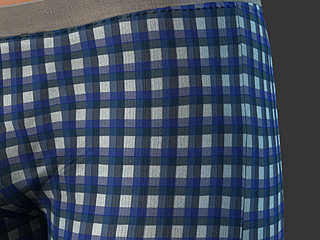
|
|
Source Image = 3000 x 3000 |
Source Image = 3000 x 3000 |
Order-independent Transparency
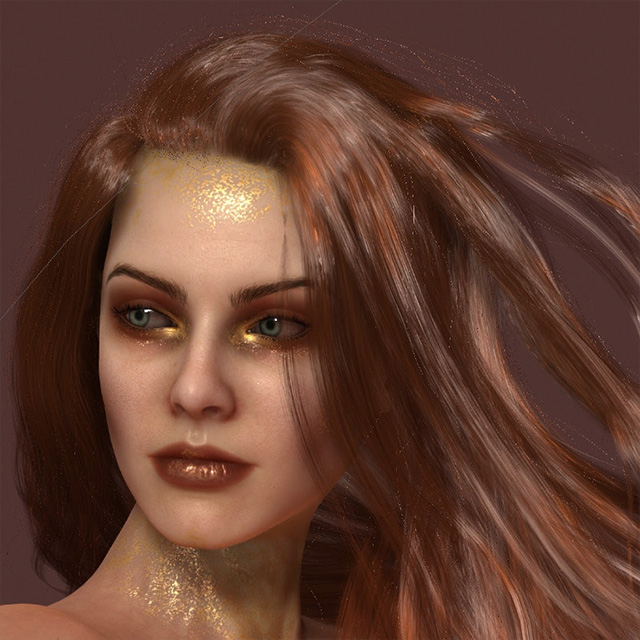
- Unlimited transparent layers (Windows 10, NVIDIA GeForce 900 series or above required): Correctly renders overlapping transparent objects regardless of depth order. This mode provides higher visual quality and automatically manages transparent layers and VRAM usage.
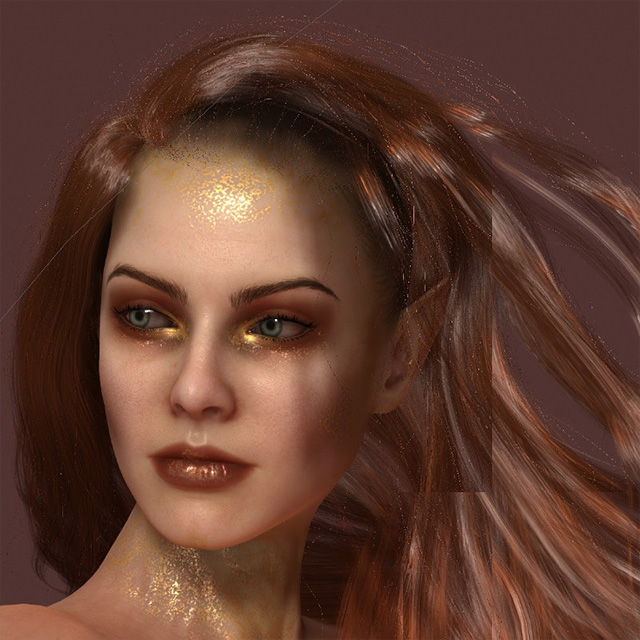
- Maximum transparent layers per pixel reached: Limits the number of transparent layers rendered per pixel. Use the slider to control the maximum layer count to reduce VRAM usage and improve rendering performance, at the cost of visual quality.
|
|
|
Unlimited transparent layers |
Maximum transparent layers per pixel reached |
 Note:
Note:
Turning this feature on can occasionally cause the program to crash due to driver malfunction. When a program failure does happen, this feature will be automatically disabled to prevent further occurances and will need to be manually enabled again.
