Customizing Clothing Layers
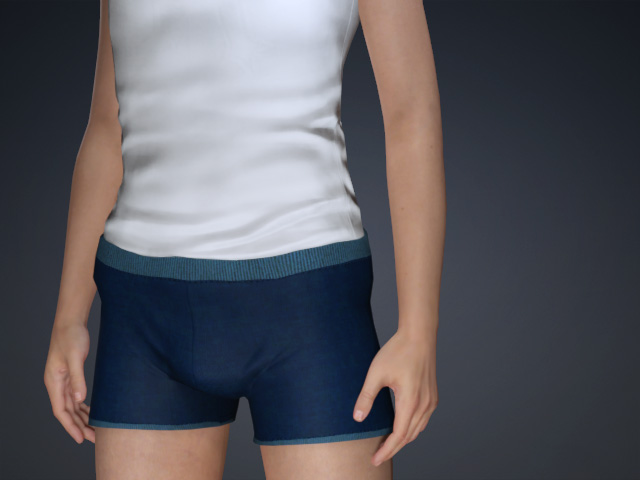
In Character Creator, you can set the collision layer of the clothing, including the gloves and shoes, no matter if the clothing is from the embedded contents or you created in your favorite 3D tools. you can choose to tuck shirts in or let them hang over of the pants.
These layer settings will be saved in the project; and if you will not be sharing the clothing with any other character, then you can change the layer without limitation as long as the result is satisfying to you.
-
Create a new project and create a character with clothes.
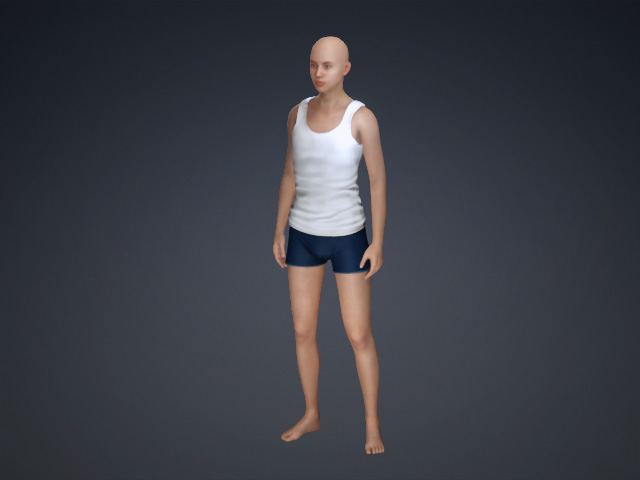
The cloth with larger number will cover the one with smaller number.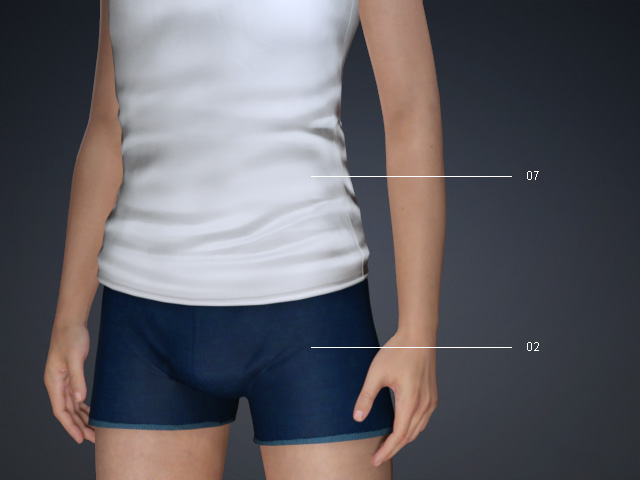
-
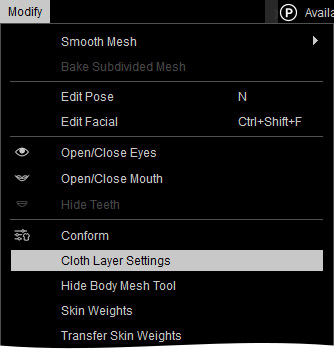
Execute Modify >> Cloth Layer Settings command to
launch the panel.
-
Set the layer order number of the item by one of the following methods:
Drag and Drop:-
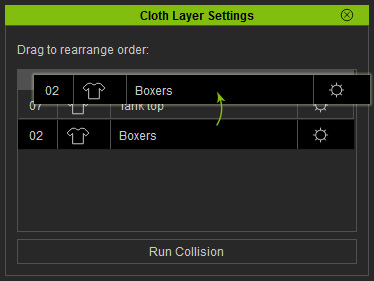
Drag and drop one of the item in the list above or below the other one (In this case, the
boxers is dragged above the tank top). This means you can move the item to another layer.
 Note:
Note:Please refer to the Assigning Layer for Outfit Compatibility section for more information.
-
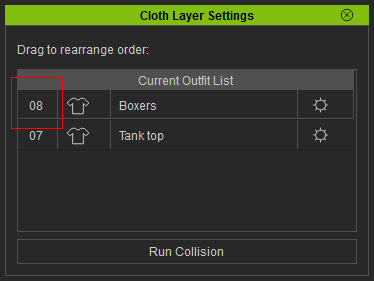
The layer number of the item will be changed accordingly.
Using Collision Order Panel:
-
Click the Collision Order
 button
at the right side of an item to display the corresponding panel.
button
at the right side of an item to display the corresponding panel.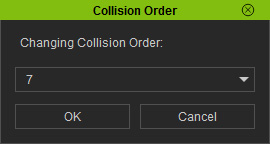
-
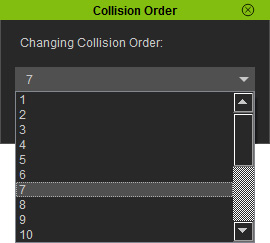
Set the item to a specific layer by the number in the Changing Collision Order drop-down list.
-
Drag and drop one of the item in the list above or below the other one (In this case, the
boxers is dragged above the tank top). This means you can move the item to another layer.
-
Click the Run Collision button to see the collision result.
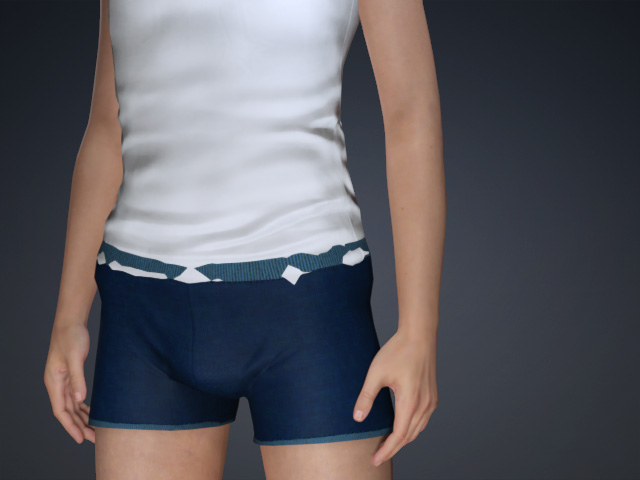
Repeat this step until the piercing is resolved.