


Selecting Mesh Components
In Character Creator, you can select either vertices, mesh faces or even sub-elements for further editing. Please also refer to the Using Quick Select Features for more information. After selecting mesh components, you can perform editing operations such as deleting mesh faces or hiding meshes in the Edit Mesh Panel.
|
|
|
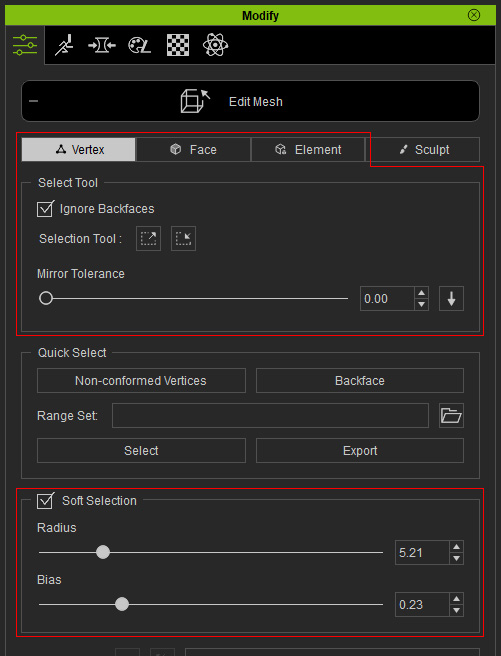
Selection tools in Edit Mesh mode. |
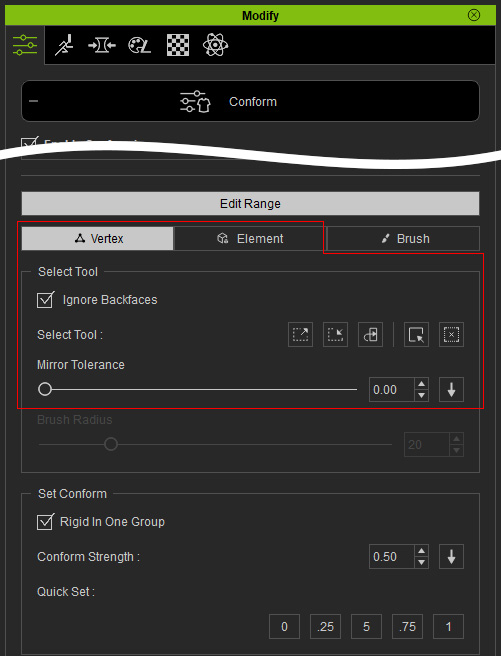
Selection tools in Conform mode. |
|
|
|
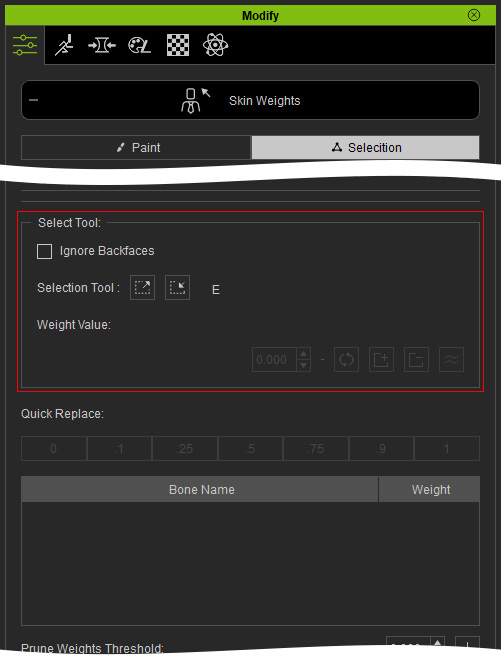
Selecting tools in cloth Skin Weight mode. |
When you switch to different modes and select, the selected result will be totally different.
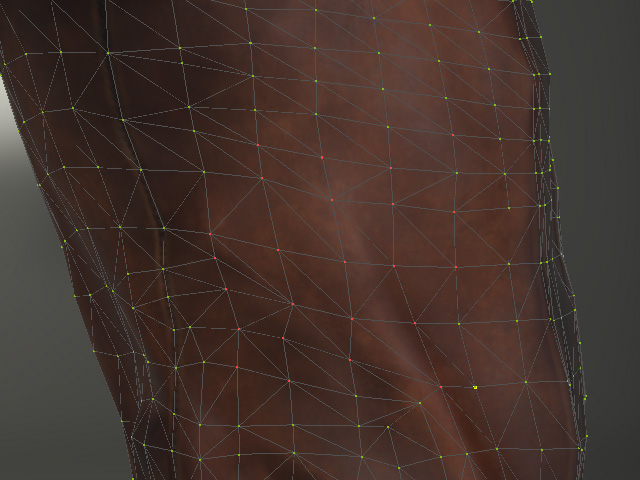
- Vertex Mode: In this mode, you can select the vertex (the red dots in the illustration below) on object's surface for editing.
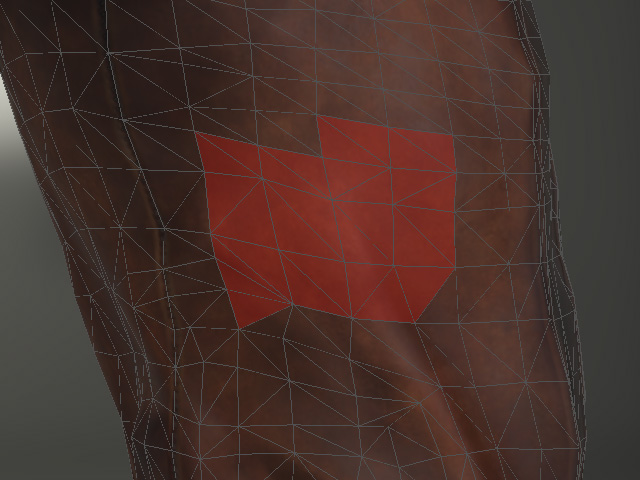
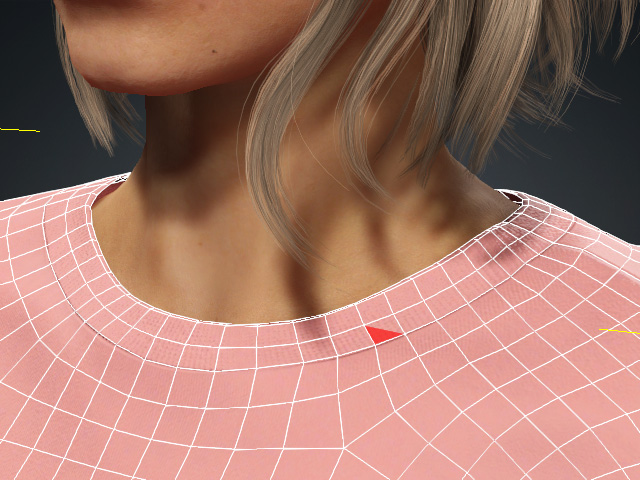
- Face Mode: In Face mode, you can select the mesh faces (red triangles in the illustration).
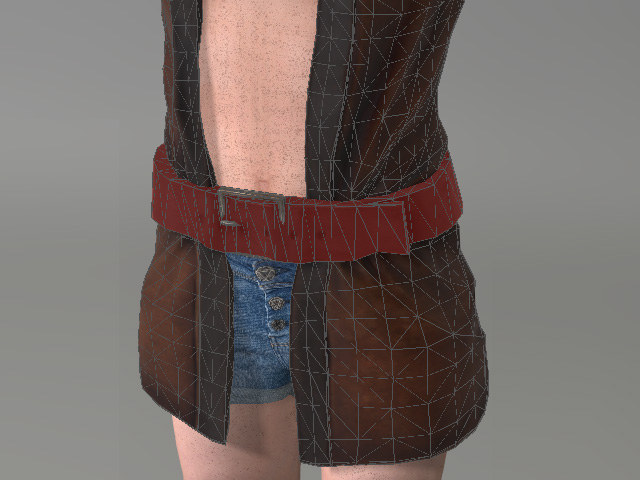
- Element Mode: In this mode, you can select the entire sub-meshes of the object (the belt in this example).
- Keep in mind that you can press down the Ctrl key for multi-selection.
- Left Mouse Clicking
- Regular Click: Click to select one face or vertex.
- Ctrl + Click: Hold the Ctrl key and click to multi-select or multi-deselect faces or vertices once at a time.
- Shift + Click: Hold the Shift key and click to Add one face or vertex into selection.
- Ctrl + Shift + Click: Hold the Ctrl and Shift keys, and click to Subtract faces or vertices from selection.
- Dragging Selection Box
- Regular Dragging Selection Box: Select faces or vertices framed up by the box.

- Ctrl + Dragging Selection Box: Hold the Ctrl key and drag a selection box over selected faces or vertices to invert the selection.
- Shift + Dragging Selection Box: Hold the Shift key and click or drag a selection box to add more faces or vertices into
a selection.

- Ctrl + Shift + Dragging Selection Box: Hold the Ctrl and Shift keys, and click or drag a selection box to subtract faces or vertices from selection.
- Regular Dragging Selection Box: Select faces or vertices framed up by the box.
- Ignore Backfaces: Activate this box in order to avoid from accidentally selecting the back faces or vertices.


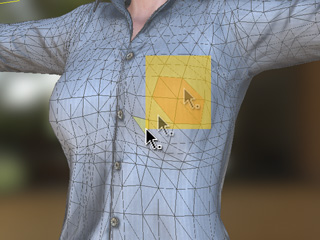
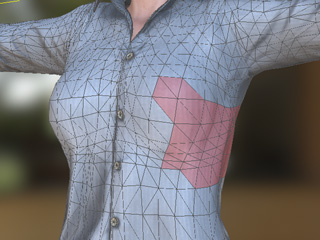
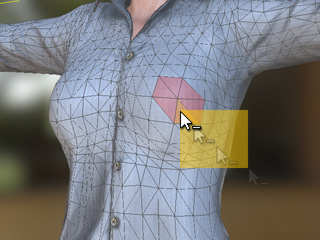
Drag a box to select faces.
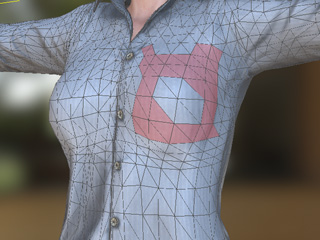
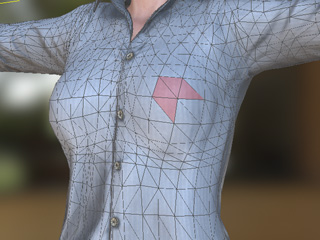
Ignore Backfaces: ON
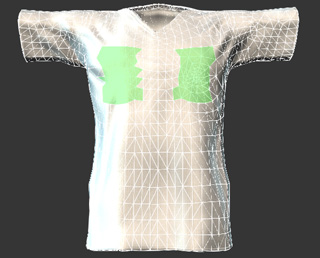
Only the front faces are selected.Ignore Backfaces: OFF
The front and back faces are selected together. - Grow Selection: Click this button to increase the size of the current selection in order to select more
adjacent faces or vertices.


The original selection.
The more faces are selected as the Grow button is clicked twice.
- Shrink Selection: Click this button to decrease the size of the current selection in order to select
fewer adjacent faces or vertices.


The original selection.
The more faces are selected as the Shrink button is clicked five times.
- Mirror Tolerance: This is a threshold value for the Mirror Selection feature.
The higher the value is, the more symmetrical faces or vertices will be selected when the
Mirror Selected button is clicked. Increase this value for the meshes that
are not completely symmetrical in order to mirror-select faces as possible.

Tolerance: 0
Fewer faces at the symmetrical side are selected when you click the Mirror Selected button.Tolerance: 100.00
More faces at the symmetrical side are selected when you click the Mirror Selected button. - Mirror Selected: If you want to select the symmetric faces or vertices, then click the Mirror Selected


The original selection.
More faces are selected as the Mirror Selected button is clicked (5x).
You can select vertex or face loops by holding the Ctrl key in Vertex and Face modes.
-
Vertex Loop Selection (for Conform, Edit Mesh, and Skin Weight features):
- Enter Conform, Edit Mesh, or Skin Weight mode. The wireframe appears.
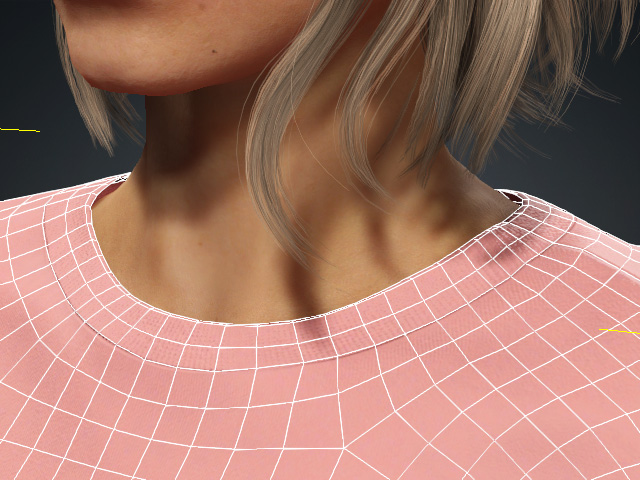
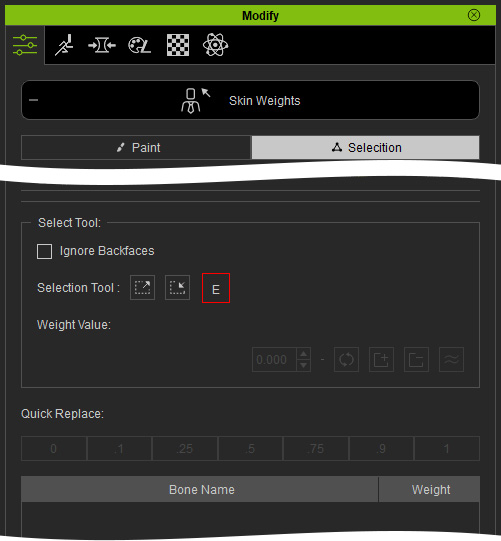
- In Vertex mode, enable the Edge Loop feature in either Edit Mesh or Skin Weight tool.
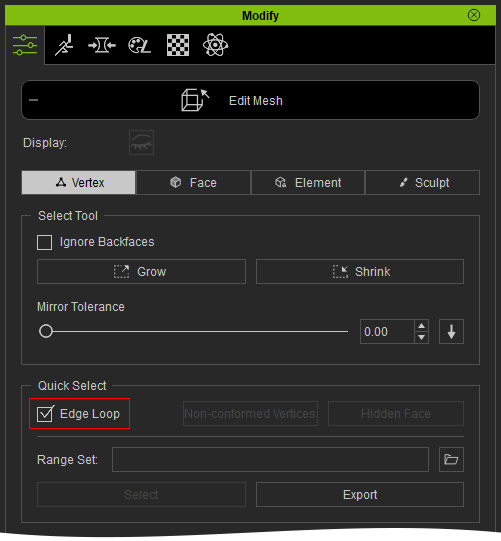
Edge Loop enabled in Edit Mesh mode.
Edge Loop enabled in Skin Weight mode.
- Select a vertex on the desired loop.

- Hold the Ctrl key and select an adjacent vertex on the same loop.

- All vertices along the loop will be selected.

- Enter Conform, Edit Mesh, or Skin Weight mode. The wireframe appears.
- Face Loop Selection (for Edit Mesh mode only):
- Enter Edit Mesh mode. The wireframe appears.
- Switch to Face mode and enable the Edge Loop checkbox.
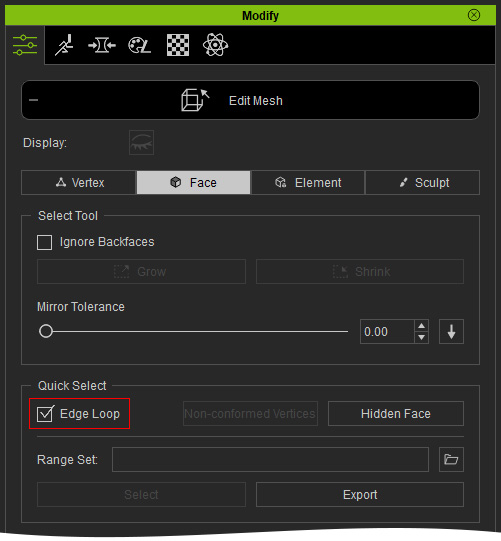
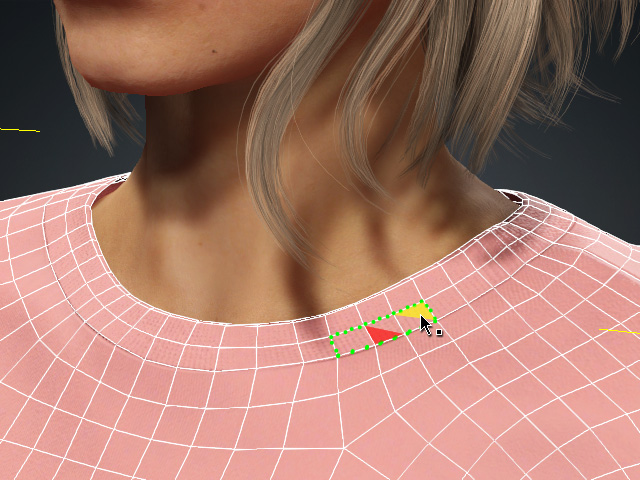
- Select a triangle face on the desired loop.
- Hold the Ctrl key and select another triangle face on the same rectangular mesh or on an adjacent mesh within the loop.
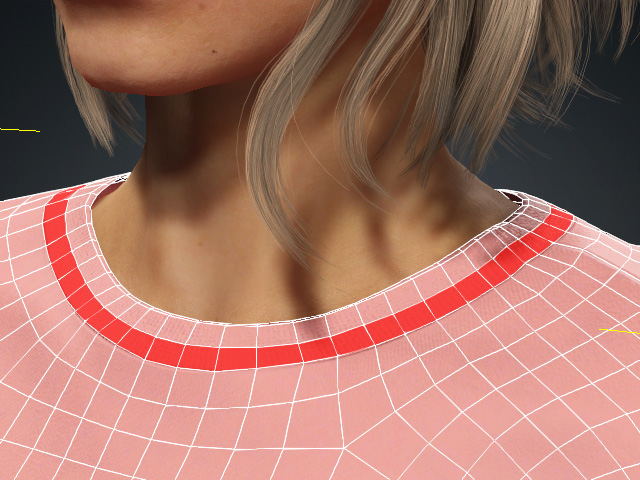
- All faces along the loop will be selected.
- Enter Edit Mesh mode. The wireframe appears.
Refer to the Using Quick Select Features section for more information.
Soft Selection can be used to gradually influence the faces or vertices surrounding the selected faces
when you move, rotate or scale them.

|

|
|
Soft Selection: OFF |
Soft Selection: ON |
- Radius: This value determines the size of the influence range.


Falloff Radius: 0
Only the selected faces can be edited.Falloff Radius: 10
The influenced area is expanded centering the selected faces. - Bias: This value determines the size of the influence range.


Bias: 0
The green wireframes will be influenced less.Bias: 10
The red wireframes will be influenced more.
