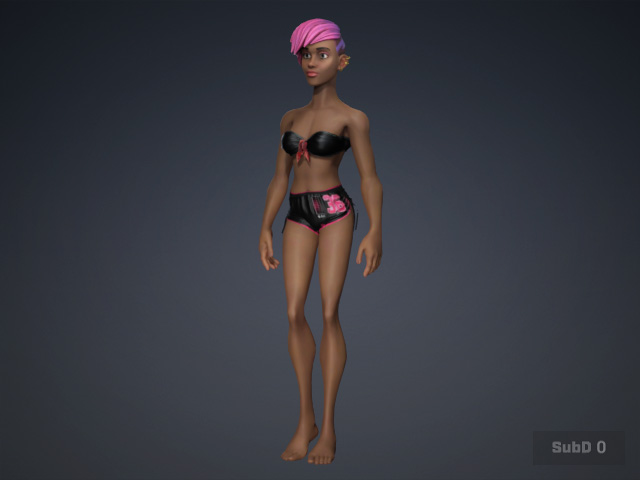
Advanced Conversion of Assets for Complete Textures
If you intend to import complete textures from DAZ Studio, including all material channels, you must use the Advanced Conversion and correctly configure the Asset Import Status Report panel.
In the following steps, the G9 character from DAZ Studio with a pair of jeans is taken as an example.
Exporting Character from DAZ Studio
- Create a character in DAZ Studio, including all morphs, clothing, and high-resolution textures.
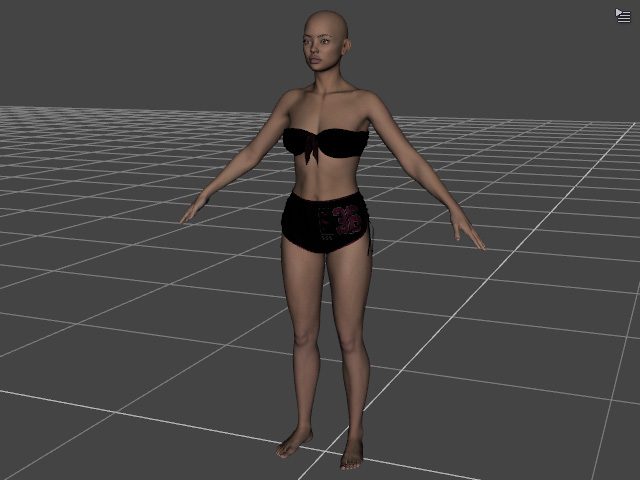
- In Character Creator, select the appropriate A-pose for the DAZ Studio character based on your requirements.
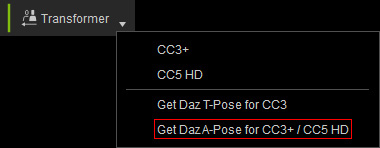
- Transformer Toolbar: Select Get Daz A-Pose for CC3+ / CC5 HD from the menu.
- Create Menu: Select the A or T poses from the Create > Transformer > Get Daz A-Pose for CC3+ / CC5 HD menu.
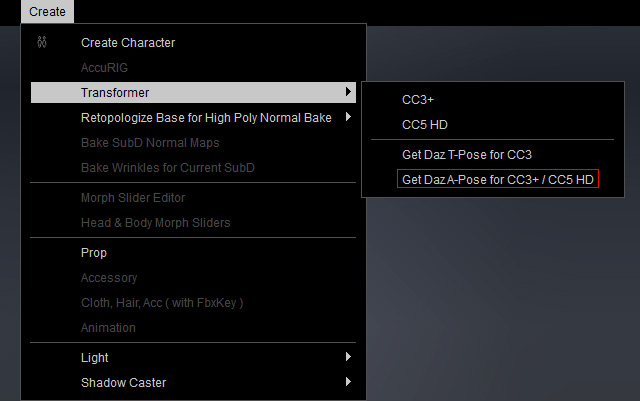 (The compatible A-poses are located at: C:\Program Files\Reallusion\Character Creator 5\Program\Assets\ExternalFiles\DazResource\A_Pose).
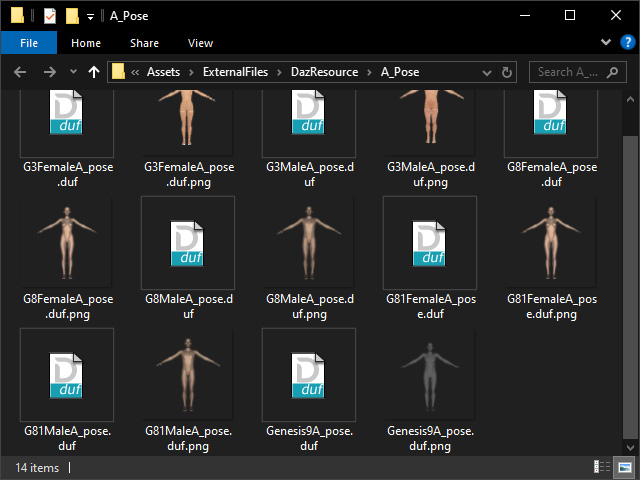
- Transformer Toolbar: Select Get Daz A-Pose for CC3+ / CC5 HD from the menu.
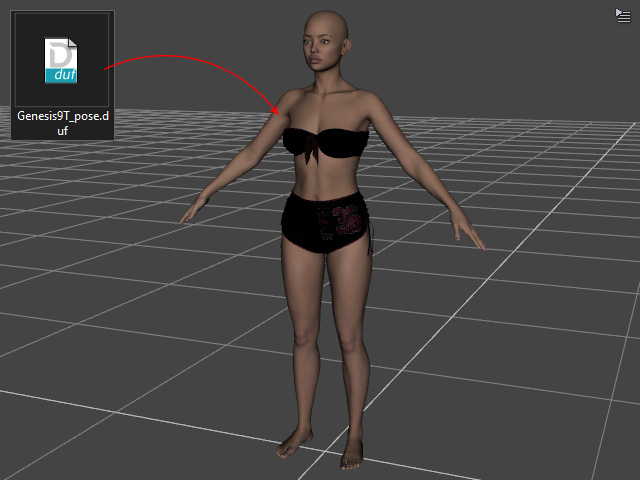
- Drag and drop the suitable A-pose for the current DAZ Studio character (Genesis9T_Pose.duf).
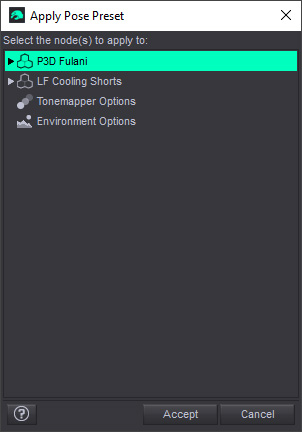
- In the Apply Pose Preset panel, select the character and click Accept.
The character will assume the T-pose and be ready for export.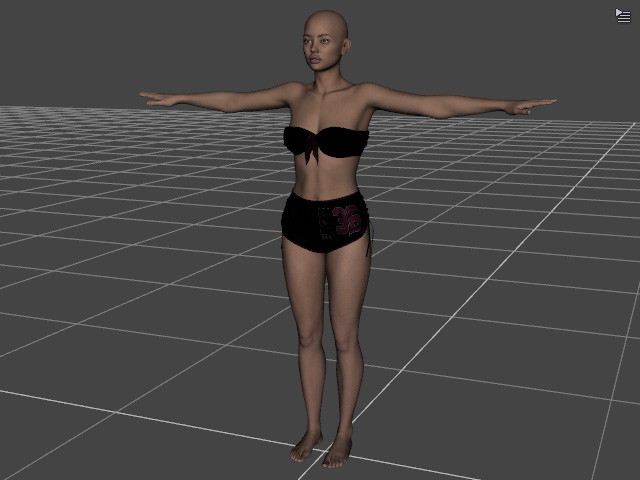
- Export the character as an FBX file. The FBX 2012 -- Binary format is required.
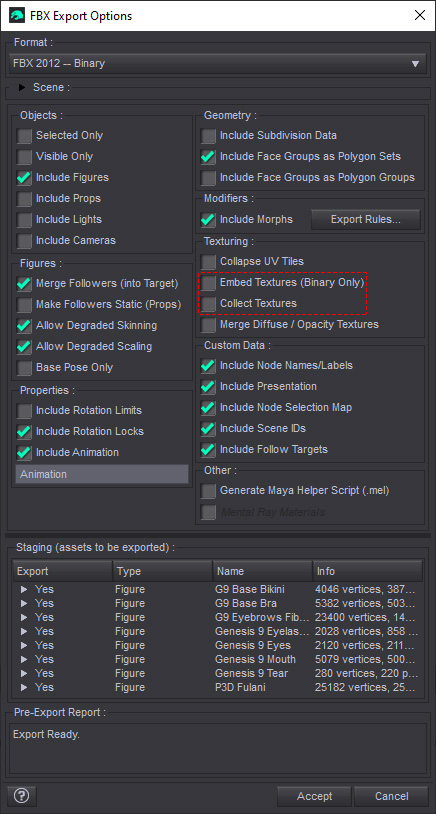
* Ensure that both "Embed Textures" and "Collect Textures" are deactivated. - Save the FBX file.
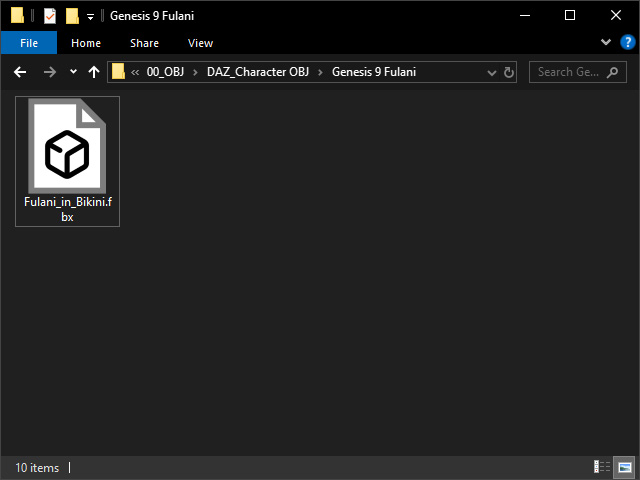
Importing Character to Character Creator
- Launch Character Creator 5 and start the Transformer feature.
- Transformer Toolbar: Select CC3+ or CC5 HD from the menu.
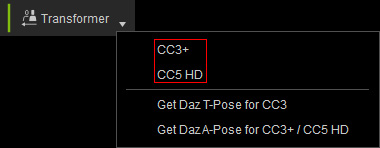
- Create Menu: Select CC3+ or CC5 HD from the Create > Transformer menu.
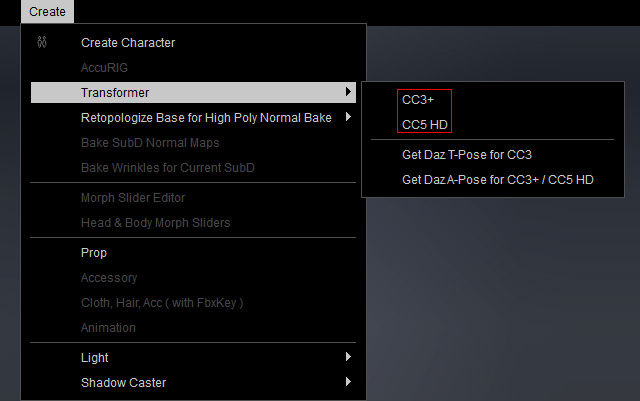
- Transformer Toolbar: Select CC3+ or CC5 HD from the menu.
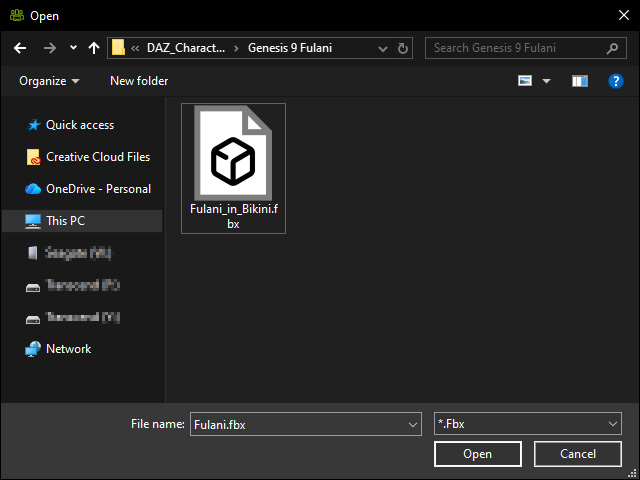
- Select the FBX file and click Open.
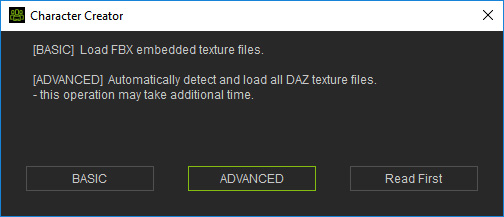
- When you encounter the dialog box, click on the ADVANCED button for auto-detecting and loading all textures the character ever be applied with in DAZ.
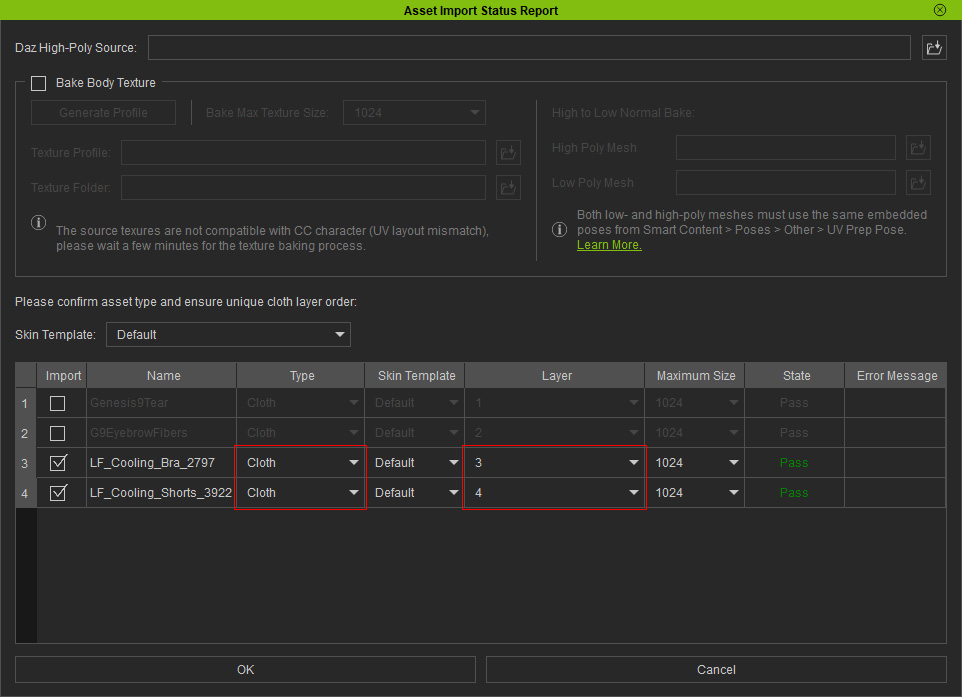
- Identify the types of the contents of the character in the Asset Import Status Report panel.
 Note:
Note:Bake Body Texture can be either activated or not because in this section, the asset is the main target for conversion.
- Click OK to import the character and the assets on it. The DAZ Studio character thus is converted successfully into Character Creator.
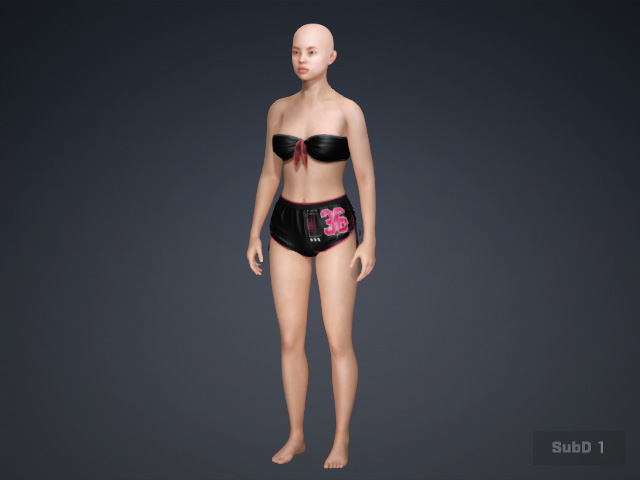
- All the textures ever applied to the character's assets in DAZ Studio will be auto-loaded.
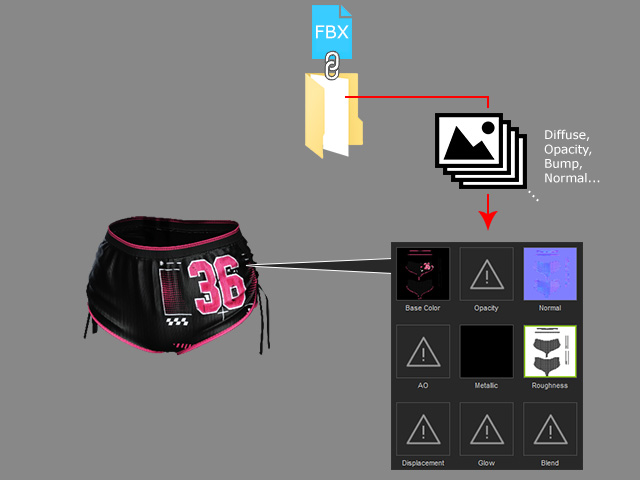
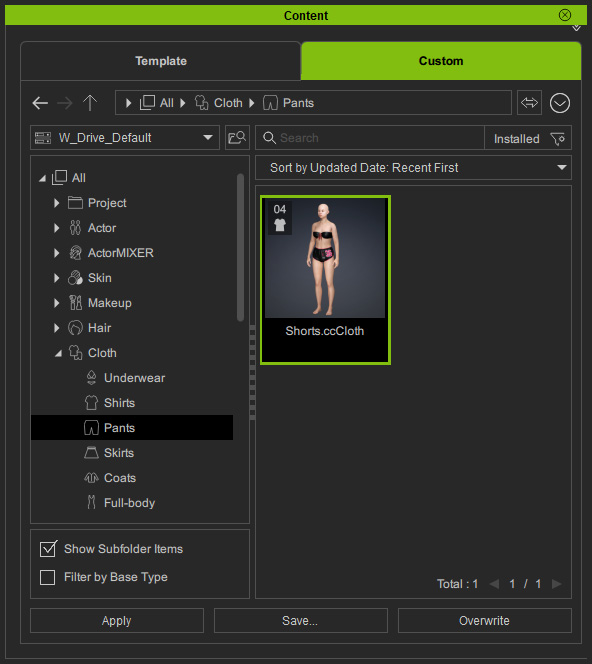
- You can then add these assets to the Content Manager.
 Note:
Note:You may need to set the layer number of the cloth with the Cloth Layer Settings panel.
- This content can be applied to any other characters in Character Creator.