Using INI for Loading All Body Textures
Only diffuse textures for the skin, eyes, teeth, and nails—as well as the opacity texture for the eyelashes—are imported during a BASIC conversion. This process utilizes the Baking Body Textures feature because DAZ Studio FBX files only provide these specific textures.
While using ADVANCED conversions, conversions, results may be incorrect if the texture names do not adhere to the required naming conventions.
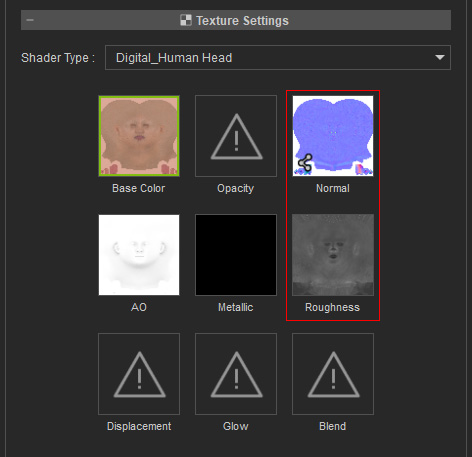
In order to correctly load all essential textures, including Diffuse, Opacity, Metallic, Roughness, Normal, Bump, Specular, AO, and Displacement, you must manually complete an INI file with the texture names and specify the directory where these textures are stored to load them into Character Creator.
Exporting Character from DAZ Studio
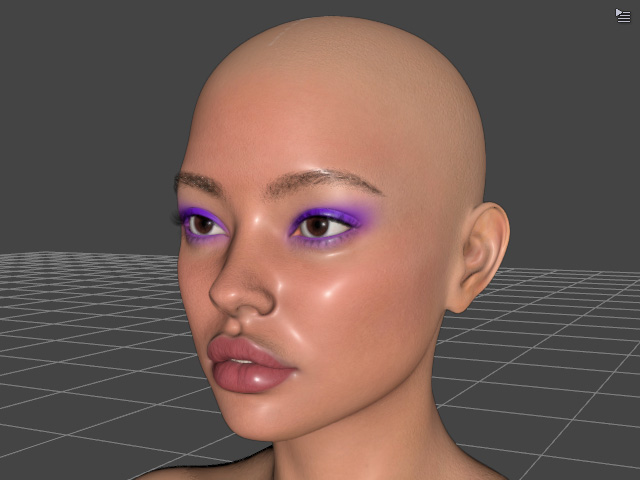
- Create a character in DAZ Studio, including any applied makeup.
- In Character Creator, choose the A-pose for the DAZ Studio character according to your requirements.
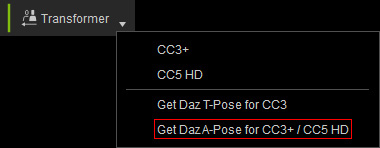
- Transformer Toolbar: Select Get Daz A-Pose for CC3+ / CC5 HD from the menu.
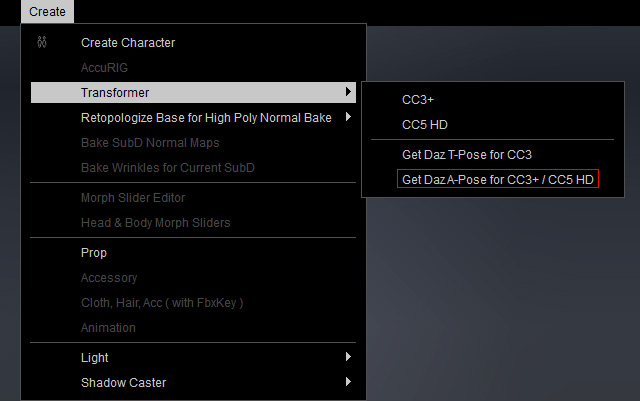
- Create Menu: Choose the A or T poses from the Create > Transformer > Get Daz A-Pose for CC3+ / CC5 HD menu.
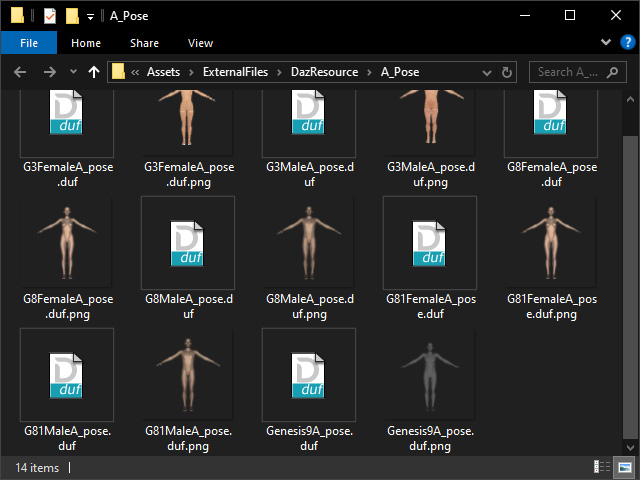
- Transformer Toolbar: Select Get Daz A-Pose for CC3+ / CC5 HD from the menu.
- Drag and drop the appropriate DUF file onto the character.
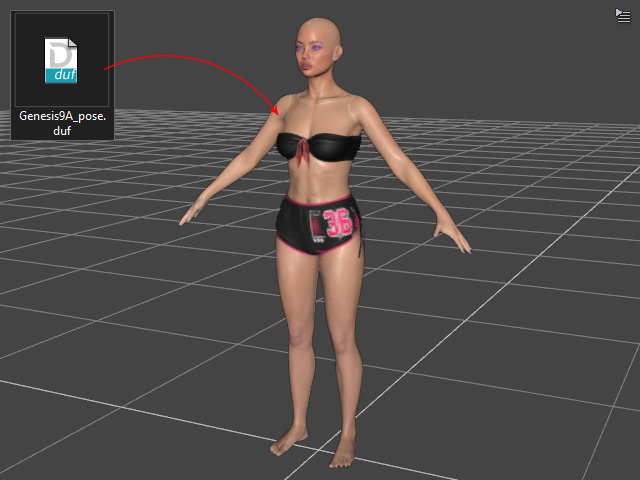
- Select the character in the Apply Pose Preset panel and click the Accept button.
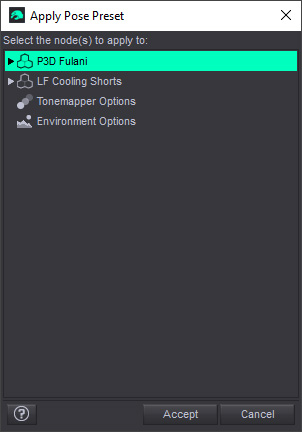
The character will assume an A-pose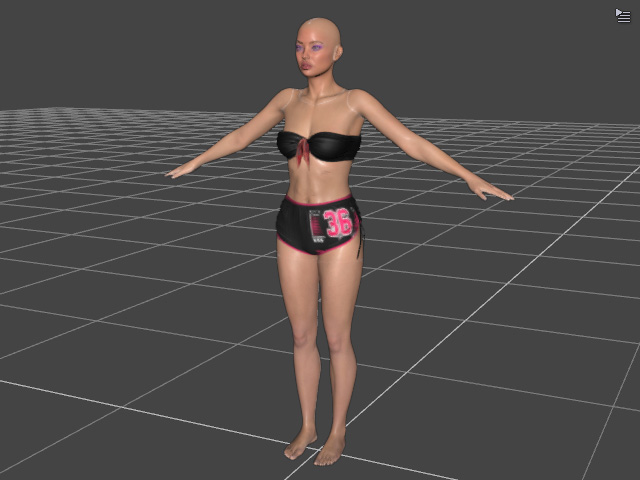
- Export the FBX with the settings shown in the illustration (FBX 2012 -- Binary is required).
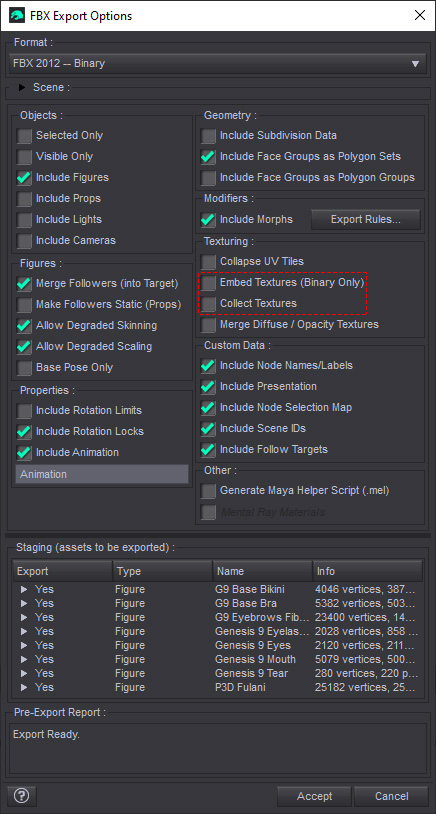
* Ensure that the Embed Textures and Collect Textures checkboxes are deactivated. - Save the character as an FBX file.
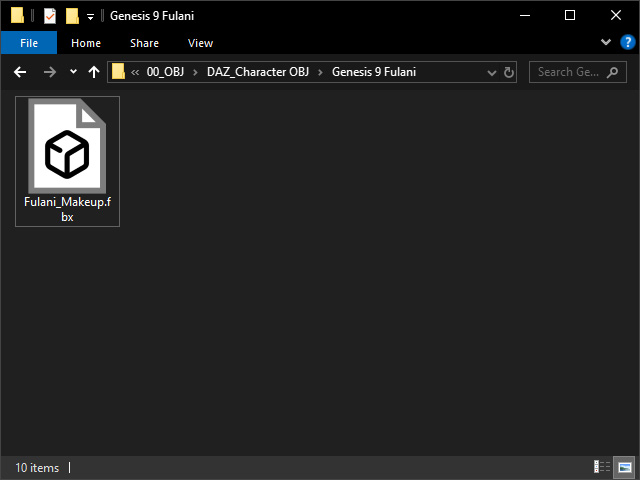
Finding All DAZ Studio Character's Textures
Before importing the DAZ Studio character into Character Creator, you must locate all of the character's textures. There are two methods to find them:
- Use the system browser to navigate to the default path where DAZ Studio stores all linked textures for the current character. In this case, they are located under:
C:\DAZ 3D\Applications\Data\DAZ 3D\My DAZ 3D Library\Runtime\Textures\[texture pack name] - Apply the character to the DAZ Studio stage first, and then perform the following steps:
- Select the character in the Surfaces panel.
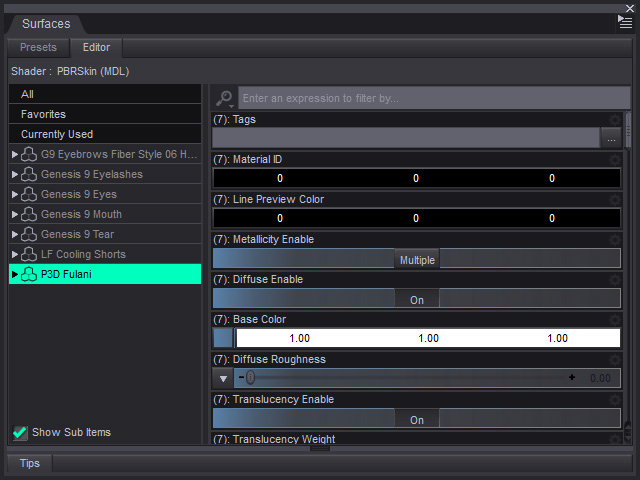
- Expand the node and access one of the sub-nodes (for example, Head) under the Surfaces node.
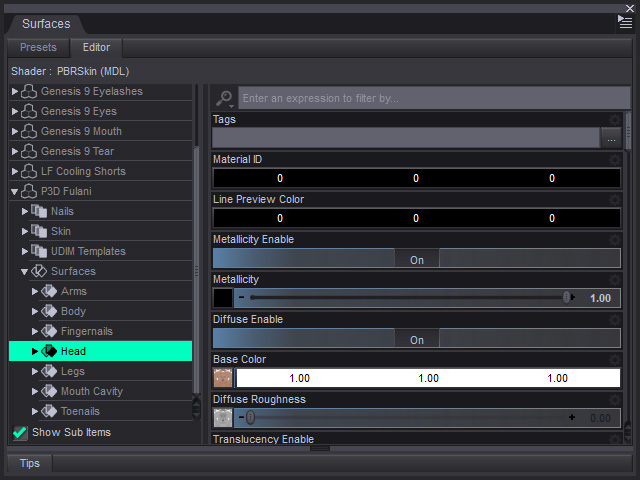
- Click the texture thumbnail to display the pop-up menu and select the Browse... command.
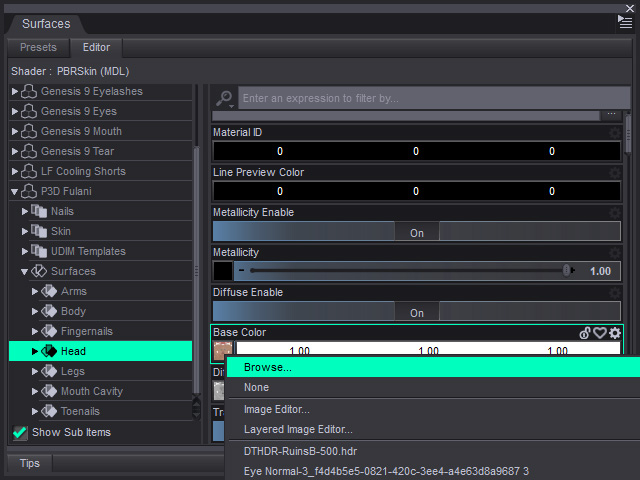
- Copy the texture path. Close the browser by clicking the Cancel button.
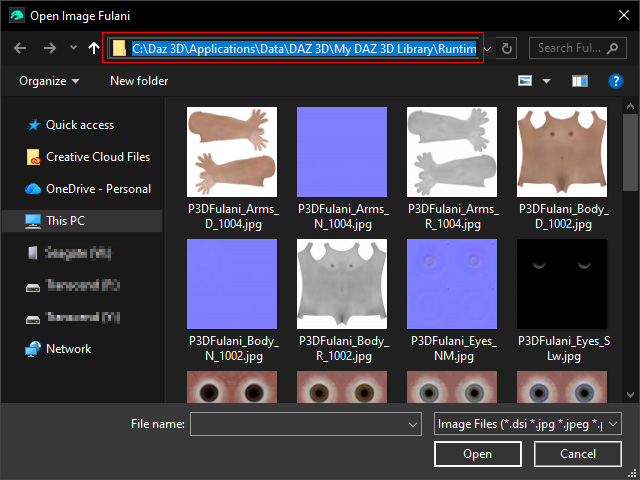
- Open the system file explorer and paste the path.
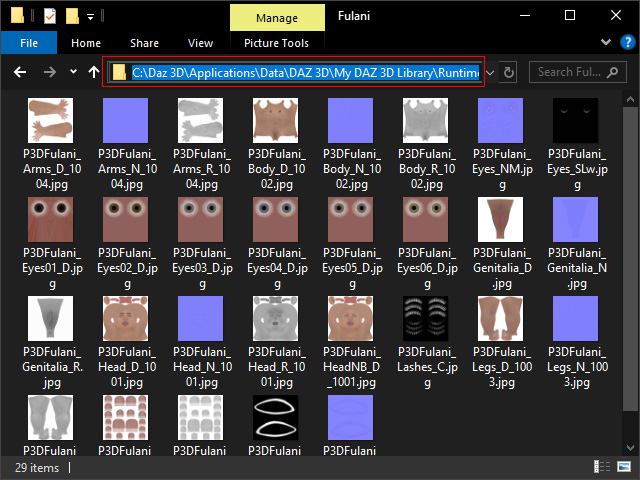
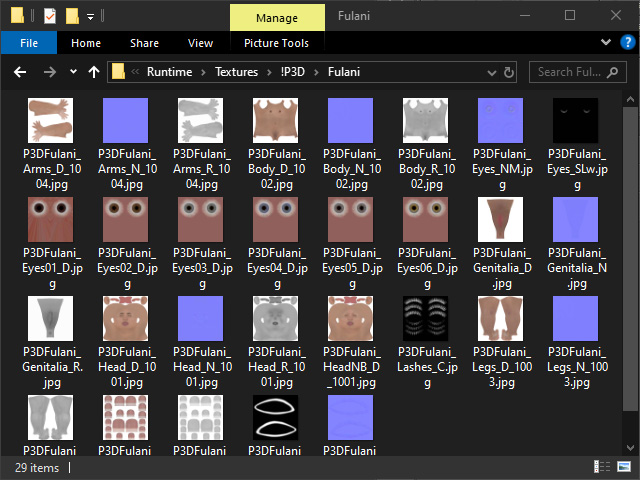
- Select the character in the Surfaces panel.
Importing Character with Baked Textures
- Launch Character Creator 5 and start the Transformer feature.
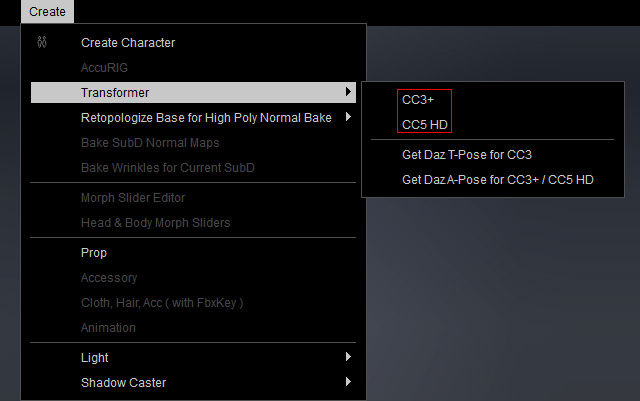
- Transformer Toolbar: Select the CC3+ or CC5 HD from the menu.
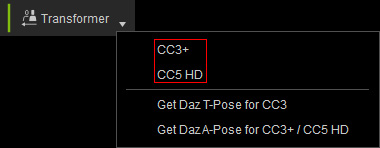
- Create Menu: Choose the the CC3+ or CC5 HD from the Create > Transformer menu.
- Transformer Toolbar: Select the CC3+ or CC5 HD from the menu.
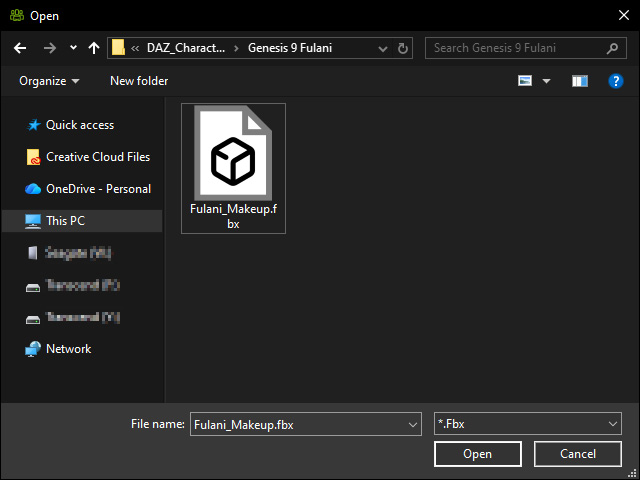
- Select the FBX file exported in the previous section and click the Open button.
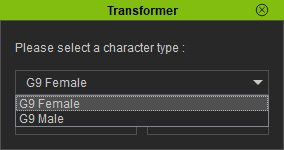
- Select the character type of the FBX file and click the OK button.
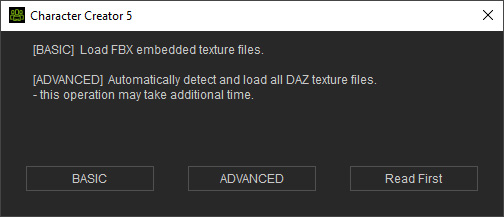
- When the dialog box appears, click either the BASIC or ADVANCED button to load the textures that were applied to the character in DAZ Studio.
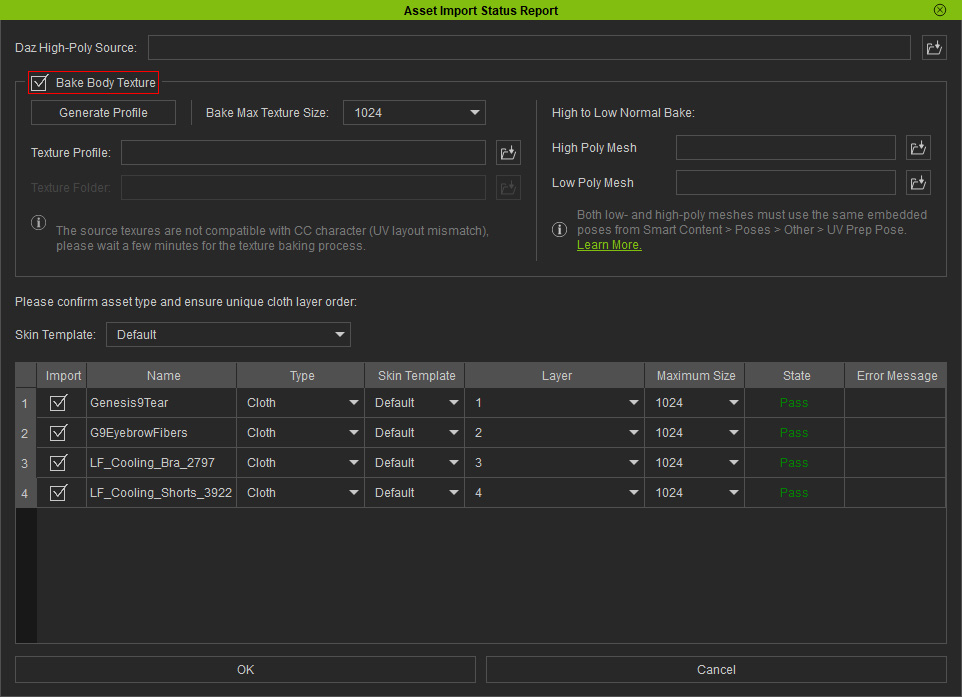
- Activate the Bake Body Texture checkbox in the Asset Import Status Report panel.
 Note:
Note:- Ensure you correctly identify the asset types in the list.
- Usually, the Hair type must be manually selected.
- Click the Generate Profile button. You will be directed to the default folder where INI profiles are installed with Character Creator. Save a new INI file in this folder for G9 characters.
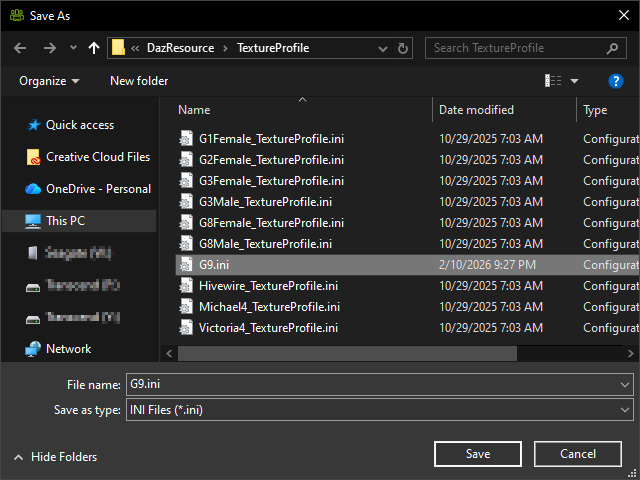
** If you are using a character version earlier than G9, choose the corresponding embedded INI file. - The Texture Profile field will be automatically populated to point to the newly created INI file.
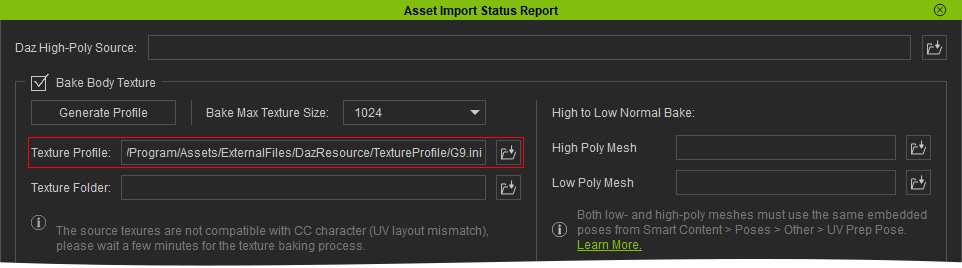
Editing INI File
- Open the INI file and the folder where all DAZ Studio character textures are located.
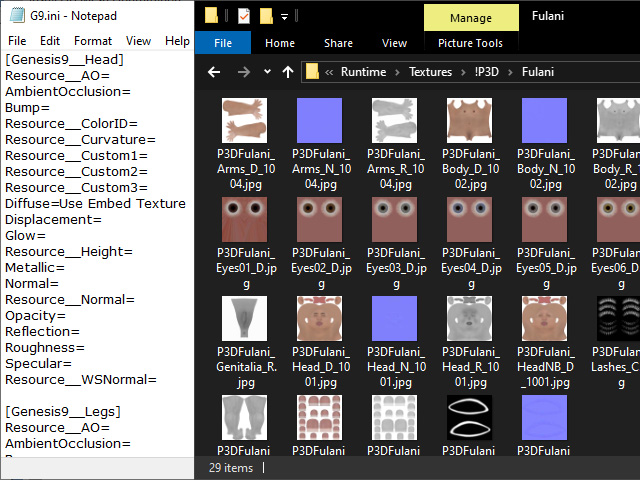
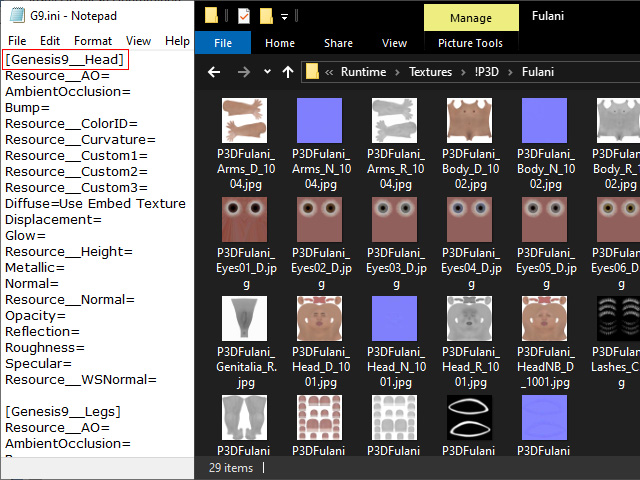
- Identify the material name.
- Copy the texture name of the material from the folder and paste it after the corresponding parameters in the INI file.
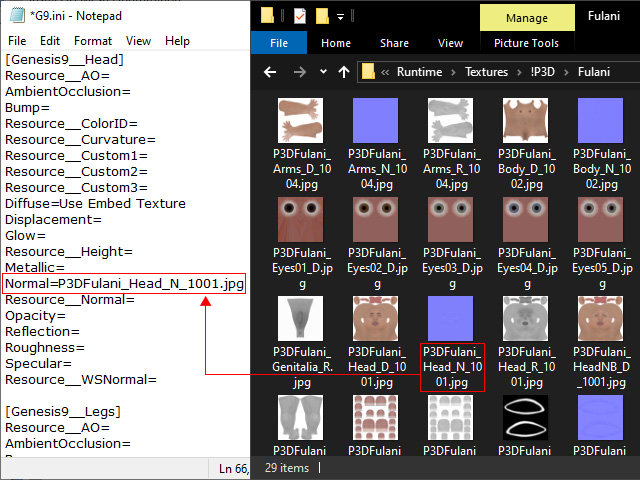
- Paste all necessary texture names into the INI file (including Diffuse, Opacity, Specular, Bump, and Normal maps provided by DAZ Studio, or any other textures applied to the DAZ Studio character). Save the file when finished.Note:
The Specular texture will be inverted and assigned to the Roughness channel.
Loading and Baking All Textures
- Switch back to Character Creator and fill the Texture Folder field with the path obtained in the previous steps.
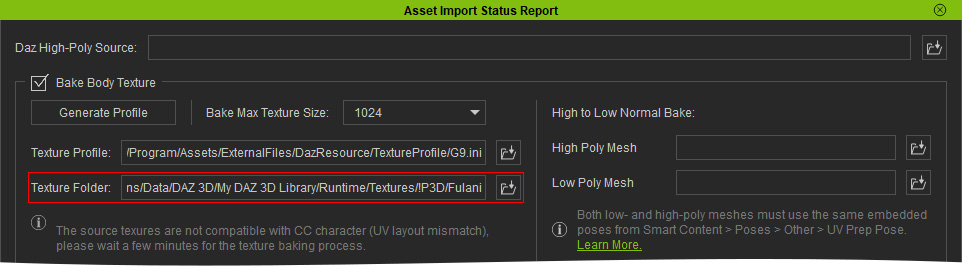
- Click the OK button in the Asset Import Status Report panel to convert the character with baked textures.
- Verify the materials; you will find that all character textures specified in the INI file have been baked and imported into Character Creator.