


GoZ User Interface Introduction (New for v3.04)
From Character Creator to ZBrush
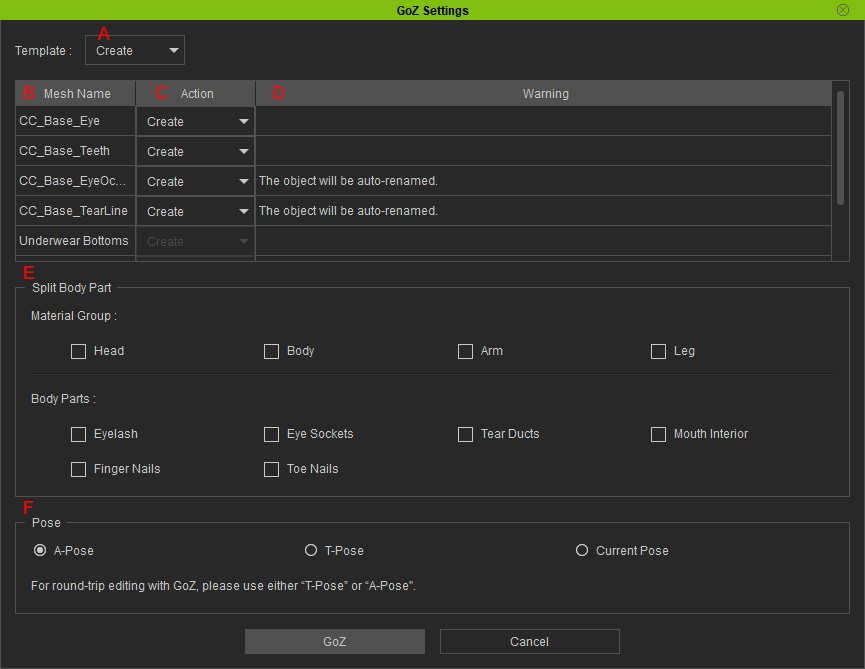
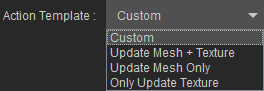
- Template: Use the drop-down list to quickly set all the Actions of the items in the list at once.
The possible settings are Create, Relink and Custom. If the Actions of the items in the list are different, then the Template will auto-switch to Custom.
- Mesh Name: Displays all the names of the selected objects for exporting.
- Action: Use the drop-down list to determine if the item is to be exported as a new or a linked tool in ZBrush.
- Create: The item is exported as a new tool. Therefore, if you export the item with this action, more than one tools from this item will show in ZBrush.
- Relink: The item is exported as a linked tool. Only one tool will be shown and edit in the tool cabinet in ZBrush.
- The tool files for GoZ feature are stored in the path below (by default):
C:\Users\Public\Pixologic\GoZProjects\Default
- Create: The item is exported as a new tool. Therefore, if you export the item with this action, more than one tools from this item will show in ZBrush.
- Warning: Displays extra information for you.
- Split Body Part: Export the character to a ZBrush tool as an entity or separated parts. You can find them in the Sub tool
menu in ZBrush.
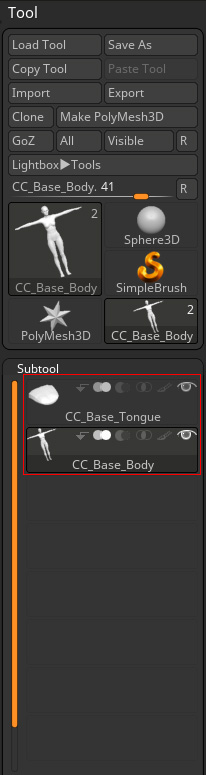
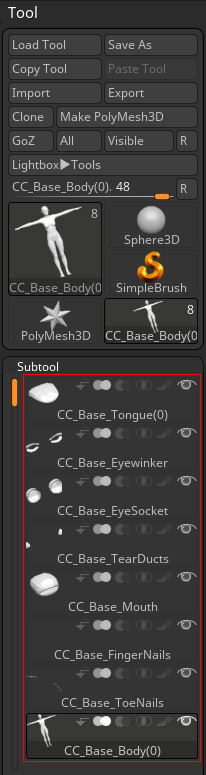
Character is not split
Character is split into multiple parts.
- Pose: Activate this to send the character to Zbrush with a custom pose.
From ZBrush to Character Creator
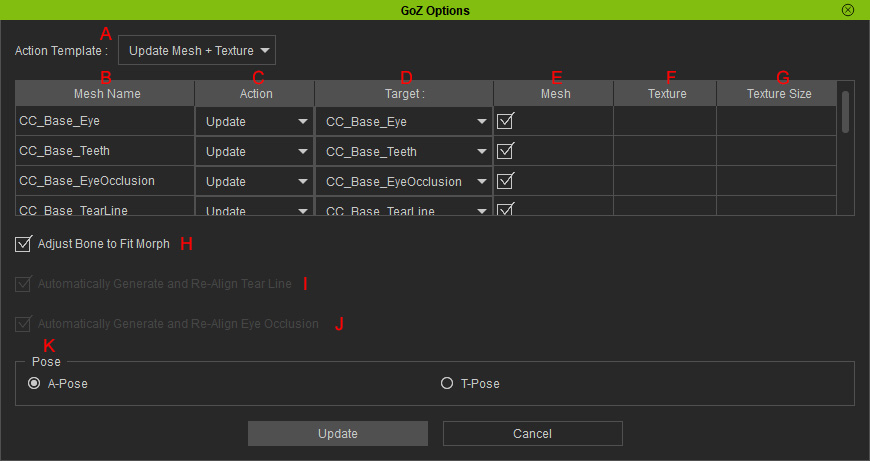
- Action Template: Use this drop-down list to activate all the items' Mesh and / or Texture boxes at once.
- Update Mesh + Texture: Auto-activate all the boxes in the Mesh and Texture cells.
- Update Mesh Only: Auto-activate all the boxes in the Mesh cells.
- Only Update Texture: Auto-activate all the boxes in the Texture cells.
- Mesh Name: Displays the names of the items to be transmit back to Character Creator.
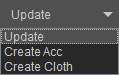
- Action: Use the drop-down list to determine to update the original items or to create brand new accessories or clothes.
- Target: This drop-down list will display all the models with same vertex counts. You can determine the target to be updated.
- Mesh: Activate or deactivate this box to determine whether or not to update the target object or or to create a new one.
- Texture: Activate this to put on the textures applied in ZBrush
onto the target object in Character Creator.
*Notice that If the target object contains multiple materials (a mouth object with teeth and tongue materials, for example) , then the cell will be empty. - Texture Size: Set the texture resolution for import from the drop-down list.
- Adjust Bone to Fit Morph: Character Creator will auto-modify the bones' location and length in accordance with the morphed shape of the body.
