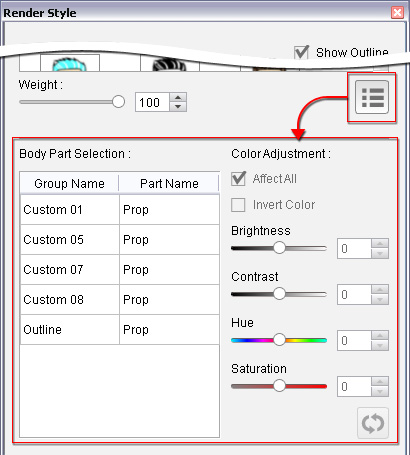
 Render Style button to open the panel
(you may optionally follow the steps in the
Changing Props Render Style - Basic section to set the character in different
render style).
Render Style button to open the panel
(you may optionally follow the steps in the
Changing Props Render Style - Basic section to set the character in different
render style).
|
Note: |
|
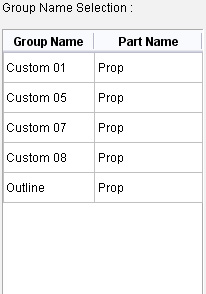
You may also grouping the sprites for setting render style together. Please refer to the Grouping Sprites for Render Style section for more information. |
|
|
|
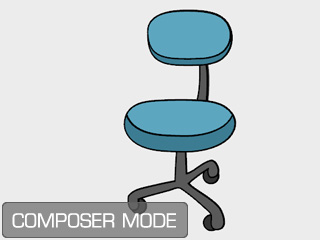
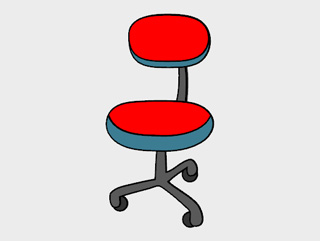
The initial look of the skin color. |
The color of the parts with same group name are simultaneously adjusted. |
|
Note: |
|
Click the
|
 Reset button to reset
the four sliders to the initial settings
of the currently selected template.
Reset button to reset
the four sliders to the initial settings
of the currently selected template.
|
|
|
|
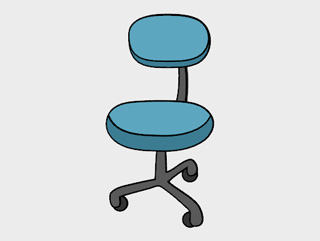
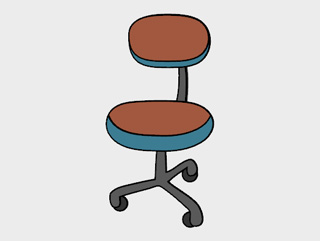
The initial look of the cushions color. |
The color is changed to its complementary color. |