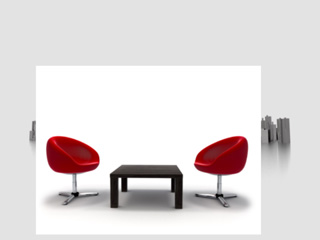
Original prop image
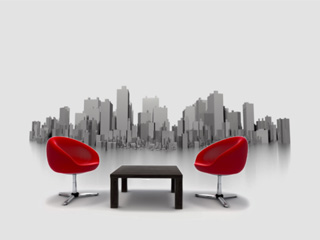
Masked prop image
The background mask hides all unnecessary areas of the loaded photo. This helps you keeping only the areas you are interested in, such as the furniture in a photo.
|
|
|
|
Original prop image |
Masked prop image |
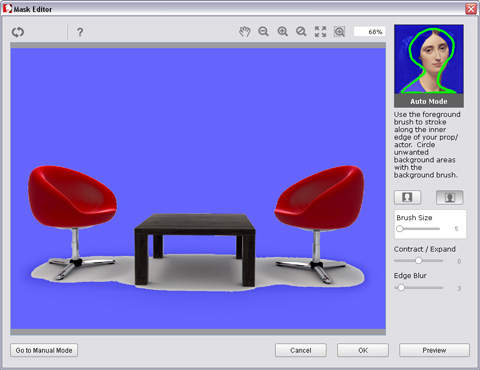
There are two methods to generate a background mask for your image.
 button at the tool bar to access the Mask Editor panel.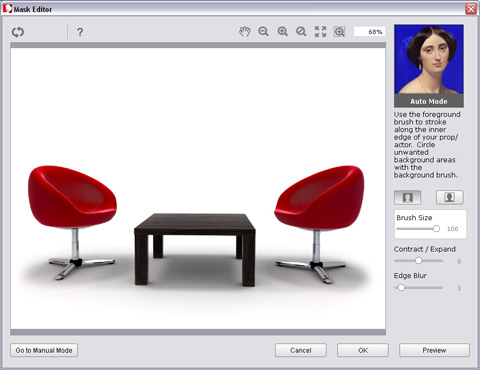
 Pan Tool:
After you zoom in the image, you may press down this button and drag the image in order
to pan to the desired area for modifying.
Pan Tool:
After you zoom in the image, you may press down this button and drag the image in order
to pan to the desired area for modifying.
 Zoom Out:
Click this button to zoom out the image for observing more of the image.
Zoom Out:
Click this button to zoom out the image for observing more of the image.
 Zoom In:
Click this button to zoom in the image for better observing and
modifying the details.
Zoom In:
Click this button to zoom in the image for better observing and
modifying the details.
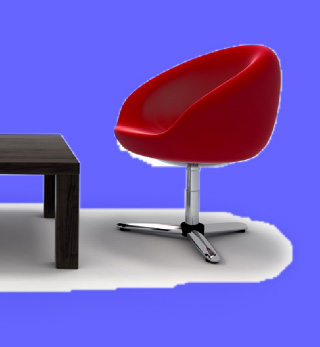
|
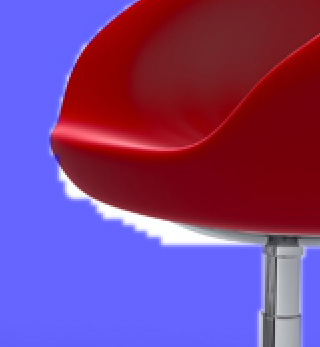
|
|
Before zoom in |
Zoom in for more easily modifying the details |
 Actual Size:
Click this button so the image will be shown in its original resolution.
Actual Size:
Click this button so the image will be shown in its original resolution.
 Fit to Window:
Click this button so that the image will be zoom in or zoom out in order to
just fit into the preview window.
Fit to Window:
Click this button so that the image will be zoom in or zoom out in order to
just fit into the preview window.
 Magnify Tool:
Press down this button and drag a rectangle around the desired area of the image
in order to zoom in to the area for better observing and modifying the details.
Magnify Tool:
Press down this button and drag a rectangle around the desired area of the image
in order to zoom in to the area for better observing and modifying the details.
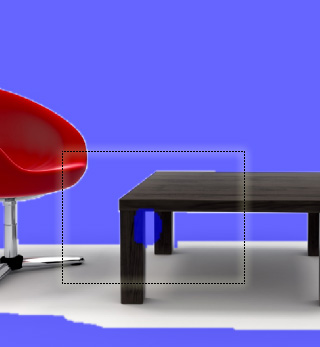
|
|
|
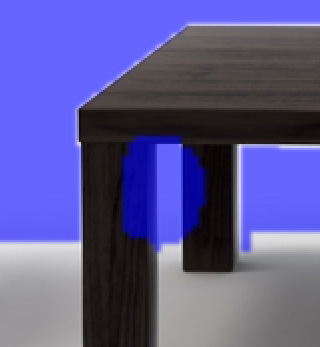
Drag a rectangle to surround the desired area |
Zoom in for more easily modifying the details |
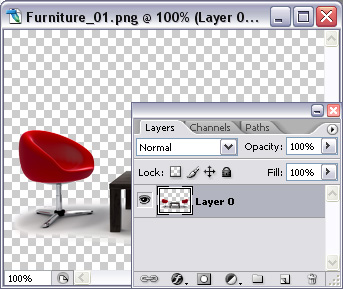
If you wish to perfect your image mask, then you may pre-save your image with a pre-defined alpha channel. This can be done by means of an external
image editor. Once you create your mask outside, simply load the image into CrazyTalk Animator. The alpha channel information
will automatically be applied as the background mask in the Background Mask Editing panel.
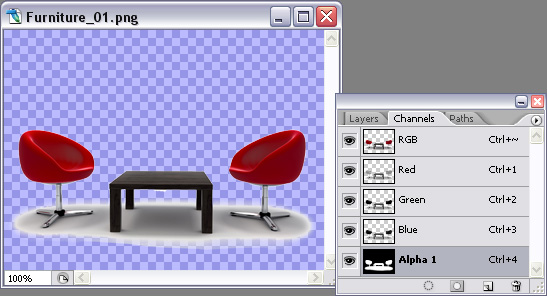
Adding and editing alpha channels in an external image editor (e.g. Photoshop)
|
Note: |
|