The Basic Workflow for Facial Motion Capture
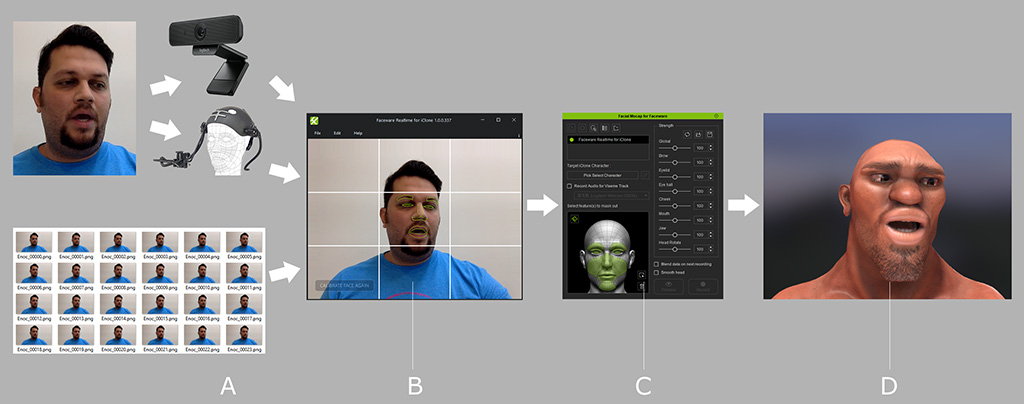
iClone offers the most affordable and intuitive motion capturing solution in the industry. Now you can use any web cam, head cam or even sequenced images to speed up your animations and create realistic-looking facial expressions quickly, by controlling characters with your own facial features and head movements in real-time.
|
Flow chart for motion data capture |
|
|
Please follow the two main steps below, in order to connect your Webcam to iClone.
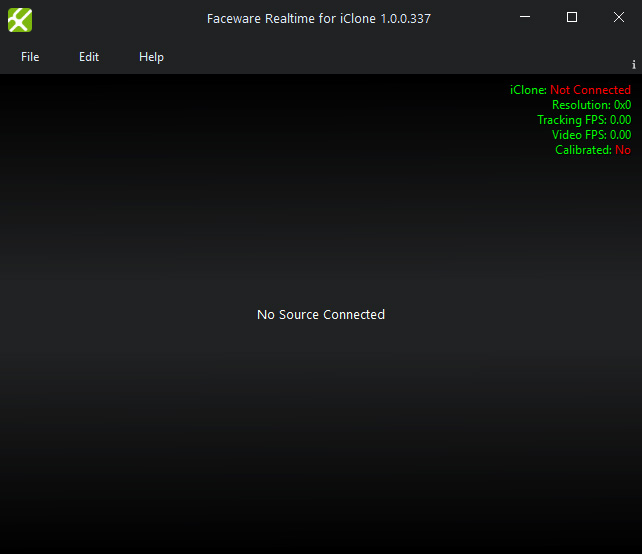
A. Set the Faceware Realtime for iClone
-
Launch Faceware Realtime for iClone.
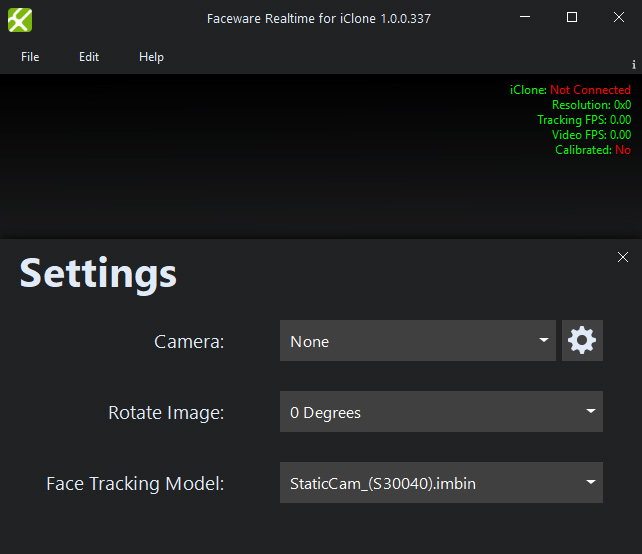
- Press the S key for advanced settings.
-
Choose the camera you want to use.
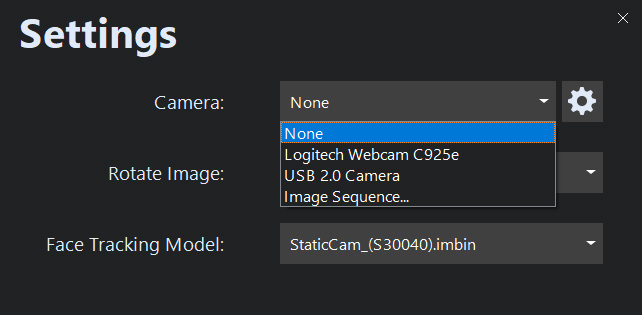
Alternatively, pick the Image Sequence... if you want to use sequence images as source; and then pick the folder where they reside then click on the Select Folder button on the browser panel.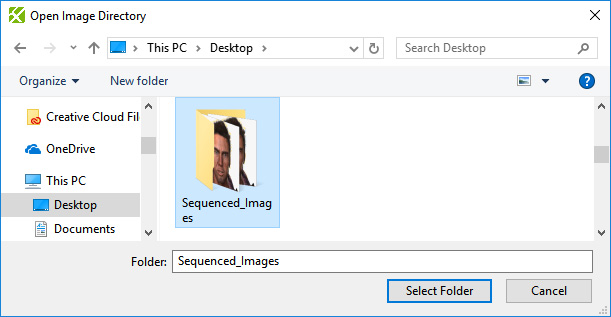
- Close the settings panel of the Faceware Realtime for iClone.
-
Calibrate your face if you choose to use a web cam or a head cam as the source by clicking the CALIBRATE NEUTRAL POSE
button at the left bottom corner of the panel.
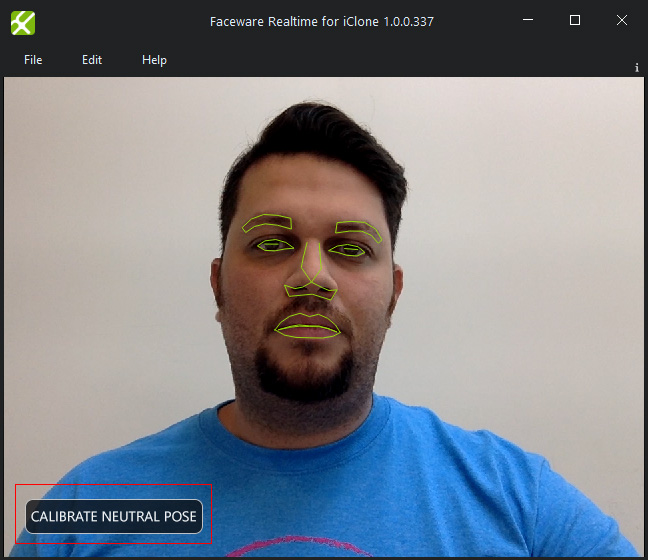
- You are able to calibrate on-the-fly and anytime without breaking the data stream.
- It only takes 3 seconds to calibrate. Simply position the actor's face in the center and keep a neutral expression for calibration.
B. Receiving Face ID Stream with Facial Mocap for Faceware Plugin
-
Apply and select a character in iClone.
-
Go to Plugins >> Facial Mocap for Faceware >> Facial Mocap for Faceware.
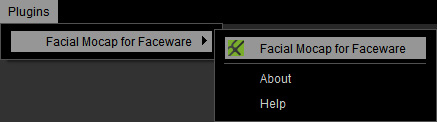
The Facial Mocap for Faceware panel will show.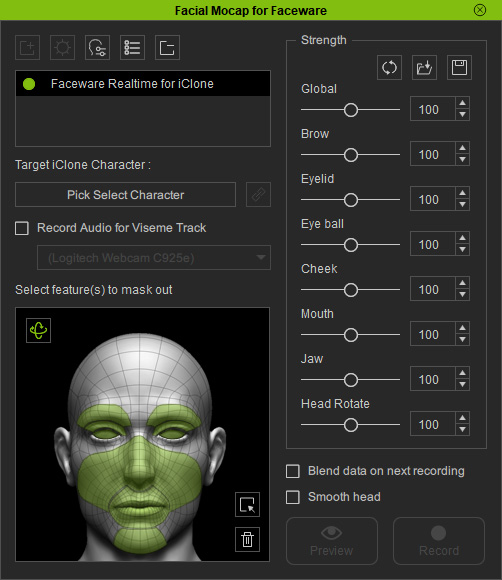
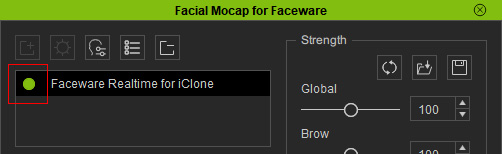
- Make sure the server is ready (green light). If it is red, then click on the light
itself to turn it green. If it remains red, then please make sure the server is correctly launched and
functioning.
- Click the Character Picker button and select the target character to enable the Preview and Record buttons.
-
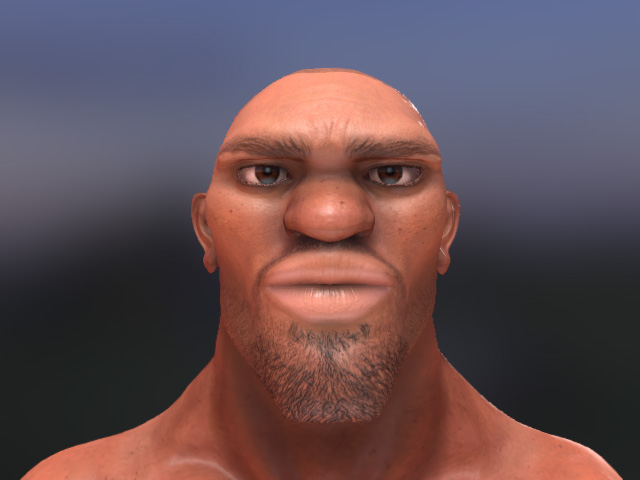
Click the Preview
 button, and press the Space Bar to
preview your real human facial expressions on the virtual
character (Shortcut: Space bar).
button, and press the Space Bar to
preview your real human facial expressions on the virtual
character (Shortcut: Space bar).

-
Click the Record
 button and press the Space Bar to
start recording (Shortcut: Alt + Space bar).
button and press the Space Bar to
start recording (Shortcut: Alt + Space bar).