User Interface Introduction for Refine Face
Refine Face Panel - Edit Control Point Mode
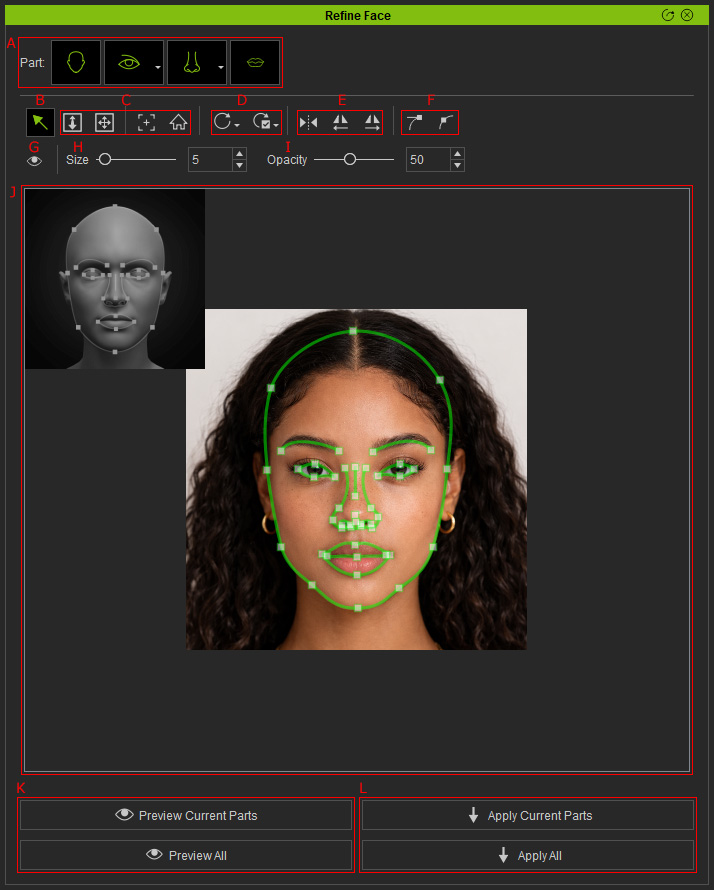
|
A |
Toggle to determine which part of the face you want to edit. The unselected parts will not be shown on the work area and changes won’t be applied when using Preview / Apply Current Part.
|
|
|
B |
Selection Tool (Q) |
Switches to select mode for picking control points. |
|
C |
Camera Manipulation |
|
|
D |
Reset Tools |
|
|
E |
|
|
|
F |
Bézier Tools |
|
|
G |
Show / Hide |
Show / Hide all control points. |
|
H |
Control Point Size |
Changes the size on the control points. |
|
I |
Control Point Opacity |
Changes the visibility of the control points. |
|
J |
Work Area |
|
|
K |
Preview |
Click to Preview the mesh created with the current control points.
|
|
L |
Apply |
Click to directly apply the created head mesh back to the character in the viewport.
|
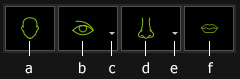
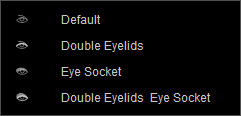
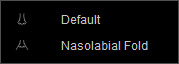
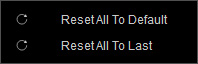
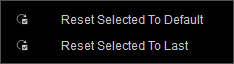
 Note:
Note:
Right-Clicking the control points allows quick access to Undo and Handle manipulation commands with the right-click menu.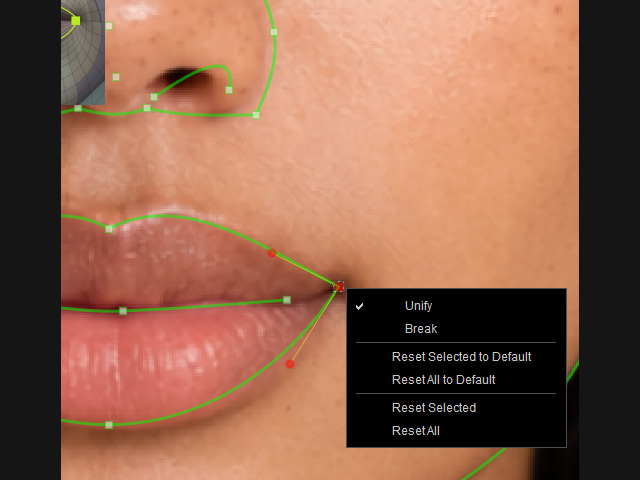
Refine Face Panel - Preview Mode
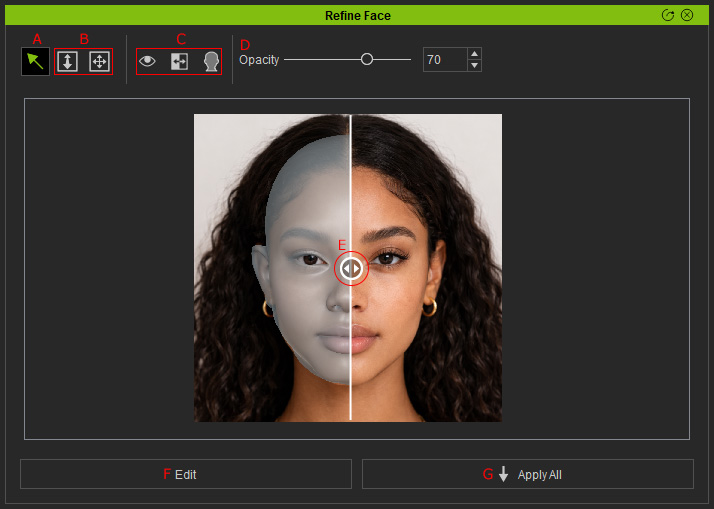
|
A |
Selection Tool (Q) |
Switches to select mode for picking control points. |
|
B |
Camera Manipulation |
|
|
C |
Viewport Settings |
Change the view for better observation.
|
|
D |
Mesh Opacity |
Adjust the opacity of generated mesh for better alignment. |
|
E |
On-Screen Visibility Area Slider |
Drag to adjust the visible area of the head mesh. |
|
F |
Edit |
Return to Refine Face Edit mode. |
|
G |
Apply All |
Apply the mesh with all control point modifications to the viewport. |
 Note:
Note:
When in the Preview Current Part panel, the Apply All button will be switched with Apply Current Part Vice Versa.
