Texture Refinement on Side Face
Heads generated from a front-face image may lack details on areas not visible in the portrait, especially on the sides. The Brush Tool (Stencil & Clone) allows you to add these missing details to the generated head, significantly improving the final result.
- Prepare a character generated with Headshot.
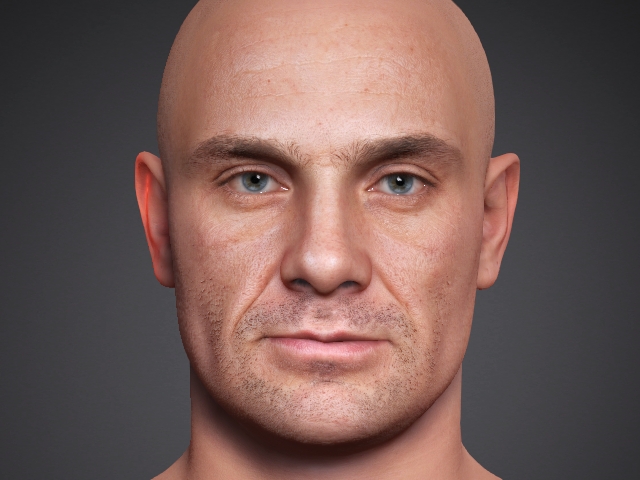
The character generated with only the front image will have facial details absent in areas that cannot be observed with the front image.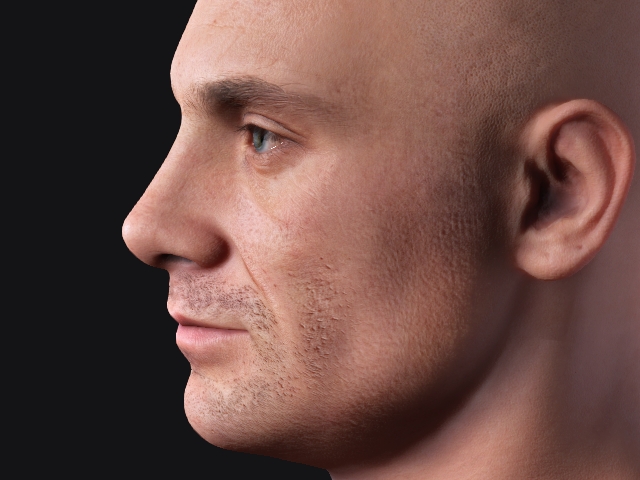
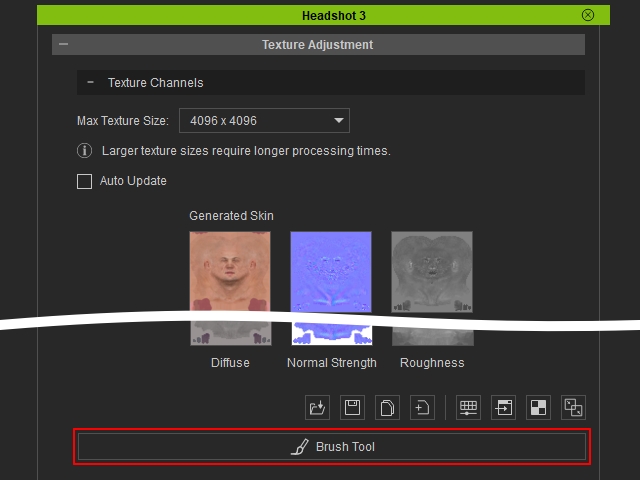
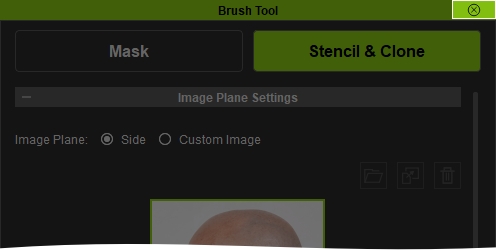
- Go to Texture Adjustment > Brush Tool.
- Switch over to the Stencil & Clone tab.
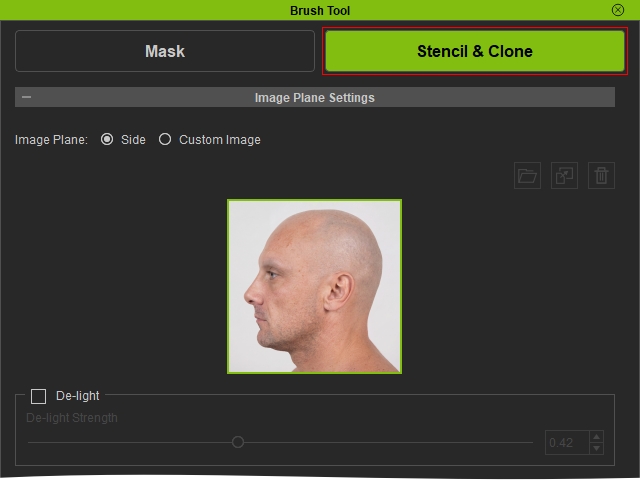
- Select the Side radical button to enter the side image workflow.
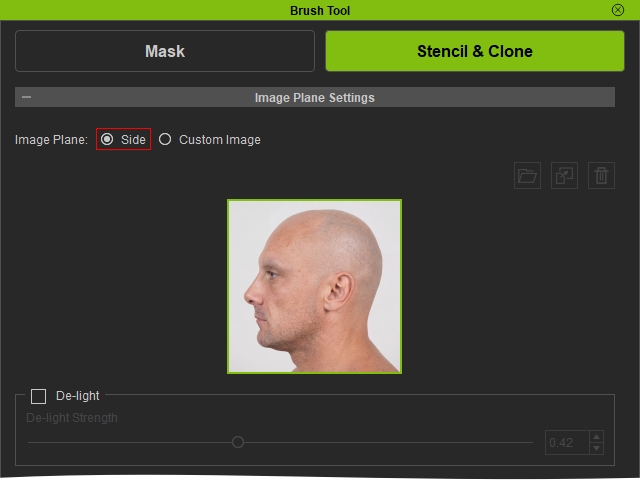
 Note:
Note:If the Side profile image has not been aligned beforehand, the Side radical button will be disabled.
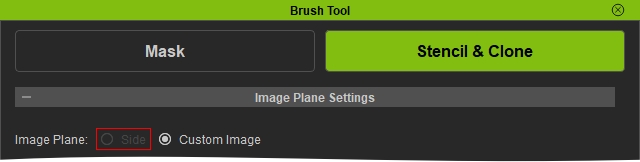
Hence, to continue using this feature, please finish the side head alignment in Refining Side Face. - Adjust the camera view and position of the overlay image, or directly adjust with shortcuts on the viewport:
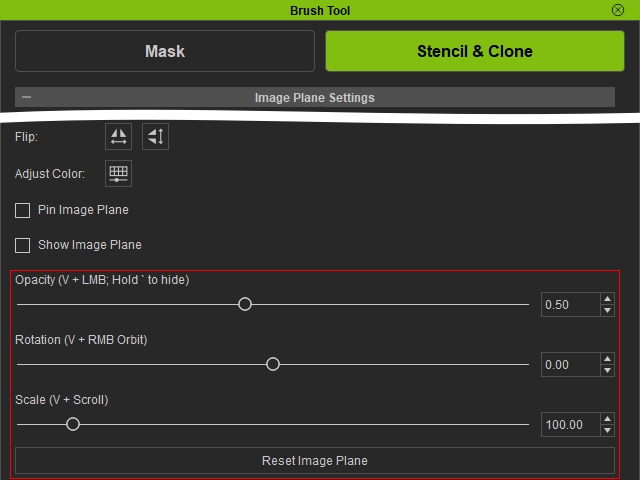 Image Plane Shortcuts:
There are shortcuts to change the Image’s settings with ease.
- Hold ‘ to temporarily hide the image.
- V + Left Mouse Drag — Adjust Image Opacity.
- V + Right Mouse Drag — Adjust Image Rotation.
- V + Scroll — Adjust Image Scale.
- Hold Shift to temporarily activate Blur mode for smoothing mask edges.
- Align the projected image plane with the character model.
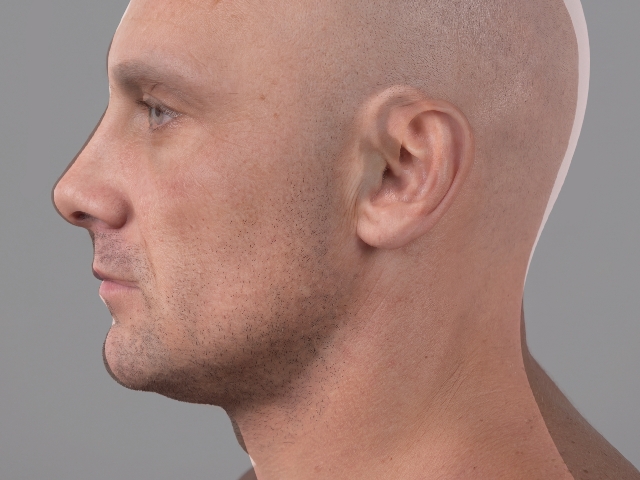
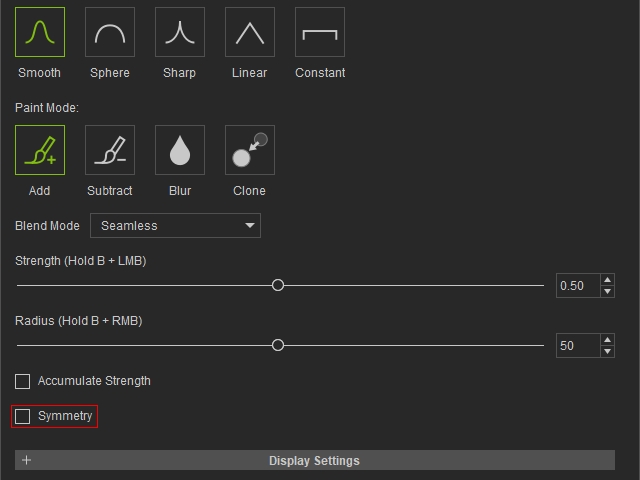
- Adjust the brush settings to your preference. In this case, we use the default brush settings and set the brush mode to seamless.
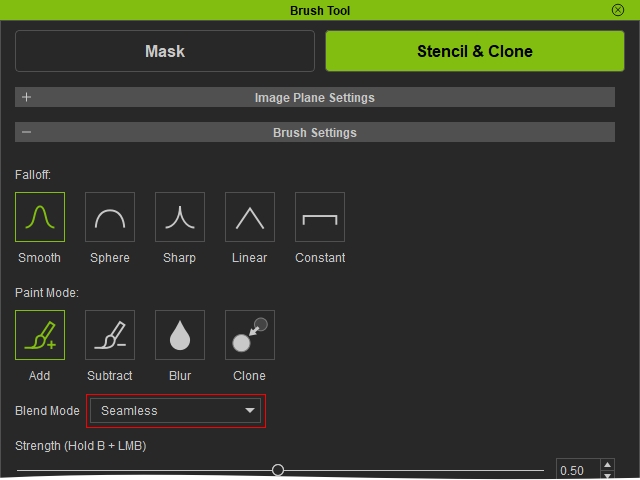
For more showcases of brush modes, please refer to this page. - Check the Symmetry button to paint both sides at the same time.
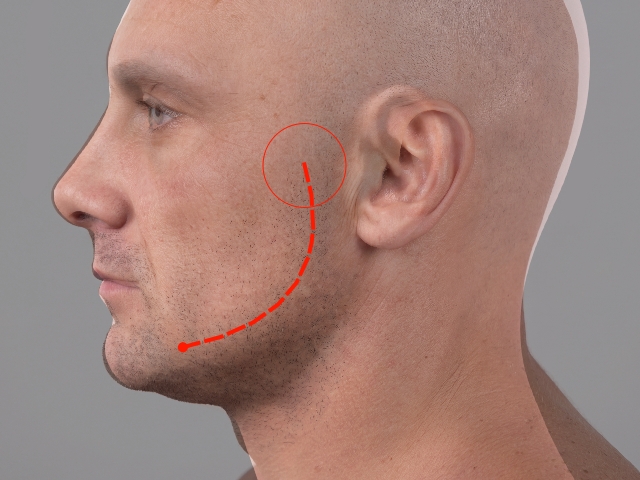
- Paint the textures directly on the character in the viewport.
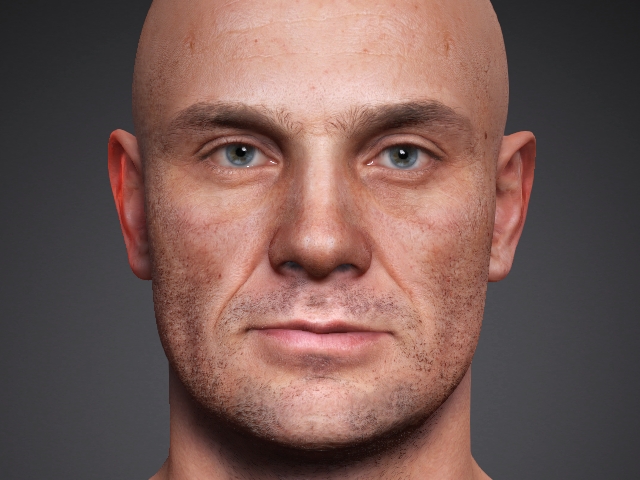
- With symmetry toggled on earlier, the painted textures are applied to the opposite side as well.
- Exit the panel to apply the updated texture onto the diffuse map.
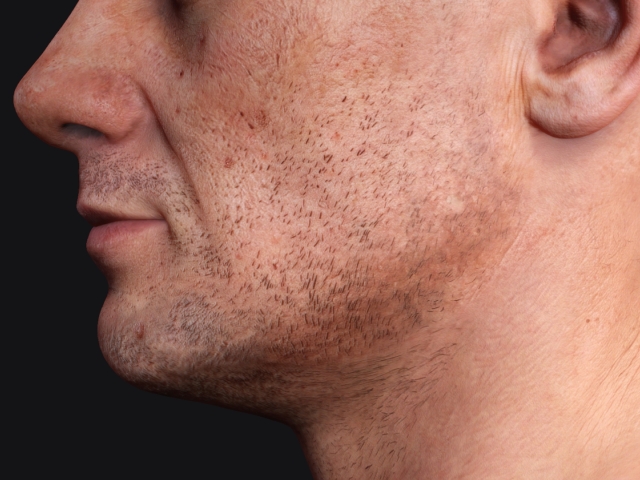
- By doing so, it updates the diffuse map, then auto-generates the normal map and roughness map based on the updated diffuse map.
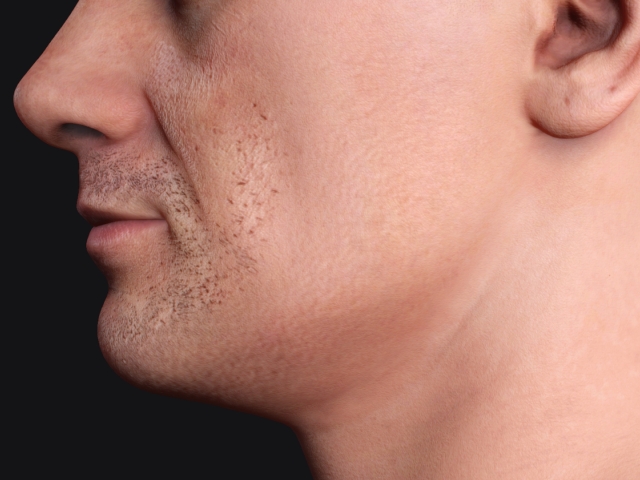
Left Side
Right Side
