Refining Side Face
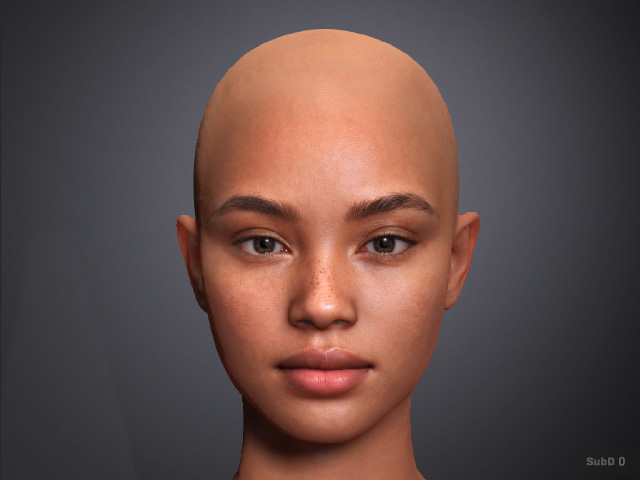
After refining the front face of the head mesh, use refine face (side) to chisel mesh with better depths.
- Create a character with Image mode.
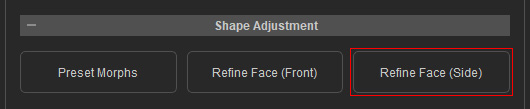
- Go to Headshot 3 > Shape Adjustment > Refine Face (Side).
- If you do not have a loaded side face image when you generate the character, the Refine Face panel will start from the 1 LOAD IMAGE page.
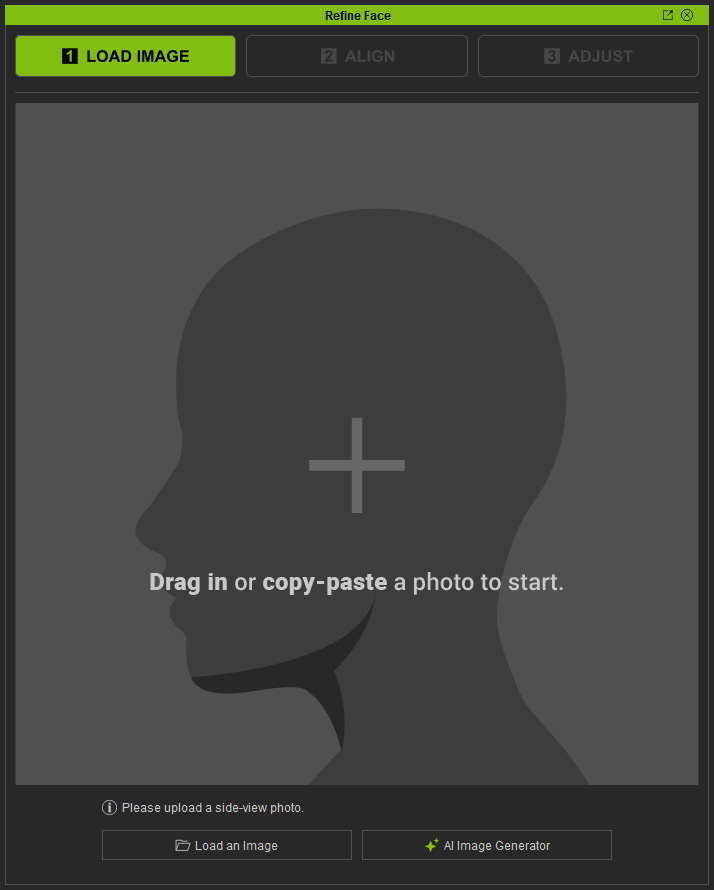
- Load a side face image to the cell by Drag and Drop, Copy and Paste or click the Load an Image button.
- You can also click the AI Image Generator button to generate a side face image by the AI feature.
- After the image is loaded, the panel will automatically switch to the 2 ALIGN page.
 Note:
Note:A strict 90° side profile image is recommended. If unavailable, you can regenerate one using the AI Image Generator and use Side > Modify to remove hair, eyebrows, beard, or mustache for a clearer facial structure.
- Otherwise, the panel will automatically jump to the 2 ALIGN page.
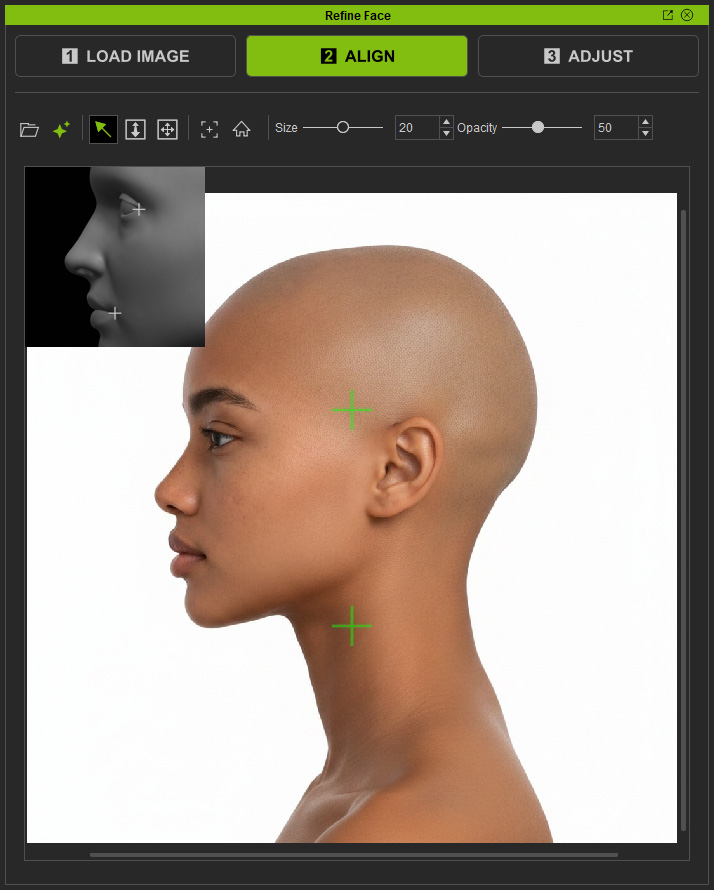
Place the two anchor control points according to the indication, one at the corner of the eye and one on the corner of the lip, the visual tip is on the top left corner of the viewport.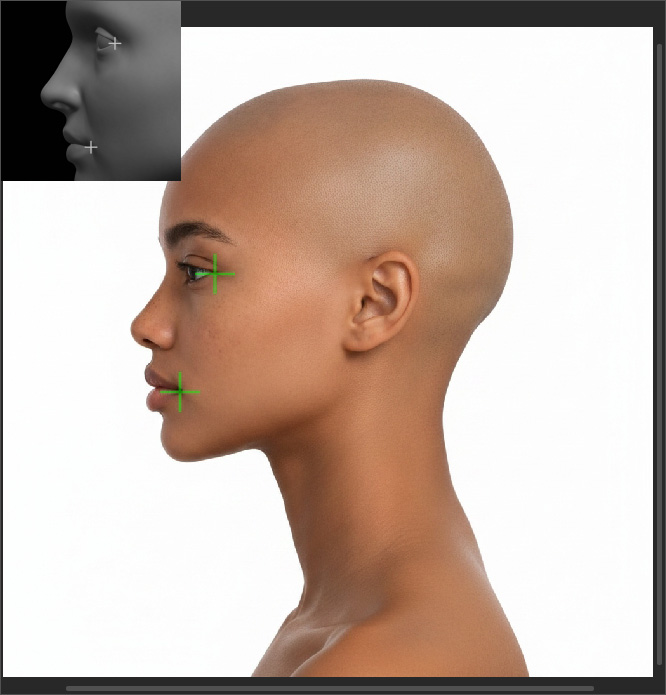
- Click the 3 ADJUST button to move on to the next step.
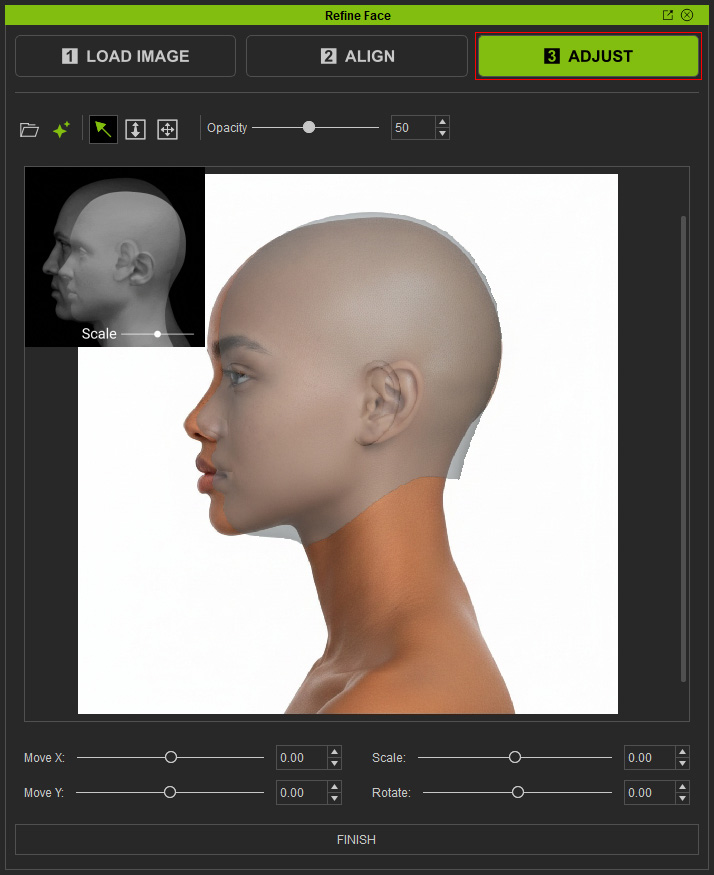
- Adjust the generated face mesh with the adjustment sliders to fit the facial features to the source image.
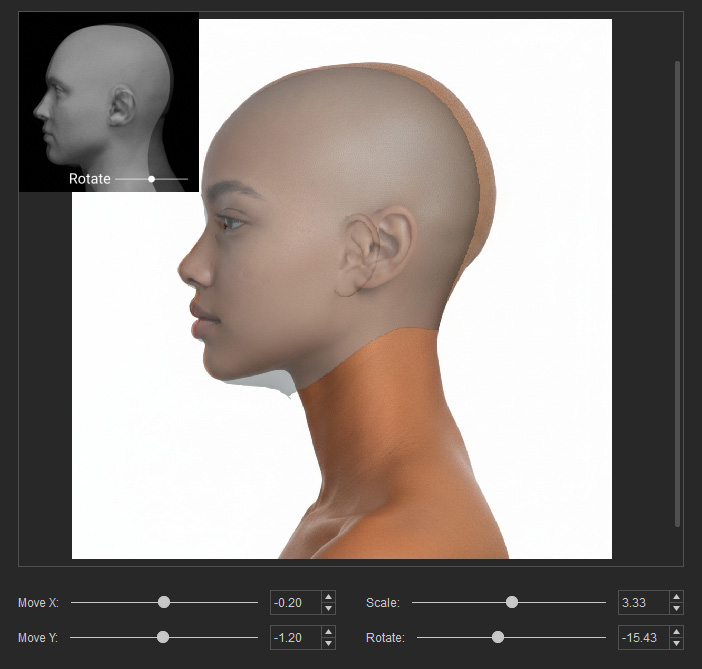
- Move X: Moves the head mesh horizontally.
- Move Y: Moves the head mesh Vertically.
- Scale: Enlarges or shrinks the head mesh.
- Rotate: Rotates the head mesh with the corner of the eye as the rotation anchor.
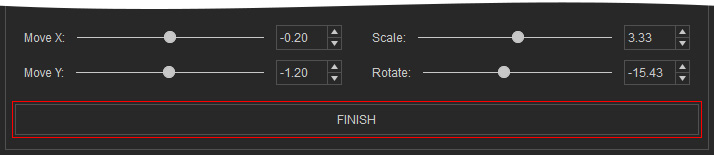
- Click FINISH to confirm the mesh placement and go to the refine phrase.
 Note:
Note:You cannot directly go back to the previous stage once you enter the refine phrase. To re-align the mesh, load the image again using the load image button to start over.
- Adjust the placement of the control points according to the control point tips that show up when selecting a control point, or refer to the page Side Face Control point Placement Guide. For Images that are not strictly 90 degrees sideways, check out the examples in Getting Started with Headshot 3 Tutorial video.
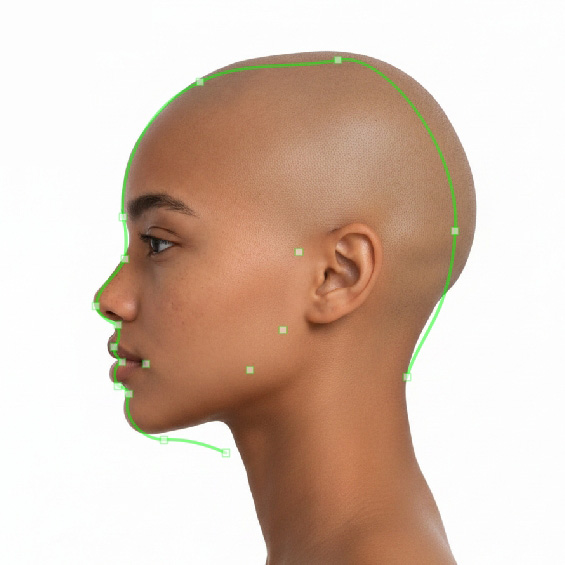
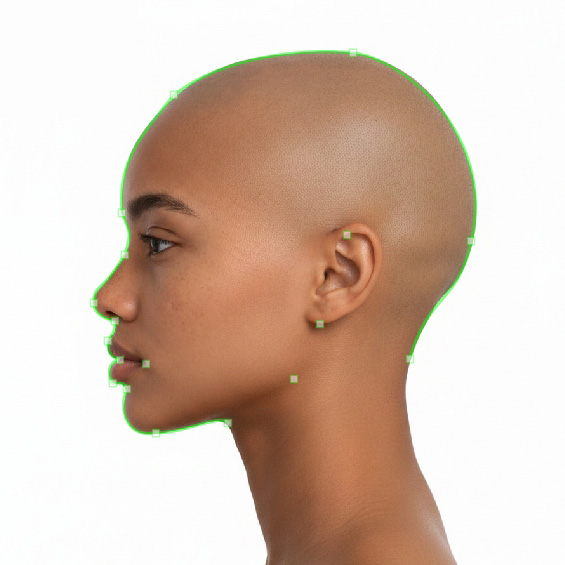
Before
After
Note:The side image acts as a reference photo for you to align the generated mesh with your character.
- Press Preview All to compare the shape of the head mesh to the reference photo.
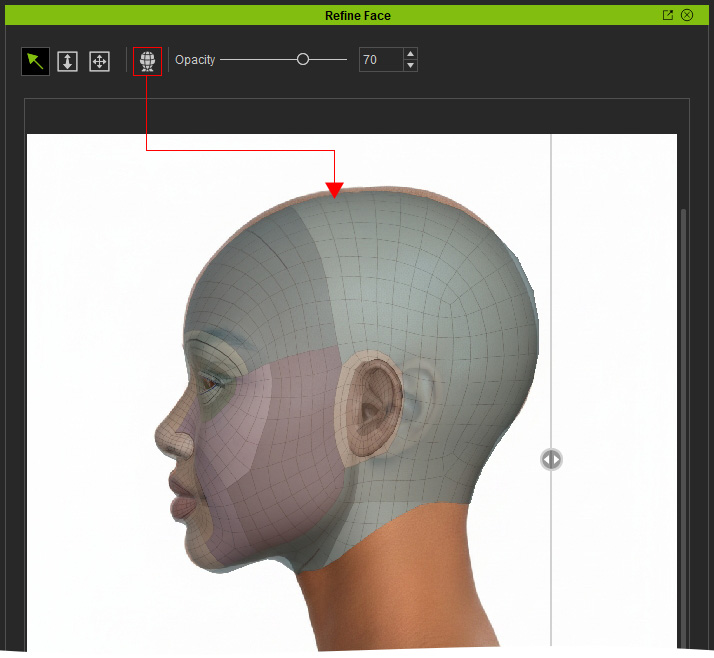
- Compare the generated mesh with the source image using the On-Screen Visibility Area slider.
- Turn on Topology Render to better align the control points and ensure the mesh follows the facial structure correctly.
 Note:
Note:- Toggle the topology render button to enable topology view for better alignment.
- It is important to keep the topology clean and correct in order to ensure stable facial deformation and proper morph compatibility. For detailed information about the correct Topology, please refer to this page.
- Click the Edit button to switch back to the Edit mode for further adjustments.

- Repeat Step 8 to Step 12 until the head mesh matches the reference side image.
- Click Apply All to apply the refinement result to the character.
- After applying the refined face, inspect the head in the viewport to ensure the facial contours match the reference image.
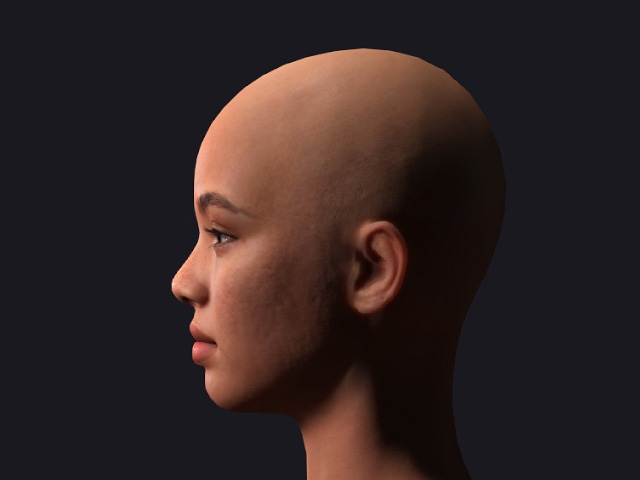
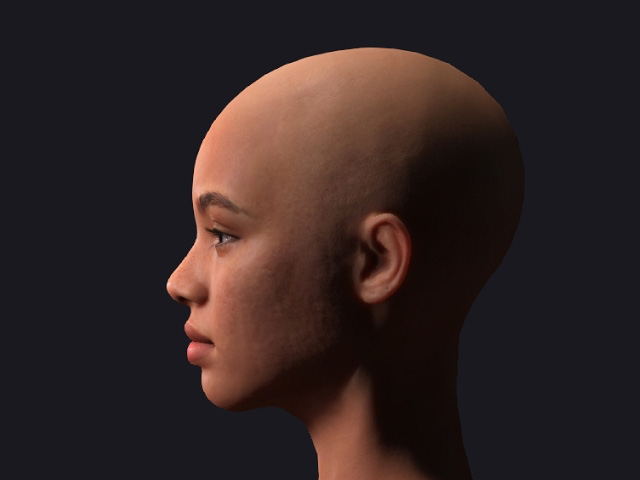
Before
After
For other refining tools, See Also:
- Preset Morph Sliders: Enhances the Unique Facial Features with numerous Preset Morph Sliders.
- On-Screen Sculpt Morph: Modifies broad facial areas directly in the viewport for coarse contour adjustment.
- Image Matching Tool: Enables Image Matching Tool to compare the generated mesh with the Source Image Side by Side for easier observation.
