Preparing Multi-Mesh Models
Headshot 2 can only act upon a single mesh. Therefore, before starting the Headshot 2 process, make sure multi-mesh models are merged into a single mesh.
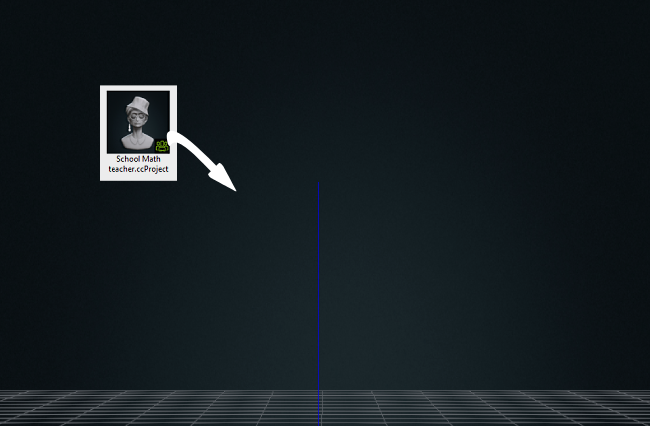
- Import your character model into CC4.
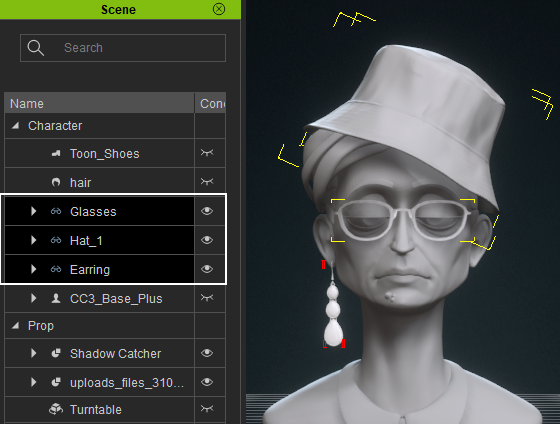
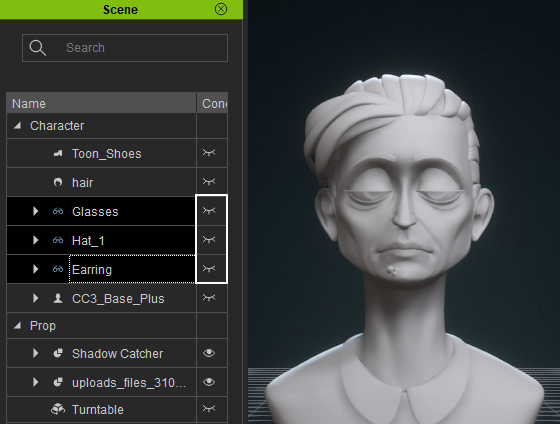
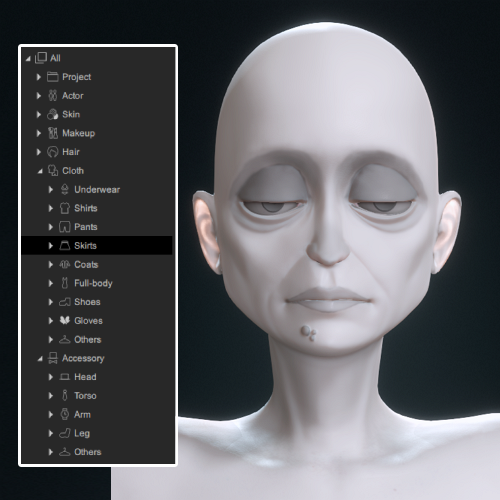
- It is recommended to hide all accessories on a model as they are not needed for processing in Headshot 2.
Before
After
 Note:
Note:Necessary accessories are best added at a later stage.
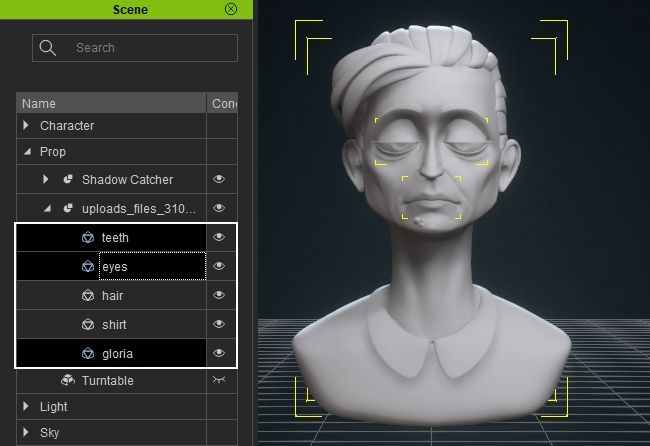
- In the Scene panel, select the meshes you want to merge. You should merge the essential meshes for the facial structure.
 Note:
Note:- Prior to importing into Headshot 2, remember to merge the required meshes, as only a single mesh is utilized for generating a CC4 character.
- Hair, eyes, and teeth should not be merged into one mesh for Headshot 2. They are not recognized as part of the facial structure, so it is recommended to keep them separate and exclude them from the process.
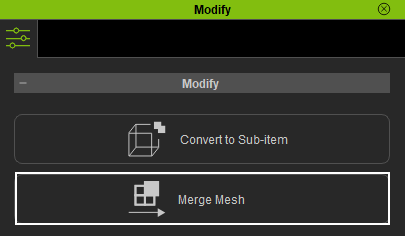
- In click Modify > Merge Mesh to merge the selected meshes.
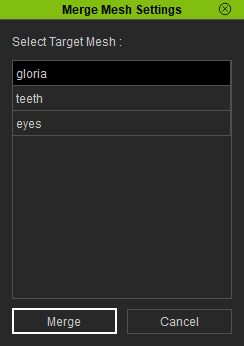
- A dialog box will appear showing the selected meshes. Assign the primary mesh for naming the final merged geometry.

- Click Merge to complete the process.
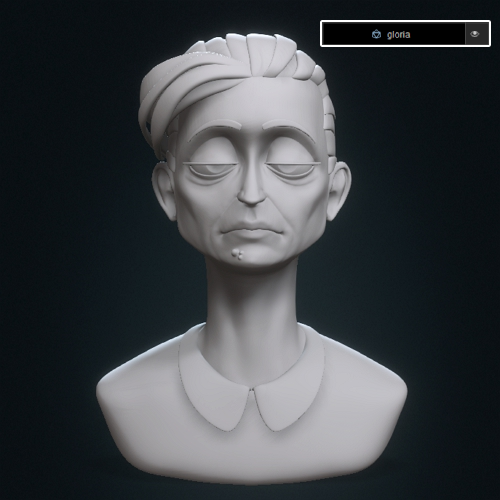
- Toggle the eye icon to check if the merge is successful.


Open
Close
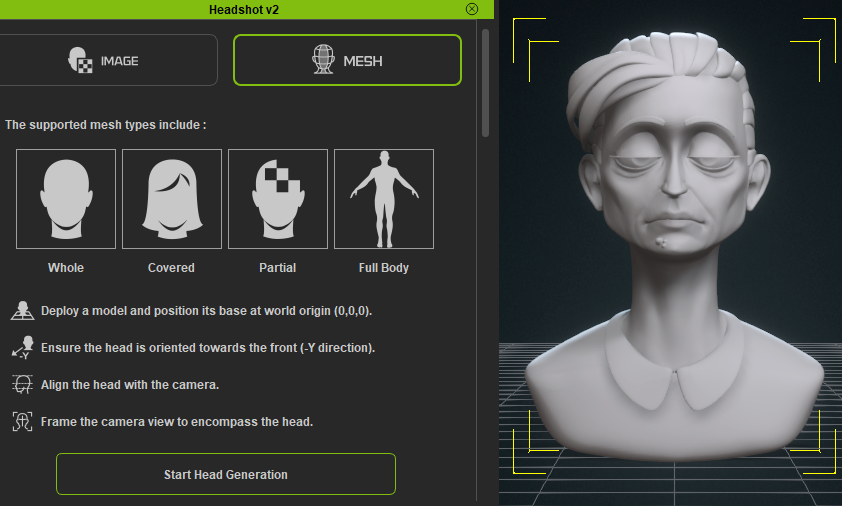
- Ensure that your model is clearly visible in the viewport before selecting the desired mesh to begin the Headshot 2 process.
- Once the Headshot 2 process is complete, you can utilize the assets available on the content page to add clothing and accessories specifically designed for CC4 characters.
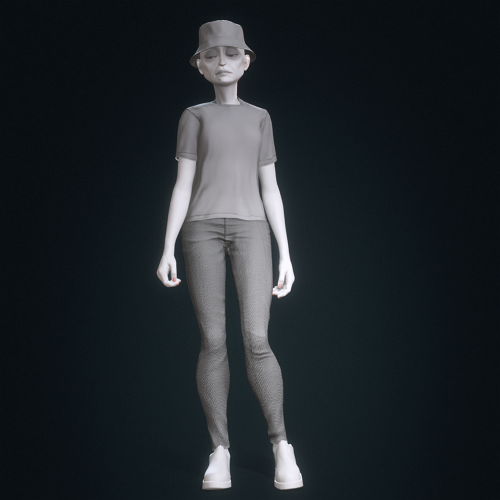
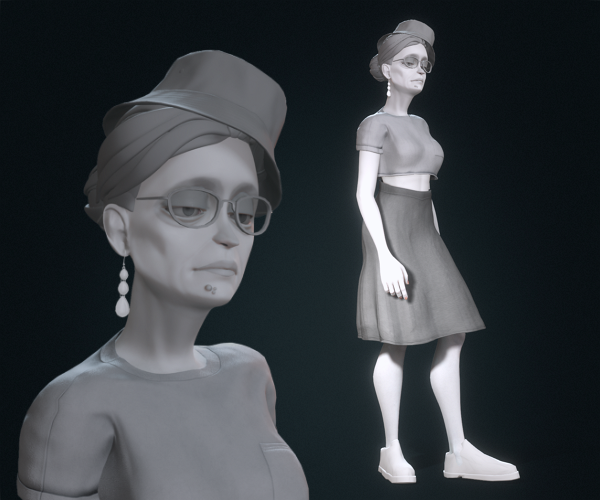
Generated CC4 Character
Example 1
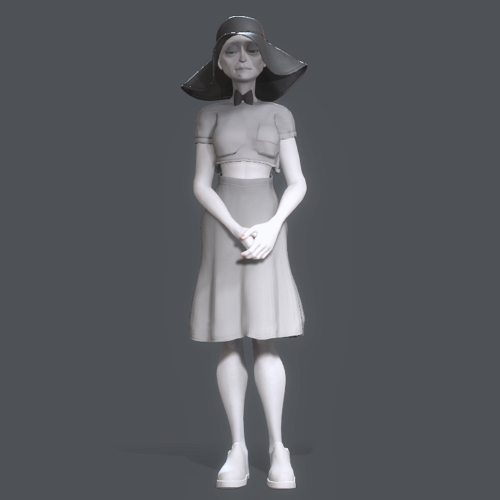
Example 2
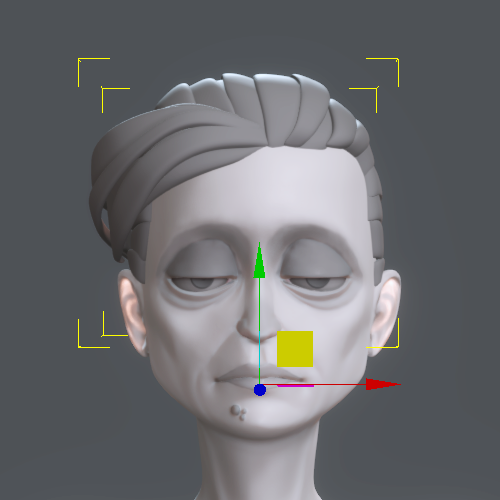
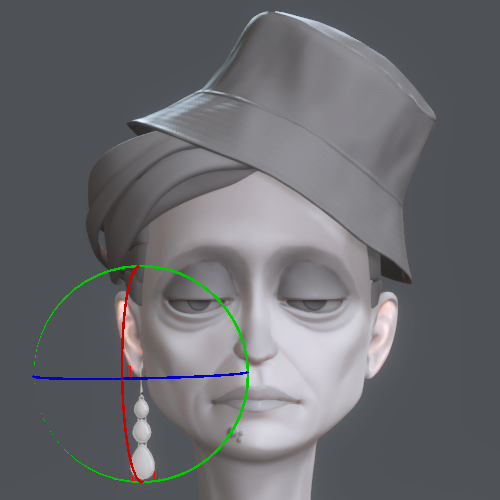
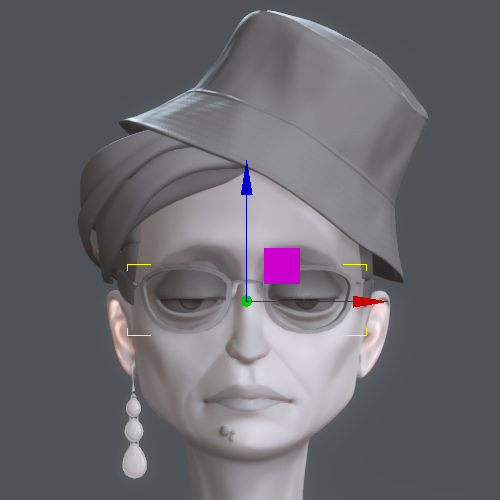
- If you wish to include the original accessories that were hidden in the model, you can unhide them and use World Move (W) and Local Rotate (E) to reposition and adjust the accessories back onto the model
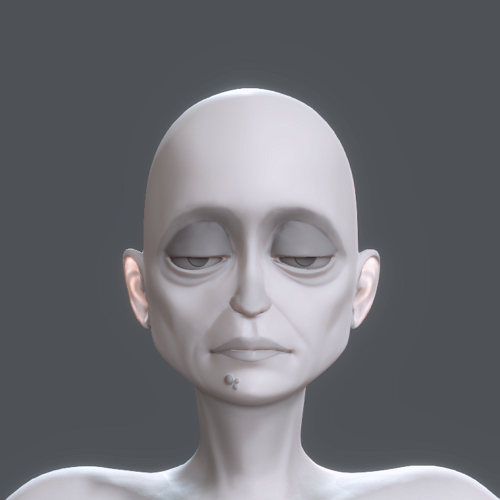
Generated CC4 Character
Attach Original Hair
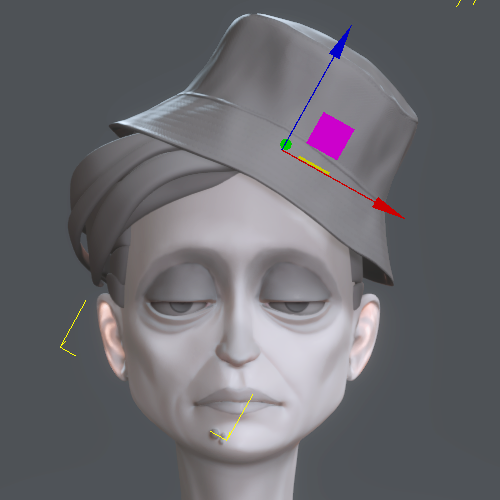
Attach Original Hat
Attach Original Earrings
Attach Original Glasses
- When you are satisfied with the position of the mesh, use the attach function to pick a suitable parent bone.
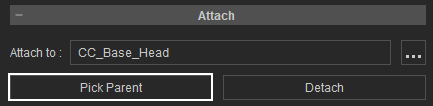
- Apply a motion to check if the meshes are attached correctly.