Quick Mesh Guides
To quickly convert a 3D human model into a CC4 character, you only need to follow a few simple steps.
It is recommended to remove facial hair, if possible, as it can pose challenges during the conversion process and may affect the accuracy of the results.
- Make sure the MESH button is highlighted in green. If not, click it to switch to the Mesh mode.
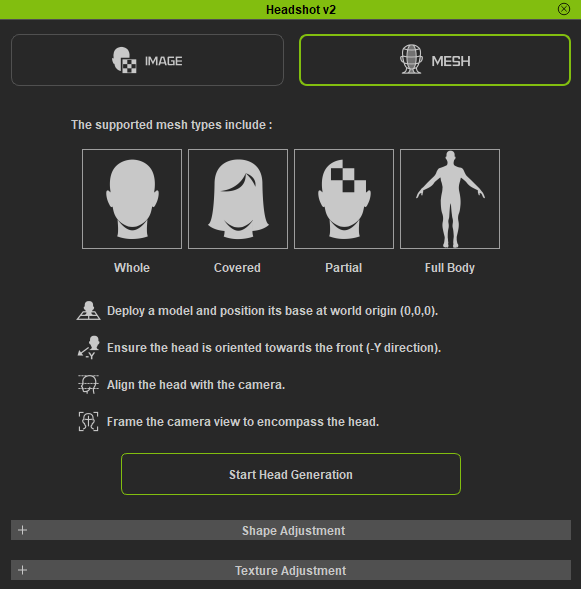
- Import your character model into CC4.

- Select the mesh you want to convert into a CC4 avatar. If the model contains multiple meshes remove or merge the meshes.
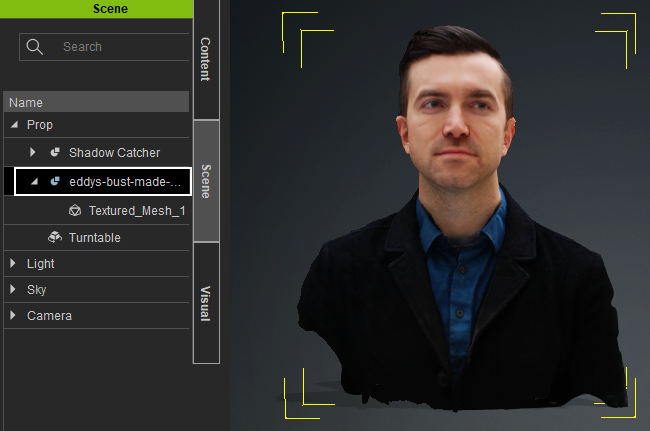
- In the Headshot 2 panel, click the Start Head Generation button to begin the process.

 Note
NoteHeadshot 2 supports four types of models, each requiring specific adjustments and selections to achieve the best possible results: Complete, Covered, Incomplete, and Fullbody.
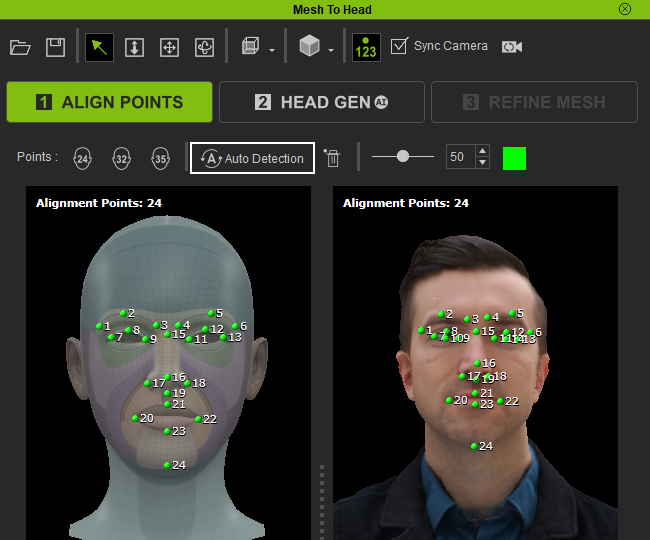
- Under ALIGN POINTS, use Auto Detection to provide you a base reference of points to customize and save you time.
 Note
NoteThe model on the left represents the neutral head mesh of CC4, while the model on the right is your imported model. Ensure that both models are properly aligned and synchronized in terms of order and position. This is crucial for obtaining satisfactory results in HEAD GEN, where the neutral head mesh will be used for generating your character.
- Now select HEAD GEN to move on to the next step.

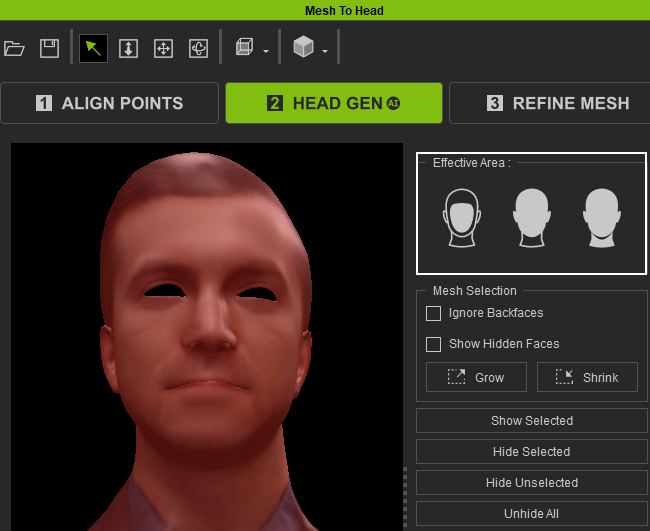
- In HEAD GEN select a suitable Effective Area for your mesh.
 Note
Note- Before proceeding to the next step, ensure that you hide the surfaces that are not needed by utilizing the Hide Unselected function.

- The model you are currently viewing in this viewport is the outcome of morphing a neutral head mesh to match the shape of your imported mesh. This transformation is performed by utilizing the points assigned in the ALIGN POINTS process.
- Before proceeding to the next step, ensure that you hide the surfaces that are not needed by utilizing the Hide Unselected function.
- Now select REFINE MESH to move on to the next step.

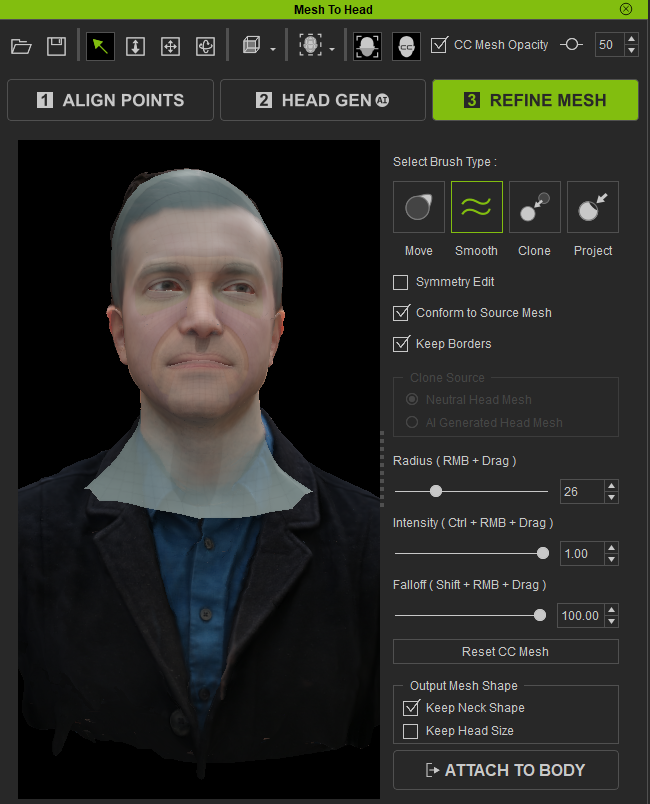
- In REFINE MESH use the provided brushes to refine and adjust the matching position between your model and the topology guide. The more accurate the alignment, the better the results will be.
 Note
NoteThe choices you make in the HEAD GEN stage will have an impact on the appearance of the neutral head mesh during the REFINE MESH stage. It's important to remember that the neutral head mesh will ultimately be used for your generated character. The imported mesh you see in the viewport is solely for reference and does not directly affect the outcome.
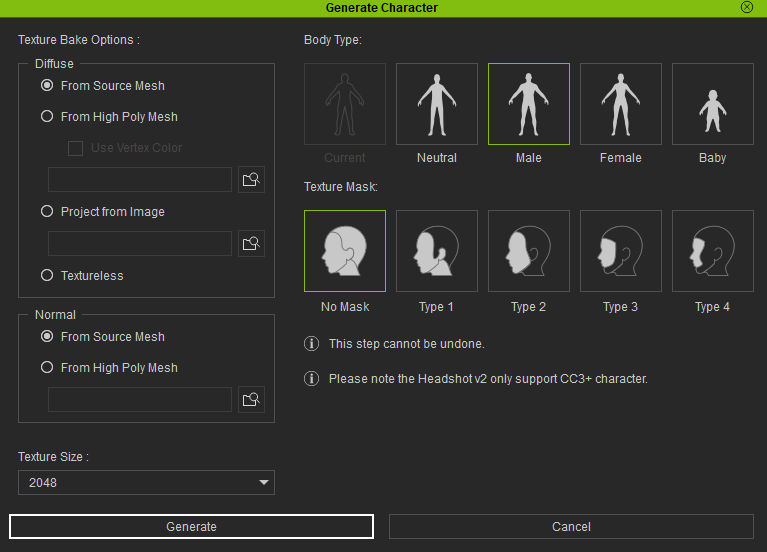
- Adjust the settings for Texture Bake Options, Texture Size, Body Type, and Texture Mask and click the Generate button.
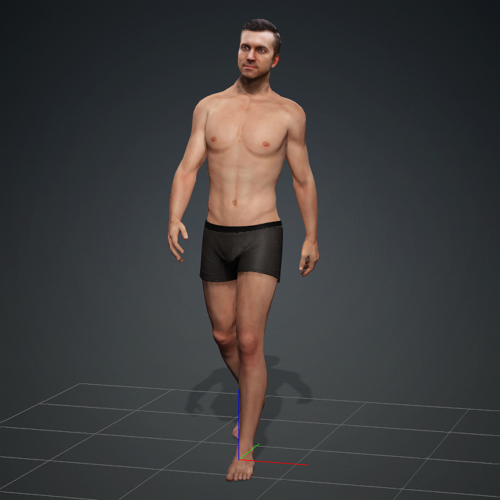
The generated character is compatible with various built-in preview motions in CC. Additionally, you can transfer the character to iClone to apply motion
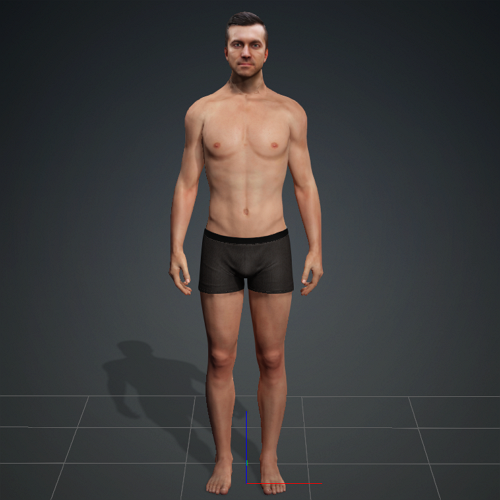
Standing
Walking
