REFINE MESH Brushes
In the REFINE MESH section, various brushes are available to help you edit and fine-tune your generated mesh. These brushes allow you to align the mesh more accurately with the source mesh and improve the positioning of the Topology Guide. Make sure to align the facial features with the topology guide for more accurate results. For detailed information about the relationship between the target mesh and Topology Guide, please refer to this page.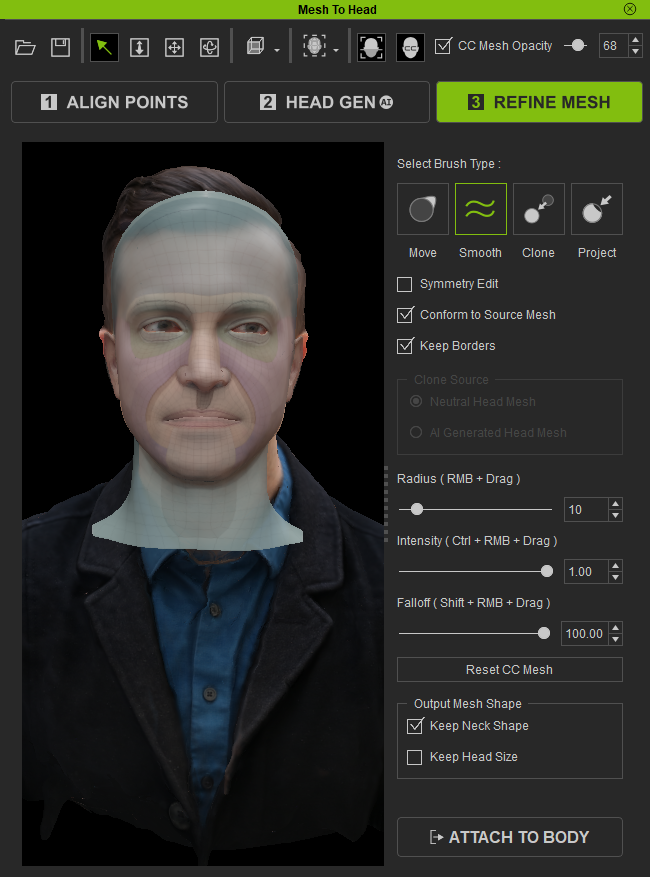
Click the Attach to Body button and a dialog box appears for initiating the final step before generating the CC4 character.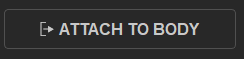
Select Brush Type
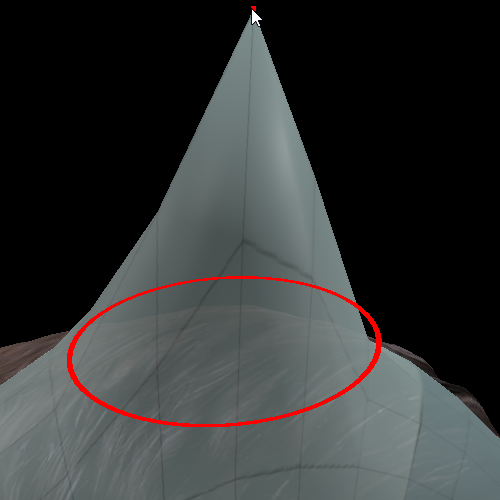
- Move Brush (Shift + 1): Enables you to move and modify the shape of selected surfaces, allowing you to make necessary adjustments to specific areas.
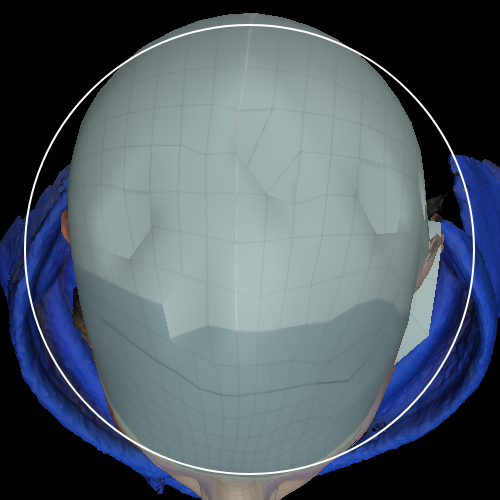
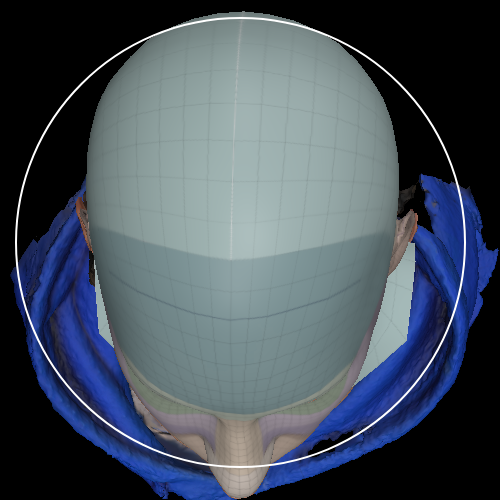
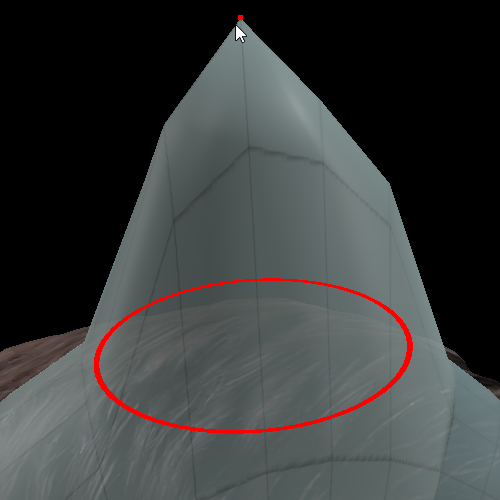
Mesh not moved
Mesh moved
- Smooth brush (Shift+2): Used for smoothing and evening out the surface of the selected area to create a cleaner and more evenly distributed topology.
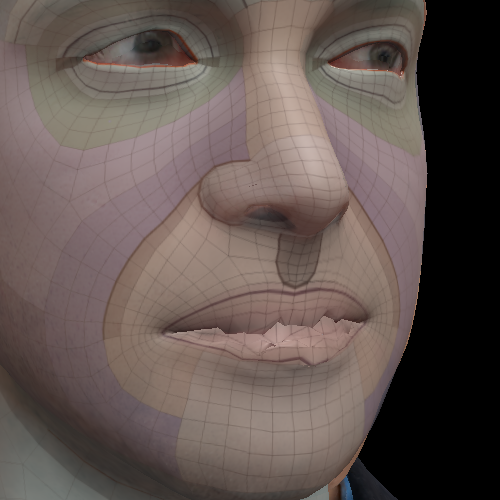
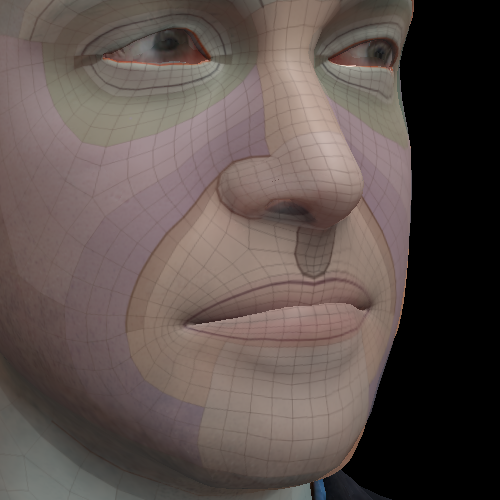
Unsmoothed
Smoothed
- Clone brush (Shift+3): Modifies the selected mesh area by using blend weight to edit your generated mesh shape closer to the selection you have picked either the Neutral Head Mesh shape or AI-Generated Head Mesh shape.
Generated mesh
Neutral CC head shape
AI-generated mesh shape
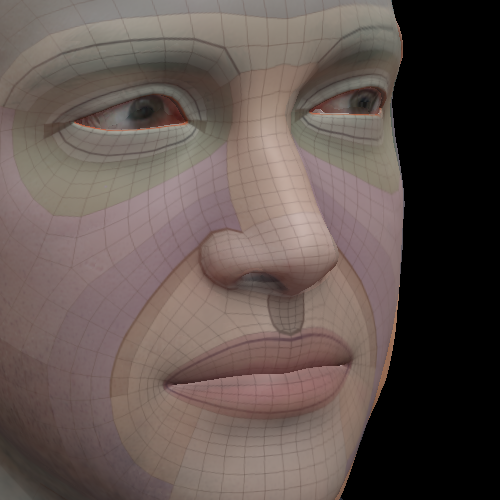
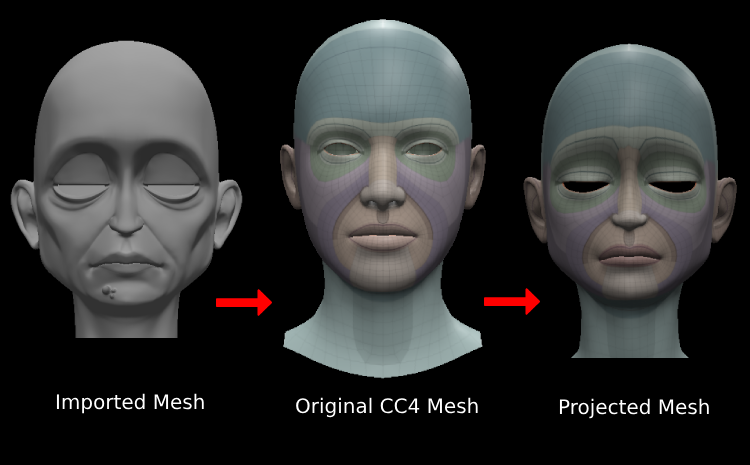
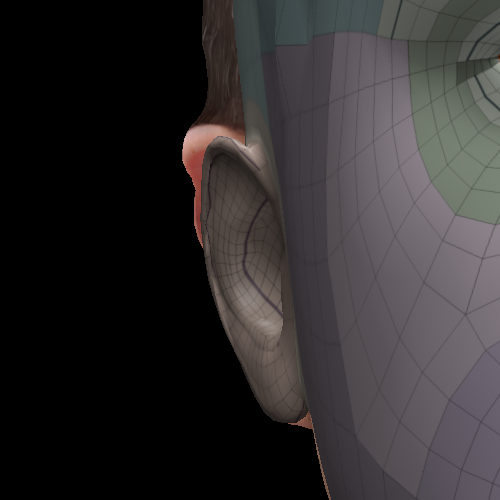
- Project brush (Shift+4): Allows for the direct projection of the source head surface onto the CC4 target mesh, resulting in an accurate and faithful replication of the original head mesh shape.
Symmetry Edit
By default, this mode remains deactivated. However, once activated, any mesh edits will be applied symmetrically. This tool proves highly effective for efficiently editing symmetrical models, enabling simultaneous changes on both sides. It is important to note that it may not be suitable for asymmetrical models, as either side may need individual adjustments.
|
|
|
Symmetry Edit deactivated |
Symmetry Edit activated |
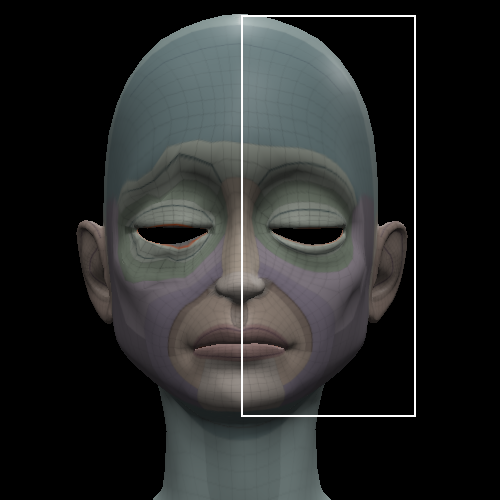
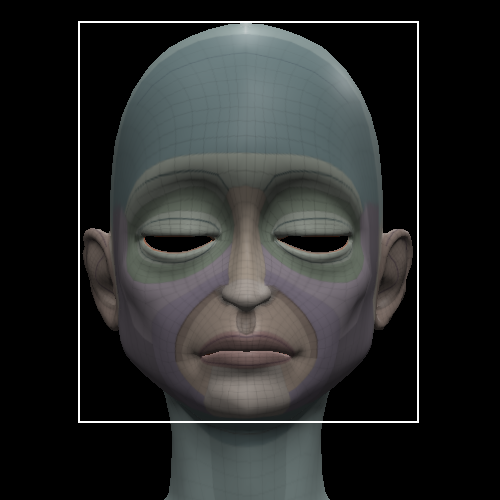
Conform to Source Mesh (Only for Move & Smooth Brush)
By default, this function is activated. Due to the intricacies of certain shapes, there might be slight discrepancies between the generated mesh from Headshot 2 and the source mesh. To attain a more accurate shape, you can utilize this function to align your brush edits with the shape of the source mesh.
 |  |
Conform to Source Mesh deactivated | Conform to Source Mesh activated |
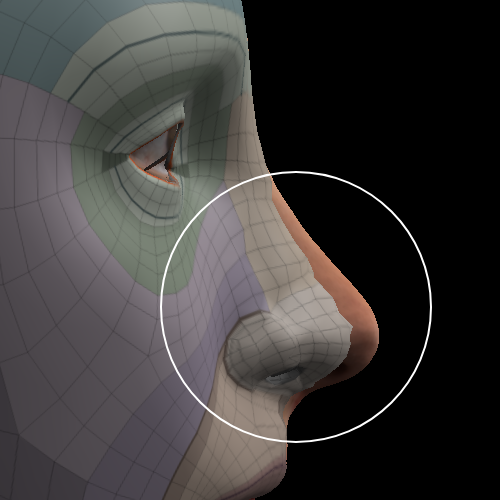
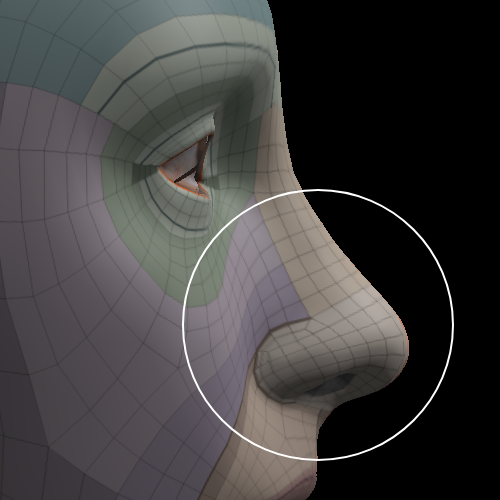
Keep Borders
By default, this mode is activated. When enabled, the edges of the mesh will remain fixed and unaffected when making edits in their vicinity.
 | 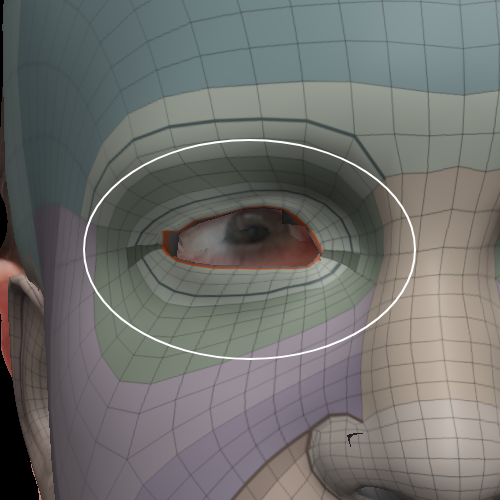 |
Original Source | Keep Borders deactivated |
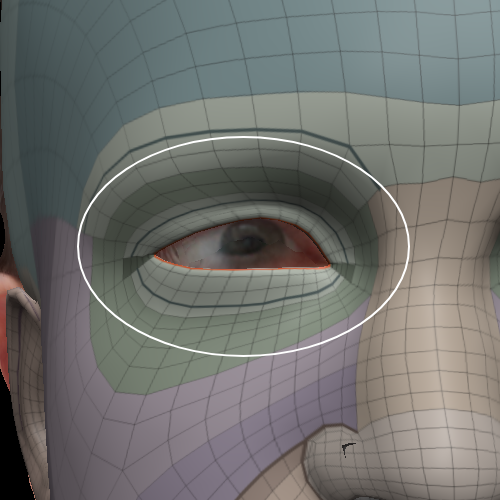 | |
Keep Borders activated |
Clone Source
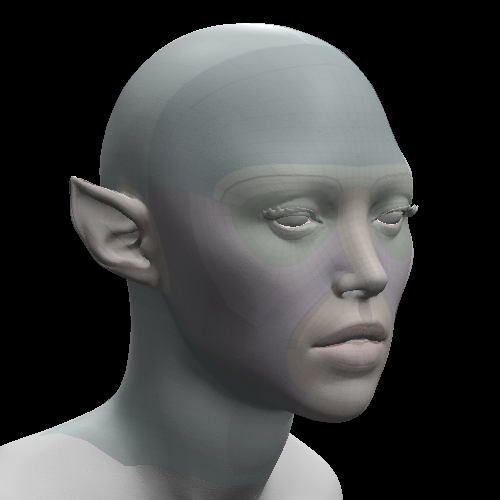
Neutral Head Mesh and AI Generated Head Mesh are the two different reference meshes available to the Clone brush.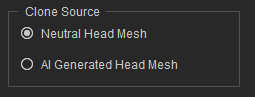
The neutral head mesh is derived from the default CC head model while the AI-generated head mesh is derived from HEAD GEN. The clone brush works by moving the brushed surfaces of the target mesh towards the nearest surfaces of the selected clone source.
|
|
|
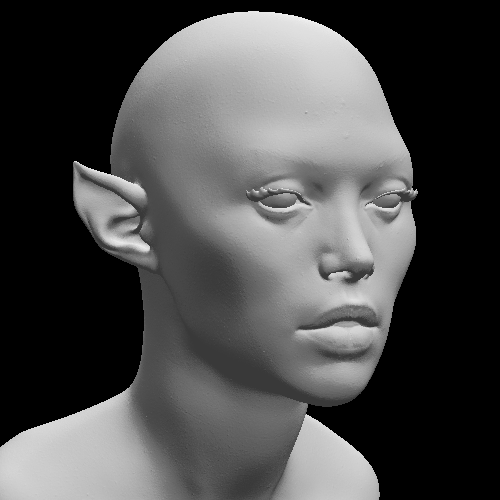
Source Model |
Unedited Generated Mesh |

|

|
|
Cloned with Neutral Head Mesh |
Cloned with AI-Generated Head Mesh |
- Neutral Head Mesh
Represents the unedited shape of the original CC head mesh. It serves as the standard reference model, enabling you to compare the differences between the source and target mesh to apply the necessary adjustments.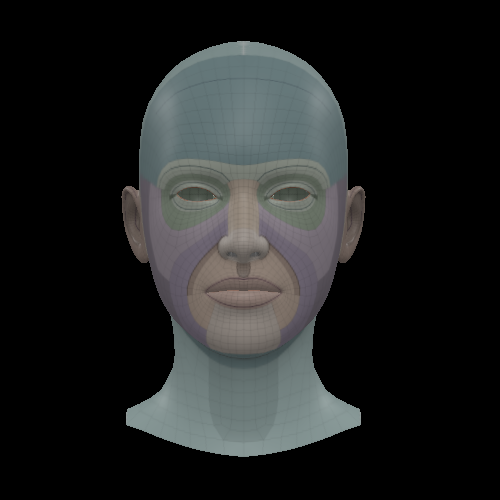
- AI-Generated Head Mesh
The AI generates the mesh based on the Effective Area selection made in HEAD GEN, with different options leading to slight variations in the output.
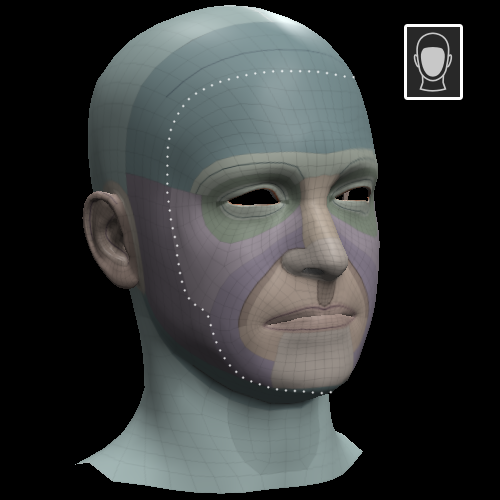
Imported Model
Face Only
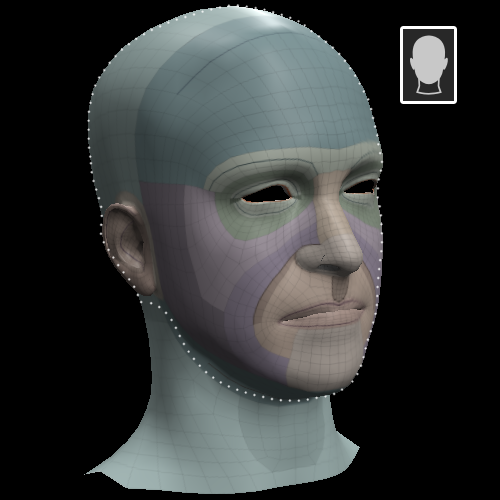
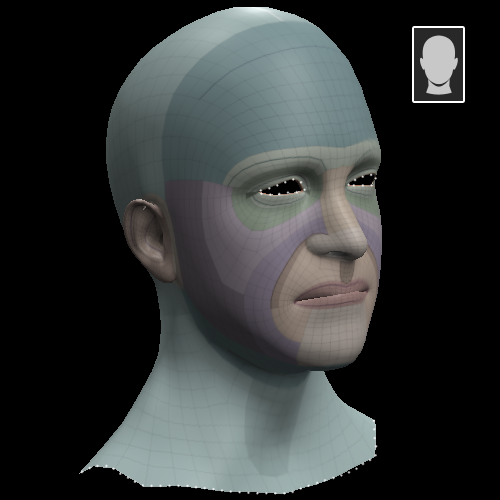
Face with Ears
Full Face
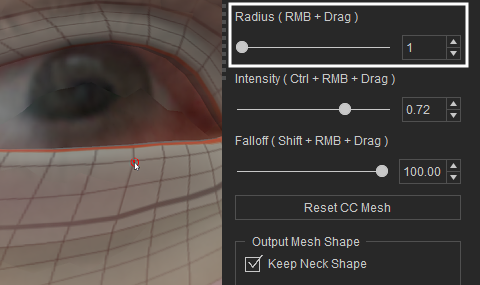
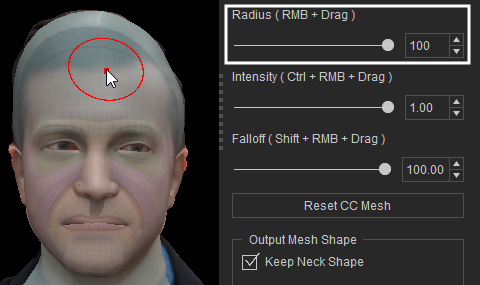
Brush Settings
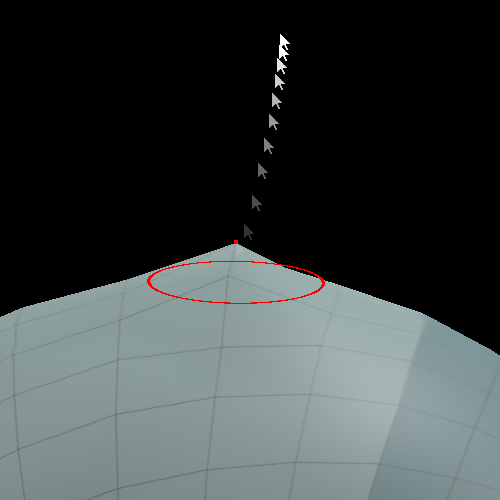
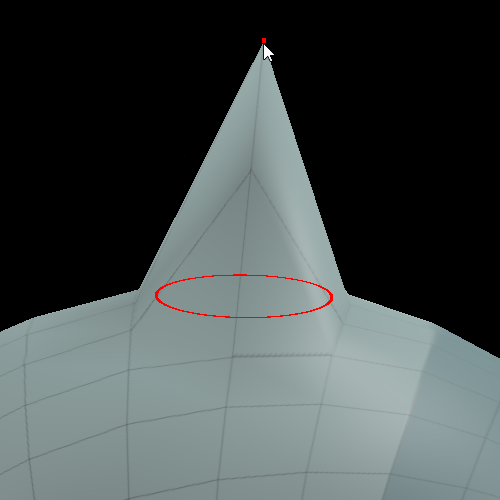
- Radius (RMB + Drag):
Customize the size of the brush according to your specific needs. This enables you to make detailed adjustments and overall rearrangements with better precision.
Small Size
Large Size
- Intensity (Ctrl + RMB + Drag):
Customize the strength of the brush when it comes to making edits to the target mesh.
Low-Intensity
High-Intensity
- Falloff (Shift + RMB + Drag):
Governs the degree of blending between the brush tip and the original geometry surrounding its outer edges.
0% Falloff
50% Falloff
100% Falloff
Reset CC mesh
The Reset CC Mesh function can be used to revert the generated mesh back to its original shape before any edits were made.
Output Mesh Shape
The Output Mesh Shape section provides two settings that allow you to select the neck and head mesh shapes for the final character.
