Enhancing Sprite-based Expressions
In addition to adjusting the expression strength of the character, you can also optimize your character's performance with one of the following methods:
- Using the Expression Mapping panel of the Facial Mocap feature in Motion LIVE 2D plugin.
- Configuring the Facial Animation Setup in the character Composer Mode of Cartoon Animator.
- Editing the character Sprites in the character Composer Mode of Cartoon Animator.
( Watch Tutorial - Customize Your Own Sprite based Expressions )
You can fine-tune the face IDs with the face morph sliders in the Expression Mapping panel.
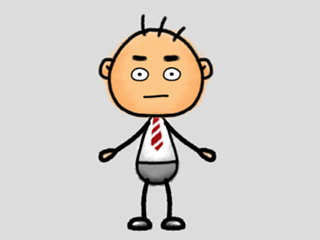
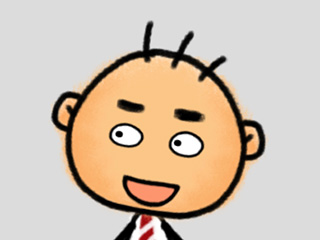
- Prepare a character. Make sure it has neither expressions nor lip-syncs.
- Open the Motion LIVE 2D panel and connect to a facial mocap device.
- Click the Tracking Data Inspector
 button to observe the Face ID stream received from the Webcam or iPhone.
You may find that the corresponding facial expressions for face IDs "eyeWide_L" and "eyeWide_R" are not ideal.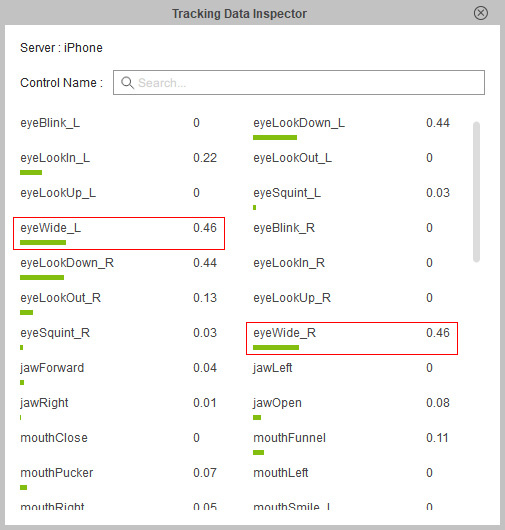
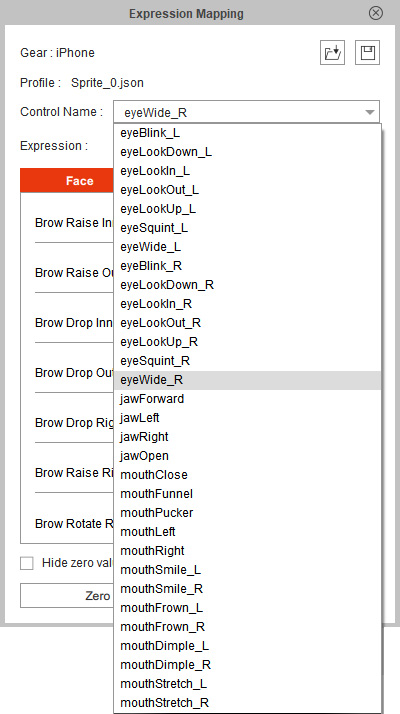
- Click the Expression Mapping
 button to show the Expression Mapping panel.
 - Select the Face ID "eyeWide_R" item from the Control Name drop-down list.
- Switch to the Face tab and find the Eye Enlarge Right expression slider.
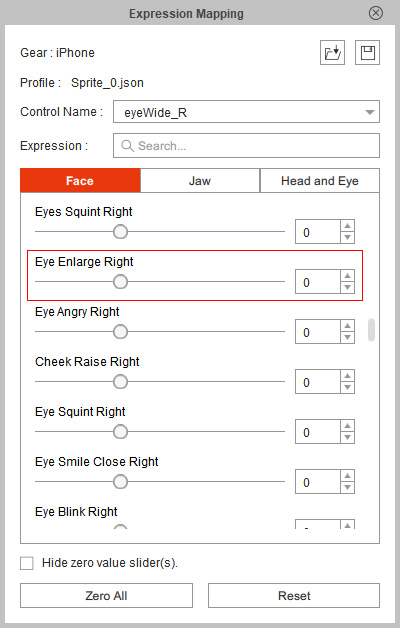
- Drag the expression slider to the right to enlarge the size of the right eye.
You may enable Hide zero value slider(s) to hide the sliders whose value is zero to tidy up the interface.

- Observe the mocap result in Preview mode.

Eye Enlarge Right = 0 Eye Enlarge Right = 200 - Repeat the Steps 5 to 7 for the "eyeWide_L" item in the Control Name list and click the Save button to save the combination as your custom profile.
Through the Facial Animation Setup panel in Cartoon Animator, you can customize the character expressions from each face feature to strengthen the mocap effect.
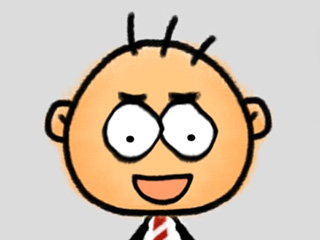
You may exaggerate the eye expressions for the character in this example to create a more cartoon-like facial mocap result.
- Close the Motion LIVE 2D panel.
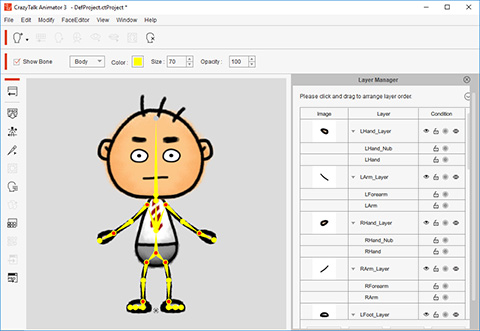
Click the Composer
 button on the Functional Toolbar to enter the Composer Mode.
 Note:
Note:If you are using a G1 or G2 character, then you need to convert to G2+ facial system for the G1 or G2 character before you can start this section.
- Click the Facial Animation Setup
 button on the Functional Toolbar to open the Facial Animation Setup Panel.
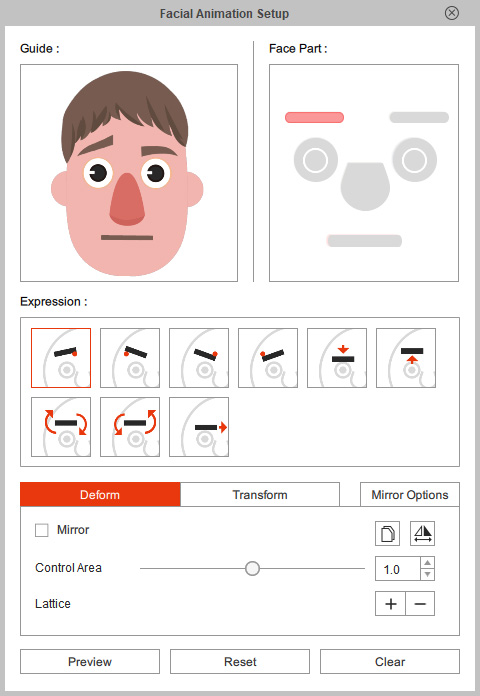
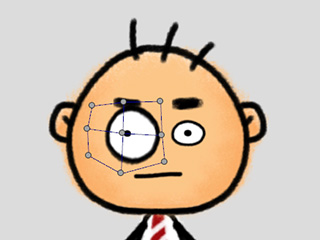
- Select the Right Eye from the Face Part pane.

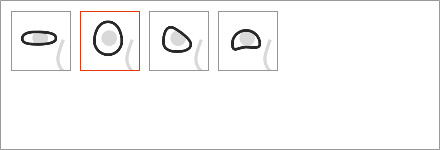
- Select the second thumbnail (Eye Enlarge Right) in the Expression list.
 Note:
Note:If a G3 360 or G3 character's face features (eyes or mouth) is converted to Smooth Mode, then the expression numbers will be different from the original in the Expression list. Currently, the fifth expression "Eye Smile Close" does NOT map to any expression for facial puppeteering. If you want to make an expression for closed eyes, then edit the sixth entry: "Eye Blink".
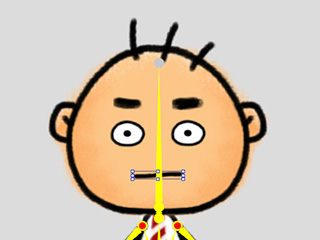
- Press down the Deform button to enter the Deformation mode. Drag the control points to enlarge the shape of the Deform box.
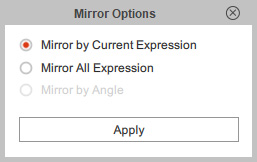
- Click the Mirror Options button. Choose Mirror by Current Expression and then click Apply to copy the settings to the left eye.
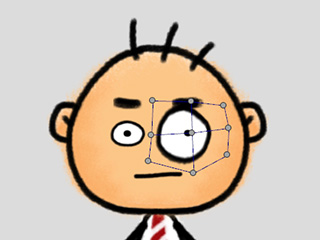
- Select the Left Eye from the Face Part pane and then the second thumbnail (Eye Enlarge Left) in the Expression list.
You will find that the left eye is symmetrically enlarged.
- Close the Facial Animation Setup panel and click the Back Stage button to switch to the Stage Mode.
- Open the Motion LIVE 2D panel again and observe the mocap result in Preview mode.

Before deforming the eyes. After deforming the eyes.
By using the Sprite Editor panel in Cartoon Animator, you can replace the Sprite element for current character expression to enhance the facial mocap result.
You may customize the mouth sprite for the character in this example, to present a different visual effect for facial mocap.
If a G3 360 or G3 character's face features (eyes or mouth) is converted to Smooth Mode, then you are unable to make changes to the sprites of the character's eyes or mouth feature in the Sprite Editor. You can modify the eyes or mouth features in the Facial Animation Setup panel.
- Close the Motion LIVE 2D panel. Click the Composer button on the Functional Toolbar to enter the Composer Mode.
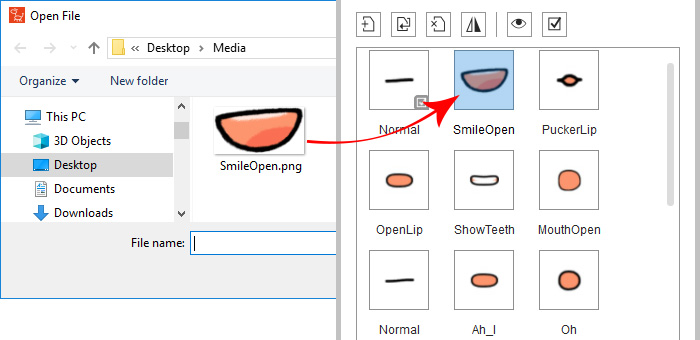
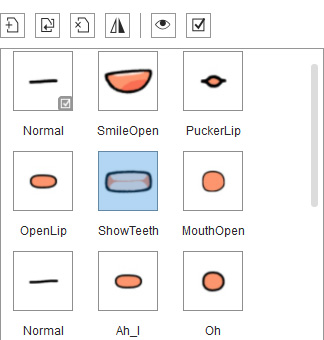
- Select the Mouth sprite.
- Click the Sprite Editor
 button to open the Sprite Editor Panel.
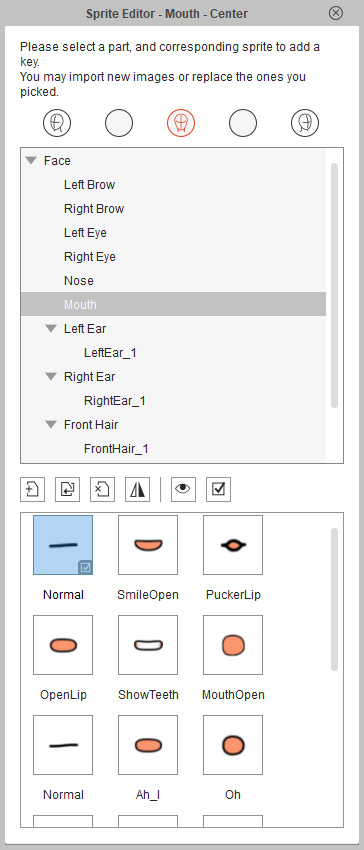
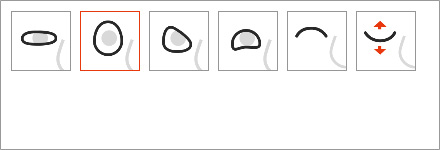
- Select the Smile Open pose and click the Replace Current Sprite button.
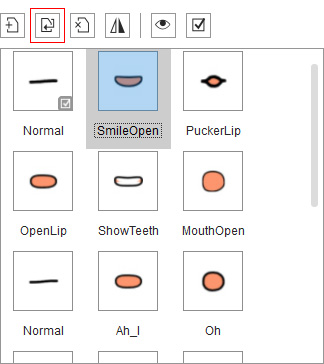
- Choose a prepared media file and click the Open button to replace the original one.
The pose is instantly replaced with the new image.
- Repeat Steps 4 and 5 for the Show Teeth pose.
- Close the Sprite Editor panel and click the Back Stage button to return to the Stage Mode.
- Open the Motion LIVE 2D panel again and observe the mocap result in Preview mode.
Now the character has a bigger mouth with the teeth inside.

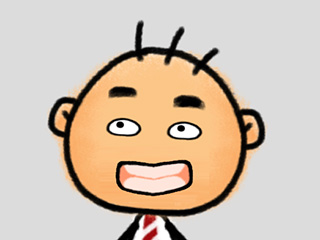
Before replacing the mouth sprite. After replacing the mouth sprite.