VIDEO Mode Workflow
Capture your facial performances with AccuFACE 2 using recorded footage and seamlessly transfer the captured calibrations to your chosen character model in iClone.
- Open AccuFACE 2 and iClone.

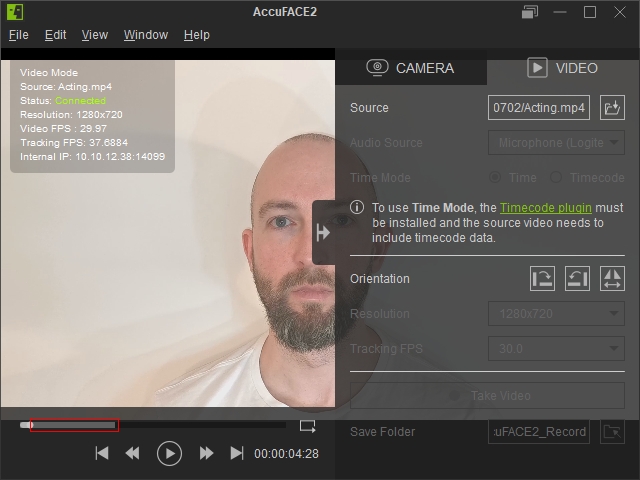
- In AccuFACE 2, select the VIDEO mode.
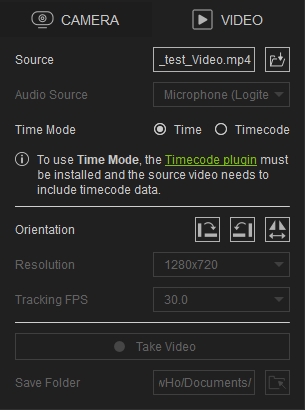
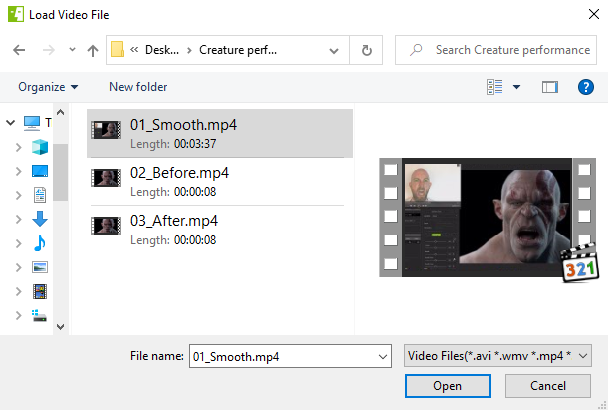
- The Load Offline Video file dialog will appear. Select the recorded footage you want to import and click Open.
- In the Source field, you will see the name of the video. If the video cannot be loaded, verify that the file is in a supported format and codec. For supported video formats and compatibility requirements, refer to Video Format.

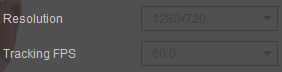
- The Resolution and Tracking FPS settings are disabled in VIDEO mode. AccuFACE 2 automatically uses the resolution and frame rate of the imported video for facial tracking.
- After the video is imported, it is automatically preprocessed in the background to optimize tracking performance.
 Note:
Note:For the best facial tracking quality, use video footage recorded at 720 p or higher with a frame rate of 60 FPS. Higher-resolution and higher-frame-rate videos provide more facial detail, allowing the preprocessing stage to produce more accurate tracking results.
- In the Source field, you will see the name of the video. If the video cannot be loaded, verify that the file is in a supported format and codec. For supported video formats and compatibility requirements, refer to Video Format.
- After you have finished configuring your VIDEO settings, go back to iClone to establish the connection between AccuFACE 2 and Motion LIVE
Connecting AccuFACE 2 to Motion Live
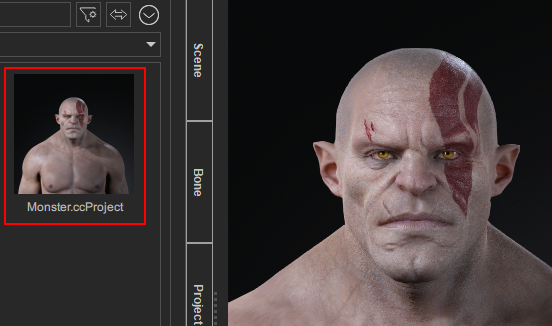
- To initiate the connection between AccuFACE 2 and Motion Live, begin by selecting a character model in iClone.
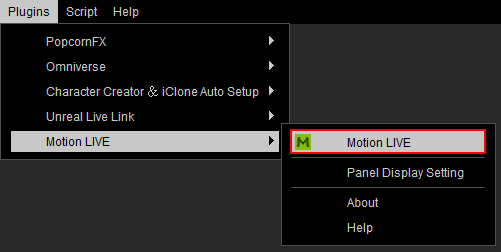
- Perform Plugins > Motion LIVE> Motion LIVE.
- The Motion LIVE panel will appear. Select the facial row under the Gear List section.
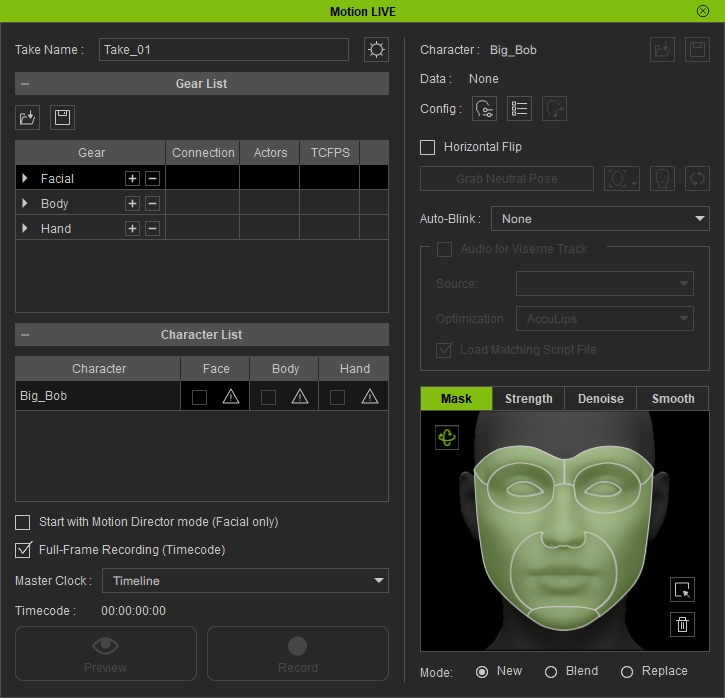
- Under Gear List, click the + button in the ‘Facial’ row to show the supported default devices.
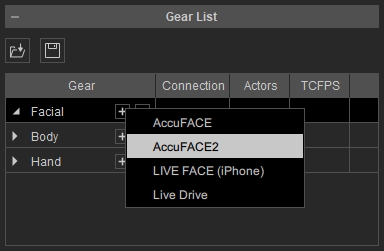
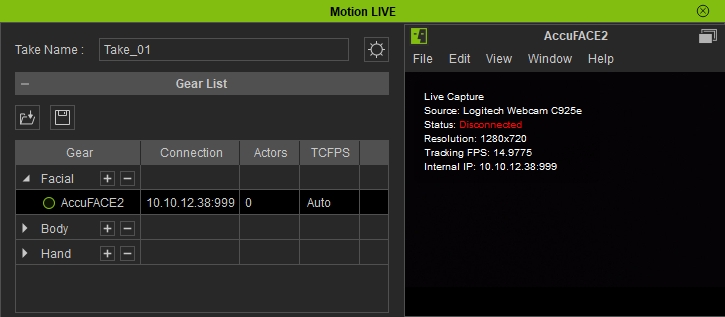
Select ‘AccuFACE 2’ from the dropdown menu. You will see the device is now under the ‘Facial’ group with a green hollow circle.
- Type the IP address shown in your AccuFACE 2 application into Motion LIVE > Gear List > Connection and activate the hollow circle beside it.
The green circle will become solid, indicating that AccuFACE 2 has successfully connected to the Motion Live plugin.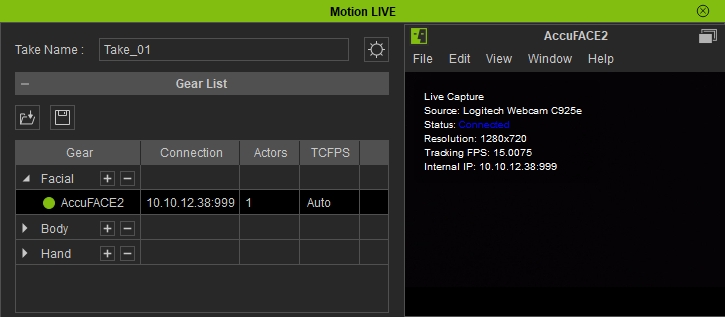
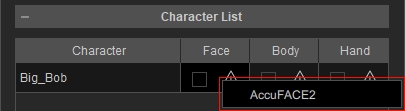
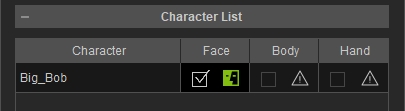
- Click on the hazard sign under Character List > Face for the character you want to puppet and select ‘AccuFACE 2’.
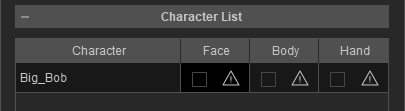
Before establishing the connection.
After establishing the connection.
- Click the Preview button and press the Spacebar to preview your own expressions on the virtual character. For better capture results, click the Grab Neutral Pose button to initialize the facial expression.
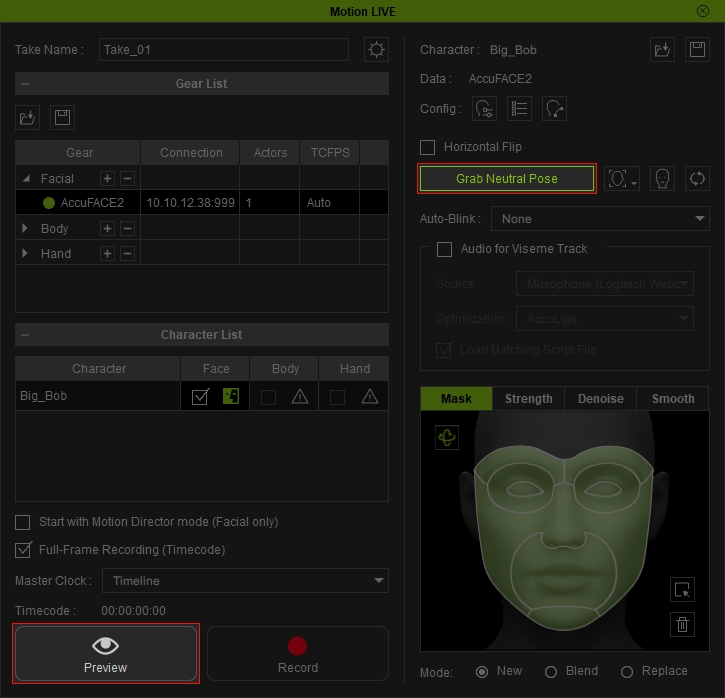
Click the Record button and press the SpaceBar to start recording.
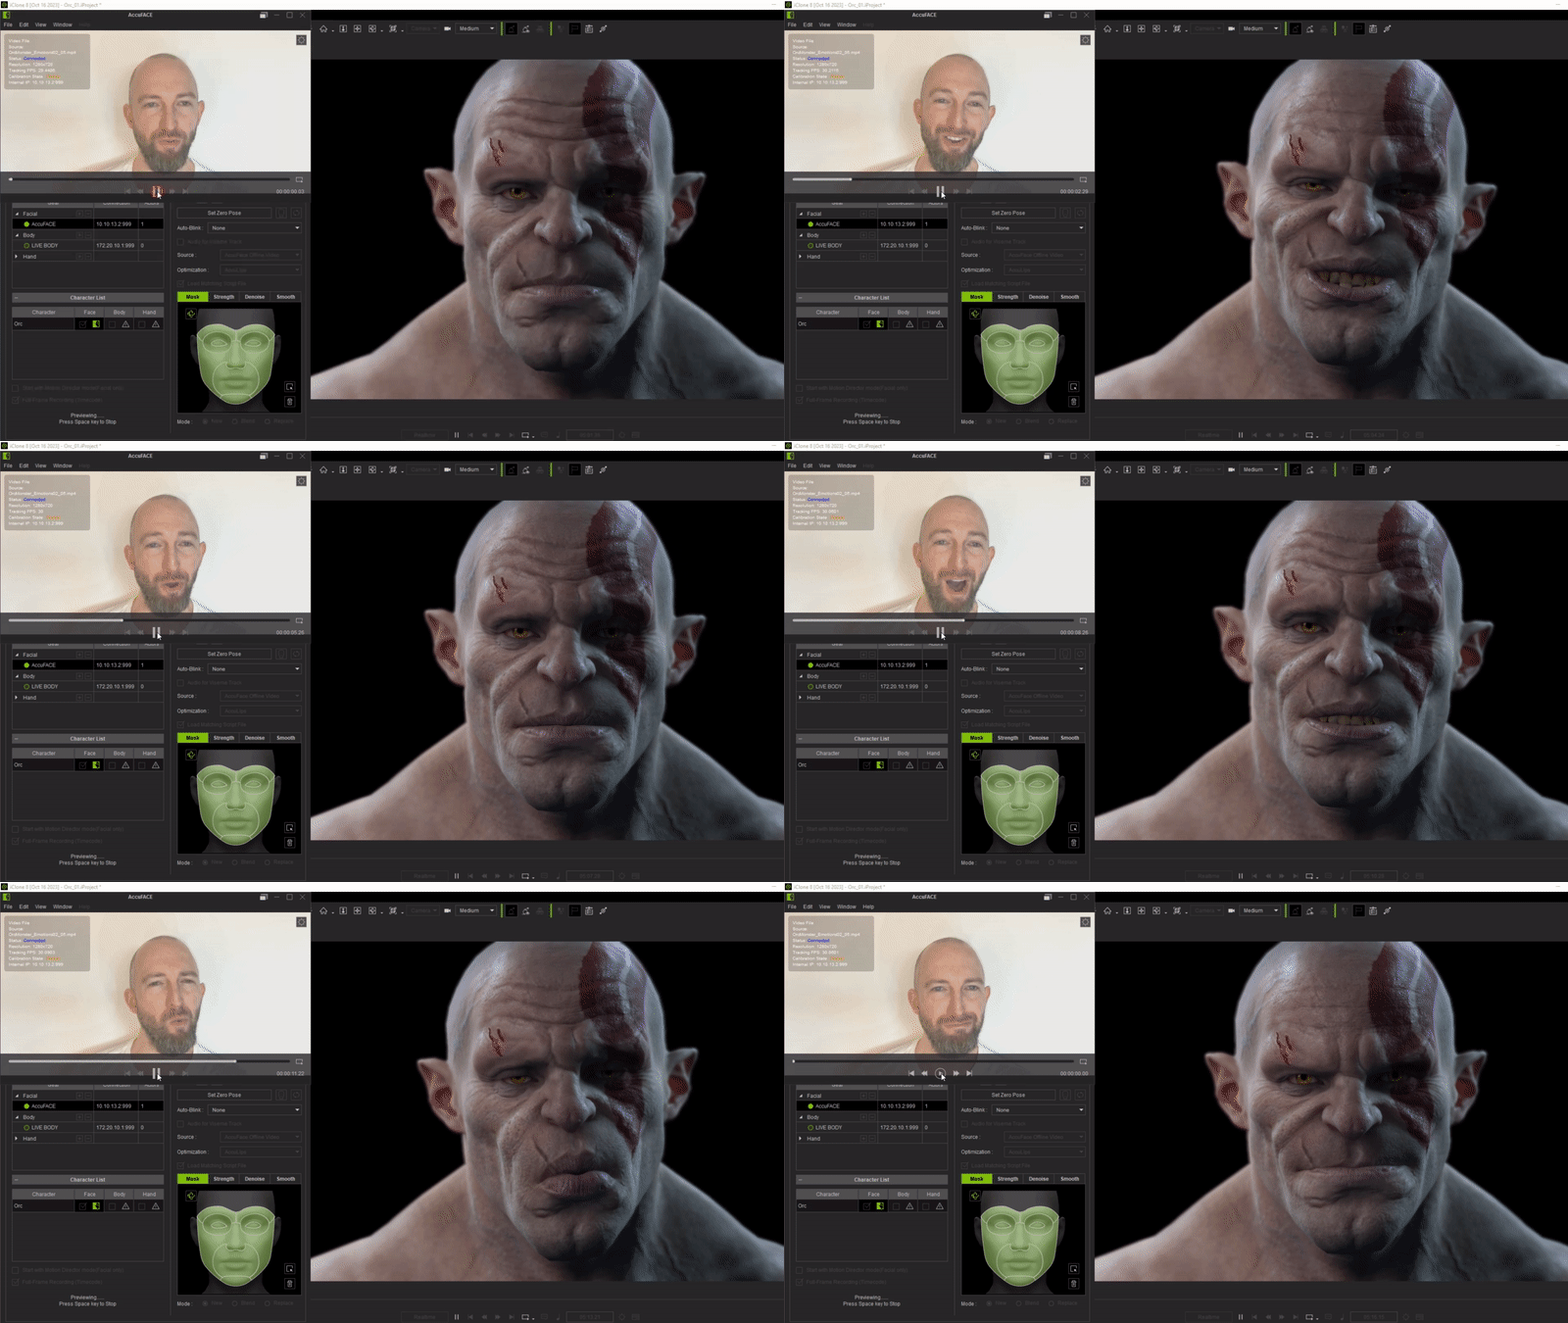 Note:
Note:- To further refine the facial motion capture result, refer to the Mask, Strength, Denoise, and Smooth sections.
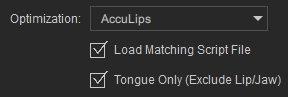
- Prior to recording your facial performance, it is recommended to utilize the Acculips and Tongue Only option to improve the precision of your character's tongue movements.