Sending Head Mesh to Omniverse (New for V. 3.43)
Omniverse also provide an App called Audio2Face, which can be used to produce facial expressions and lipsyncs, then wraps them to the Character Creator's head mesh.
Benefits of Using Omniverse Audio2Face
- AI-driven: More natural facial expressions are AI driven.
- Language Independent: Facial expressions are supported across multiple languages.
- Facial and Lip-sync Animation from Voice: The facial expression and lip-syncs are auto-driven by imported voices.
Exporting Head Mesh from Character Creator
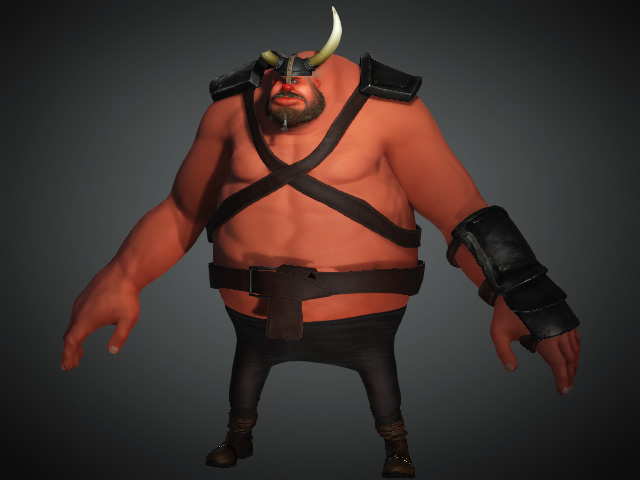
- Create a CC3+ character with Character Creator 3.43 or later version.
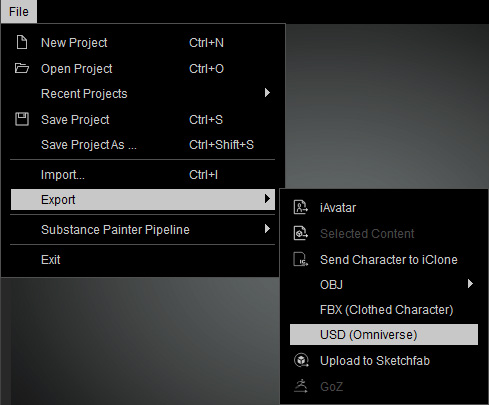
Please refer to the Character Creator Online Manual for more information if you are a new user for Character Creator. - Export the character in USD format using one of the 3
methods:
- In File Menu: File > Export > USD (Omniverse)
- On Toolbar:

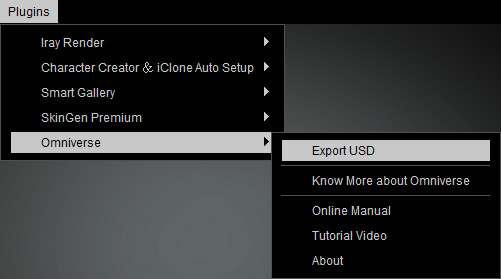
- In Plugin Menu: Plugins > Omniverse.
- In File Menu: File > Export > USD (Omniverse)
- Adjust the settings in the Export USD panel.
Refer to User Interface Introduction of Export USD Panel section for more information.
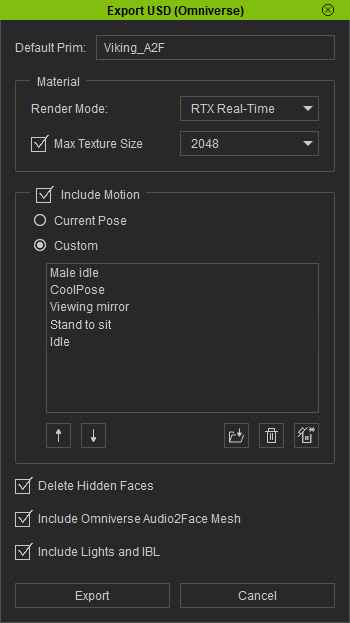
Make sure the Include Omniverse Audio2Face Mesh checkbox is activated. Note: Getting Motions for Characters
If you looking for motions to be exported with the character for being able to perform in Omniverse, browse the Reallusion ActorCore catalog.
Refer to the Getting Motions from ActorCore section for more information about getting, downloading and installing motions.
- Save the exported USD files on desired directory.
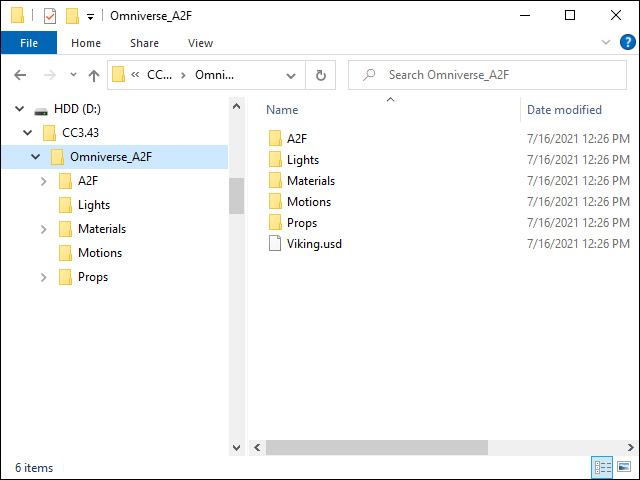
- A2F: This folder houses all files for Audio2Face.
- Lights: This folder keeps all lights and HDR image.
- Materials: This folder includes all materials and textures.
- Motions: This folder contains all motions you added in the previous step.
- Props: In Omniverse, everything is a prop, including characters. You can find the Meshes and Bones subfolders of the characters.
- XXX.usd: The main USD file that combines everything in these folders.
- Open the A2F folder.
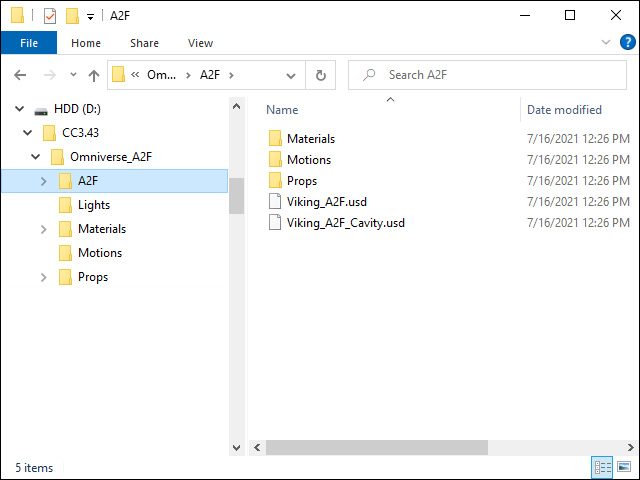
- Materials: This folder includes all materials and textures.
- Motions: This folder contains all motions you added in the previous step.
- Props: In Omniverse, everything is a prop, including characters. You can find the Meshes and Bones subfolders of the characters.
- XXX_A2F.usd: The USD file of the head mesh that combines everything into these folders.
- XXX_A2F_Cavity.usd: The USD for the character's teeth.
Loading Head USD into Omniverse Audio2Face
Before loading the head USD files into Omniverse Audio2Face, make sure you have completely installed Omniverse Audio2Face.
- Switch to the LIBRARY page and choose the Create from the left side,
and click the LAUNCH button.
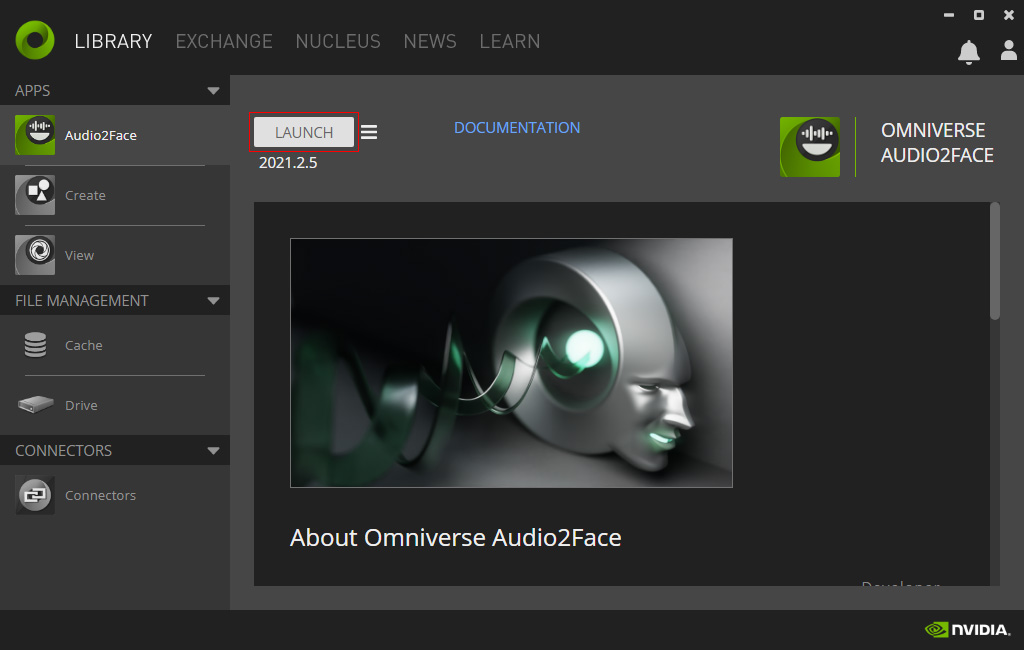
- Omniverse Audio2Face will display on the screen.
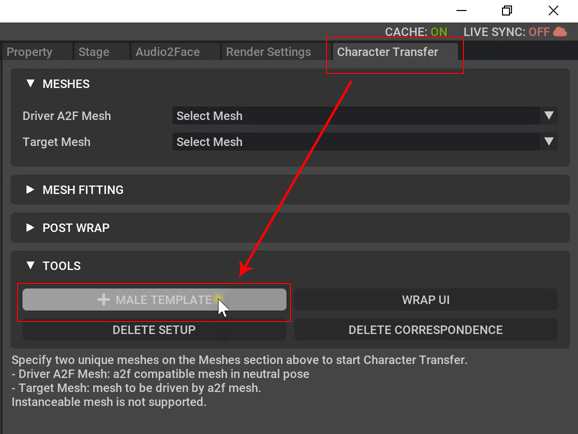
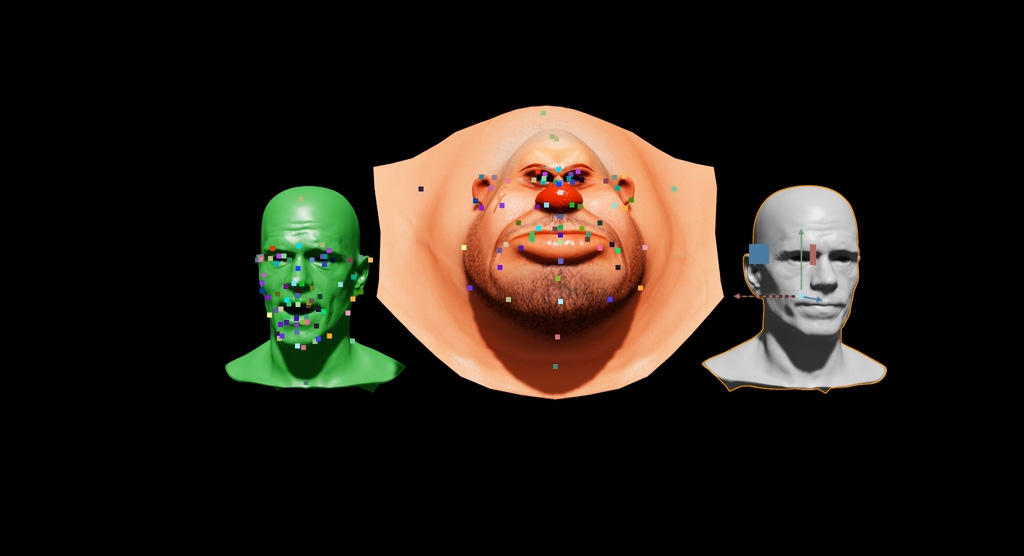
- At the right panel, switch to the Character Transfer mode and click the MALE TEMPLATE button.
You will see two overlapping head meshes on the viewport.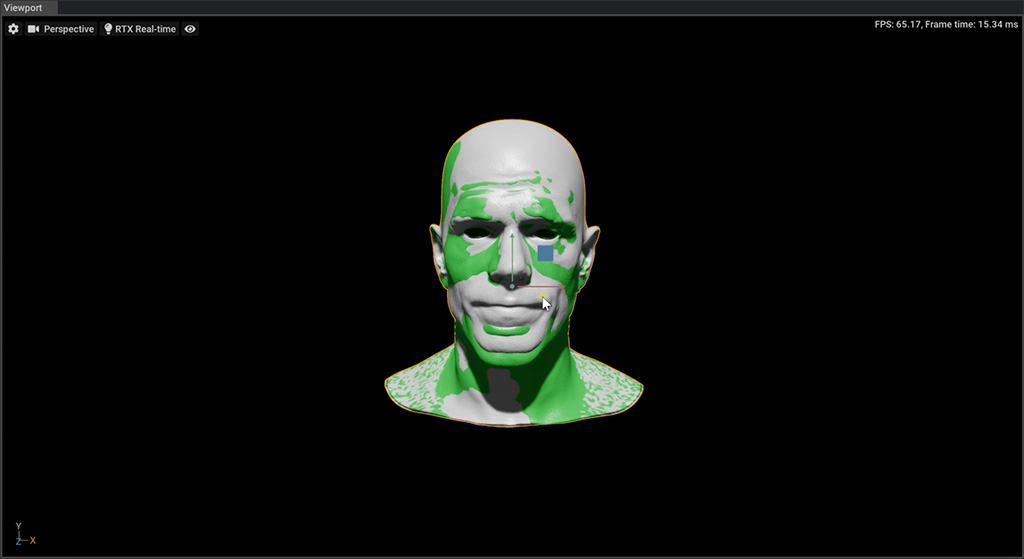
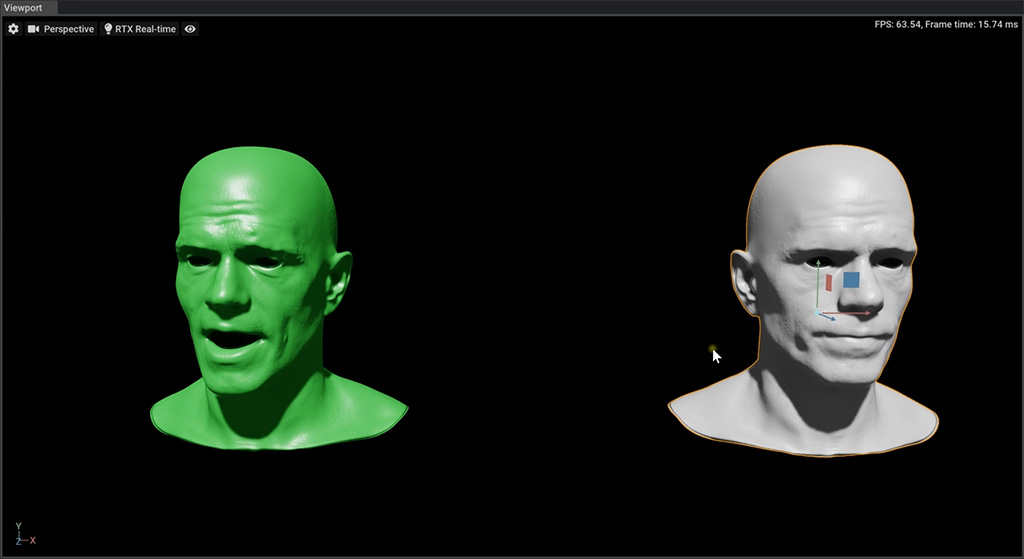
- Relocate one of the head mesh to align them side by side.
- Drag and drop the head mesh (XXX_A2F.usd) exported in the previous section.
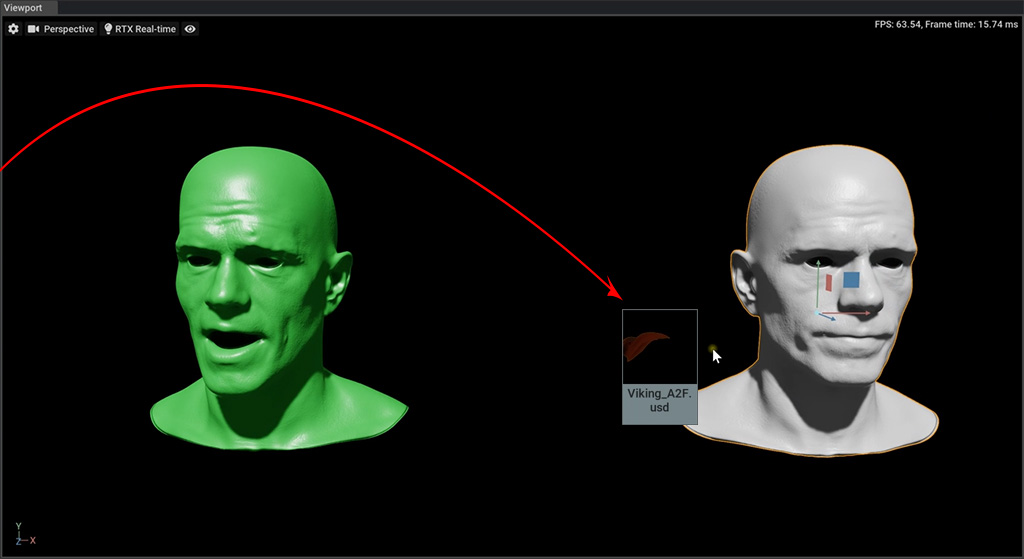
The head mesh will be loaded.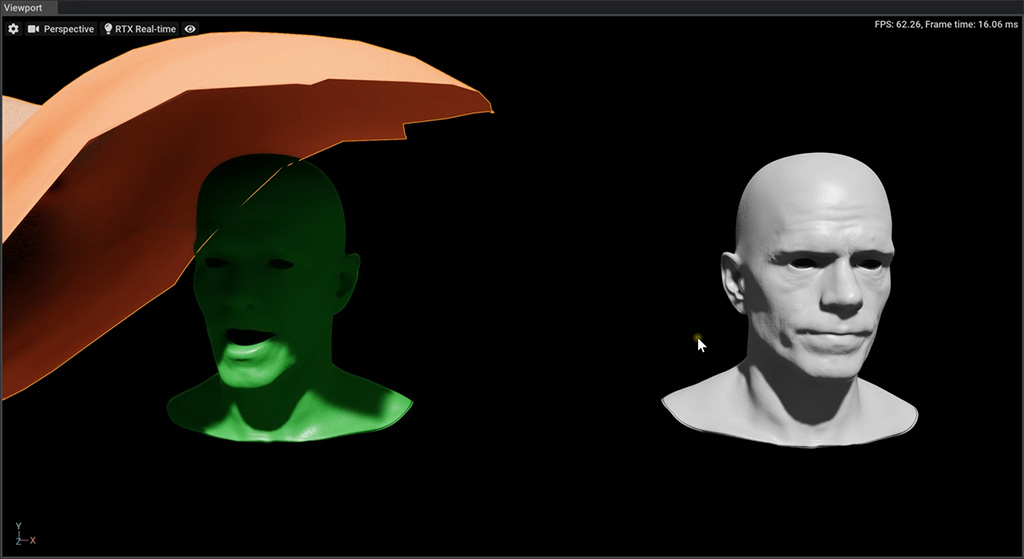
- Reposition the head mesh between the embedded head mesh.
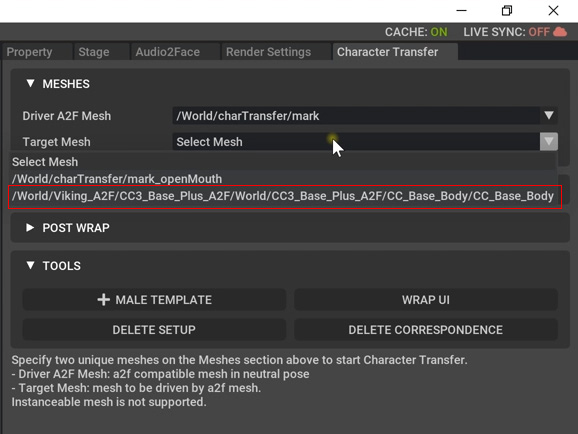
- In the right panel, click the Target Mesh drop-down list and pick the ...CC_Base_Body item.
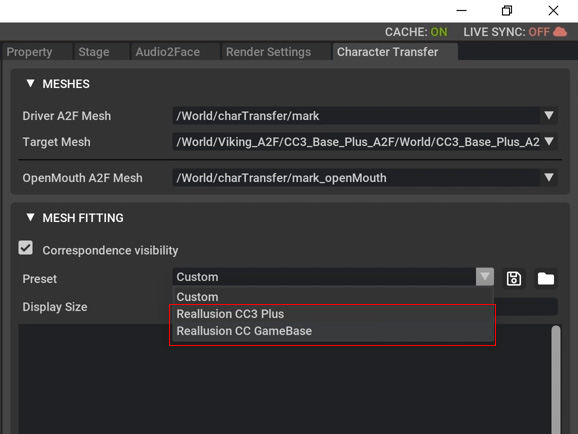
- Also, set the Preset according to your character's categories when it is exported (in this case, the Reallusion CC3 Plus)
Click the Yes button in the following dialog box.
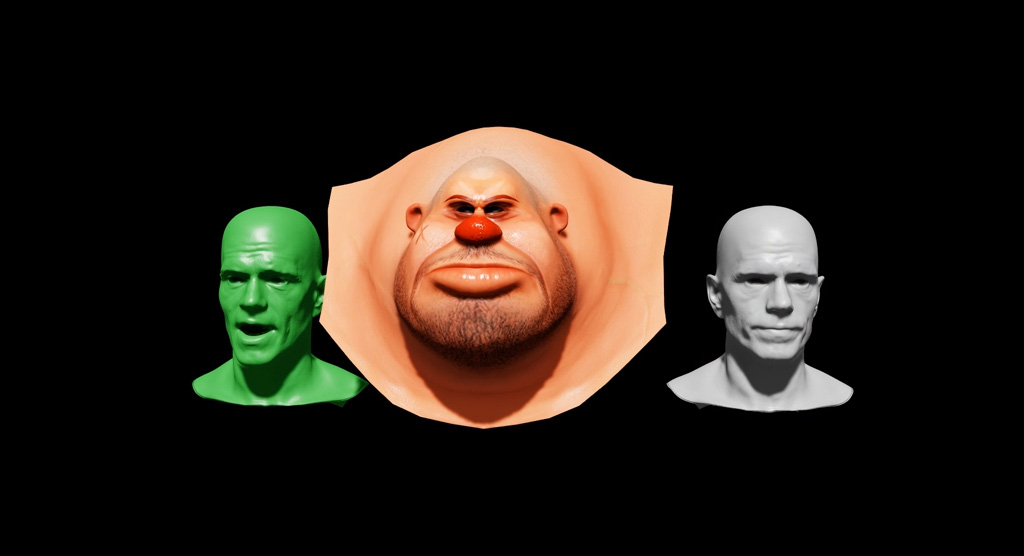
- Click the Begin Post Wrap button in the POST WRAP section.

- The CC3 head mesh will be wrapped based on the embedded head model (the green one).
- Switch to the Audio2Face tab in the right panel and click the A2F PIPELINE button.
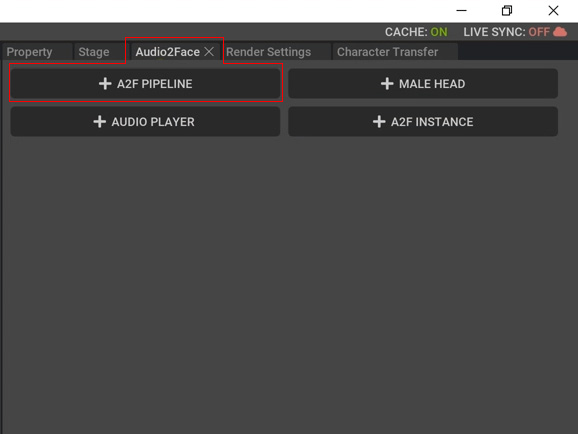
Then click the YES, ATTACH button in the following dialog box.
- You can use the controls in the AUDIO PLAYER section to view the lipsync result (language independent).
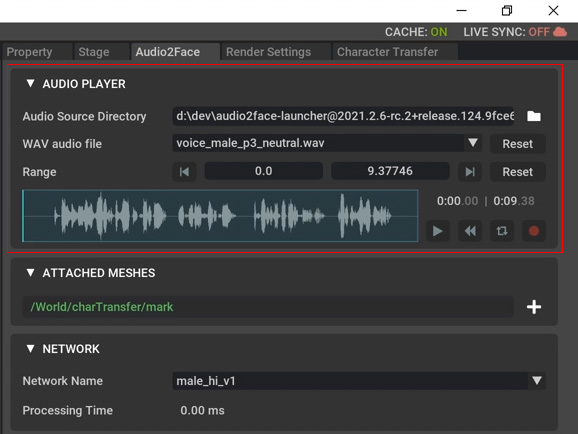
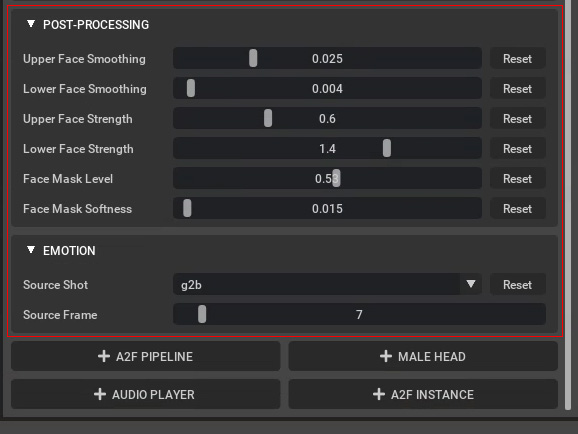
Playback the audio to view the lip-syncs of the CC3 head mesh. - You can also adjust the settings in the EMOTION or POST-PROCESSING sections to crate different facial expressions.
The following video shows the results with different facial expressions when the head mesh is talking.
