Settings in Appearance Editor - Skin Decal
Head, Body, Arm and Leg Materials
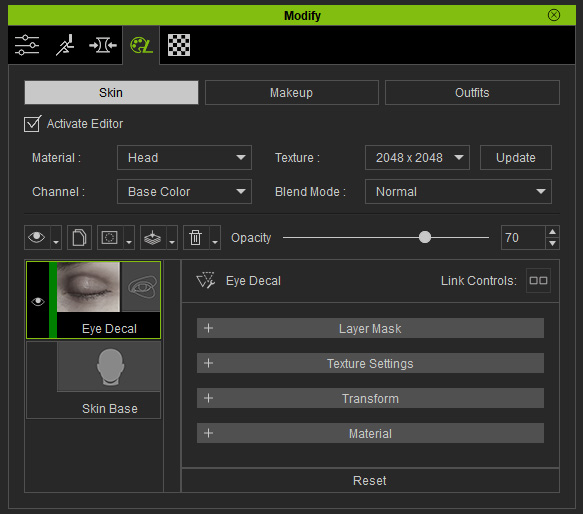
Contains the mask for the layer effect.
Refer to the Layer Mask section for more information.
This section contains the basic texture channels. The textures can be edited if you have purchased and installed the SkinGen Plugin.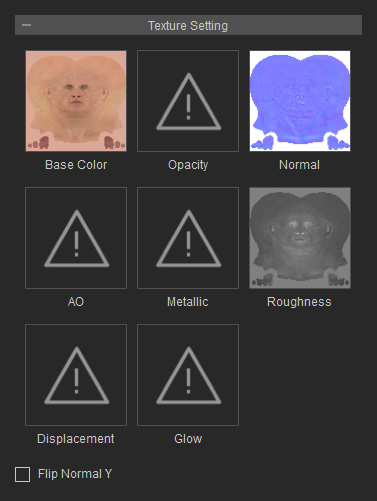
Since the textures of the templates in this library currently cover the entire parts, such as face, body, knees, etc., it is not recommended that you use the transform settings to do the modification.
Refer to the Using Decal Tool for more information about the Transform settings.
This section contains subsections with settings for modifying the textures listed in the previous section. The settings in the sub-sections will only be enabled when the texture channels in the Texture Settings sub-section are not empty.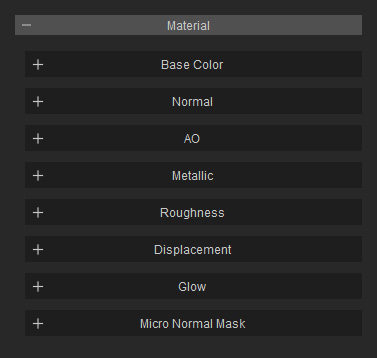
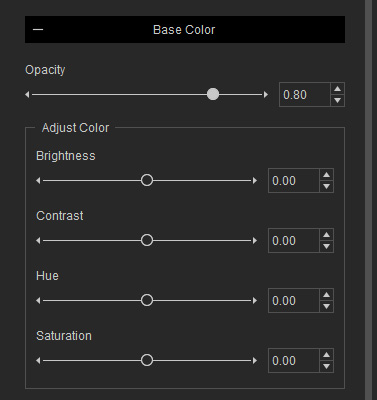
- Opacity: This setting blends the Base Color texture to the Skin Base with adjustable opacity values.
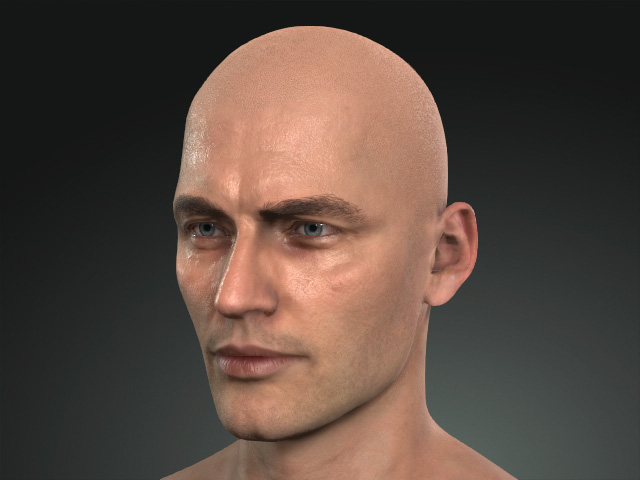
Opacity = 0.00
Character with Skin Base only
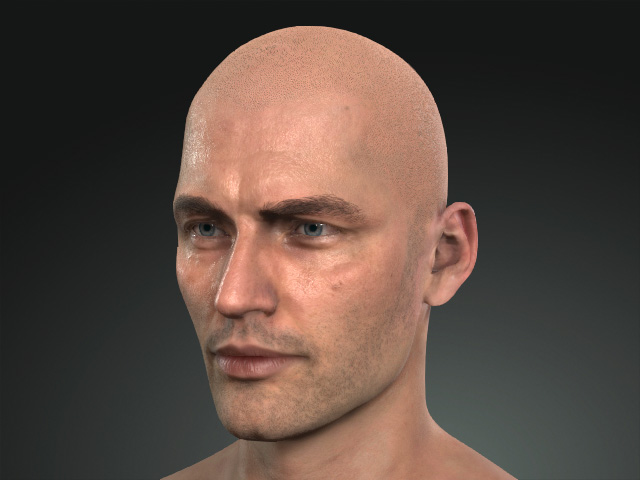
Opacity = 1.00
Blended with base color texture of the Skin Details template.
- Adjust Color

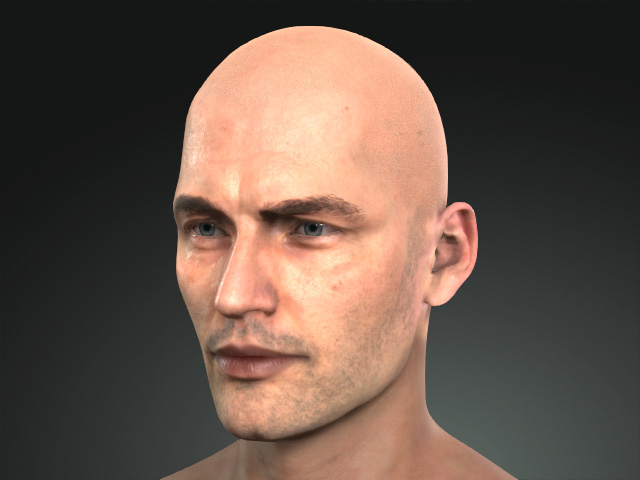
Brightness = 0.00
Contrast = 0.00
Hue = 0.00
Saturation = 0.00
Brightness = 0.25
Contrast = 0.45
Hue = 0.00
Saturation = -0.10

- Strength: This setting modify the Normal texture to increase or decrease the normal effect.

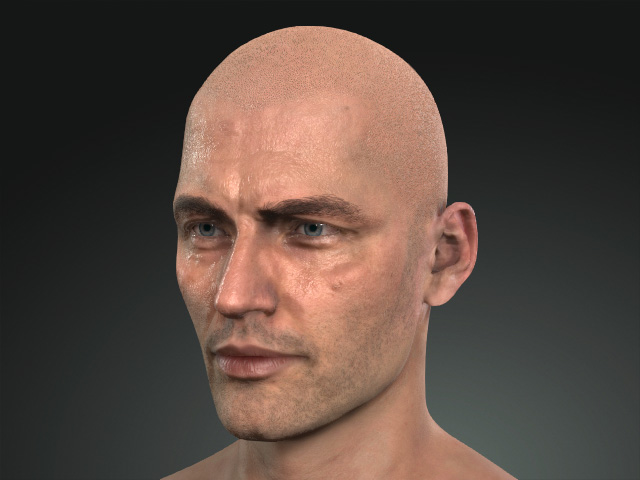
Strength = 0.50
Strength = 0.85
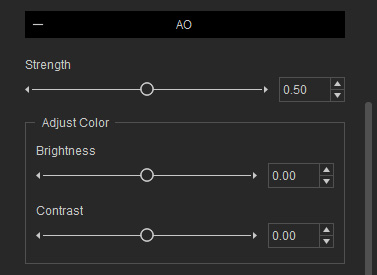
- Strength: This setting adjust the AO texture to increase or decrease the effects of the creases lines of the wrinkles.

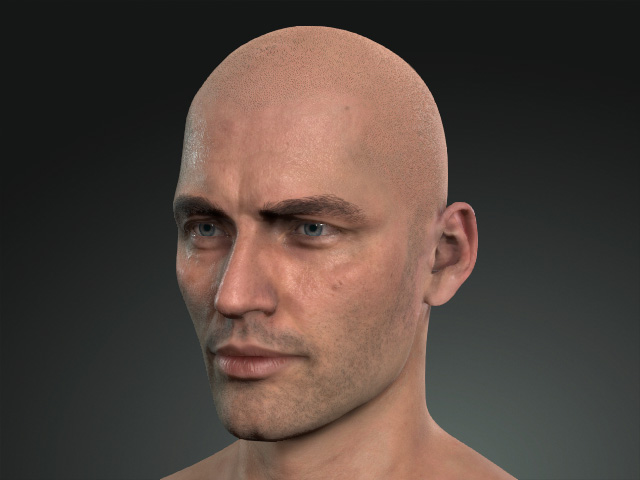
Strength = 0.00
Strength = 1.00
- Adjust Color

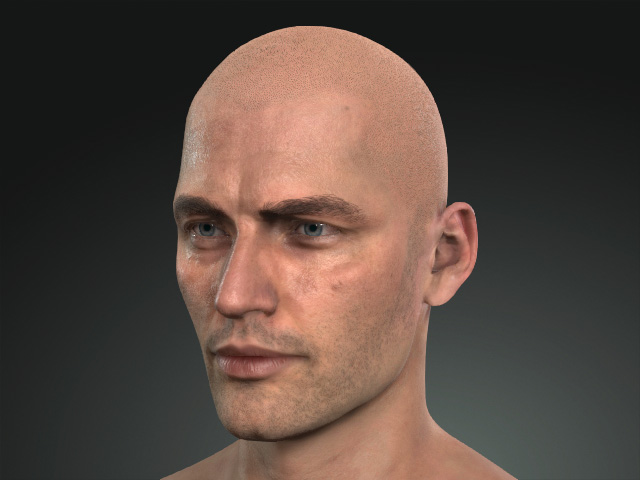
Brightness = 0.00
Contrast = 0.00
Brightness = 0.20
Contrast = 1.00
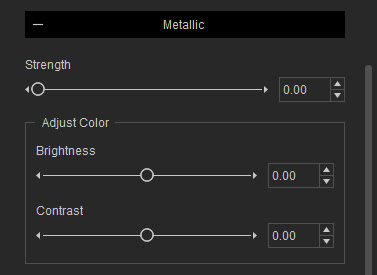
- Strength: This setting adjusts the Metallic texture to increase or decrease the reflectivity on the skin.
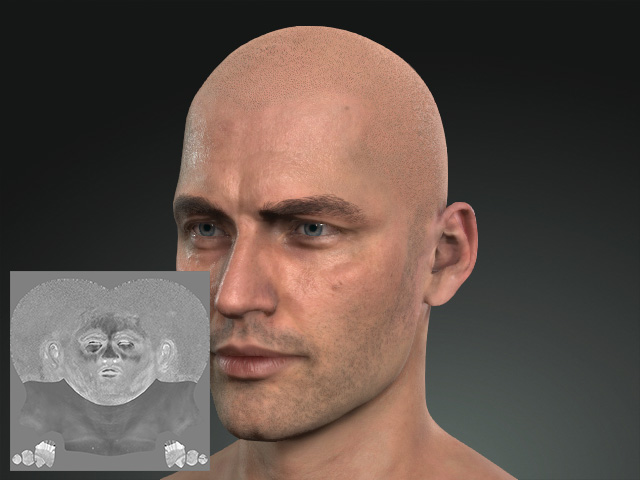
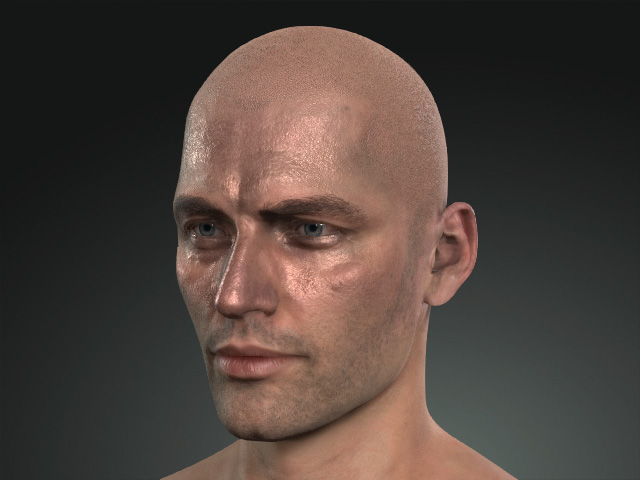
Strength = 0.00
Strength = 1.00
- Adjust Color

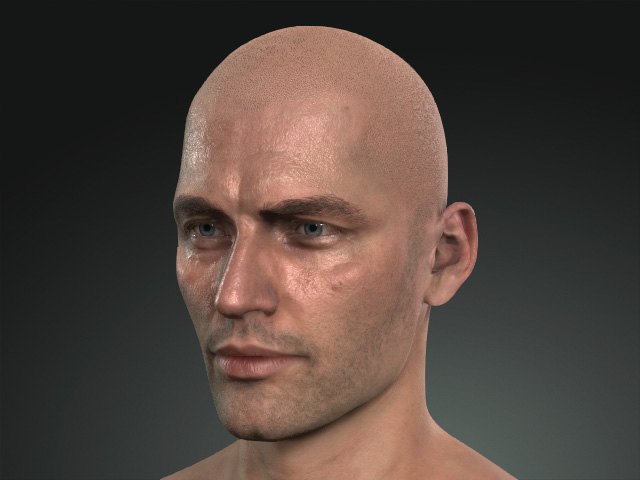
Brightness = 0.00
Contrast = 0.00
Brightness = -0.20
Contrast = -0.70
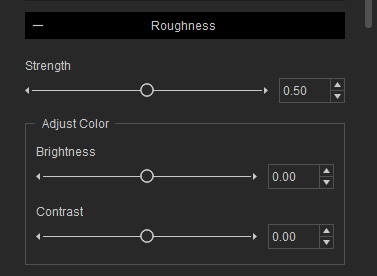
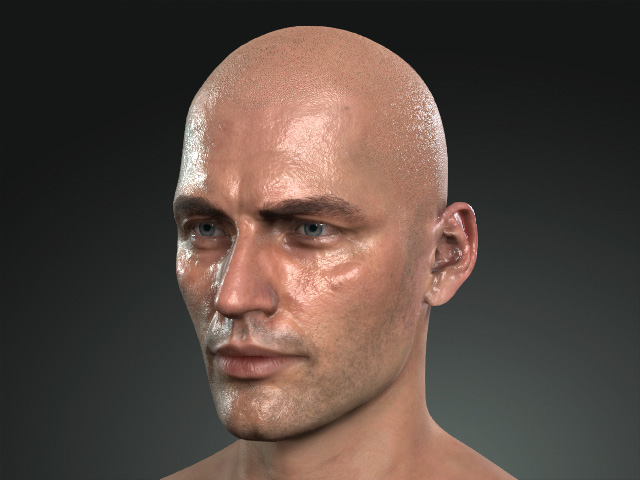
- Strength: This setting adjusts the Roughness texture to increase or decrease the smoothness to create the oiliness or moisture on the skin.

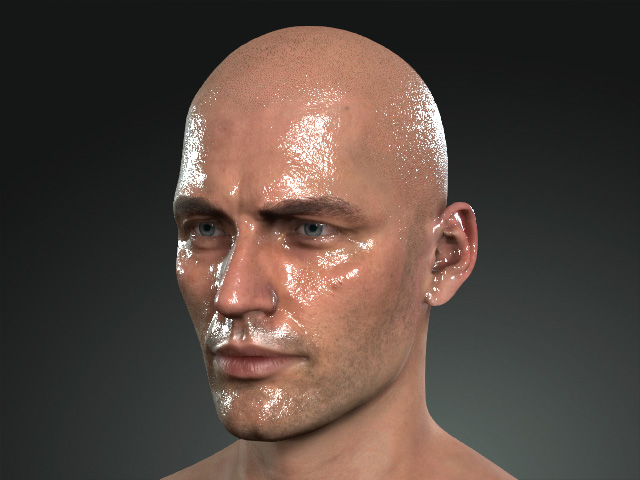
Strength = 0.50
Strength = 0.10
- Adjust Color

Brightness = 0.00
Contrast = 0.00
Brightness = 1.00
Contrast = 1.00
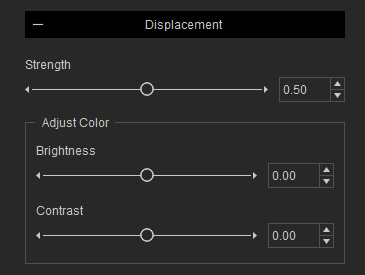
- Strength: This setting adjust the Displacement texture to increase or decrease the bumps on the skin.
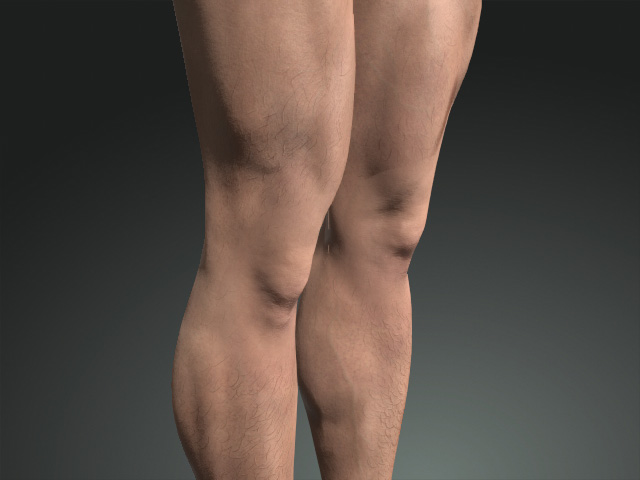

Strength = 0.00
Strength = 0.50
- Adjust Color

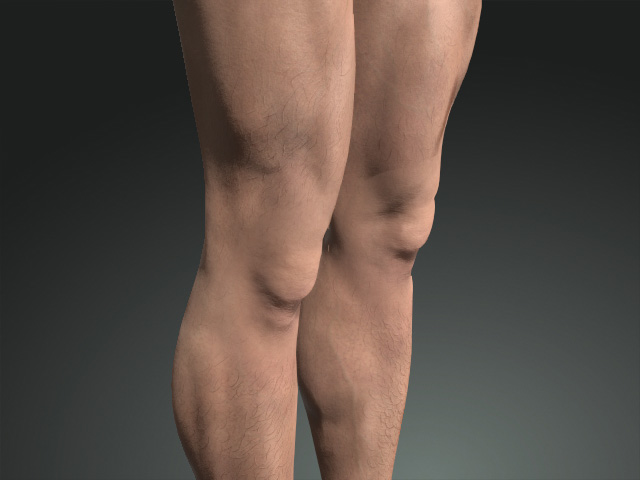
Brightness = 0.00
Contrast = 0.00
Brightness = 0.30
Contrast = 0.20
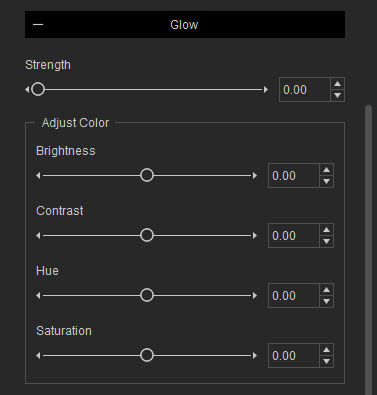
- Strength: This setting adjusts the Glow texture to increase or decrease the luminosity.
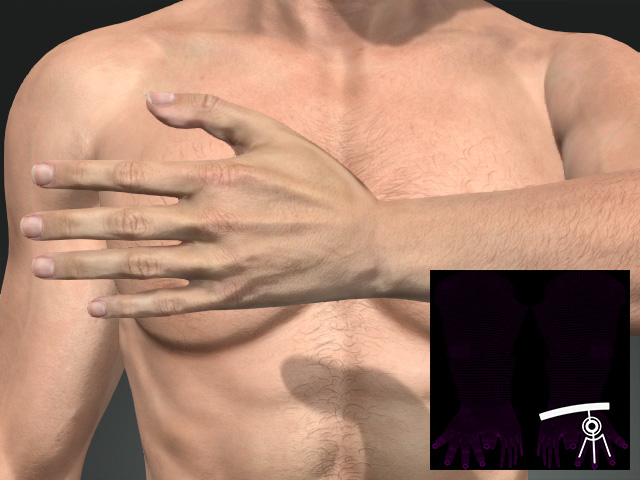
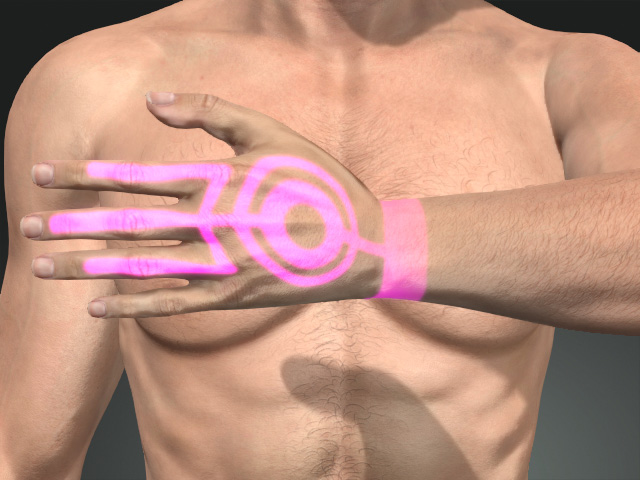
Strength = 0.00
Strength = 1.00
- Adjust Color

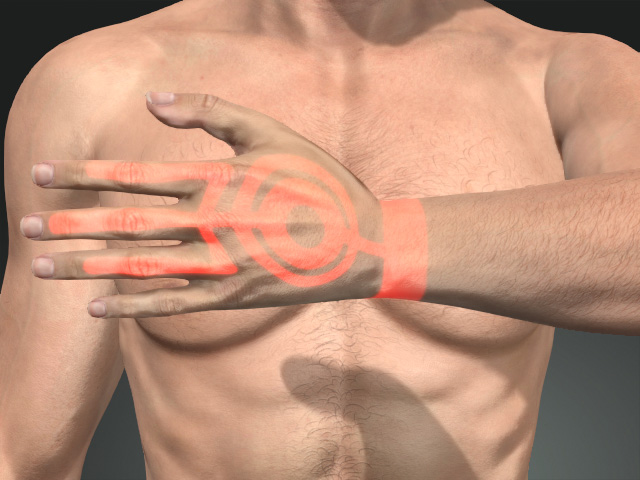
Brightness = 0.00
Contrast = 0.00
Hue = 0.00
Saturation = 0.00
Brightness = -0.10
Contrast = 0.10
Hue = -0.24
Saturation = 0.00
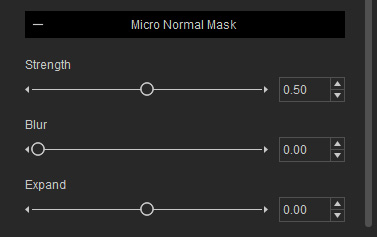
- Strength: This setting adjusts the Micro Normal Mask texture to increase or decrease the micro normal effect on the skin.


Strength = 0.50
Strength = 1.00
- Expand: You can use this setting to expand or shrink the mask of the micro normal texture. The micro normal effect outside of the mask can be set by the settings in the Digital Human Shader.

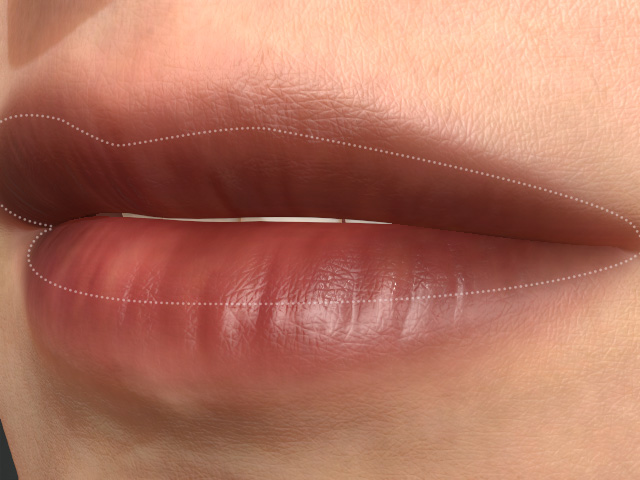
Expand = 0.00
Expand = -0.25
- Blur: This setting can be used to determine the edge blurriness of the mask in order that you can not see the sharp edge of the mask.

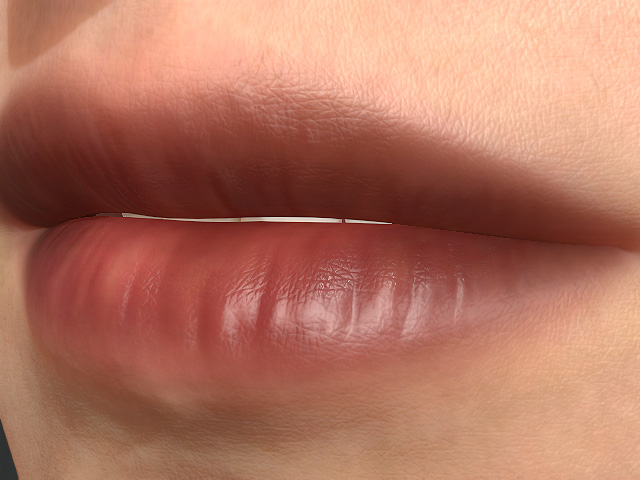
Blur = 0.00
The edges of the mask is little bit sharp.
Blur = 0.80
The edges of the mask is blurred out.
Bump Setting
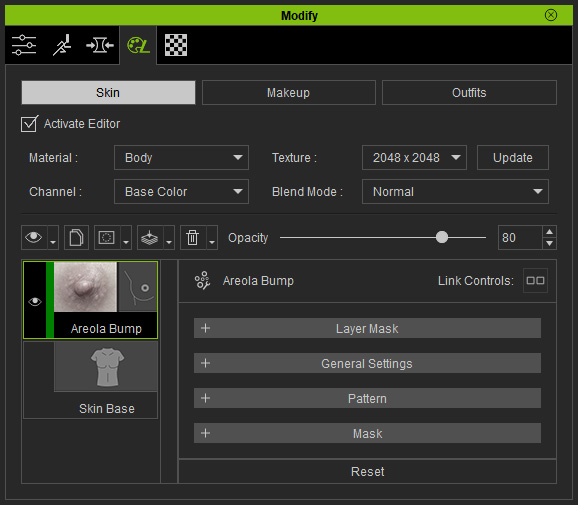
Contains the mask for the layer effect.
Refer to the Layer Mask section for more information.
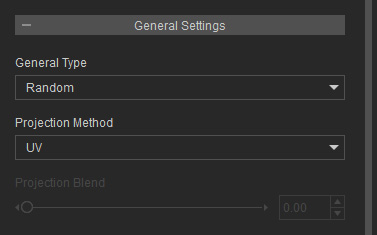
- General Type: This drop down list can be used to pick one or three pattern textures from the channels for random placement.
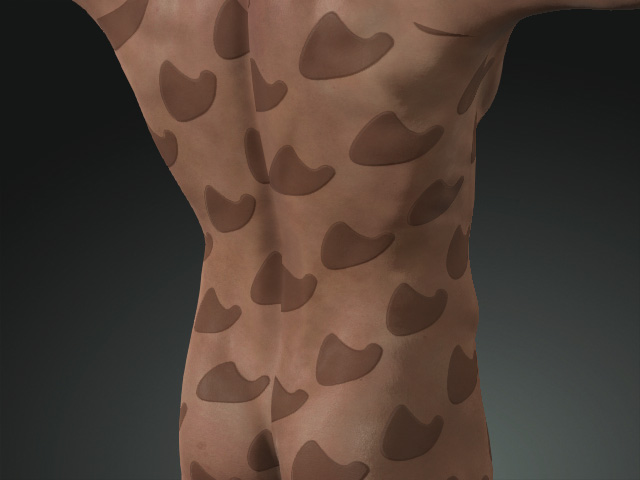
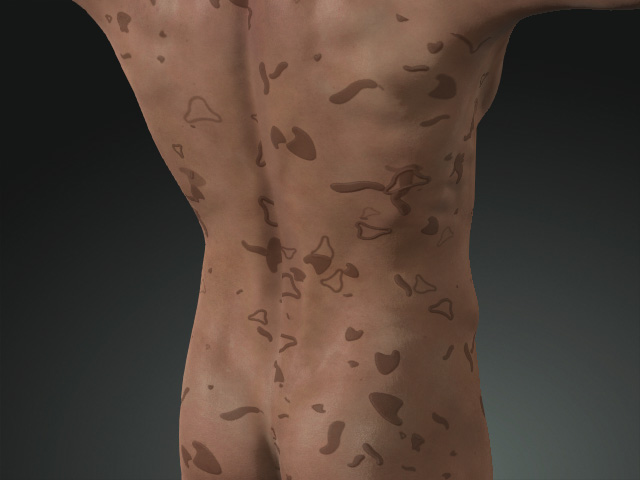
General Type = Uniform (Pattern 1 texture)
General Type = Random (Pattern 1, Pattern 2 and Pattern 3 textures)
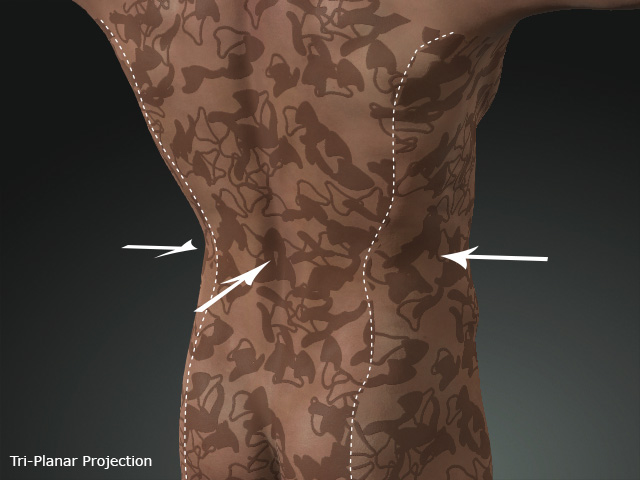
- Projection Method:
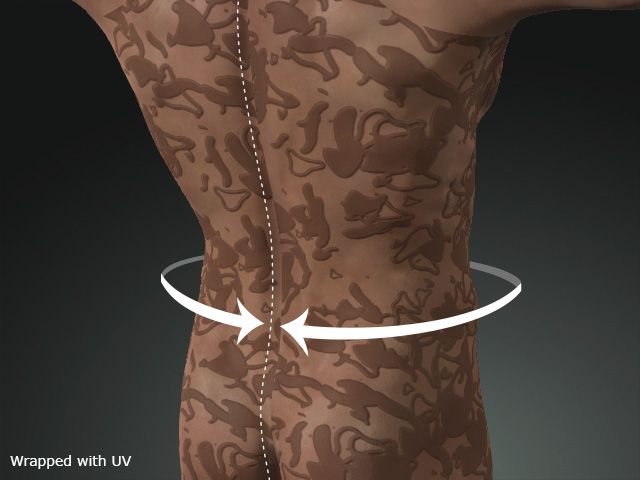
Projection Method = UV
The model is wrapped with pattern texture by the UV coordinate.
Projection Method = Tri-Planar
Project the patterns from three directions to the model.
- Projection Blend: You can use this value to blur out the seams formed by the Tri-Planar project method.
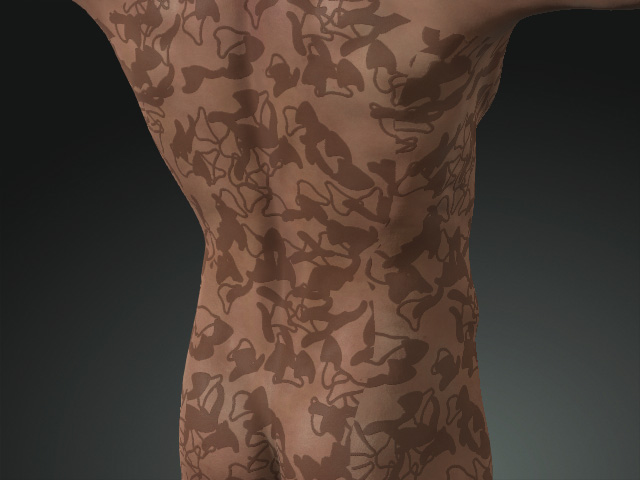
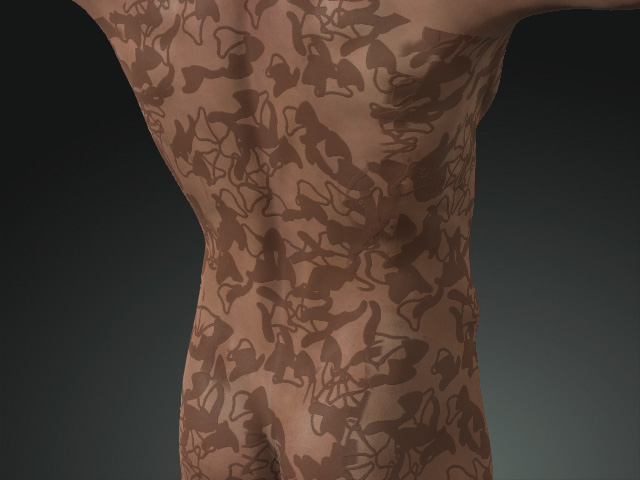
Projection Blend = 0.00
Projection Blend = 0.25
In the Pattern section, there are 5 sub-sections for adjusting the patterns of the goose bumps.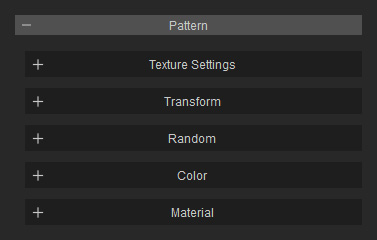
This section contains channels to determine the shape of the goose bumps.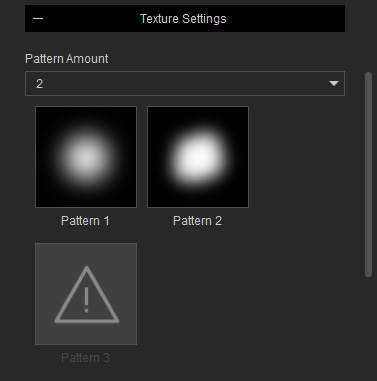
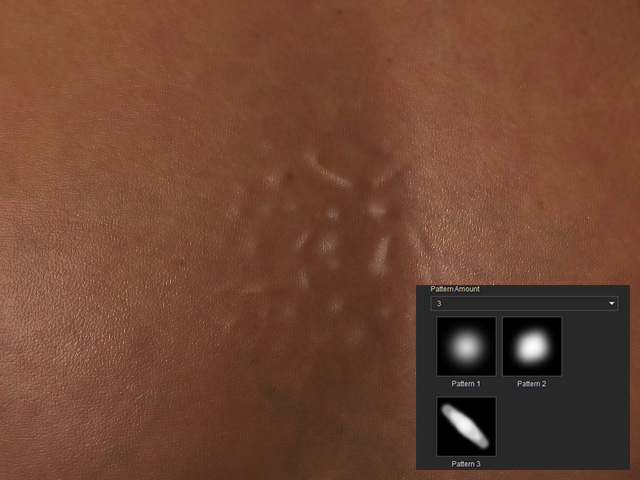
- Pattern Amount: You can use the drop-down list to determine the number of the textures to be blended on the skin.
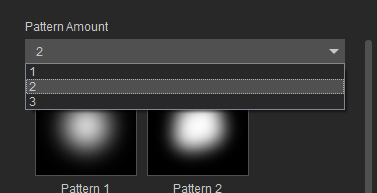
- Channels: These textures in the channels determine the shape of the goose bumps. The textures can be edited if you have purchased and installed SkinGen Plugin.
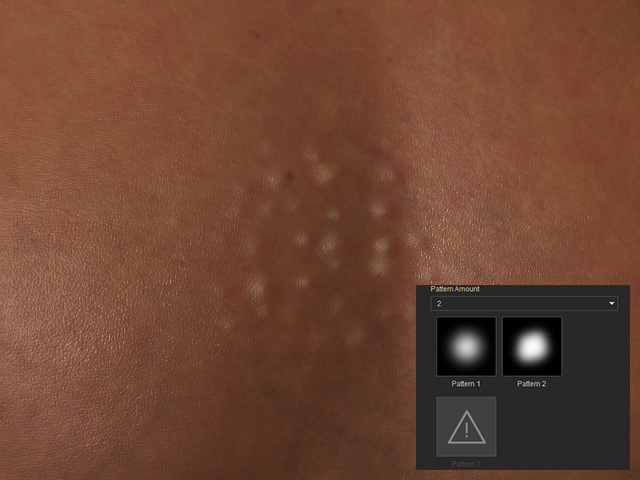
The bumps shapes of 2 (default).
Custom bumps are blended.
The settings in this sub-section can be used to modify the transformations of the bumps.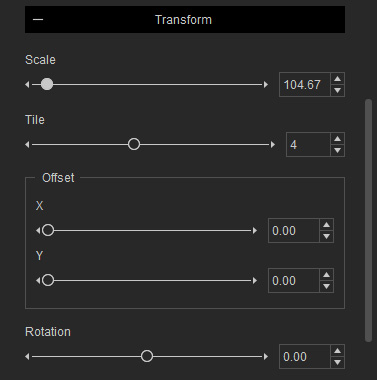
- Scale: This slider expands or shrinks the bumps.
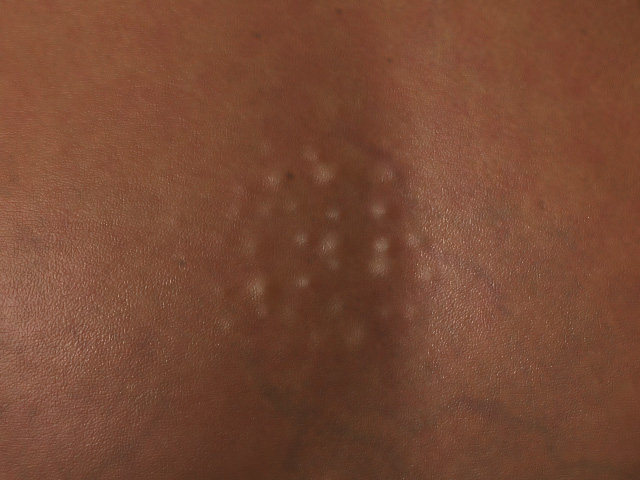
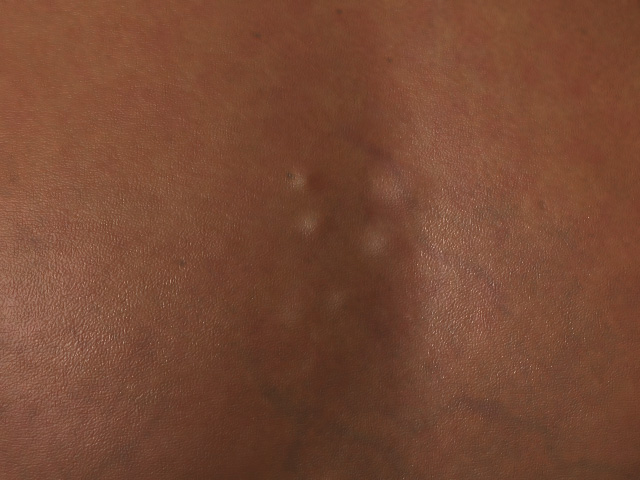
Scale = 100
Scale = 200
- Tile: Use this slider to determine the tiling times of the bumps.


Tile = 4
Tile = 8
- Offset: Use the X, Y to relocate the bumps.

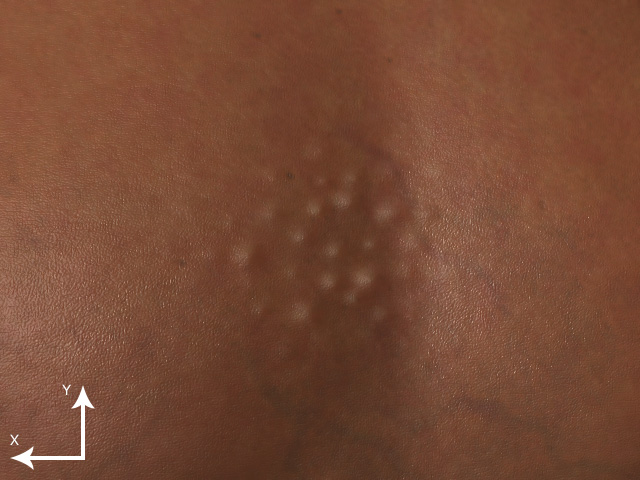
X, Y = 0.00, 0.00
X, Y = 1.00, 1.00
- Rotation: This slider can be used to rotate the bumps.

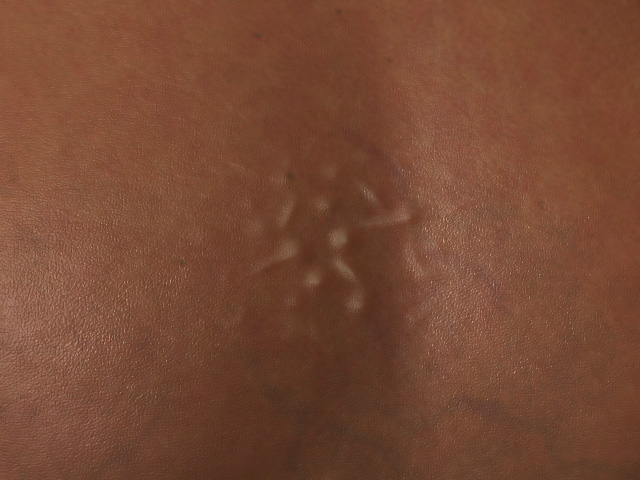
Rotation = 0.00
Rotation = -0.05
To randomize the size, position, orientation and opacity of the bumps, you can use the settings in this sub-section.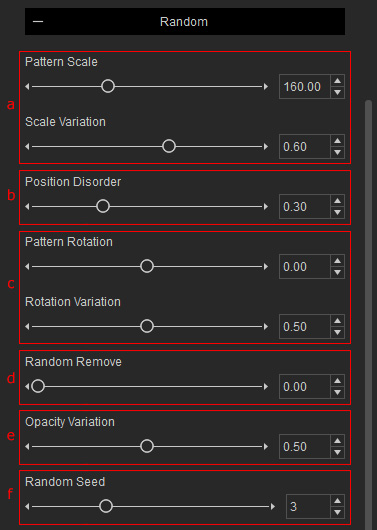
- Randomizing Size

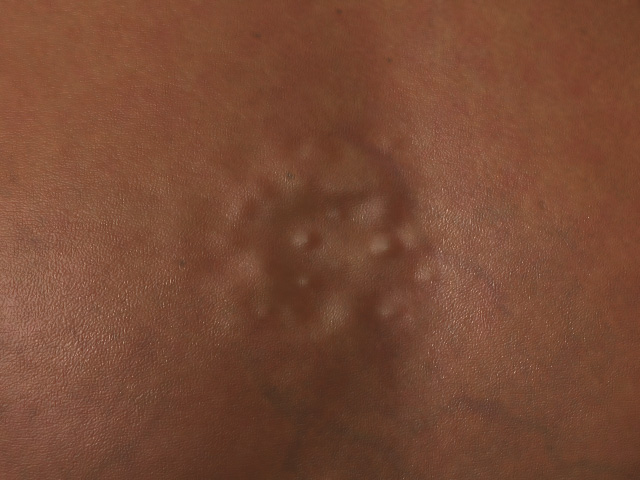
Pattern Scale = 160.00
Scale Variation = 0.60
Pattern Scale = 300.00 (increase the overall size)
Scale Variation = 1.00 (randomize the size of each)
- Randomizing Position


Position Disorder = 0.30
Position Disorder = 0.00
- Randomizing Orientation

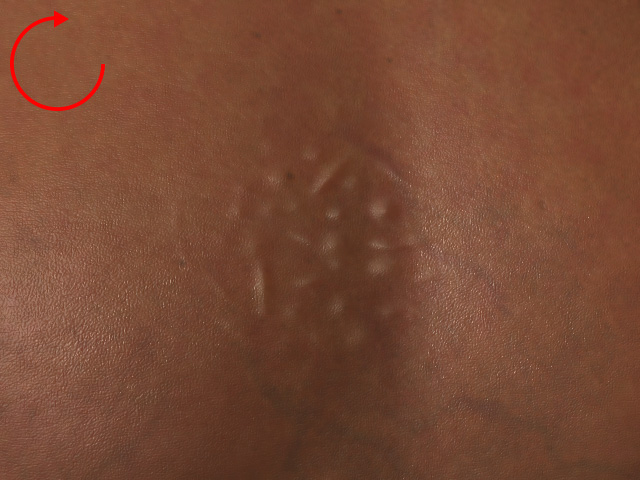
Pattern Rotation = 0.00 (Rotate each bump clockwise or counterclockwise)
Pattern Rotation = 0.25 (a positive number rotates each bump clockwise)
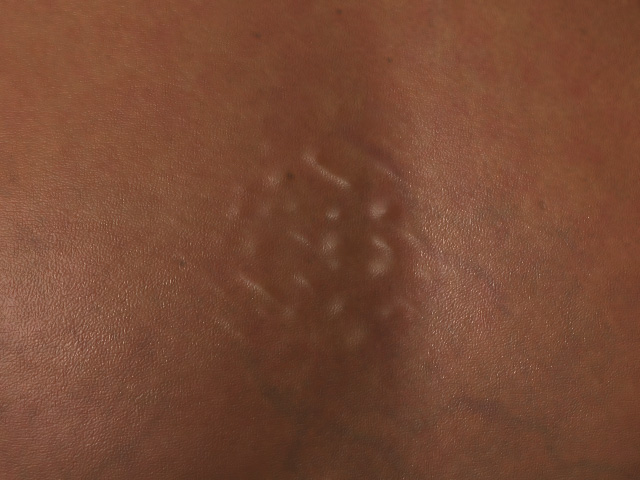
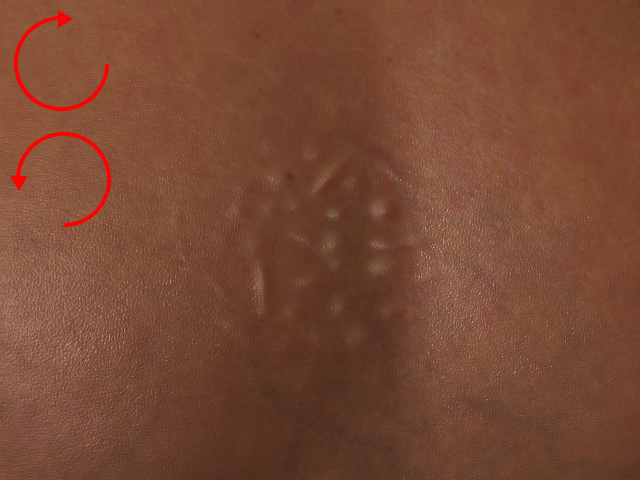
Rotation Variation = 0.00
Rotation Variation = 0.50 (Rotate each bump in different orientation)
- Randomizing Erasion
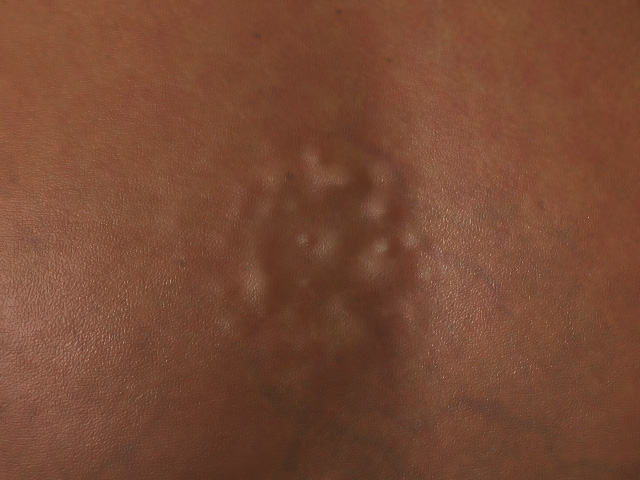
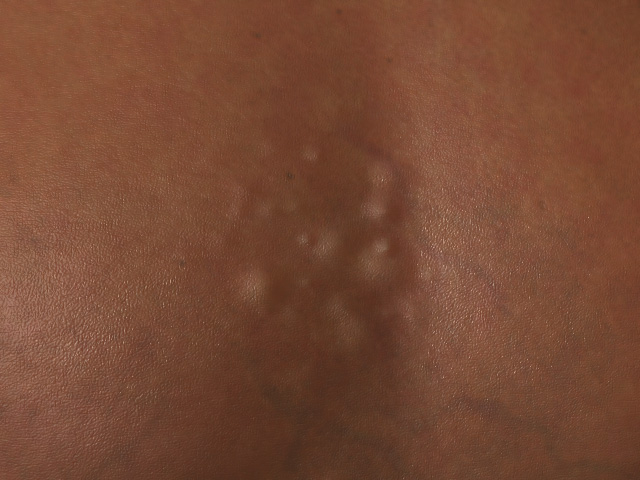
Random Remove = 0.00
Random Remove = 0.50
- Opacity Variation: This value can be used to determine the height of each bump.
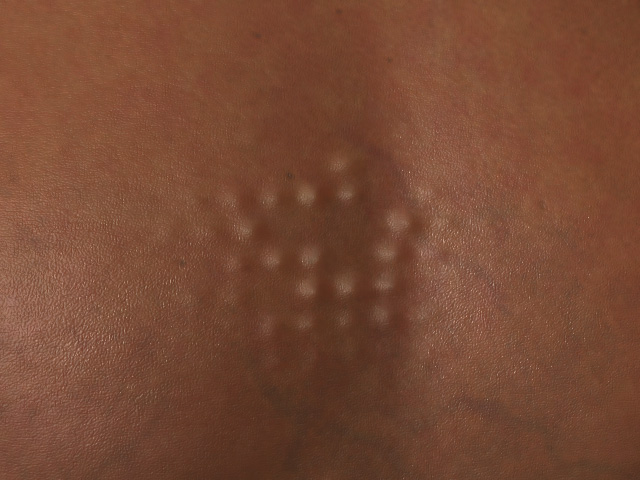
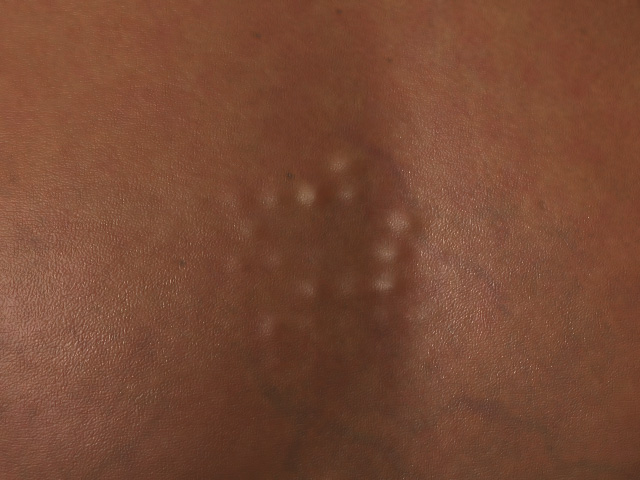
Opacity Variation = 0.00
Opacity Variation = 0.70
- Randomizing Seed
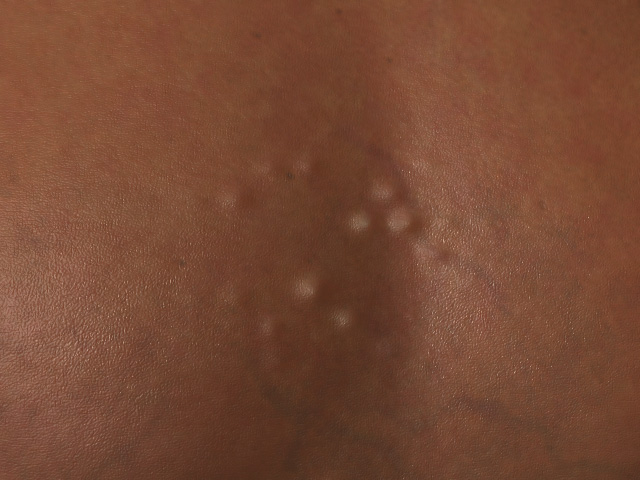
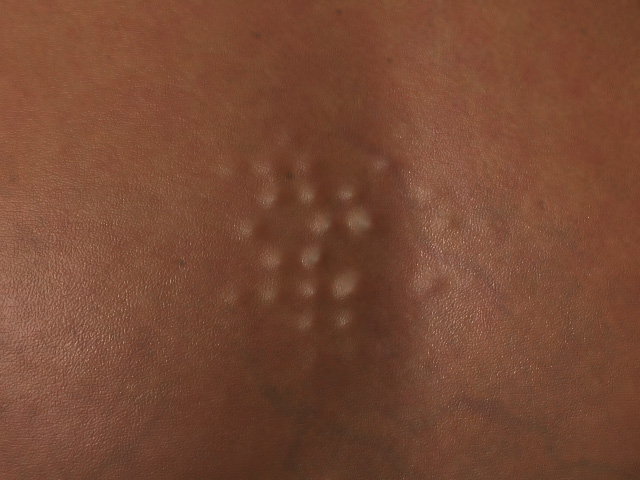
Random Seed = 0.00
Random Seed = 10.00
You can blend up to two colors onto the bumps with the settings in this sub-section.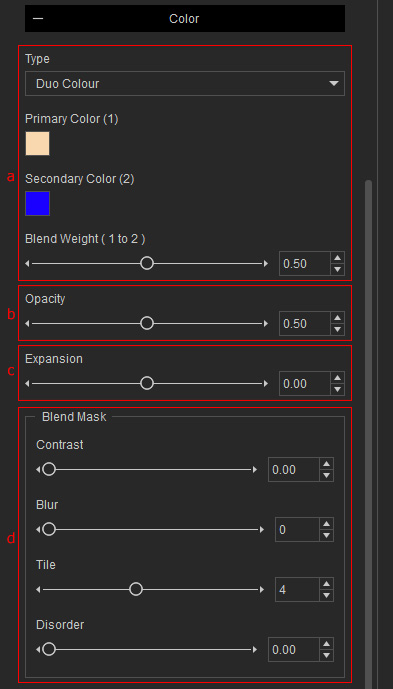
- Colors
You can use the drop-down list to choose to blend one or two colors onto the bumps.
Blend Weight: The levels of the colors to be blended to each other.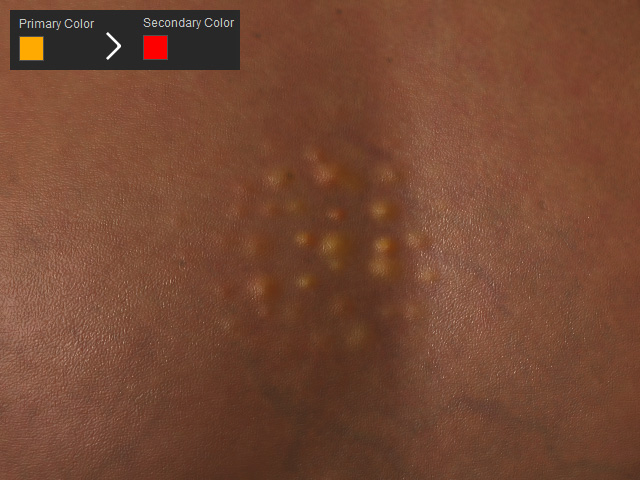

Blend Weight = 0.40
Blend Weight = 0.60
- Opacity: This setting determines the strength of the blended color.
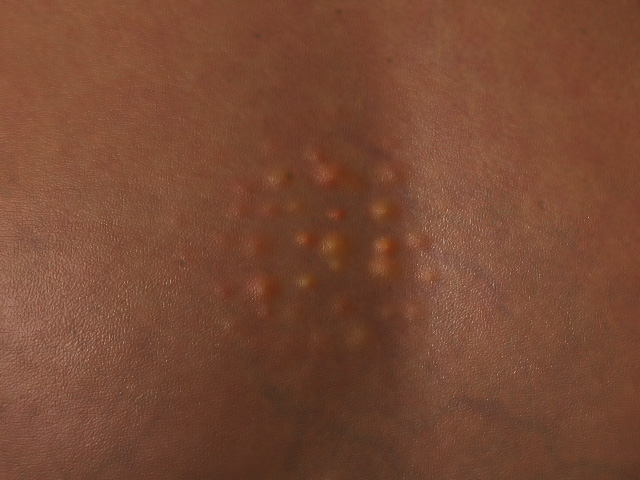
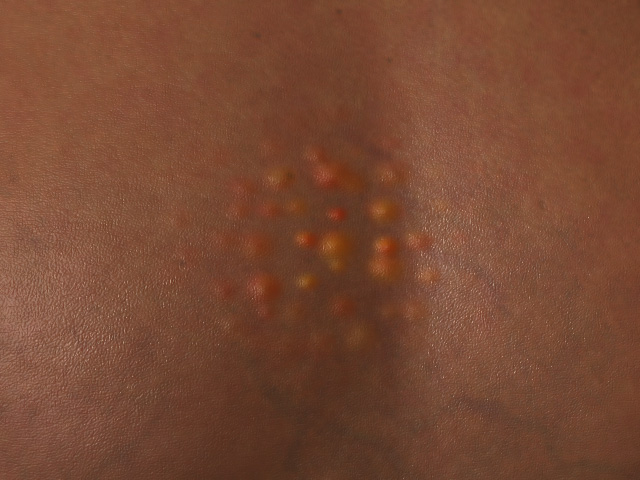
Opacity = 0.50
Opacity = 1.00
- Expansion: This setting expand or shrink the range for blending the colors.

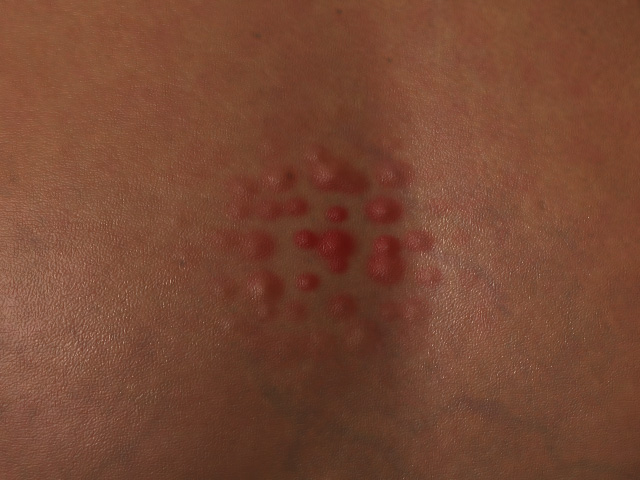
Expansion = 0.00
Expansion = 1.00
- Blend Mask Settings: The second color is blended to the first color based on an embedded mask behind the scene. You can use the four settings to adjust the mask.
Notice that you must set to Duo Colour to enable these settings. Contrast
This slider determines the sharpness of the mask.
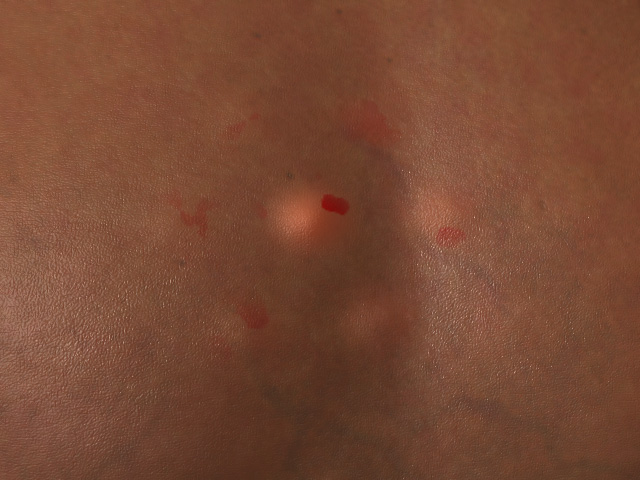
Contrast = 0.00
Contrast = 1.00
 Blur
BlurYou can blur out the edges of the mask with this sliders.

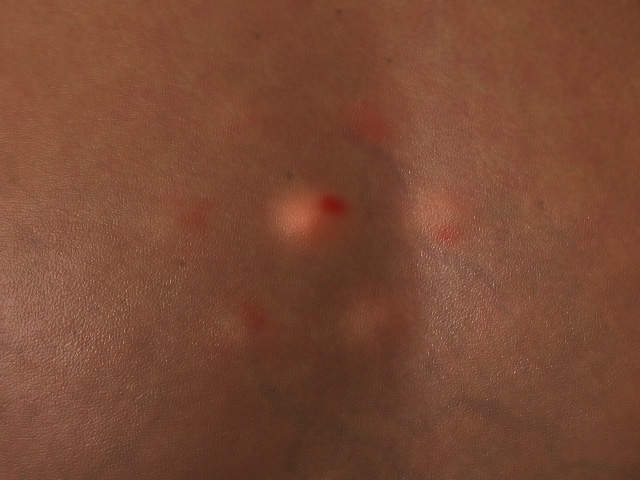
Blur = 0
Blur = 4
 Tile
TileThe tiling times for the mask can be set with this slider.

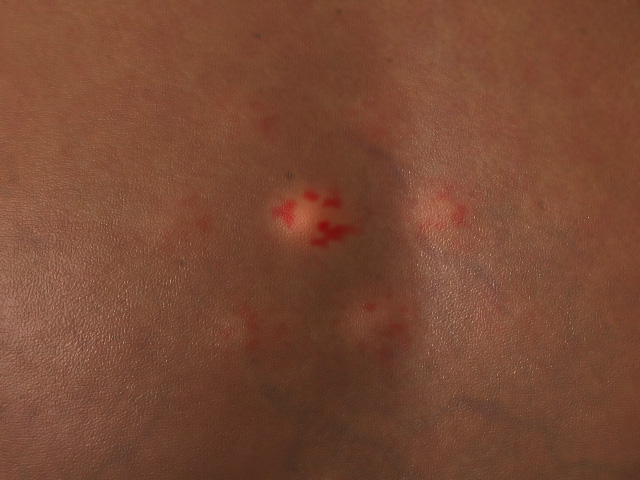
Tile = 4
Tile = 20
 Disorder
This section contains subsections with settings for modifying the textures listed in the previous point.


Disorder = 0.00
Disorder = 0.55
This sub-section contains settings for modifying the masks in the Texture Settings sub-section.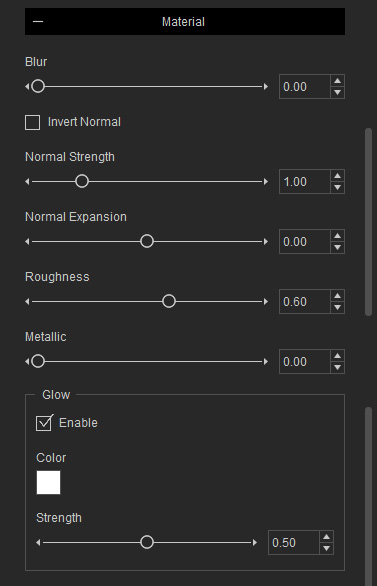
- Blur
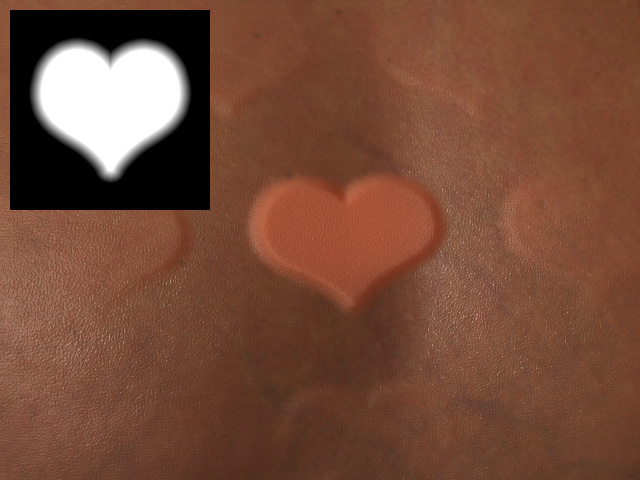
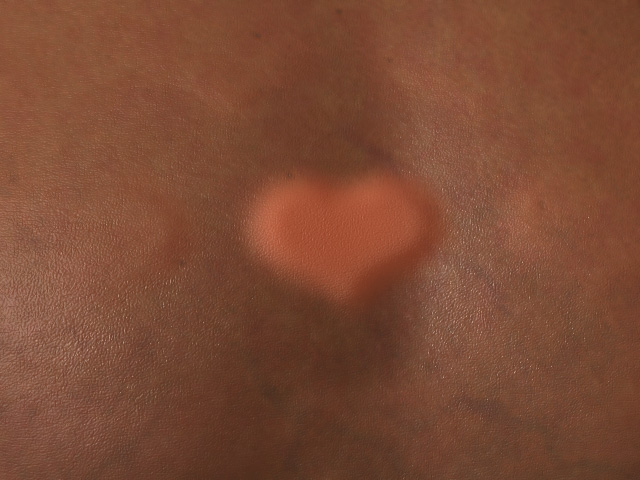
Blur = 0.00
Blur = 0.60
- Invert Normal

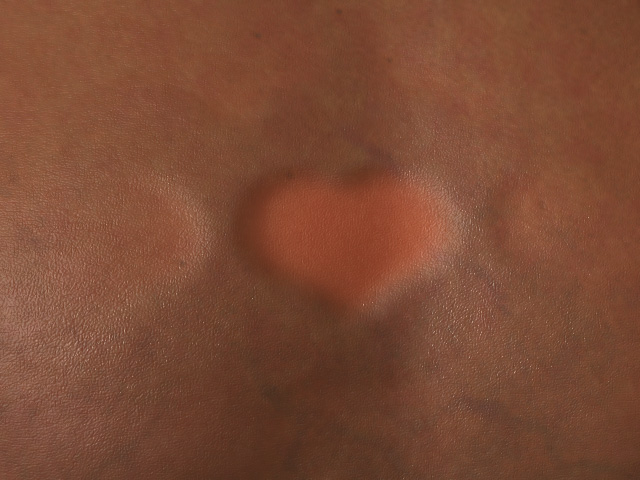
Invert Normal = Off
Invert Normal = On
- Normal Strength

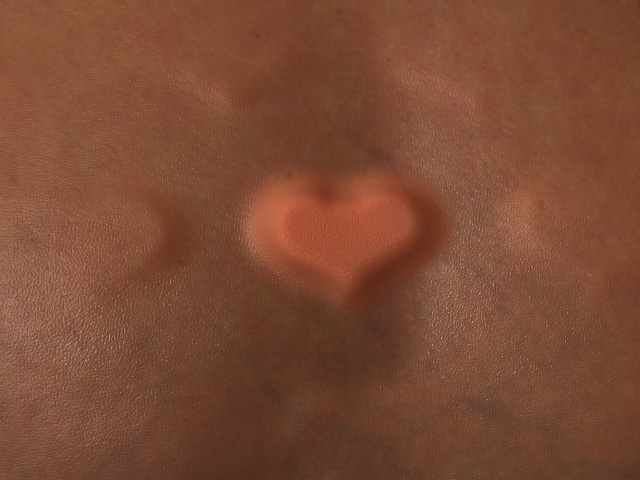
Normal Strength = 1.00
Normal Strength = 4.00
- Normal Expansion

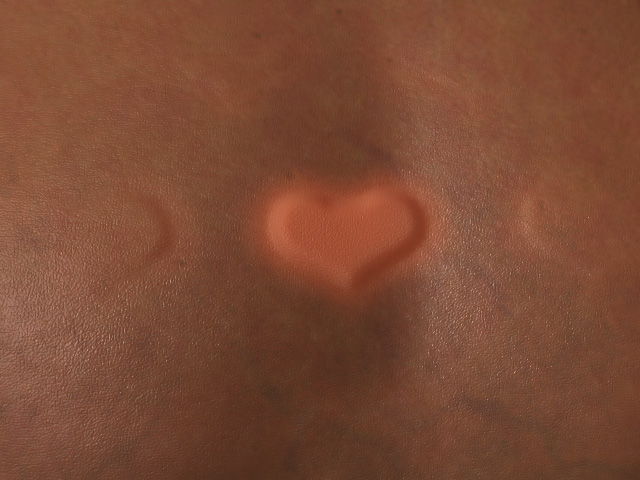
Normal Expansion = 0.00
Normal Expansion = -1.00
- Roughness

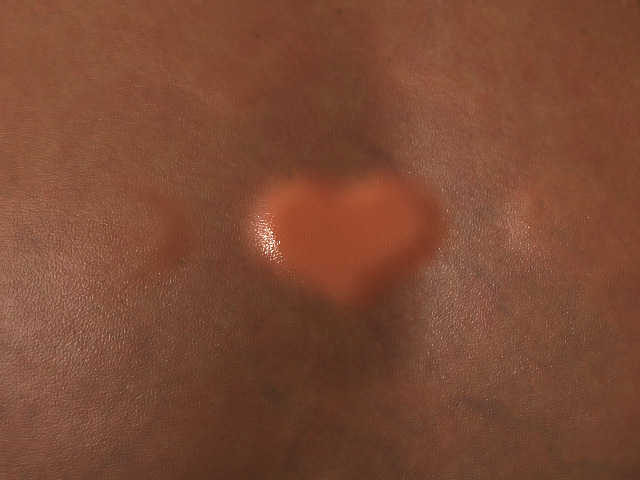
Roughness = 0.60
Roughness = 0.00
- Metallic
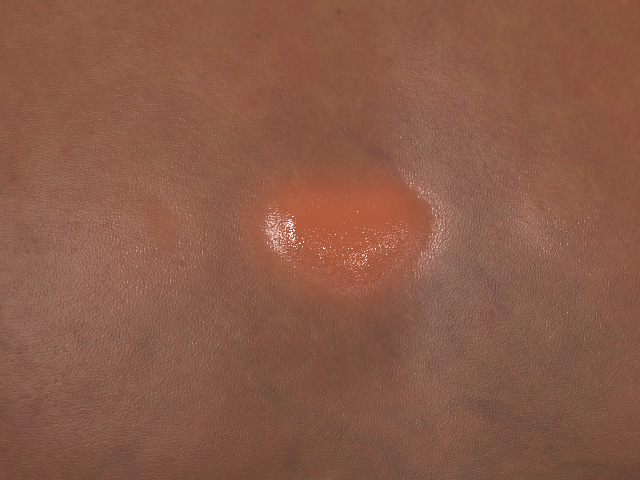
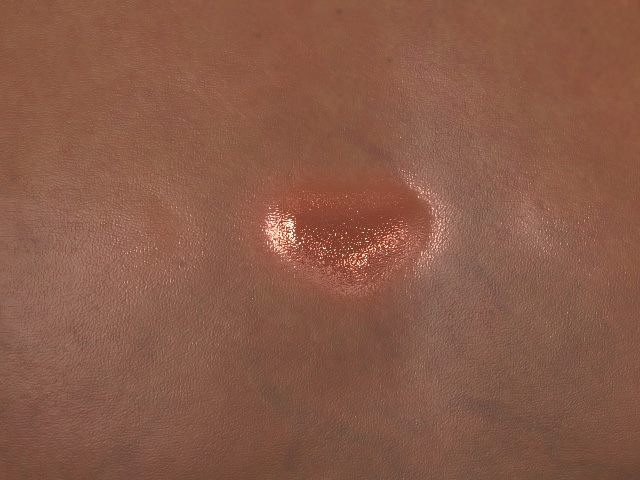
Metallic = 0.00
Metallic = 0.60
- Glow
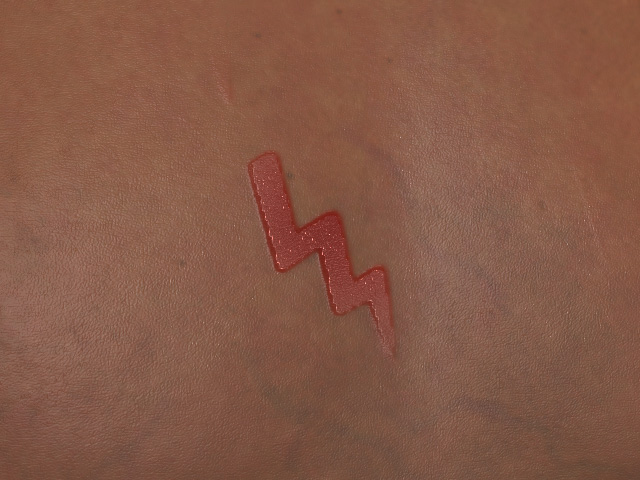
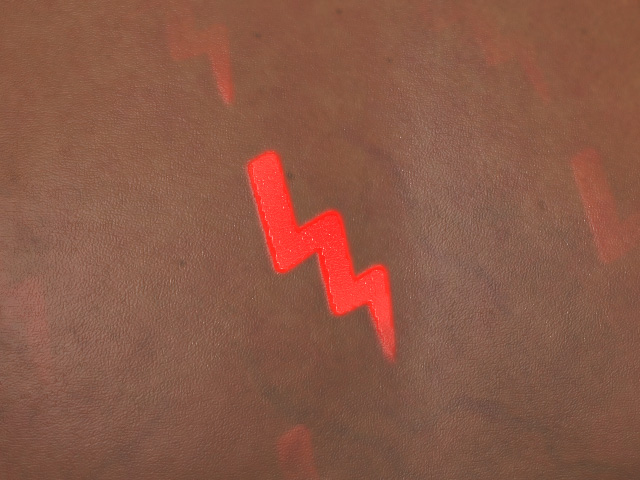
Enable = Off
Enable = On
Color = #FF0000 (Red)
Strength = 0.50
In this section, two sub-sections with settings can be accessed to add additional mask texture to trim off the bumps.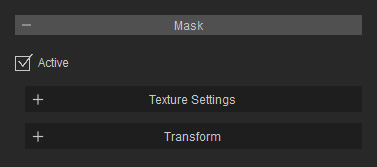
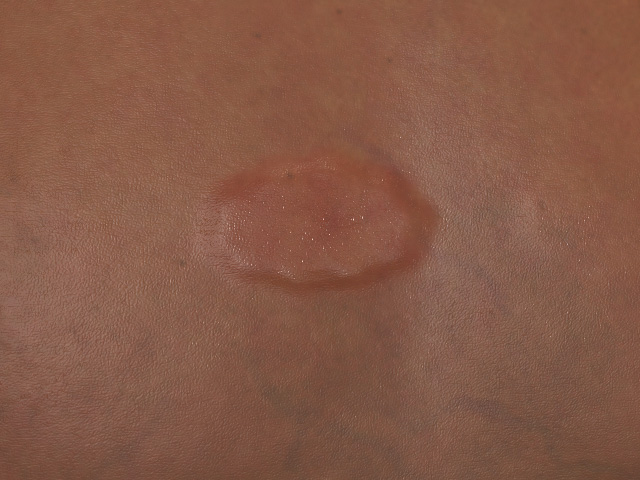
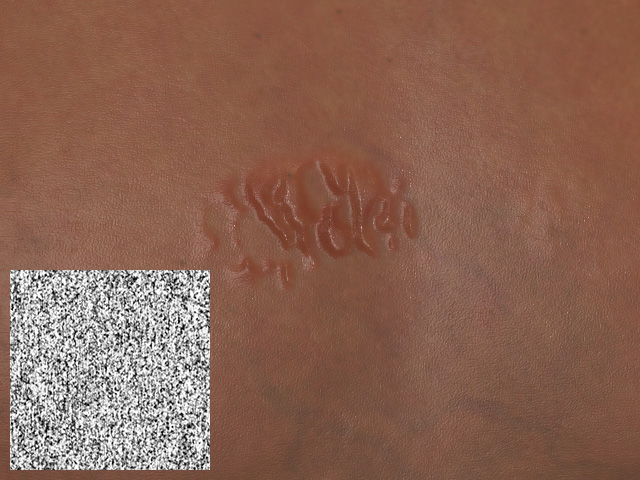
In this subsection, the channel can be used to trim off the bumps. However, you need to purchase and install SkinGen Plugin to have the full editing ability to the texture.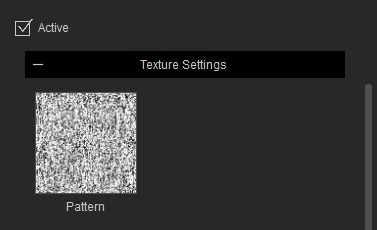
|
|
|
Pattern = Off |
Pattern = On Pattern Channel: Custom Texture Loaded |
In this section, you can adjust the mask texture to have different influences to the bumps.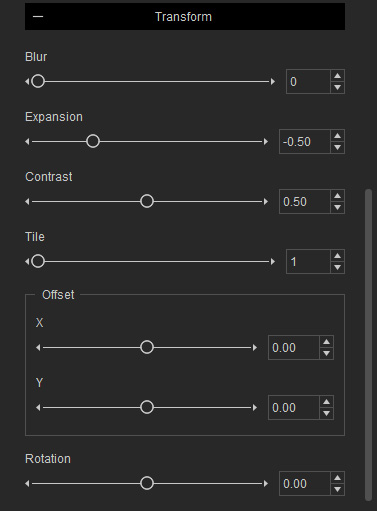
- Blur:
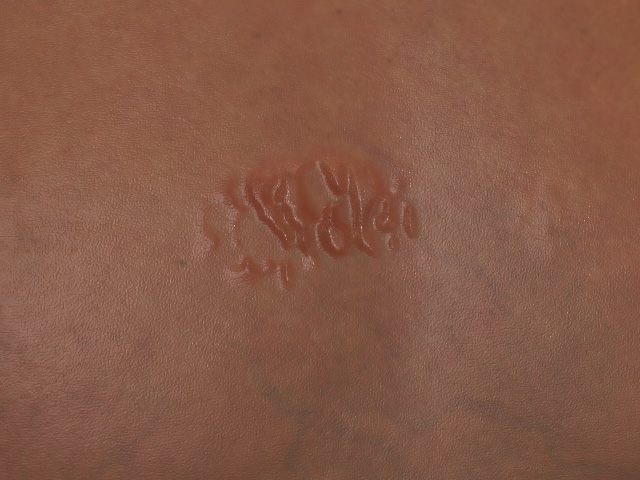
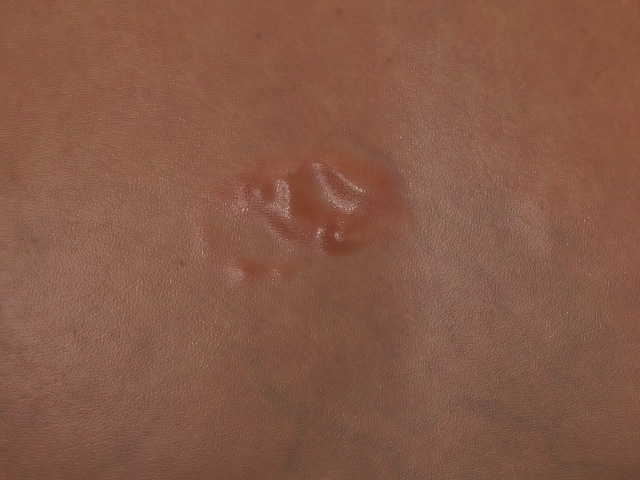
Blur = 0
Blur = 3
- Expansion:

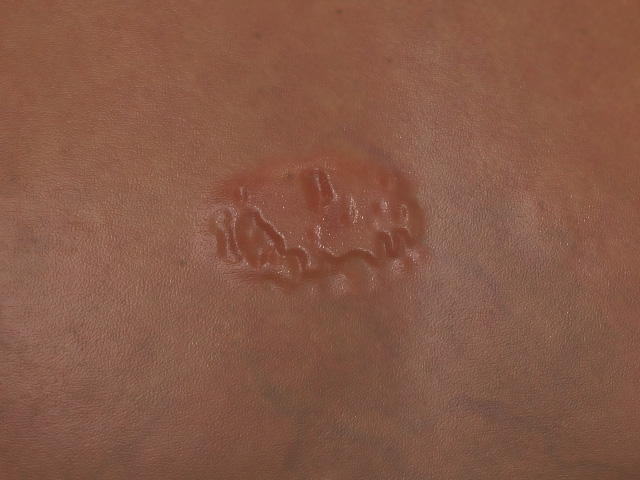
Expansion = -0.50
Expansion = 0.20
- Contrast: This setting can be taken as creating the bevel for the bumps.
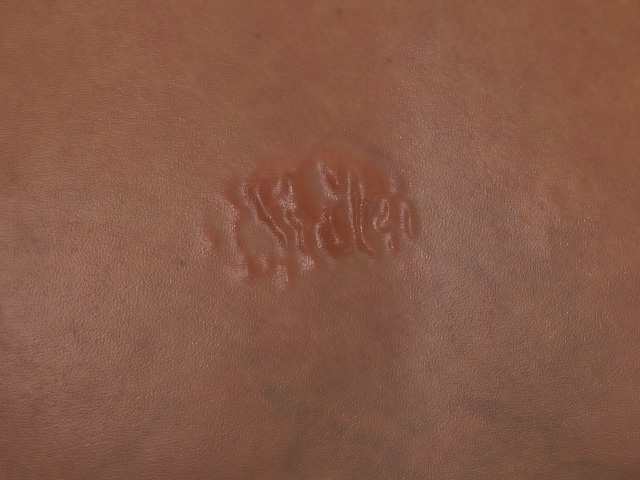
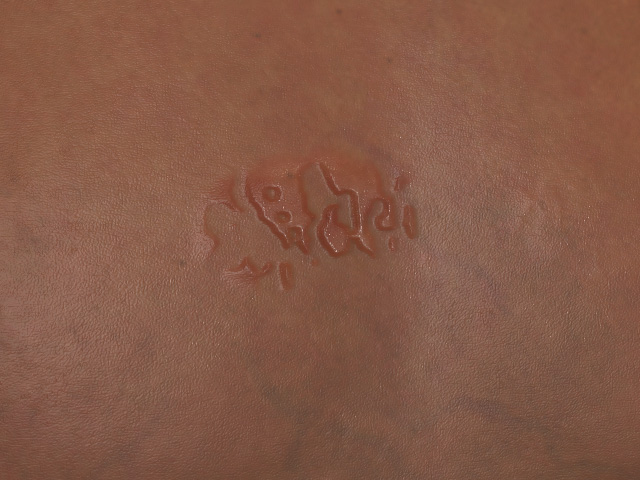
Contrast = 0.00
Contrast = 1.00
- Tile:

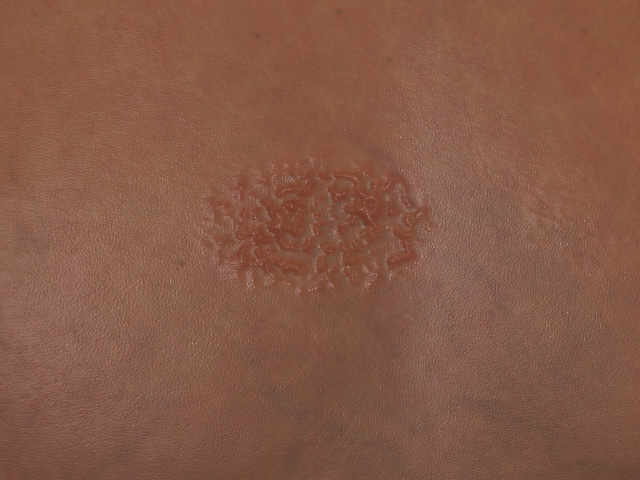
Tile = 1
Tile = 4
- Offset:

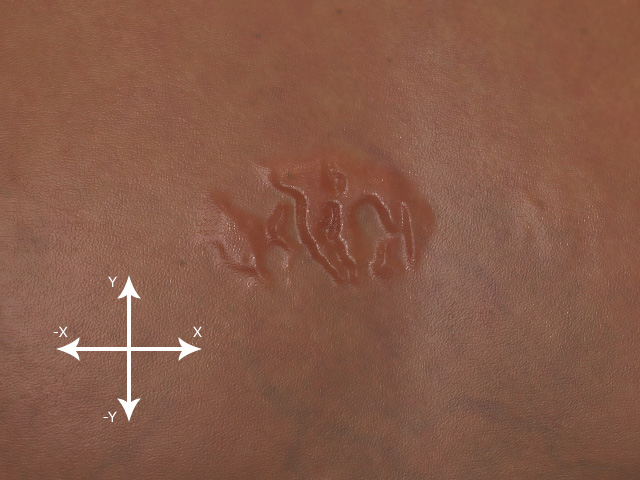
X, Y = 0.00, 0.00
X, Y = 0.01, -0.01
- Rotation:

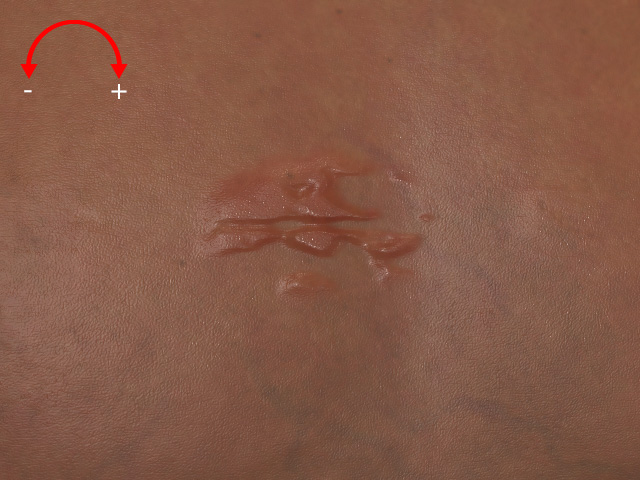
Rotation = 0.00
Rotation = 0.76
