Adding Tags by Drag-n-drop (New for v. 1.3)
Drag-and-drop does not only move items to subfolders in a custom pack, it is also supported for adding tags to all items in any pack.
Drag-n-drop from Tag to Item
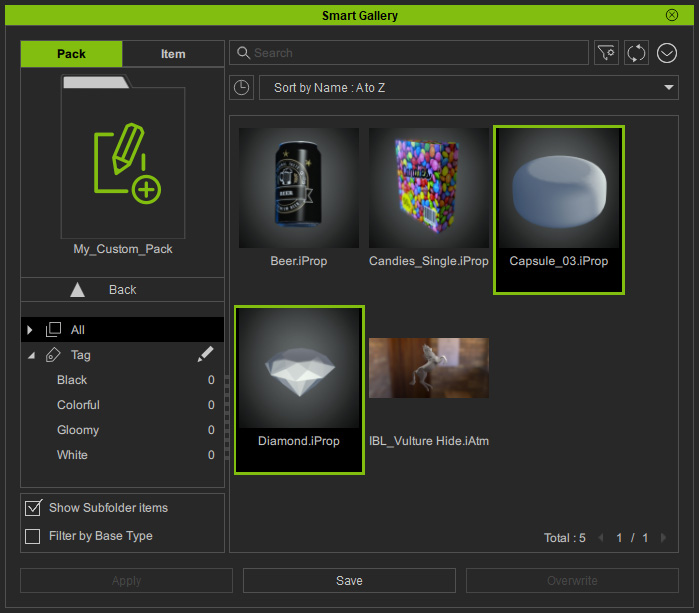
- In Smart Gallery, make sure you have created tags under a Tag node.
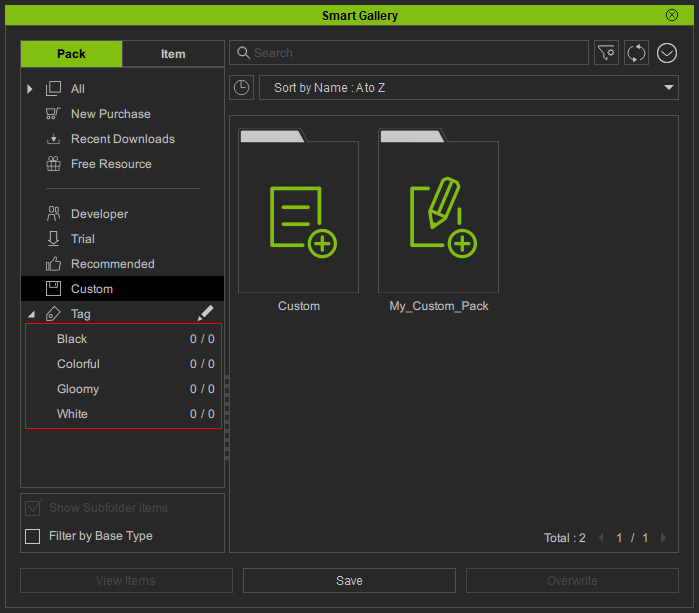
- Open any content pack (in this case, a custom pack).

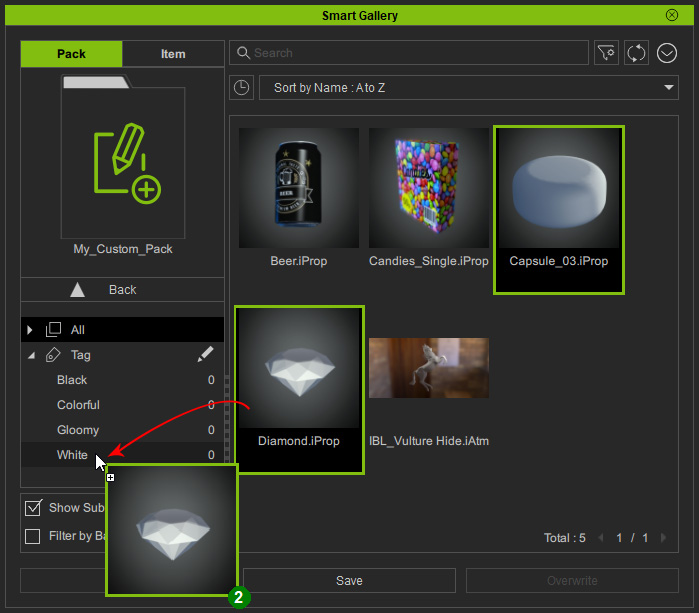
- Drag and drop a tag onto a desired item.
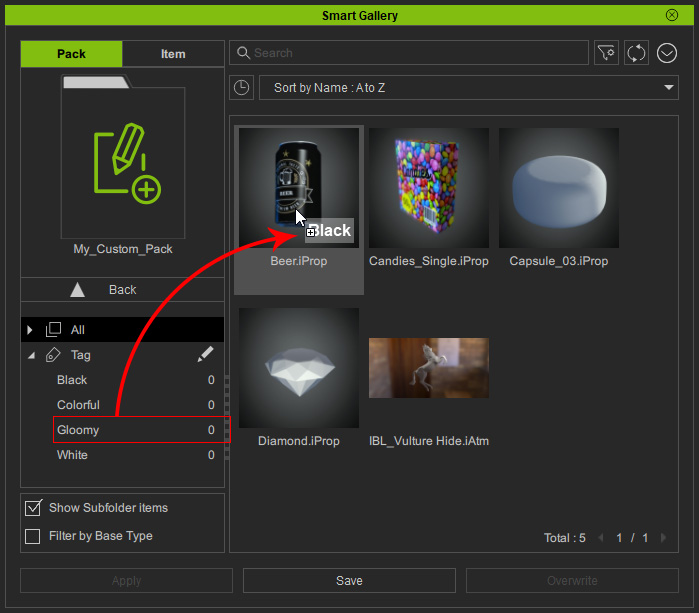
- The tag is added to the item. As you can see from the number of the tag.

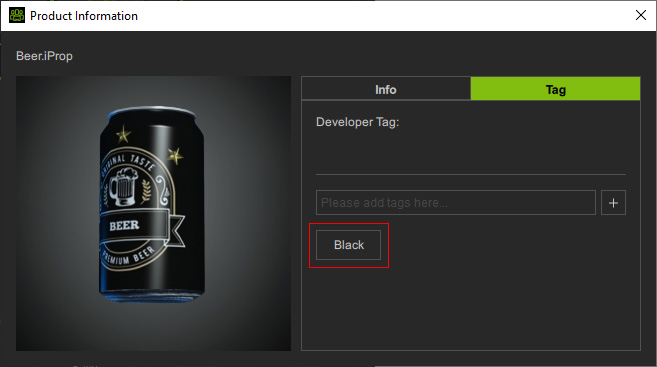
- Right click on the item and choose the Edit Tag... item from the context menu.

- As you can see the tag is added to the item.
Drag-n-drop from Items to Tag
If you want to add tag to multiple items, then you can apply the steps in this section:
- In Smart Gallery, make sure you have created tags under a Tag node.
- Open any content pack (in this case, a custom pack).
- Select multiple items from the right shelf.
- Drag them to the target tag.
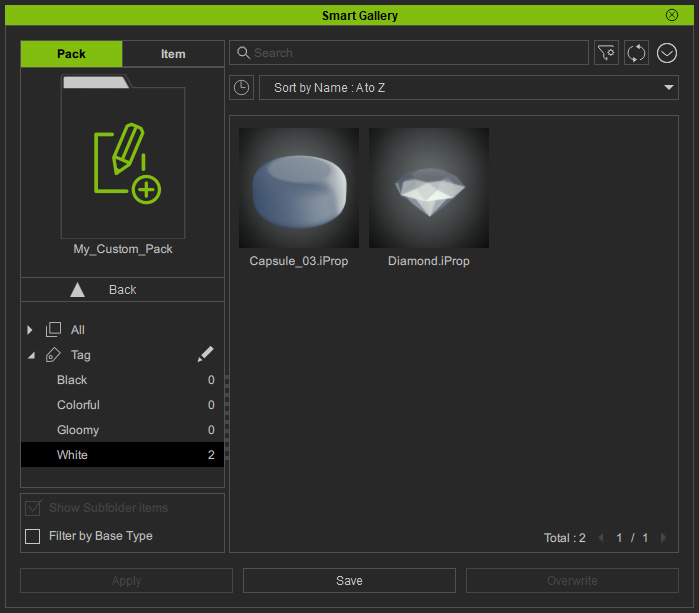
As you can see the tag number is updated.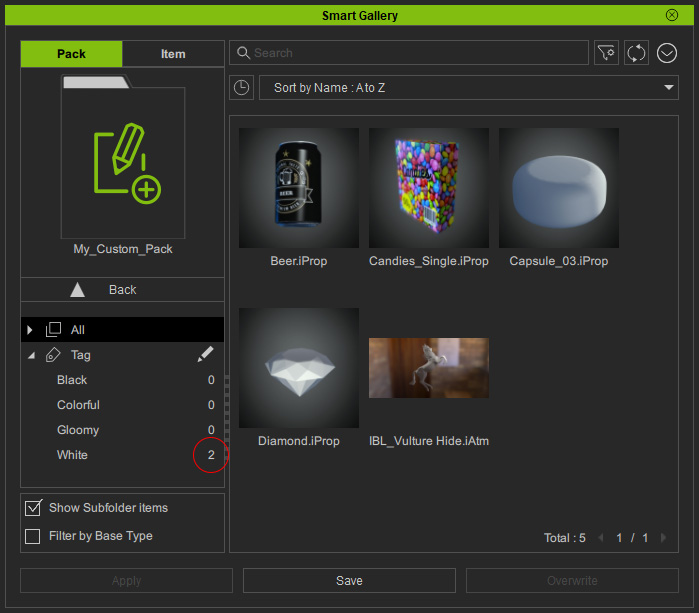
- Choose the target tag. As you can see the items are tagged.