Using Range Maps for Wrinkle Editing in Zbrush
Sculpting wrinkles for your model's expressions while knowing the precise area to add these wrinkle details can be challenging. To address this issue, the Face Tools plugin offers a Range feature that helps highlight the correct expression areas for applying wrinkles. Follow the steps below to make use of the Range feature.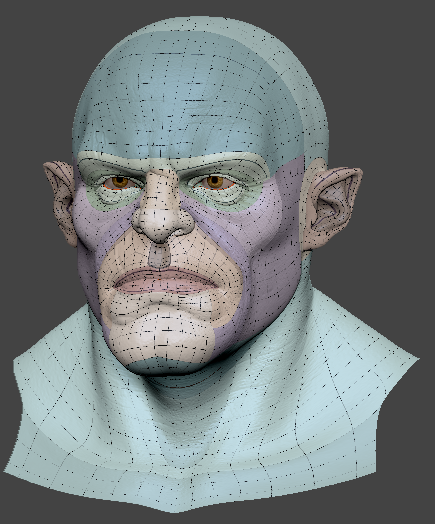
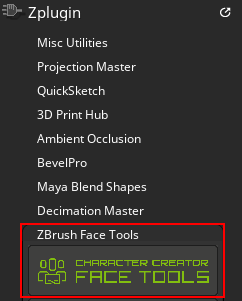
- After you have transferred your model from Character Creator (CC) to ZBrush, open the Face Tools plugin in Zplugin > ZBrush Face Tools.
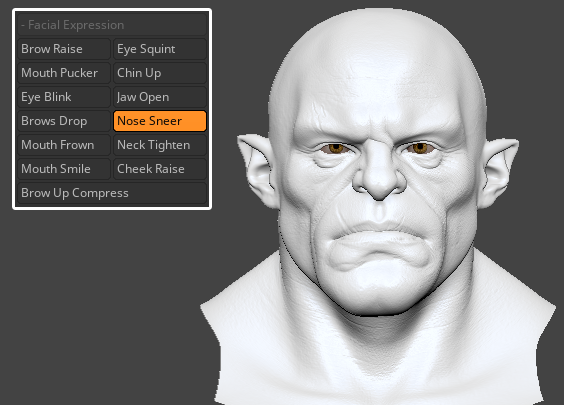
- Select any expression you want to edit under the Facial Expression section.
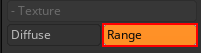
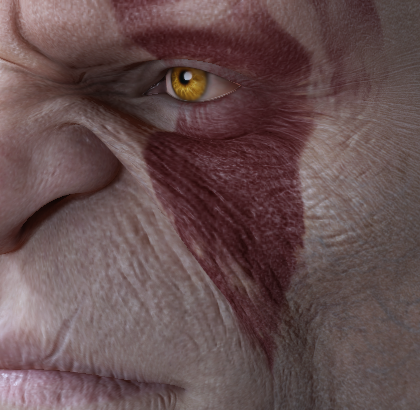
- Under the Texture section click the Range button.
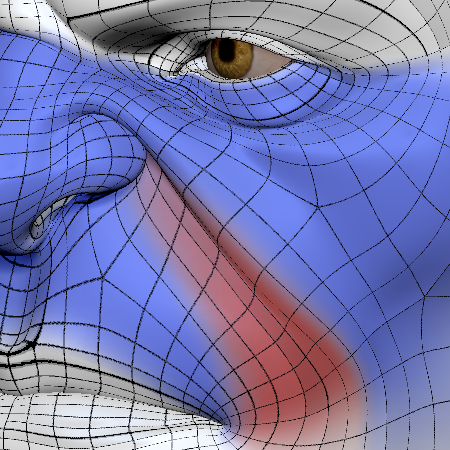
The wrinkle regions will be highlighted.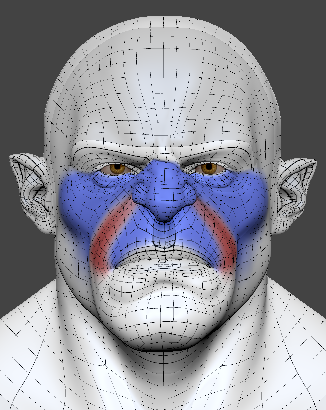
- Apply the desired wrinkle edits for this expression within the highlighted areas.
 Note:
Note:
While applying the wrinkle edits within the effective area, it is recommended to enable the masking feature as well. This will mask out unwanted areas, allowing for more precise editing.

Before adding wrinkles.
After adding wrinkles.
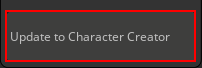
- Once you have finished the editing process, click the Update to Character Creator button to update your model back to CC.
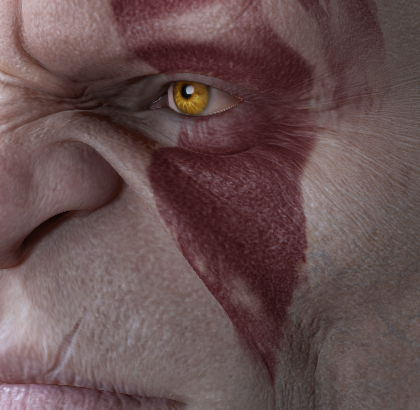
Before updating in CC.
After the update in CC.
To learn about the correlation between mesh regions and wrinkles, refer to this page.
