Base Mesh Polypaint Projection Workflow
The following workflow will show you how to convert the scan model’s diffuse map into a base model polypaint, enhancing the likeness between your CC3+ model and the scan model.
- When the neutral base model’s projection is finished, activate the Diffuse map in the plugin.

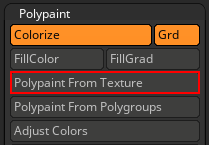
- Go to Polypaint > Polypaint From Texture to apply the diffuse map onto the base model as polypaint.
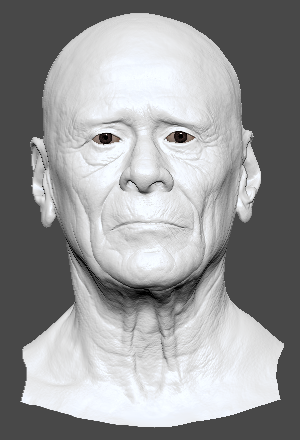

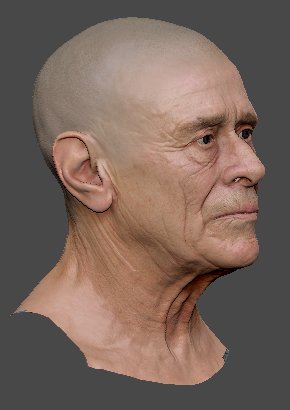
Base model without polypaint.
Base model with polypaint.
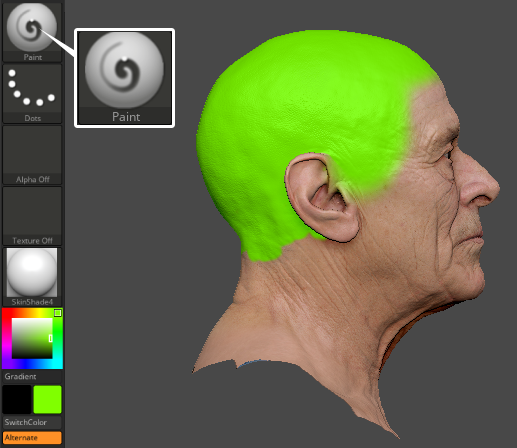
- To remove the unwanted polypaint details, go to Layers and create a new layer.
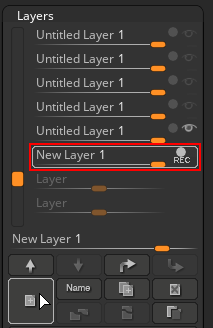
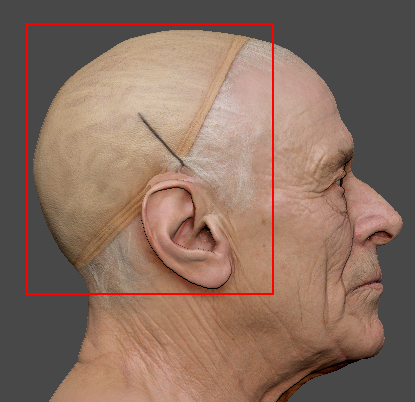
- In the new layer, use the Paint brush to color in the unwanted areas.
- In Character Creator (CC), select another CC3+ model that shares a similar skin color and texture with your ZBrush model, and export the ‘Std_Skin_Head’ diffuse map.

- Import the diffuse map into ZBrush Texture Map.

- Proceed to Polypaint > Polypaint From Texture to apply the new diffuse texture onto your model.

Use the Adjust Colors feature to harmonize the skin tone of the new polypaint with the base polypaint.

Before applying the new polypaint.
After applying the new polypaint.


Before adjusting the polypaint tone.
After adjusting the polypaint tone.
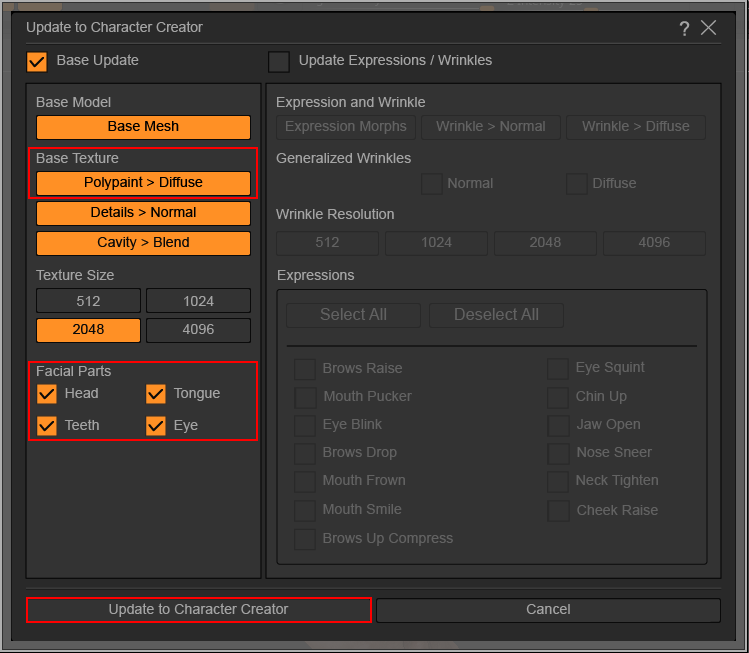
- Once your editing is finalized, click the Update to Character Creator button near the bottom of the ZBrush Face Tools plugin panel.

- In the Update to Character Creator dialog box will emerge. In the Base Texture section make sure to activate Polypaint > Diffuse. Under the Facial Parts mask, ensure all parts are selected, then click Update to Character Creator.
 Note:
Note:
Deactivating the Update Expressions / Wrinkles section can reduce transfer time.
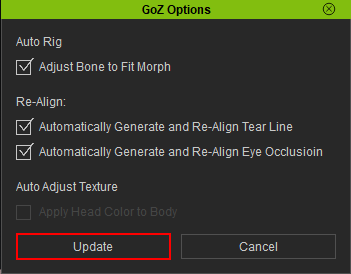
- In CC, use the default settings in GoZ Options Dialog box and click Update.


Before updating the polypaint.
After updating the polypaint.
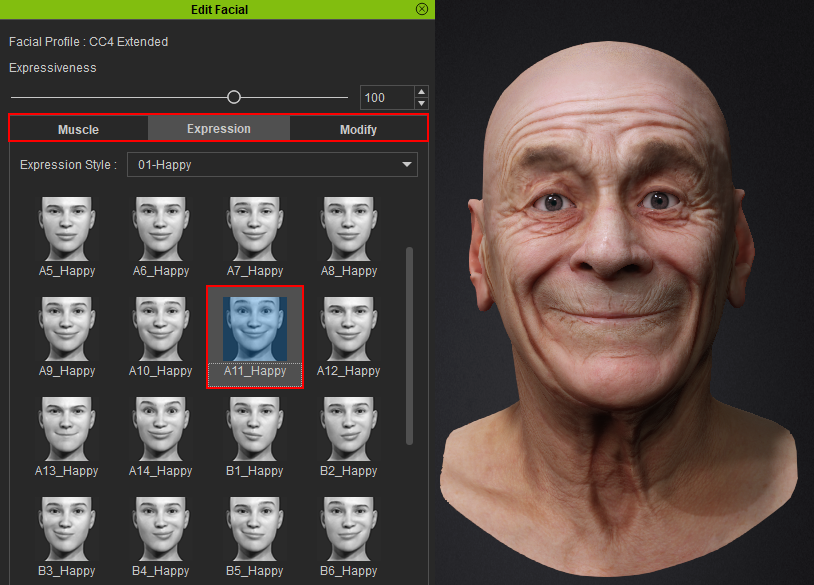
- Click on Modify > Motion Pose > Motion > Edit Facial.
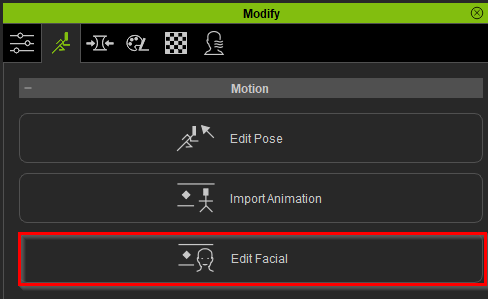
- Within the Edit Facial control panel, navigate to any of the three options in the menu bar to test your character's facial expressions to ensure compatibility with the base model and identify potential issues.