Using 3D Camera Control — Switch Camera
With the Switch Camera feature in iClone, you can create multi-shot sequences from your storyboard and switch cameras across time frames to match each shot’s focus, enabling precise AI rendering without complex prompts.
See also: Tutorial - Directing AI with iClone 3D Guidance
Creating Camera
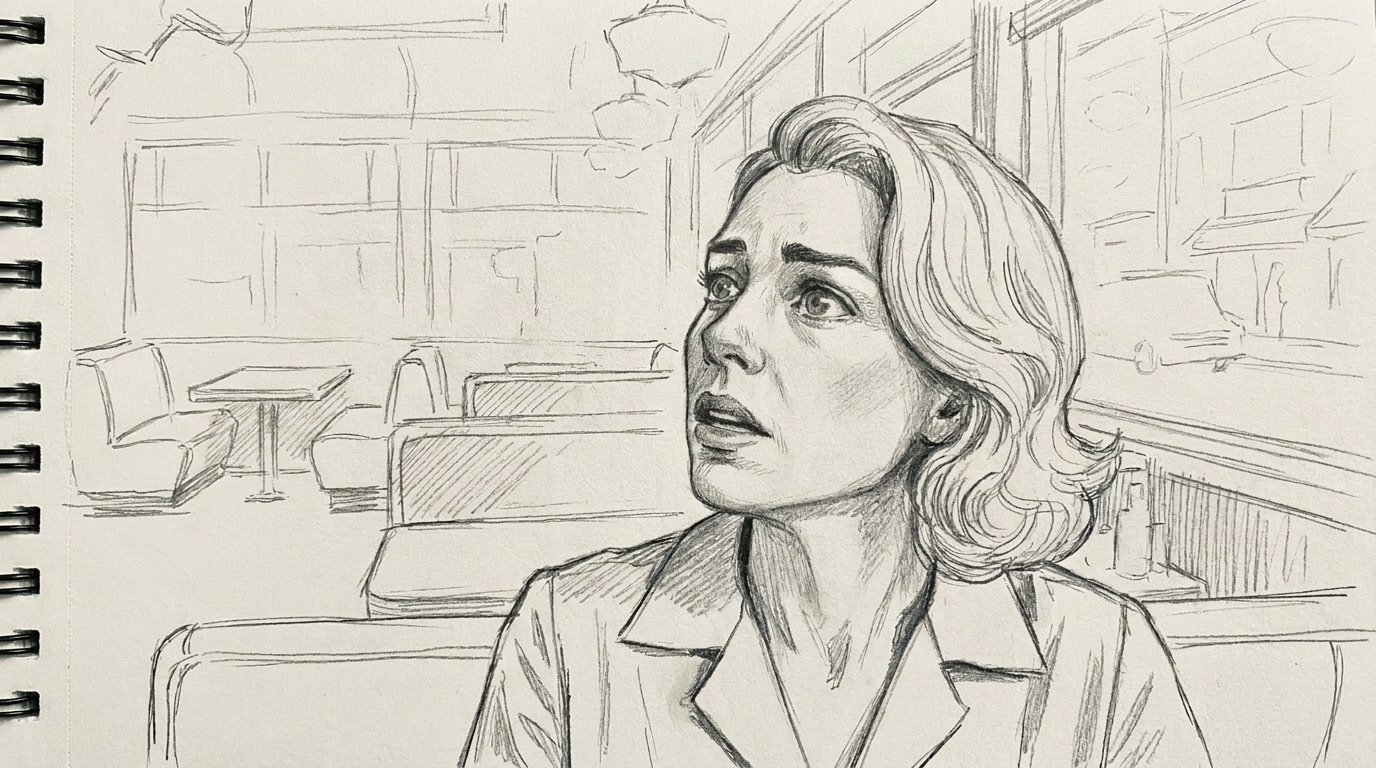
- Shot 1: First, set up Camera 1 based on the reference image.
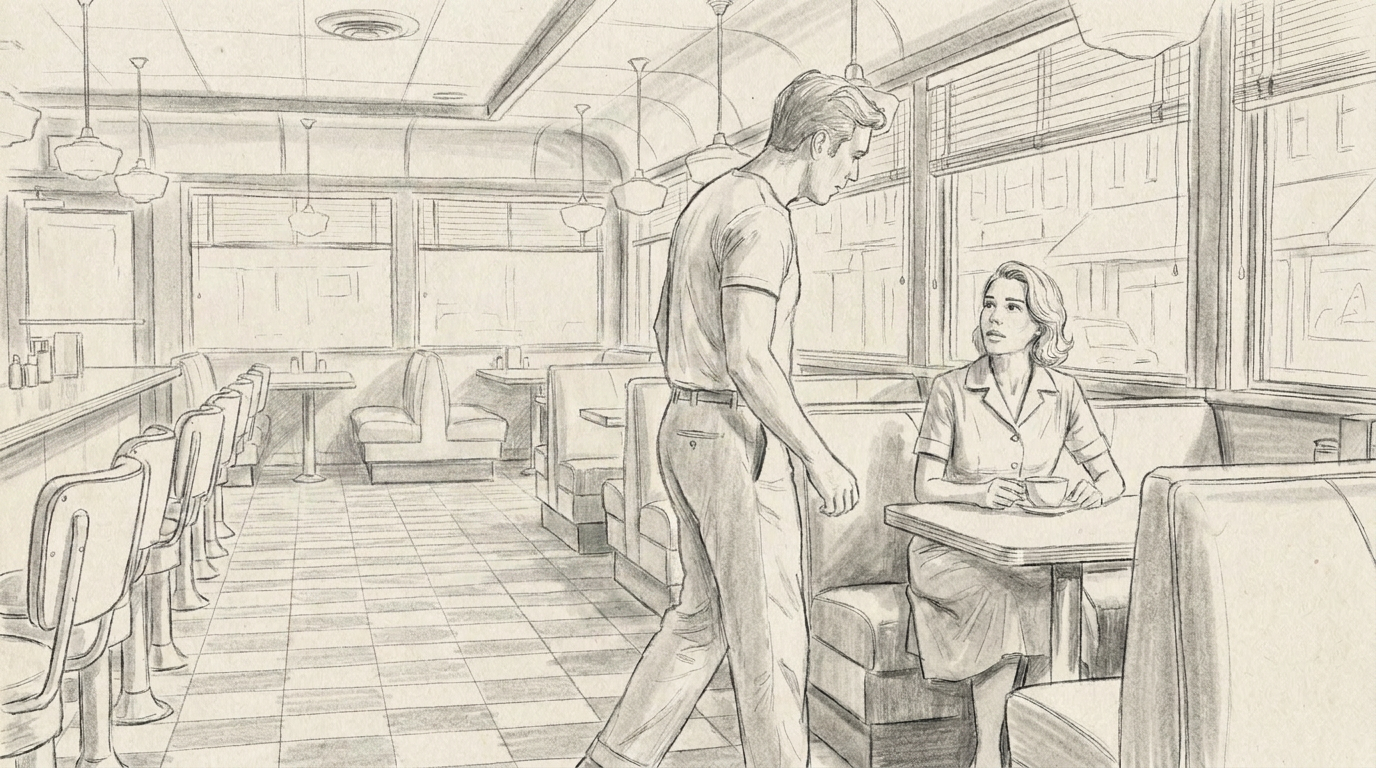
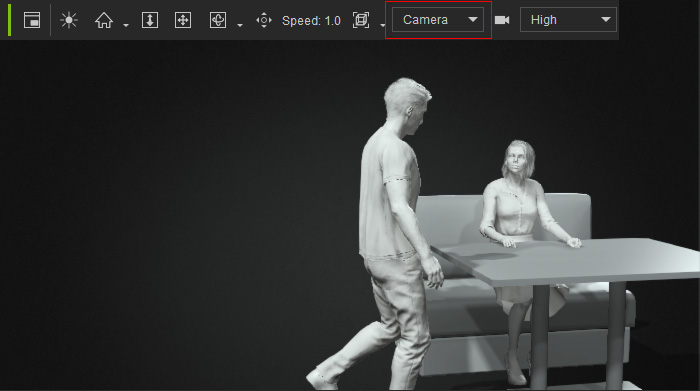
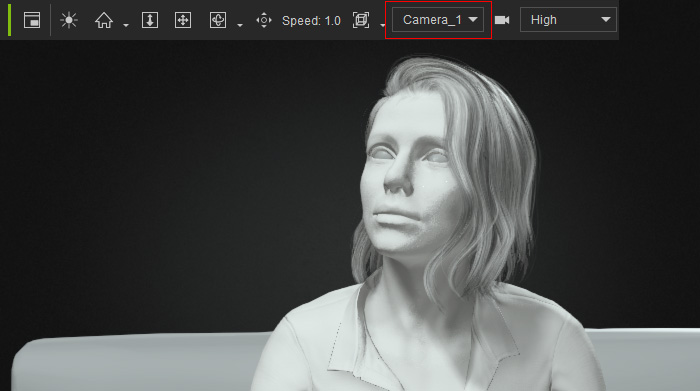
- Shot 2: Then click Create > Camera to add a new camera, and adjust the camera angle based on the reference image.
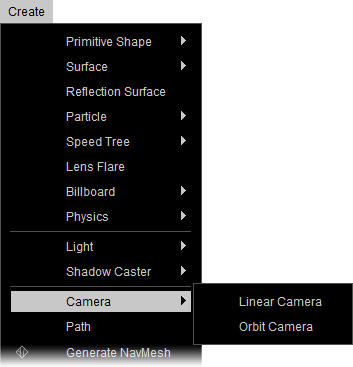
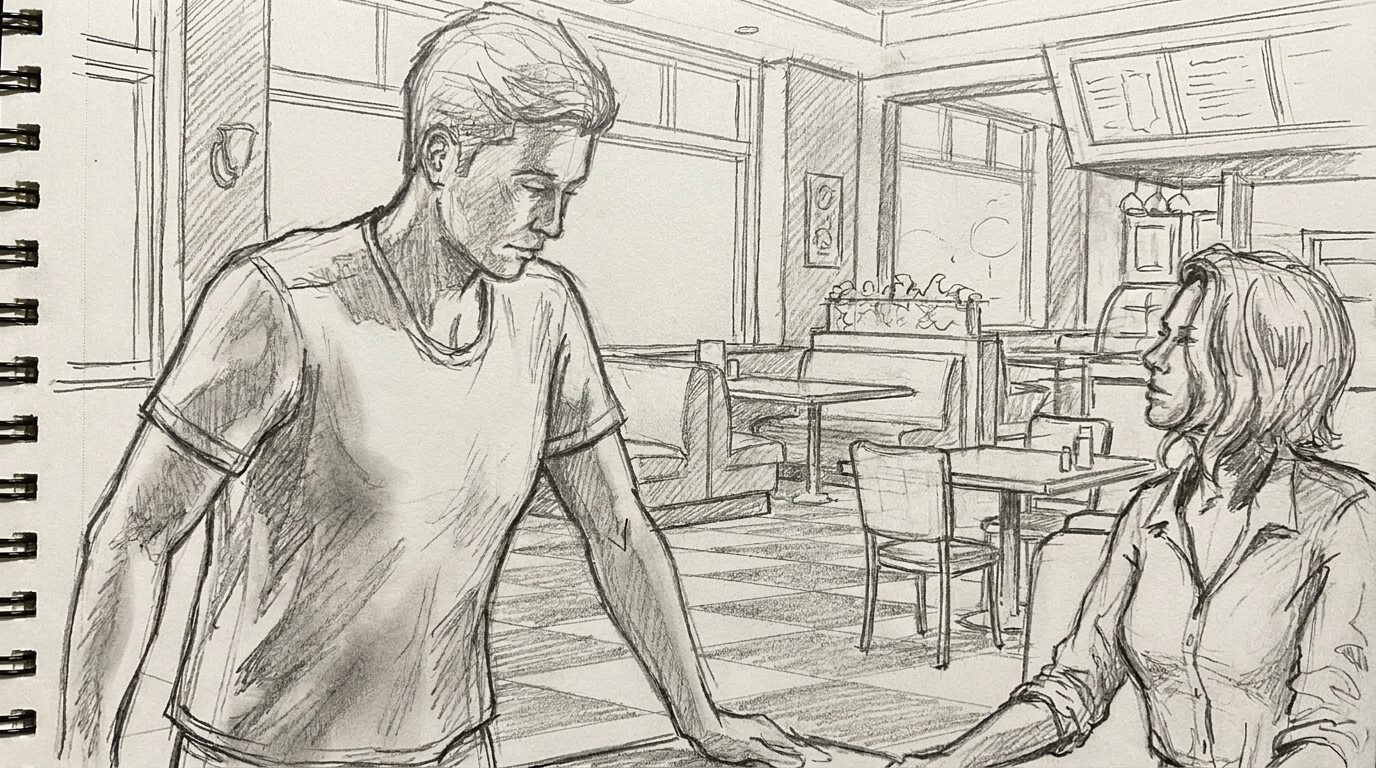
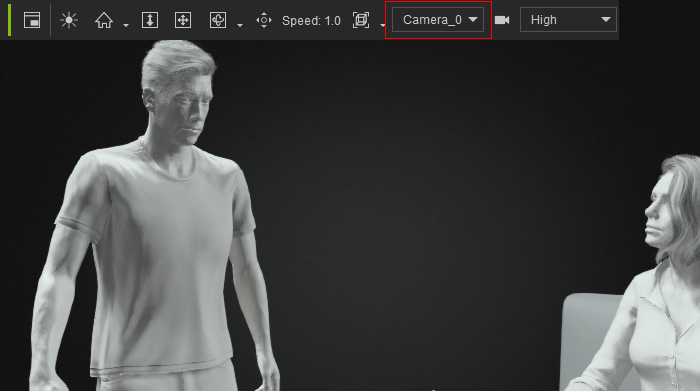
- Shot 3: Then click Create > Camera to add the third camera, and adjust the third shot to focus on the character’s face.
Switching Camera
- In the Camera toolbar, select Switch camera from the camera list.

-
Open the Timeline (F3) and display the Switcher track under the Project main track.
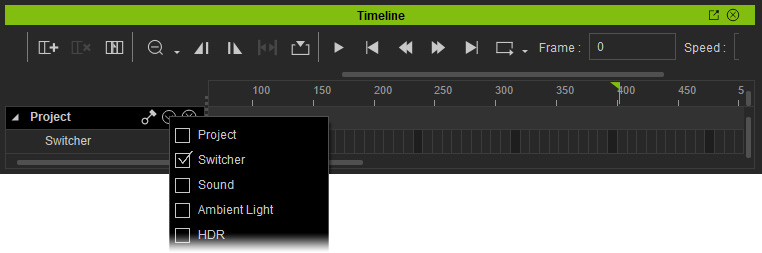
- Right-click the first frame and select a camera from the Camera List to assign it.
Then right-click at the next cut point to assign the second camera, and assign the third camera at the final cut point.
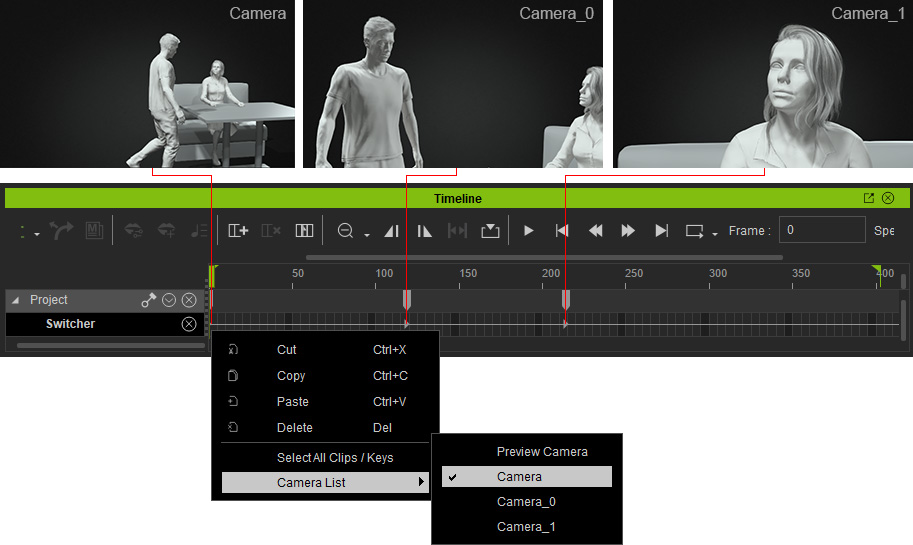
- Play back the project to preview the camera switches based on the timeline.
3D Guided Gen - 3D to Image
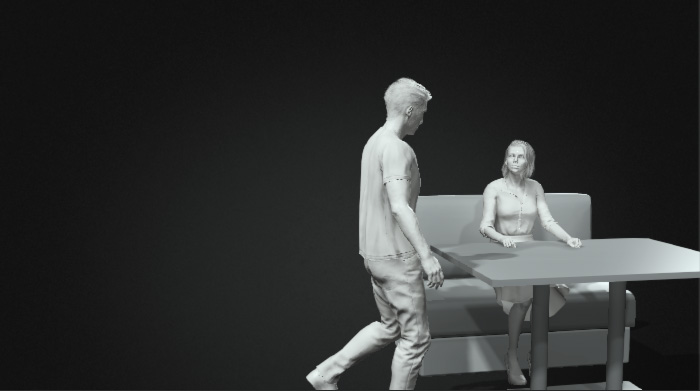
After confirming the camera movement, click Capture Image from 3D Viewport in the AI Studio Tools toolbar to capture the First Frame image using the 3D to Image tool in AI Studio.
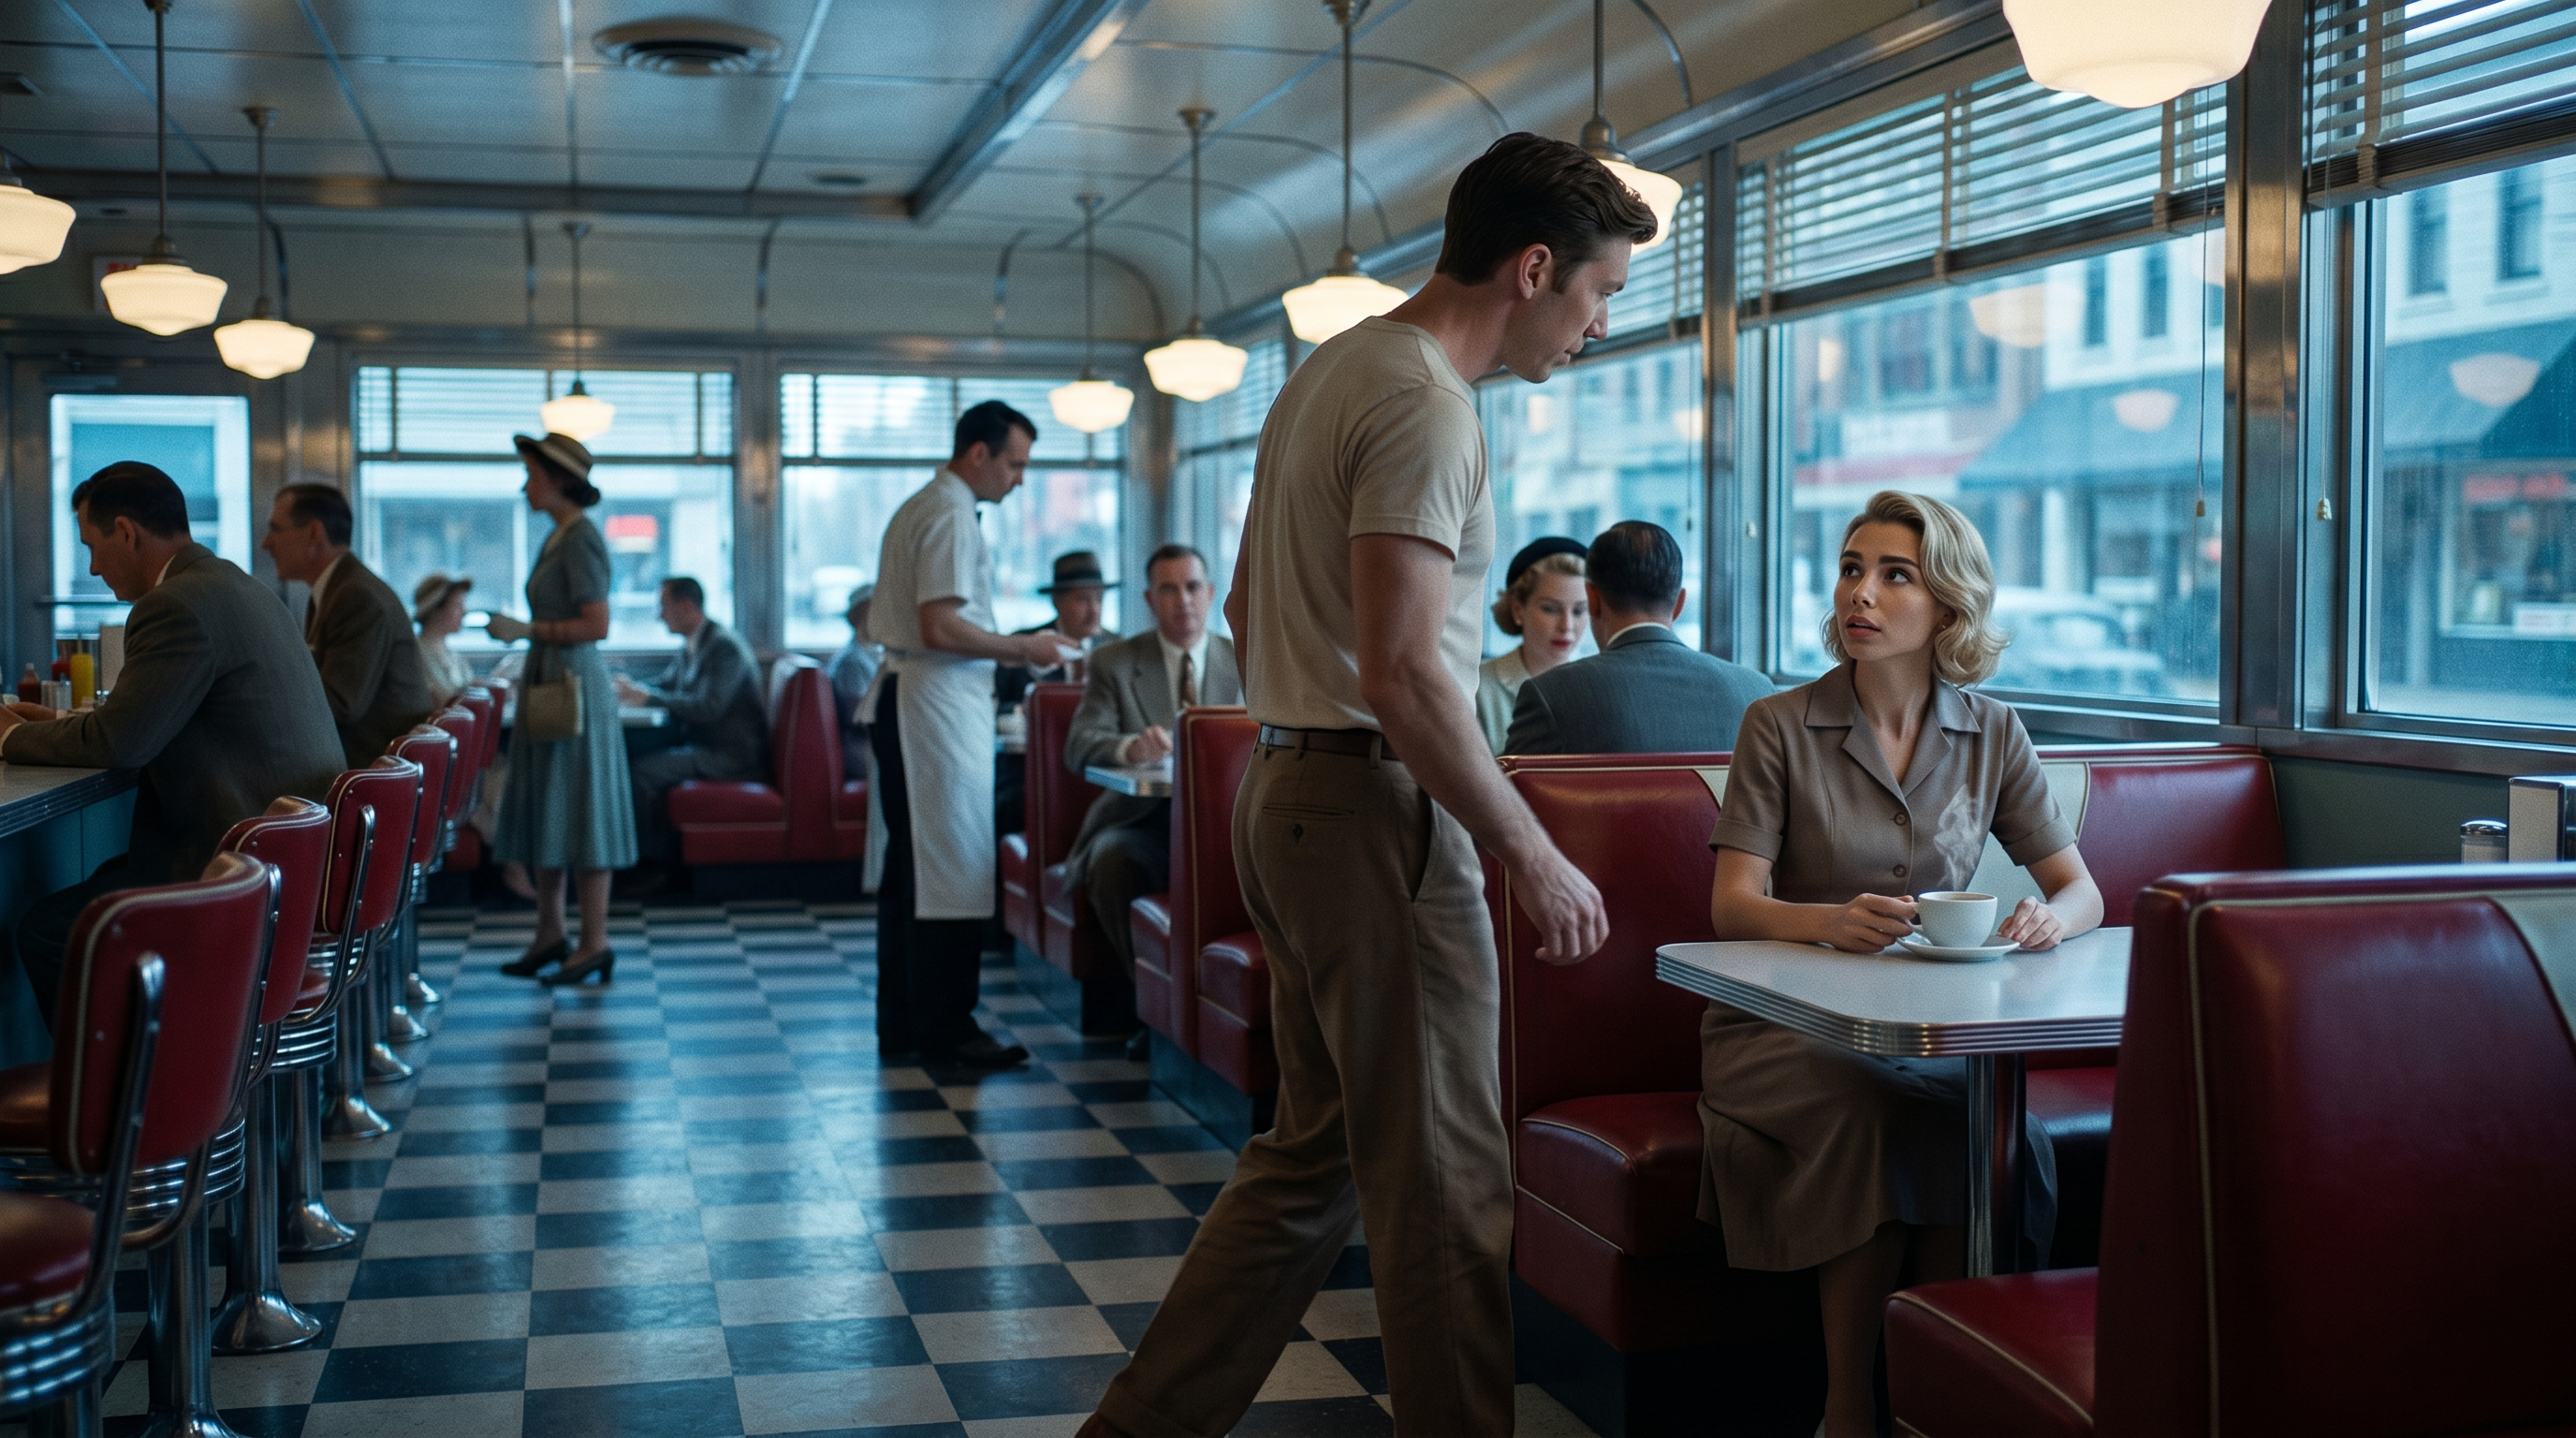
Complete the 3D to Image workflow to generate Start Frame images in the preferred render style (e.g., a 19th-century style restaurant).

| Captured Image from 3D Viewport | AI Output |
 |  |
3D Guided Gen - 3D to Video
Click Capture Video from 3D Viewport in the AI Studio Tools toolbar to capture the 3D viewport animation and complete the 3D to Video workflow.

| Captured Video from 3D Viewport | AI Output |
