Using 3D to Video (v1.1)
The 3D Guided Gen tool generates videos using a styled reference image from 3D to Image and a matching 3D project video, enhancing animation realism and visual quality.
See also: Tutorial - Directing AI with iClone 3D Guidance
Required Elements
- Image: An AI-generated First Frame image.
- Video: A video captured from the 3D Viewport. The First Frame image and captured video motion must originate from the same project to ensure the render style of the First Frame can be consistently maintained throughout the video.
3D to Video Workflow
This workflow guides AI to generate optimized video renders from existing 3D projects or previz assets.
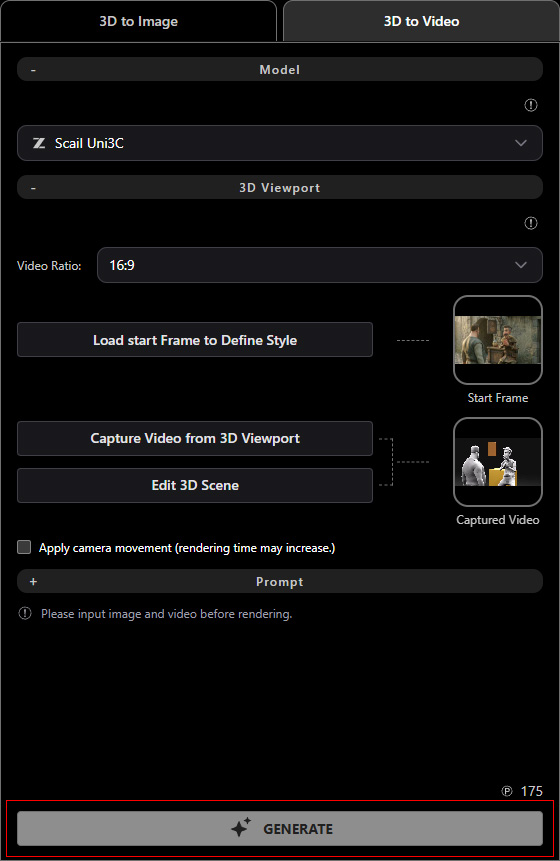
Select the 3D Guided Gen  tool from the left AI Toolbar and complete the tasks in each section under the 3D to Video tab.
You can collapse or expand a section by clicking its caption.
tool from the left AI Toolbar and complete the tasks in each section under the 3D to Video tab.
You can collapse or expand a section by clicking its caption.
Refer to AI Model Selection for 3D Guided Generation to choose a model from the Model drop-down list.
Available options include Wan 2.2 Fun Control, Scail, LTX 2, LTX 2.3, Seedance 2.0 Mini, Seedance 2.0, and Seedance 2.5.
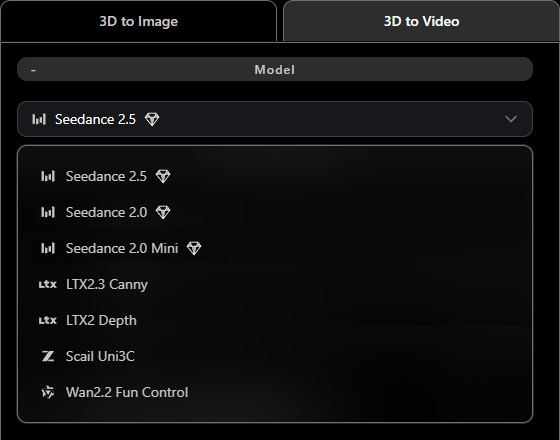
AI models marked with a diamond icon require an AI Service subscription.
Click Upgrade at the bottom to subscribe and access the AI settings.
 Loading First Frame Image
Once the first-frame reference image is generated from 3D to Image in the final render style, it should be used as the initial input frame for 3D to Video generation. It can also be further refined using AI tools in AI Studio or external image editors before use.
- Set up the 3D scene to generate a First Frame image using the 3D to Image workflow.
- Go to the 3D to Video tab, then drag the 3D to Image result from the History panel or Windows File Explorer into the Start Frame image slot in the 3D Viewport section.
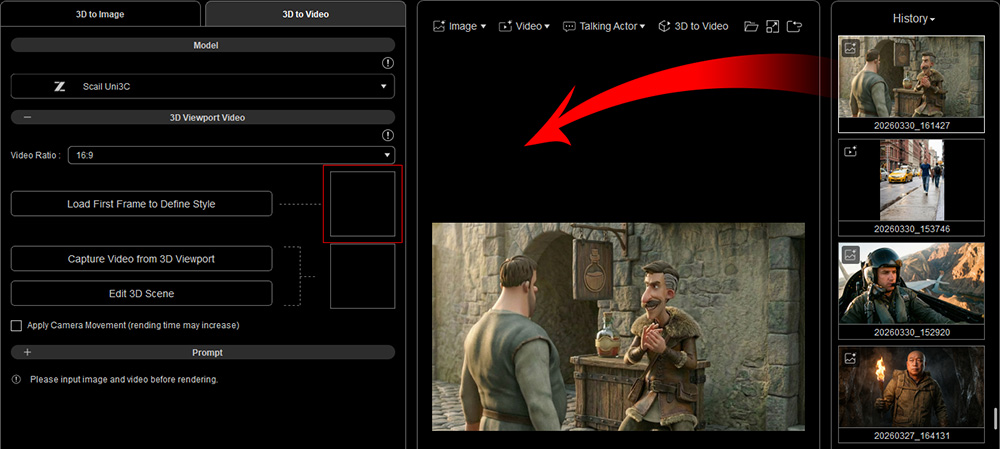
Alternatively, click Load Start Frame to Define Style to browse and upload a modified image (.png, .jpg, .jpeg, or webp) derived from the 3D to Image result. Seedance 2.5 also supports .bmp and .gif formats.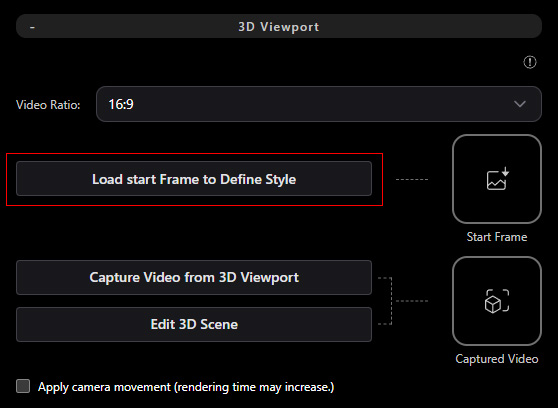
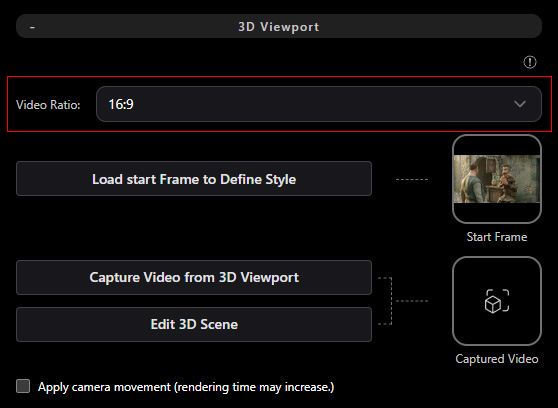
- The image will be inserted into the Image slot and resized to match the output resolution based on the selected AI model and video ratio.
Hover over the image thumbnail to view a larger preview, or click the Trash button to remove the current input.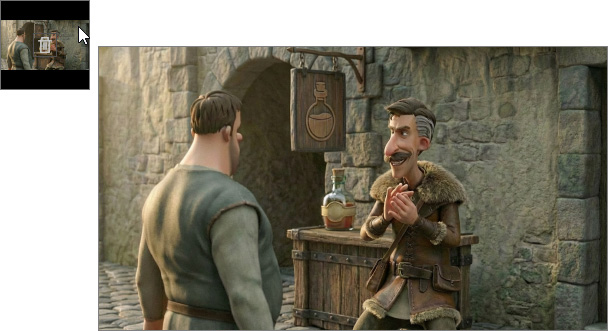
Capturing a 3D Viewport Video
- Animate the 3D scene, then define the Start and End frames to capture a reference video for AI rendering.
Use color-coded primitive shapes to previsualize the scene layout if needed.
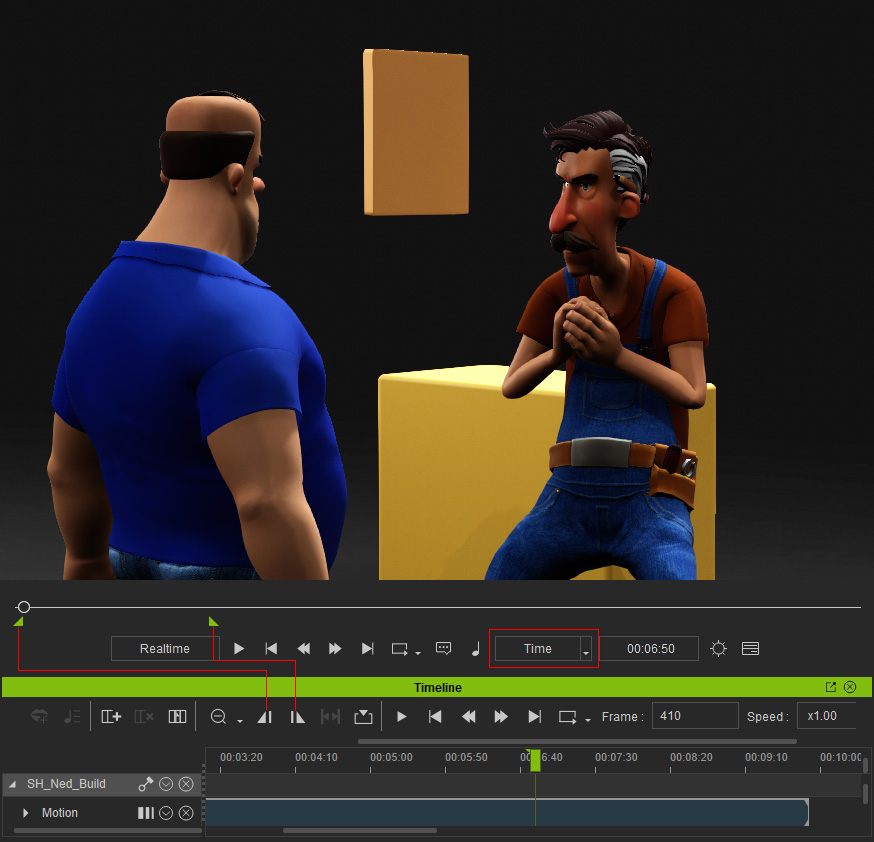
Since the maximum video duration varies by AI model, switch to Time mode to monitor the duration between the Start and End frames. Refer to the following table for 3D Viewport video duration limits by AI model.
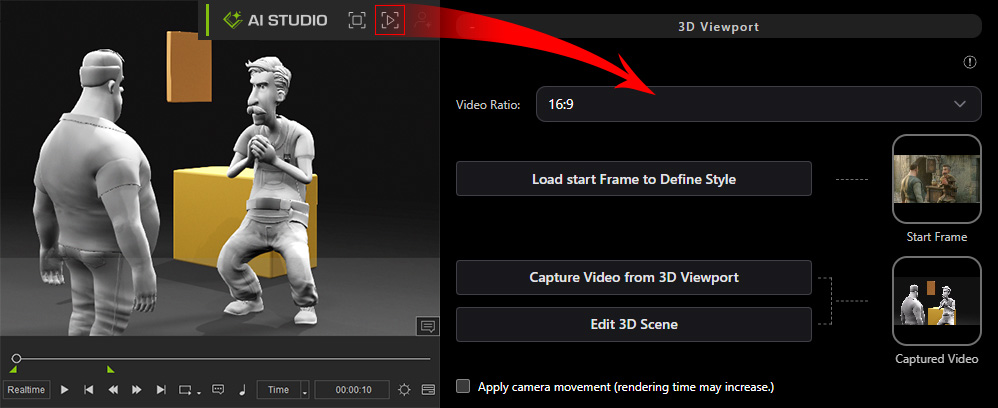
- Click Capture Video from 3D Viewport in the AI Studio Tools toolbar to send the captured video to AI Studio.

If starting from AI Studio, click Capture Video from 3D Viewport in the 3D Viewport section of the 3D Guided Gen tool under the 3D to Video tab.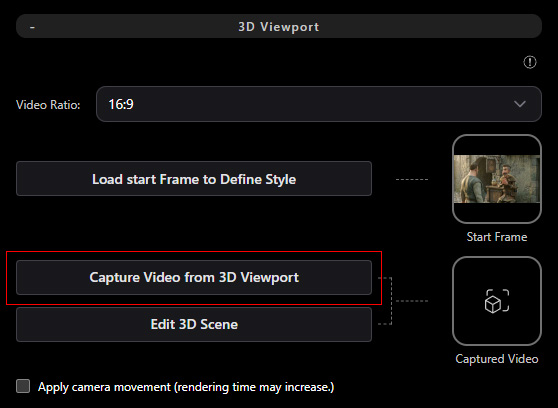
- The captured video appears in the Video slot of AI Studio, using the preset Video Ratio setting.
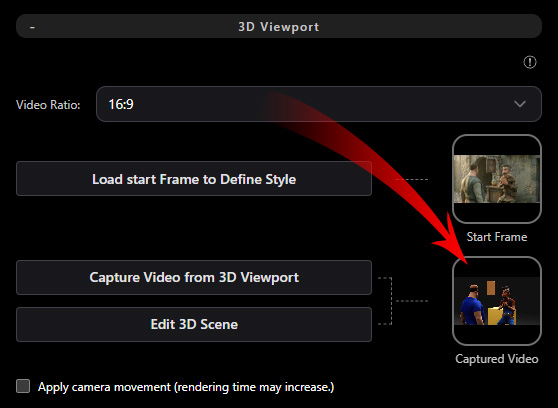
- Hover over the exclamation mark
 icon to check the captured video duration and view additional operational notes.

- Hover over the video thumbnail to view an enlarged preview.
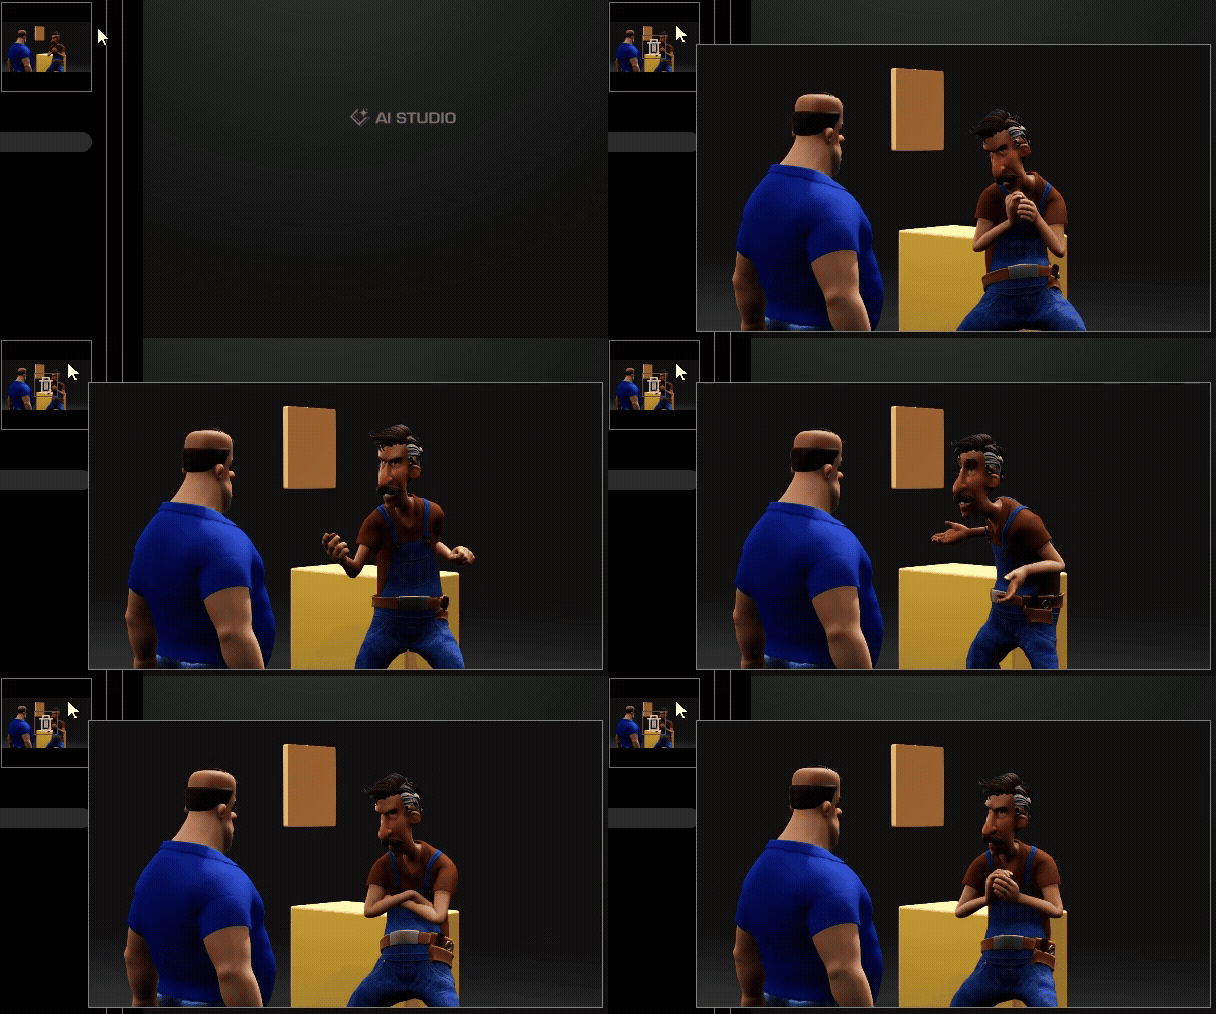
- Hover over the exclamation mark
- Click Edit 3D Scene to switch to the 3D viewport for scene editing or adjusting the video range.
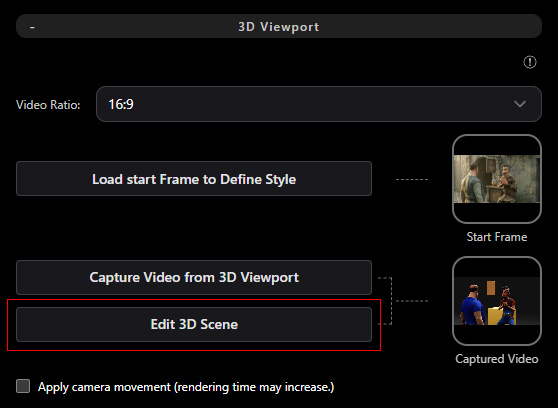
- The 3D viewport will appear.
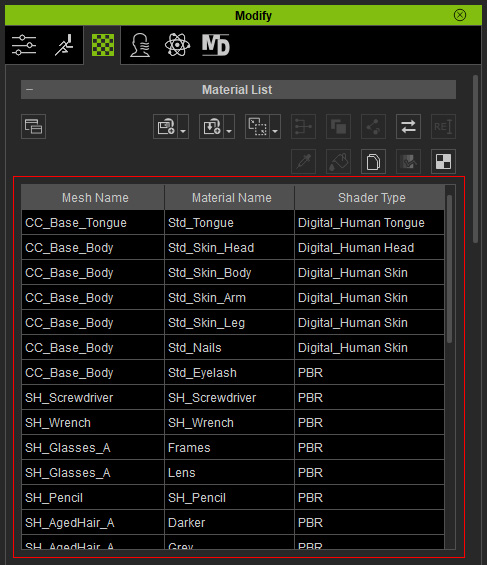
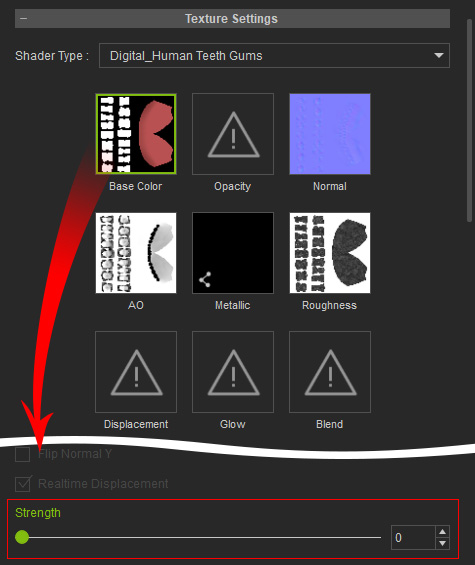
To prevent the generated results from being affected by the captured video’s materials or colors, switch the actor to gray model mode.
First select the character, then switch to the Material tab in the Modify panel, select all materials, and set Diffuse Color strength to 0 under the Texture Settings section.
- Click Capture Video from 3D Viewport in the AI Studio Tools toolbar to send the updated video to the AI Tool using the selected video ratio.
Hover over the video thumbnail to view an enlarged preview of the update.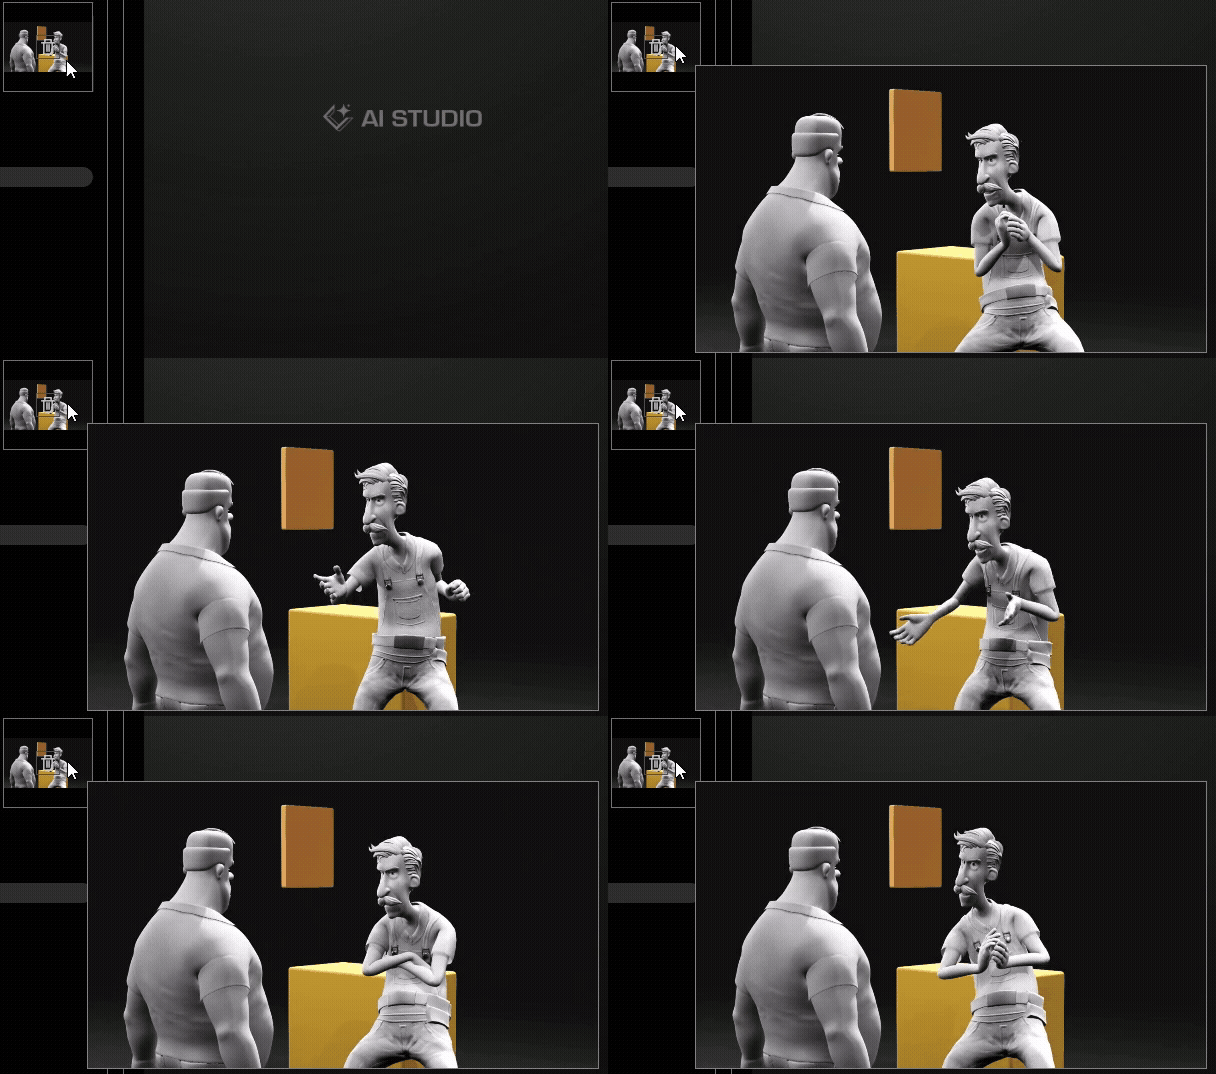
Entering Prompt (Optional)
Enter a prompt describing the desired result in the Prompt section.
Make sure it does not conflict with the First Frame prompt used for 3D to Image generation.
You can enter a custom prompt and use a Large Language Model (LLM), such as ChatGPT, to refine it for better video generation with the selected AI model.
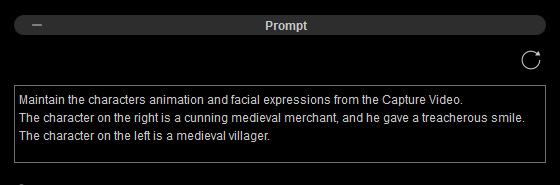
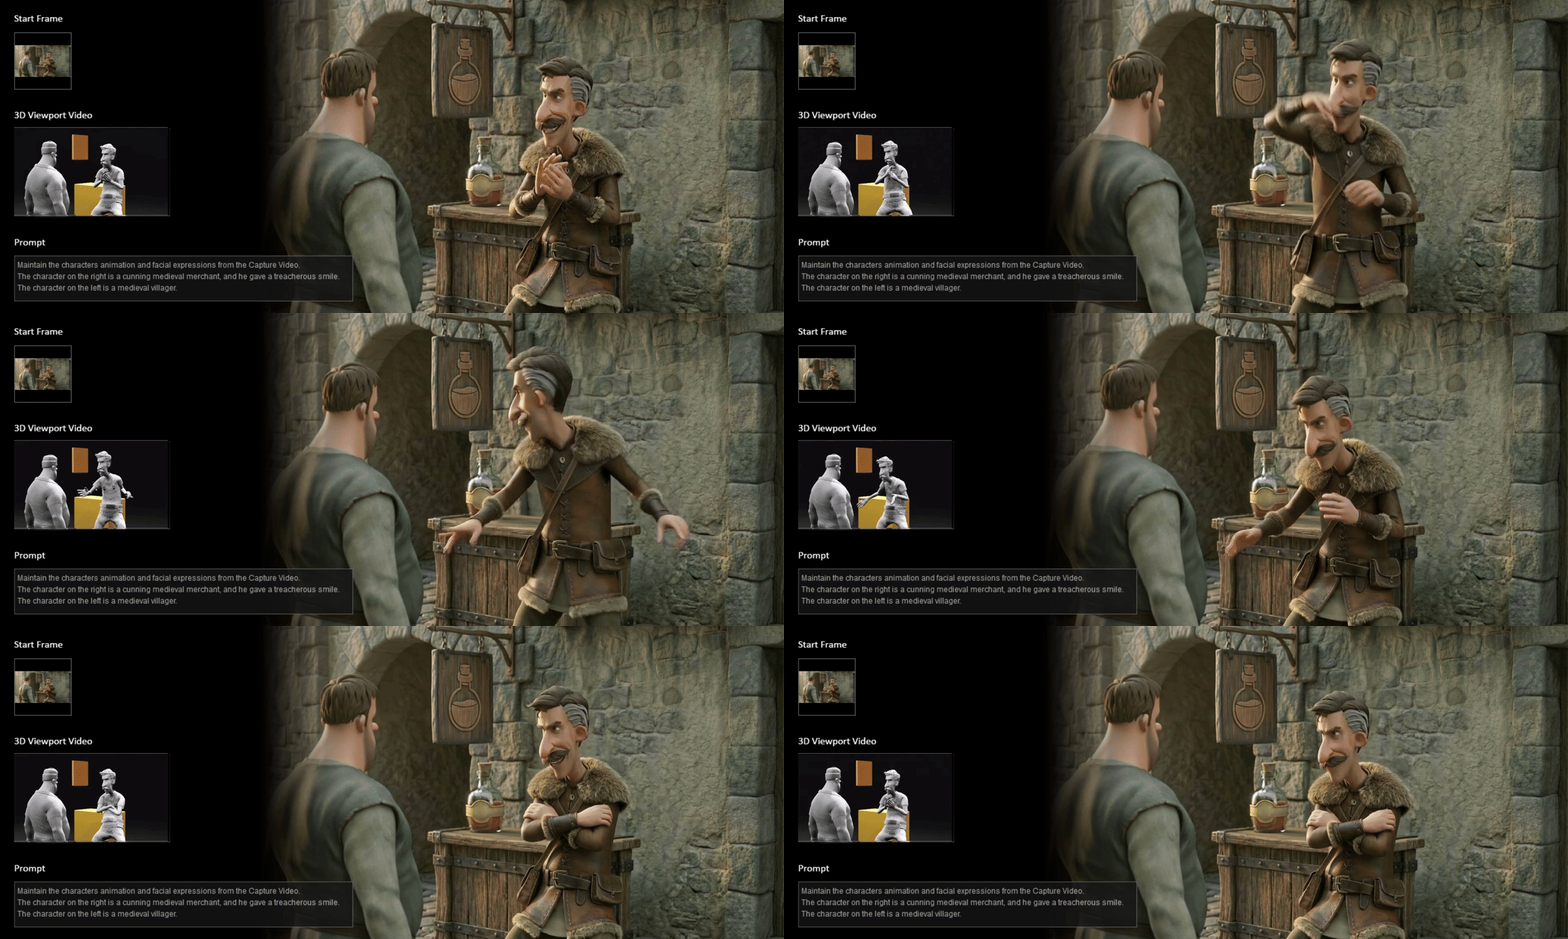
For example, "Maintain the characters animation and facial expressions from the Capture Video.
The character on the right is a cunning medieval merchant, and he gave a treacherous smile.
The character on the left is a medieval villager.".
Drag the bottom-right corner to expand the text field for longer descriptions.
Click the Reset Prompt button to clear the prompt field and start over if needed.
Rendering (v1.1)
You can adjust the video capture ratio using the drop-down menu in the 3D Viewport section to change or include more of the frame composition.
The output resolution for each ratio may vary depending on the AI model, as shown below.
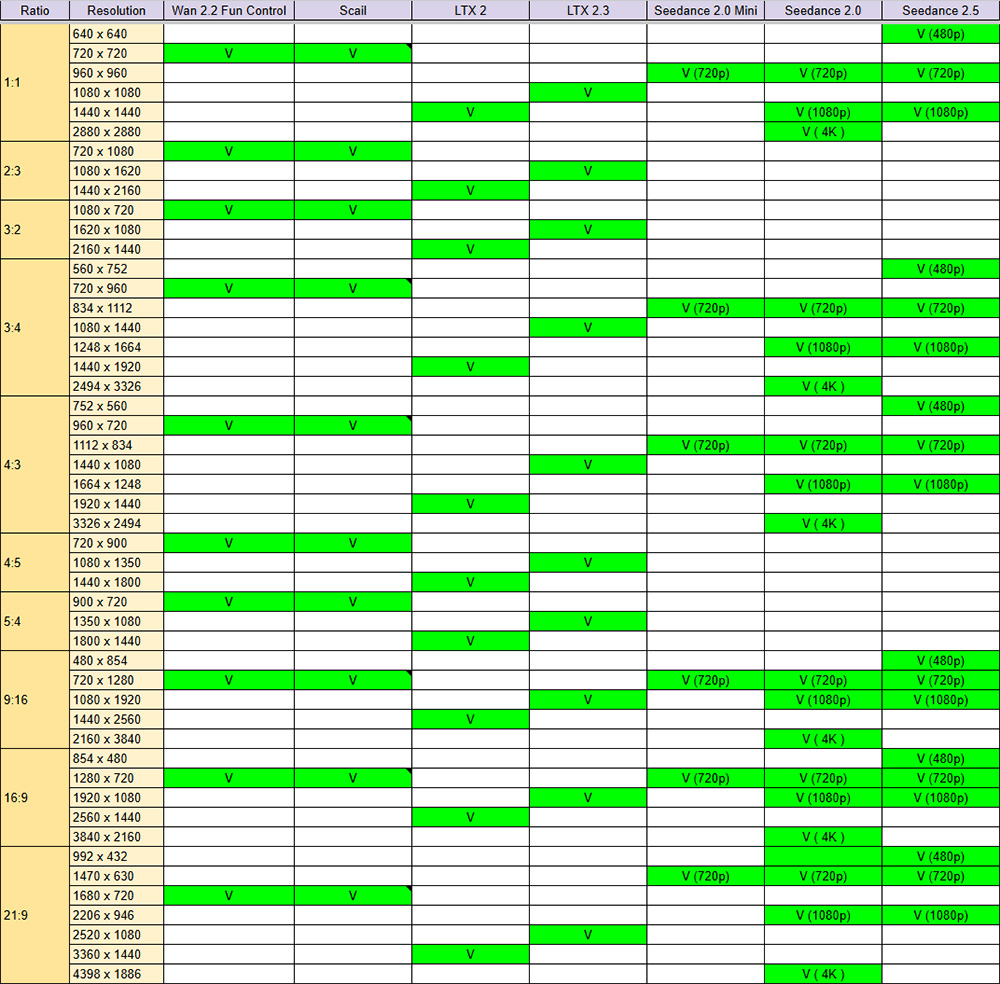
After adjusting the output ratio, click Capture Video from 3D Viewport again to recapture the 3D viewport video with the updated setting and replace it in the Video slot.
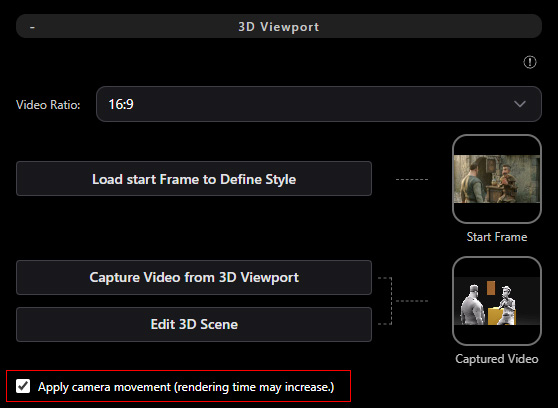
For Scail and Seedance RenderingIf your 3D project includes camera animation, Scail and Seedance models provide an additional Apply Camera Movement option, allowing AI to incorporate the camera motion into the generated video.
Task Charging
Each submitted task uses available AI Points, Bonus Points, or DA Points.
View your available points in the bottom-left corner of AI Studio, or click the ... button and select Account Settings to check your point balance.
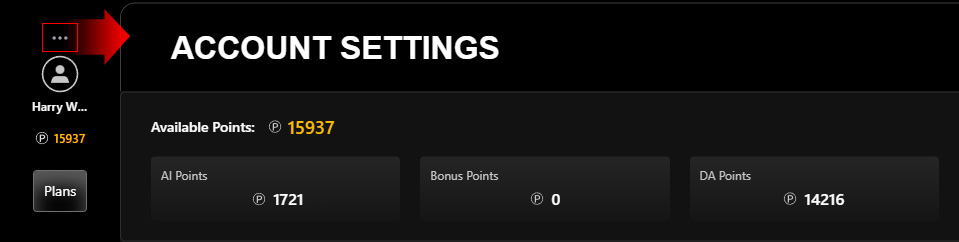
To obtain more credits, click Plans to subscribe to an AI Service Plan for additional AI Points or purchase DA Points to top up your account.
Ensure both an image and a video are provided to enable the GENERATE button.
Note the task price displayed above the button before clicking.
Track progress on the AI Render View or via the new entry in History on the right.
When the submission completes successfully, the AI-generated video will appear.
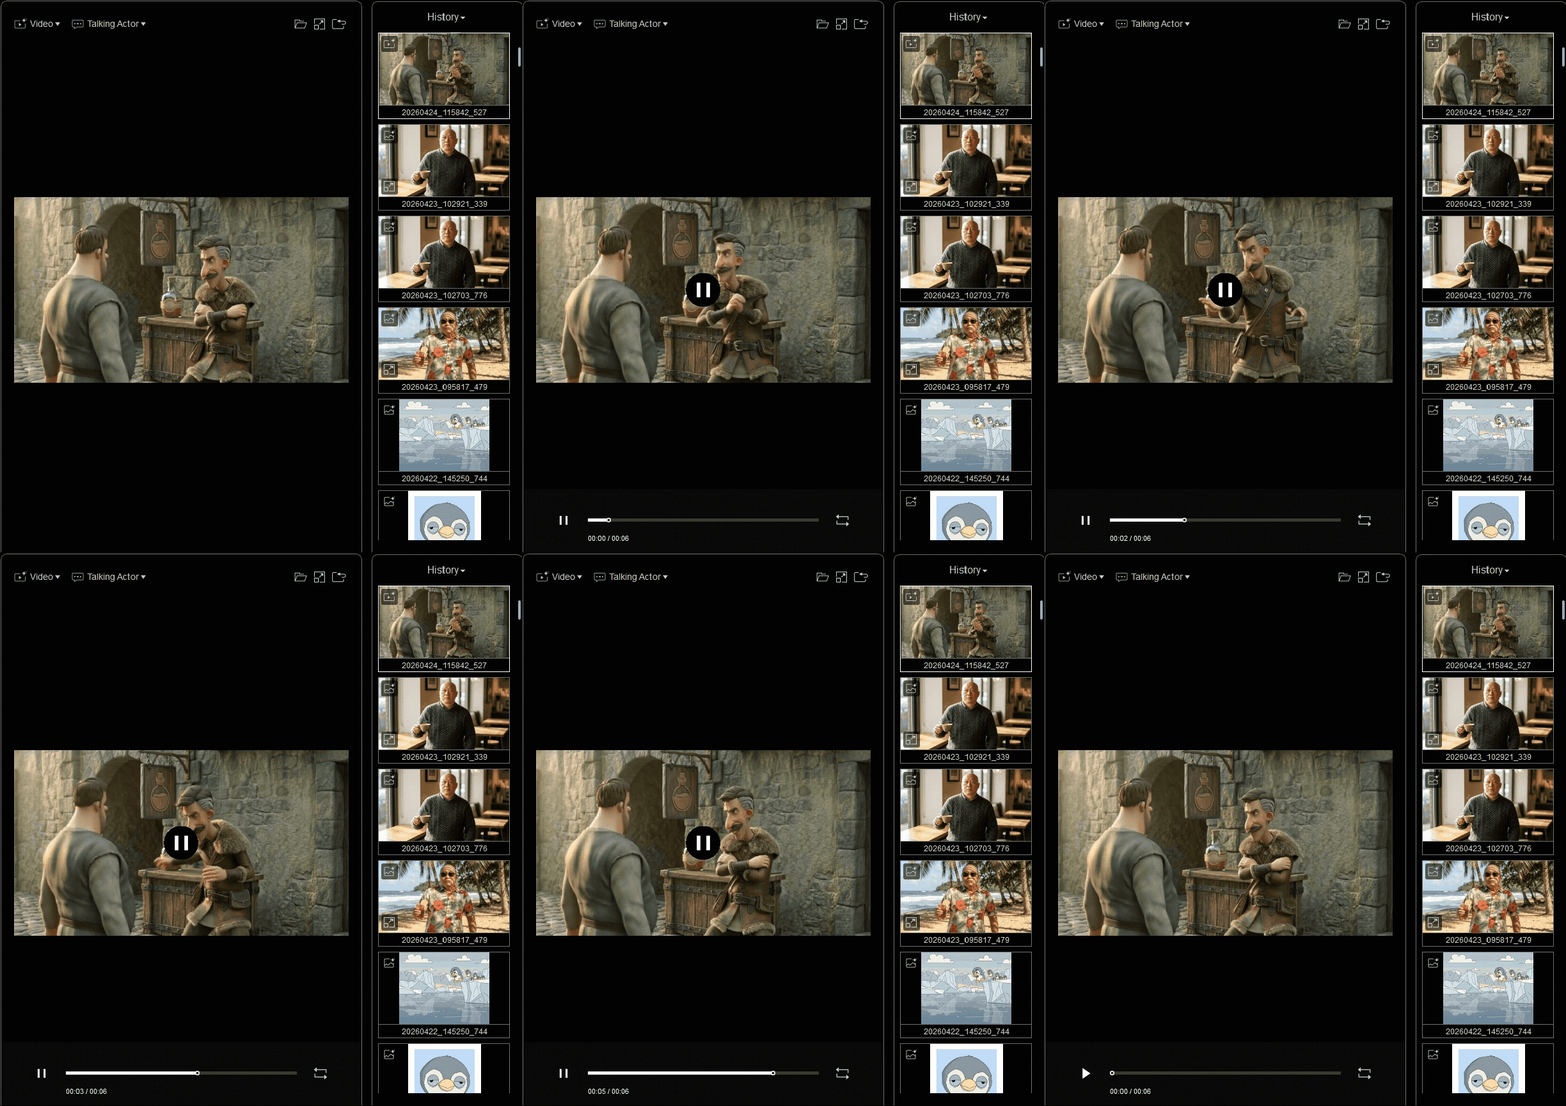
Click Play to play the video, Loop to repeat it, or drag the playhead to a specific point.
Next, use the Video or Talking Actor options in the Quick Access Menu at the top of the AI Render View to edit the video or load the generated video as a reference for talking animation.