History (v1.1.1)
The History panel allows you to monitor generation progress, locate AI-generated media, and rework outputs via the quick menu. It can be accessed in two ways:
- The full History page is available via the History button on the left toolbar.
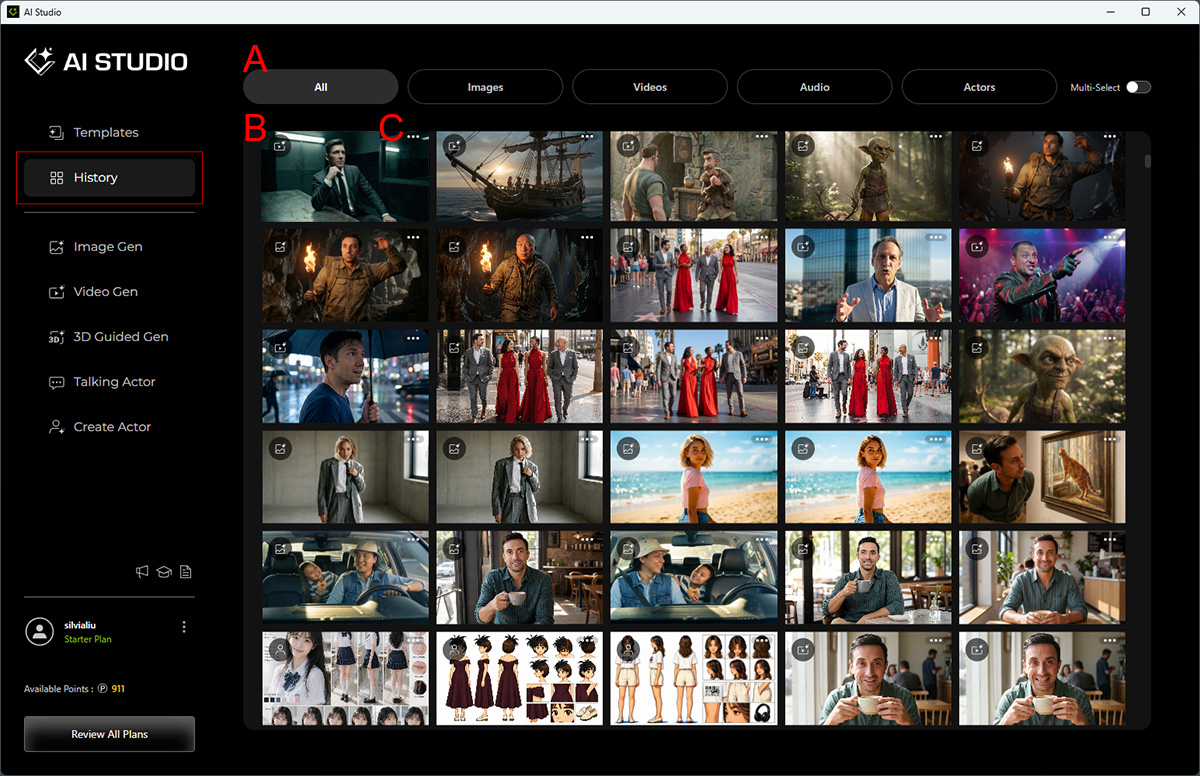
- The side History panel beside the AI Render View offers quick access to History items, with newer items stacked on top for easy drag-and-drop into AI tool slots.
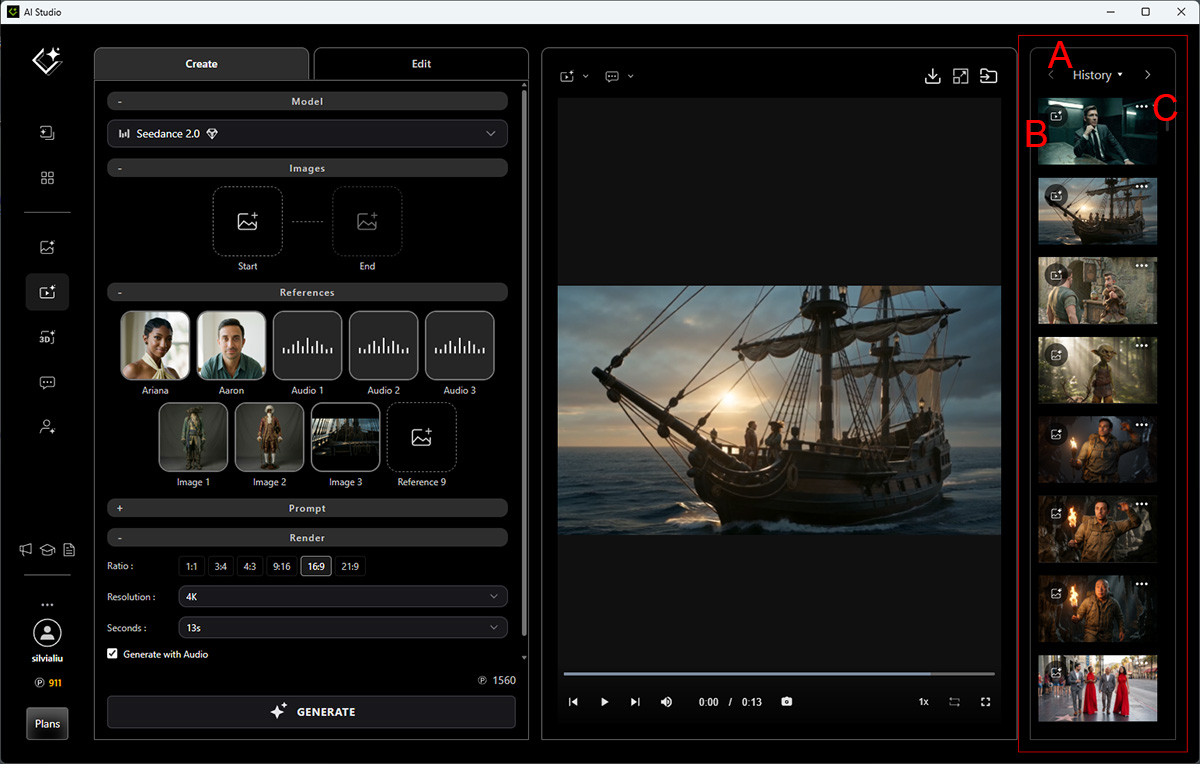
A. Filter
The Filter at the top of the History page filters History items by media type, including images, videos, audio, and actors.
- Full History Page: Click the media type buttons to select types.

- Side History Panel: Click the down-arrow button to select media types.
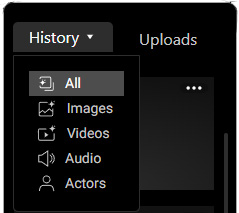
B. History Item
Identifies the media type by the icon in the top-left corner of each thumbnail and shows generation progress and status indicators on the thumbnail.
- The icon in the top-left corner of each thumbnail indicates the media type.


Images Videos Audio Actors - Generation progress and status can be viewed through indicators displayed on the thumbnails.
Indicators 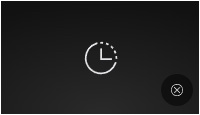
The generation is pending.
Click X in the top-right corner of the thumbnail to cancel it. No points are deducted for canceled generations.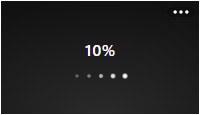
Generation in progress.
Upon completion, the AI-generated media appears in the AI Render View and is stacked in the side History panel.
Generation failed. Check the on-screen message for details and follow the recommended steps to resolve the issue.
- Click a media item on the History page to open it in a pop-up window, where you can access the Quick Access Menu, Edit Tools, Scaling Tools, and Playbar, and view its References, Prompt, and Details.
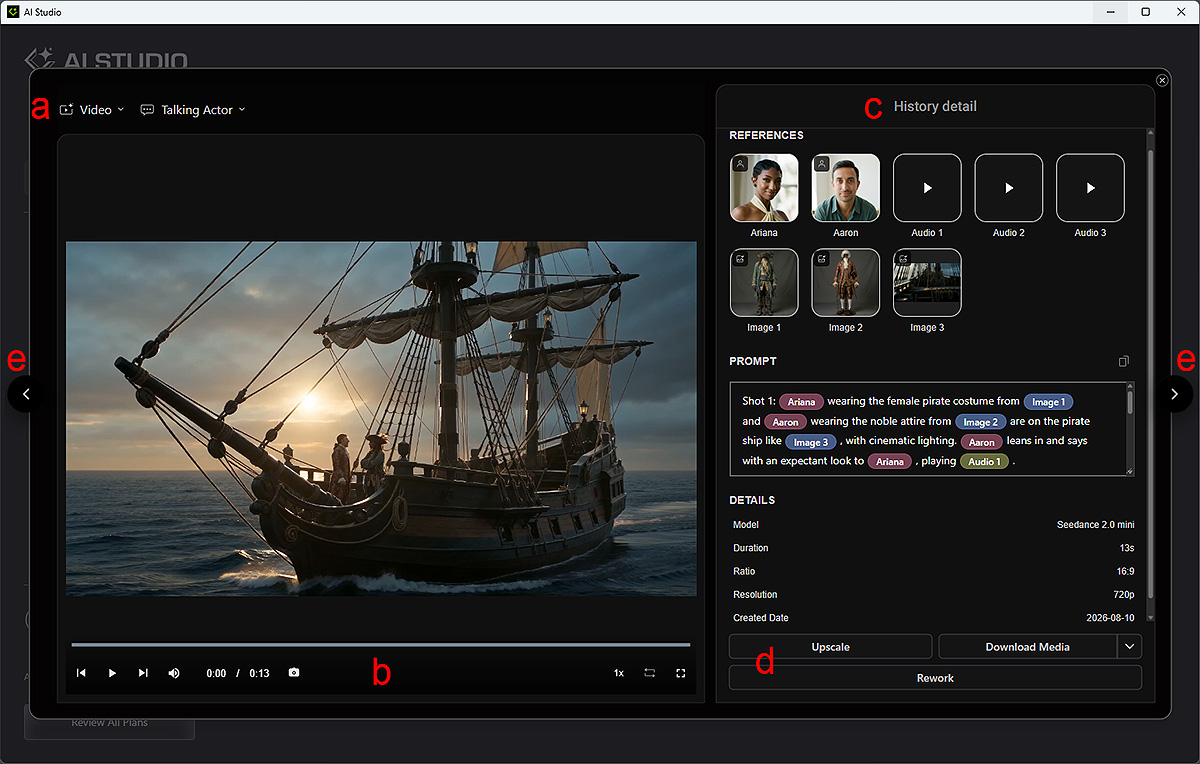
- Quick Access Menu: Via the top Quick Access Menu, AI-generated media can be reused in other AI tools, with drop-down options depending on the media type.
Quick Access Menu Image ▼ Video ▼ Talking Actor ▼ 3D to Image ▼ 3D to Video ▼ For Actors

- Create
- Combine (v1.01)
- Swap (v1.01)
- Remove (v1.01)
- Custom (v1.01)
Create (v1.01)
--
Add Actor
Add Reference (v1.01)
For Images

- Combine
- Swap
- Remove
- Custom
- Create
- Edit Video (v1.1.1)
- Extend Video (v1.1.1)
- Single
- Multiple
--
First Frame
For Videos

--
- Create (v1.01)
- Edit Video (v1.1.1)
- Extend Video (v1.1.1)
- Single
- Multiple
--
--
For Audio (v1.1)

--
- Create
- Single
- Multiple
--
Add Reference
- Scaling Tools (for actors created in Basic mode and images): Zooms in or out of the image preview.

1
Fits the image to the window.
2
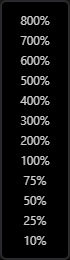
Selects a view option from the drop-down list to set a specific zoom level.
3
Uses the + and − buttons, zoom slider, or mouse wheel to adjust the zoom level.
4
Switches between fullscreen and windowed modes.
- Playbar (for videos and audio): Controls video and audio playback and captures frames for further editing.

Control Description Supported
for VideoSupported
for Audio1
Playhead
Drags the playhead to scrub through the timeline.
V
V
2
Back to Start Frame
(v1.1)Jumps to the first frame of the entire clip.
V
--
3
Play
Plays, pauses, or replays the current video.
V
V
4
Skip to End Frame
(v1.1)Jumps to the last frame of the entire clip.
V
--
5
Mute | Unmute
(v1.1)Mutes or unmutes the audio and adjusts the volume with the slider.
V
V
6
Time
Displays the current playback time and the total duration of the video.
V
V
7
Capture Frame
(v1.1)Captures the current frame at the playhead position.
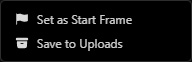
- Set as Start Frame: Sends the captured frame to the Start Frame image slot in the Video Gen workflow.
- Save to Uploads: Saves the captured frame to the Uploads library for future use.
V
--
8
Playback Rate
(v1.1)Adjusts the playback speed.

V
V
9
Loop
Enables or disables loop playback.
V
V
10
Fullscreen
(v1.1)Enters or exits fullscreen mode.
V
V
- History Detail: Displays the user-provided references, prompts, and generation details used to create the current media.
Item Description Supported
for ActorSupported
for ImageSupported
for VideoSupported
for AudioREFERENCES
Displays the input media used to generate the current image, video, or audio. Hover over a thumbnail to view an enlarged preview.
--
V
V
V
PROMPT
Displays the text prompt used to generate the current image or video. The content cannot be edited, but you can click Copy to copy it to the clipboard.
--
V
V
--
SPEECH TEXT
Displays the dialogue used to generate the text-to-speech audio for the actor's dialogue in the video. The content cannot be edited, but you can click Copy to copy it to the clipboard.
--
--
--
V
DETAILS
Displays the generation settings and metadata for the current media, such as the AI model, aspect ratio, resolution, and creation date.
V
V
V
V
- Edit Tools: The buttons at the bottom-right of the pop-up window let you show or hide the upscale settings, download the AI-generated media and its source files, and edit and reuse the original generation settings to create new AI content.

Button Description Supported
for ActorSupported
for ImageSupported
for VideoSupported
for AudioUpscale | Hide Upscale
Displays or hides the scaling options for increasing the resolution of AI-generated images and videos.
--
V
V
--
Download Media
(v1.1)Downloads the AI-generated result to the download directory specified in Account Settings.
--
V
V
V
Download Media & Source
(v1.1)Click the arrow next to Download Media, then select Download Media & Source from the drop-down list to download the AI-generated result and all associated input media, source files, and reference files to the download directory specified in Account Settings.
--
V
V
V
Rework
Reuses the references, prompts, and details from previous AI-generated outputs by loading elements such as AI Actors, images, and videos, enabling easier refinement and modification for subsequent creations.
V
V
V
--
- Uses the left and right arrow buttons on either side of the pop-up window to navigate to the previous or next History item.
- Quick Access Menu: Via the top Quick Access Menu, AI-generated media can be reused in other AI tools, with drop-down options depending on the media type.
C. ... Menu (v1.1)
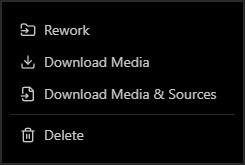
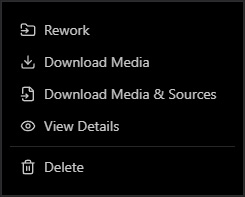
The ... menu provides commands for reworking, downloading, or deleting the selected media item.
 |  |
| Full History page | Side History panel (v1.1.1) |
| Command | Description | Supported for Actor | Supported for Image | Supported for Video | Supported for Audio |
Rework | Reuses the references, prompts, and details from previous AI-generated outputs by loading elements such as AI Actors, images, and videos, enabling easier refinement and modification for subsequent creations. | V | V | V | -- |
Download Media | Downloads the selected History item or items to the directory specified on the Account Settings page. | -- | V | V | V |
Download Media & Source | Downloads the selected History item or items together with their input media, source files, and reference files to the directory specified on the Account Settings page. | -- | V | V | V |
View Details | Opens the History Detail window for the selected item, where you can view its References, Prompt, and Details, and access the Quick Access Menu, Edit Tools, and Scaling Tools or Playbar. | V | V | V | V |
Delete | Deletes the selected History item or all selected History items. | V | V | V | V |
