Creating Multiple Talking Actors
The Talking Actor tool creates two-person dialogue videos from a reference image or video, using Text-to-Speech with voice cloning. The Dialogue list defines the order, lines, and pauses to structure the interaction.
Required Elements
- Image / Video: Reference image or video of the actor.
- Voice: Load an audio file for the actor’s voice, or use a preset or reference audio for TTS voice generation.
AI Settings
Select the Talking Actor  Tool from the left AI Toolbar and complete the tasks in each section under the Multiple Talking Actor tab.
You can collapse or expand a section by clicking its caption.
Tool from the left AI Toolbar and complete the tasks in each section under the Multiple Talking Actor tab.
You can collapse or expand a section by clicking its caption.
 Adding Image or Video
- In the Reference Image / Video section, click the Media slot to browse and upload a reference image (.png, .jpg, .jpeg, or webp) or video (.mp4, .wmv, .mov, .avi) containing two actors for speech generation.
You can also drag an image or video directly from the History panel on the right or from Windows File Explorer.
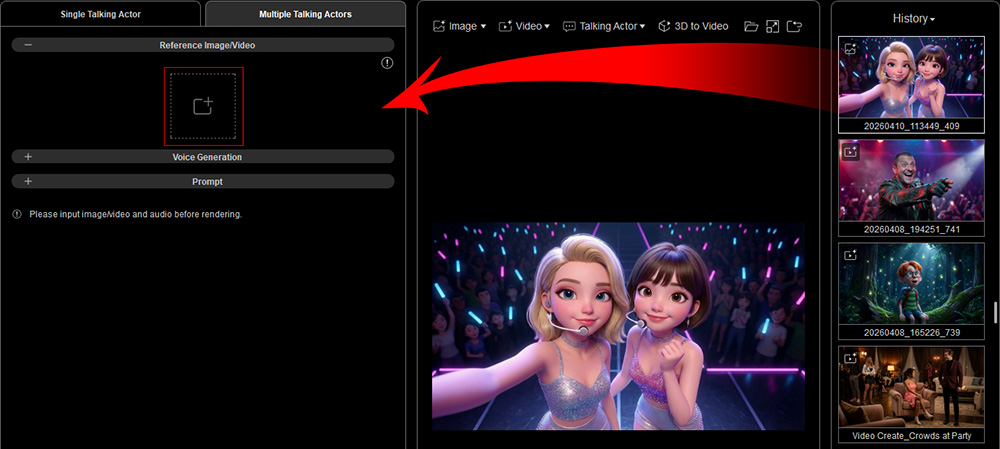
Note that long videos will be automatically trimmed to 30 seconds. - The media will be inserted into the Media slot.

Hover over the media thumbnail to view an enlarged version, or click the Trash button to remove the current input.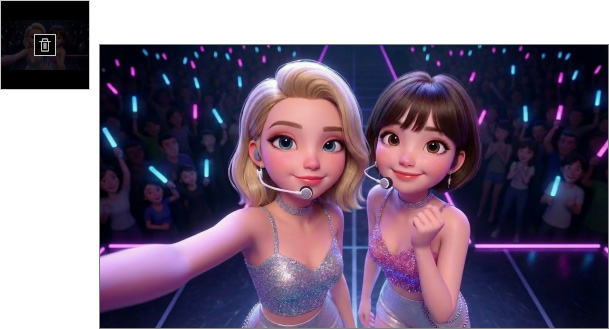
Adding Voice Audio
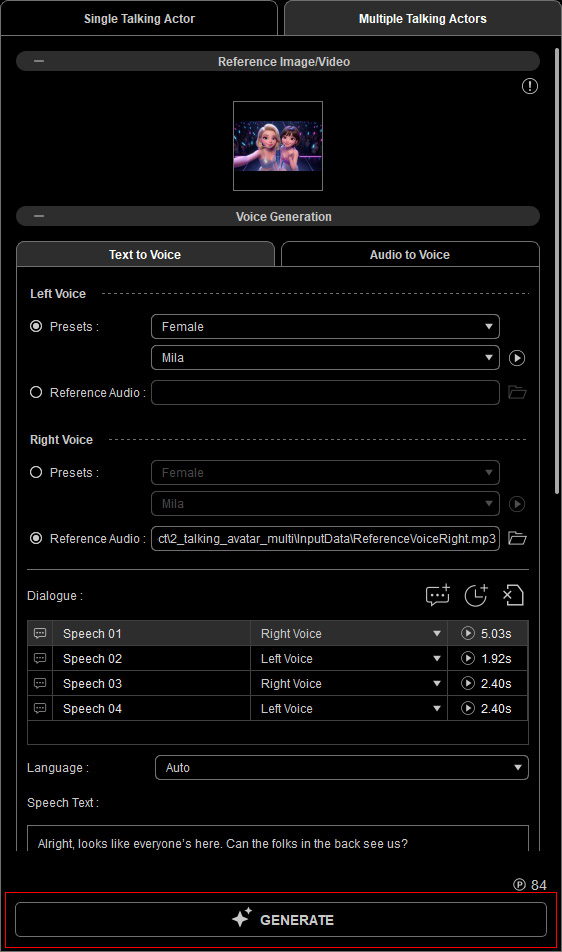
Dialogue for the two actors can be uploaded via Audio to Voice or generated via Text to Voice (TTS) and arranged in the Dialogue list.
- Text to Voice
Text to Voice uses Text-to-Speech (TTS) technology to generate audio from a text script, using either preset voices or voice cloning based on reference audio.
- Under the Text to Voice tab in the Voice Generation section, select a voice source method for the left and right actors’ speech generation respectively: Presets or Reference Audio.
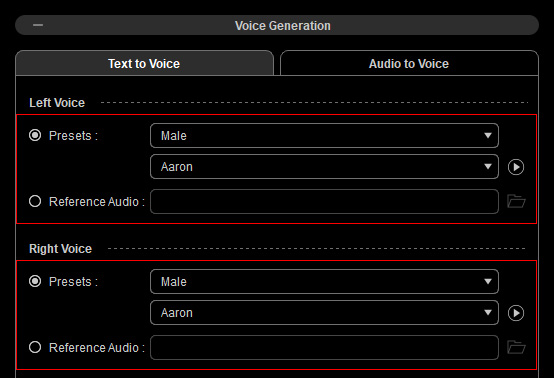
- Presets: A selection of male and female preset voices is available in the drop-down list across different AI Actors, allowing you to assign a voice to the actor in the video.
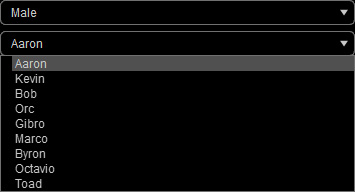
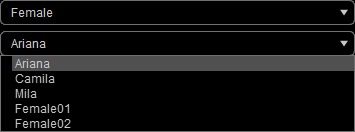
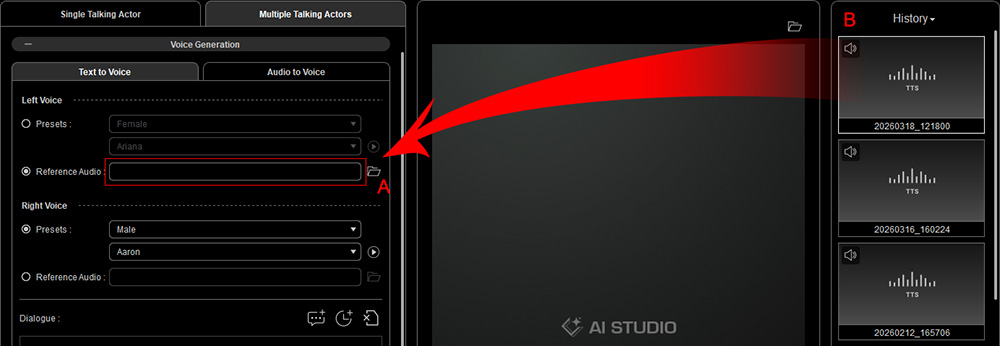
Click the Play button to preview the selected AI voice. - Reference Audio: Click the Folder icon (A) to upload a pre-recorded voice file (.mp3, .wav, or .flac) for AI voice cloning of the speaker’s tone, pitch, and accent.
You can also drag and drop audio directly from the History panel on the right (B) or from Windows File Explorer into the field.
- Presets: A selection of male and female preset voices is available in the drop-down list across different AI Actors, allowing you to assign a voice to the actor in the video.
- Manage dialogue order and pacing in the Dialogue list.
Click the Add Dialogue button to add a line.
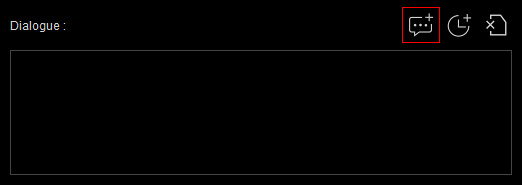
- A Speech ID is displayed in the list, representing a single line of dialogue.
Use the drop-down menu to assign the voice for the left or right actor.
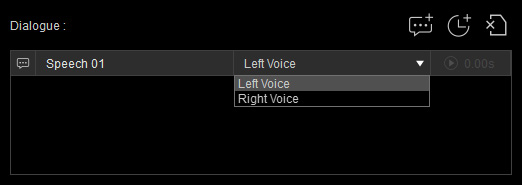
- Enter the selected Speech ID’s dialogue in the Speech Text field.
For example, "Alright, looks like everyone’s here. Can the folks in the back see us?".
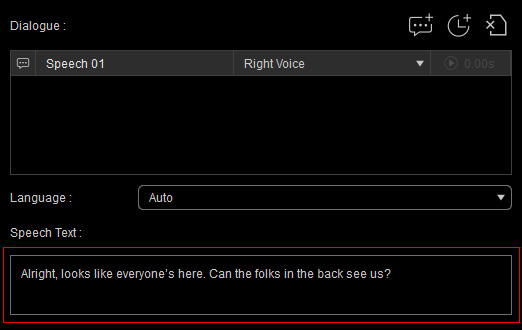
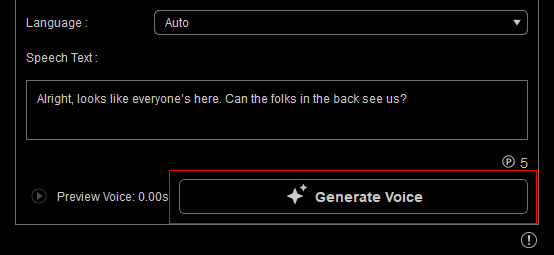
The AI model will automatically detect the input language. - Click Generate Voice to create audio from the current text using the selected voice source.
Note the task price displayed above the button before proceeding.
- Track progress on the AI Render View or via the new entry in History on the right.
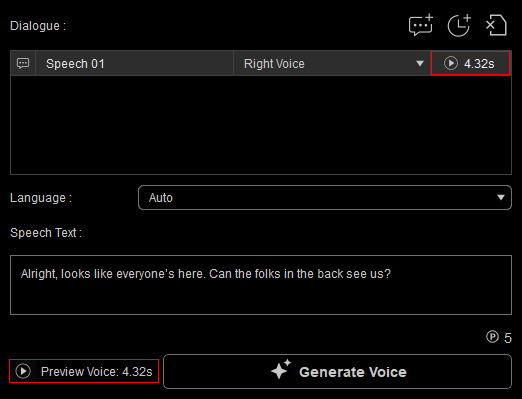
When the submission completes successfully, the AI-generated audio will appear.
Click Play to play the audio, Loop to repeat playback, or drag the playhead to jump to a specific point.
- Review the Preview Voice information to see the generated audio length, as it will be automatically trimmed to match the video duration (up to 30 seconds).
Click Play next to it to preview the voice audio.
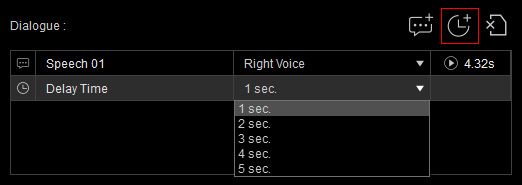
- Click the Add Delay Time button to add a pause between dialogue lines, then choose the pause duration (1–5 seconds) from the drop-down list.
- Repeat steps 2 through 8 to complete the dialogue.
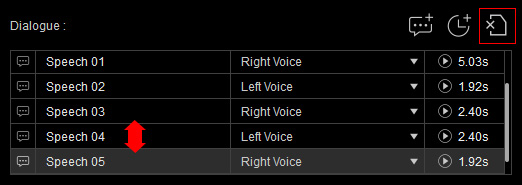
You can drag Speech IDs to reorder the lines, or click the Delete button to remove a selected line.
- Click the Preview Dialogue button to merge all dialogue lines into a single audio file.
The resulting audio appears as a waveform below the button, showing its total duration, and will be automatically trimmed to fit the video length (up to 30 seconds).
Click Play to preview the combined dialogue, or X to delete the combined audio.
- Under the Text to Voice tab in the Voice Generation section, select a voice source method for the left and right actors’ speech generation respectively: Presets or Reference Audio.
- Audio to Voice
Upload an audio file to use as the actor’s voice, preserving the original speaker’s voice and spoken content.
- In the Voice Generation section, go to the Audio to Voice tab to manage dialogue order and pacing in the Dialogue list.
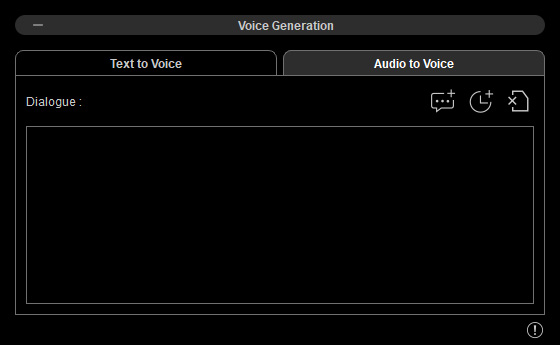
- To add a new dialogue line, click the Add Dialogue button, then use the Folder icon (A) to upload a voice script (.mp3, .wav, or .flac).
Alternatively, drag and drop audio from the History panel on the right (B) or Windows File Explorer directly into the dialogue field.
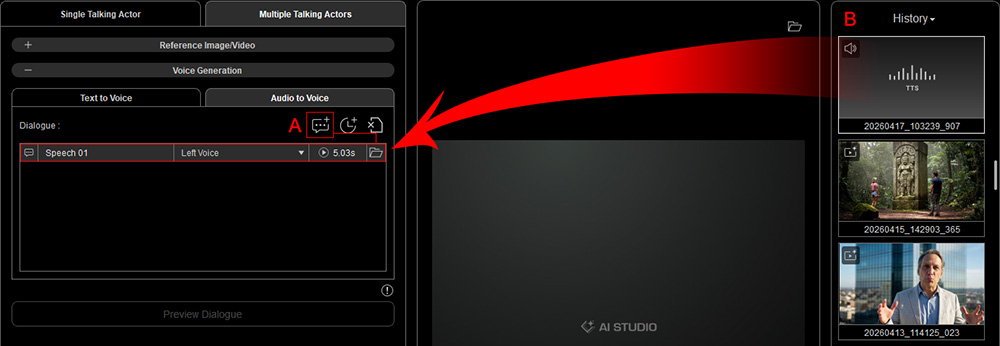
- A Speech ID is displayed in the list, representing a single line of dialogue.
Click the Play button next to a line to preview its audio, and use the drop-down menu to assign the voice to the left or right actor.
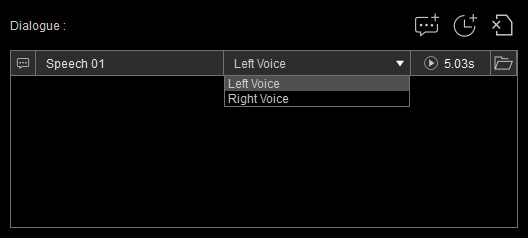
- Click the Add Delay Time button to add a pause between dialogue lines, then choose the pause duration (1–5 seconds) from the drop-down list.

- Repeat steps 2 through 4 to complete the dialogue.
You can drag Speech IDs to reorder the lines, or click the Delete button to remove a selected line.
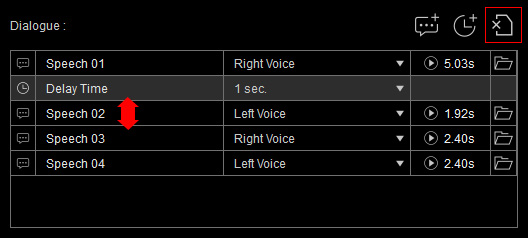
- Click the Preview Dialogue button to merge all dialogue lines into a single audio file.
The resulting audio appears as a waveform below the button, showing its total duration, and will be automatically trimmed to fit the video length (up to 30 seconds).
Click Play to preview the combined dialogue, or X to delete the combined audio.
- In the Voice Generation section, go to the Audio to Voice tab to manage dialogue order and pacing in the Dialogue list.
Entering Prompt (Optional)
Enter prompt descriptions in the Prompt section to define the scene and control the actors’ states and emotions in the generated video.
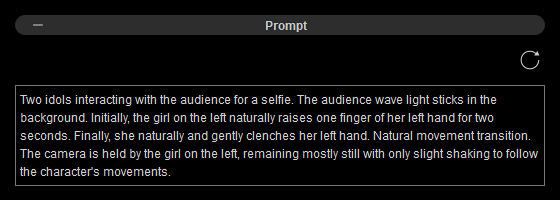
For example, "Two idols interacting with the audience for a selfie. The audience wave light sticks in the background. Initially, the girl on the left naturally raises one finger of her left hand for two seconds. Finally, she naturally and gently clenches her left hand. Natural movement transition.
The camera is held by the girl on the left, remaining mostly still with only slight shaking to follow the character's movements".
Drag the bottom-right corner to expand the text field for longer descriptions.
Click the Reset Prompt button to clear the prompt field and start over if needed.
Rendering
The output video is limited to 720p resolution and 30 seconds in duration.
Hover over the exclamation mark  icon in the Voice Generation section to view additional operational notes.

Task Charging
Each submitted task uses available AI Points, Bonus Points, or DA Points.
View your available points in the bottom-left corner of AI Studio, or click the ... button and select Account Settings to check your point balance.
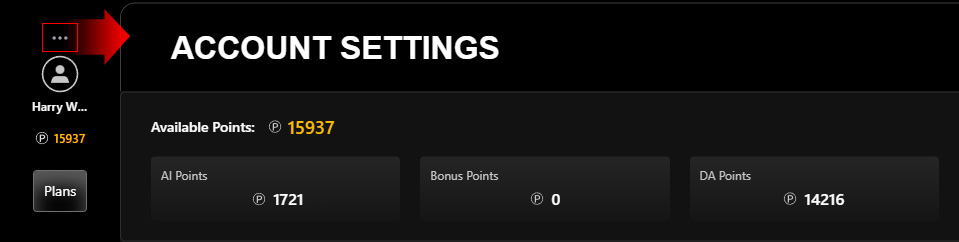
To obtain more credits, click Plans to subscribe to an AI Service Plan for additional AI Points or purchase DA Points to top up your account.
Ensure both an image / video and dialogue audio are provided to enable the GENERATE button.
Note the task price displayed above the button before clicking.
Track progress on the AI Render View or via the new entry in History on the right side of the AI Studio.
When the submission completes successfully, the AI-generated video will appear.
Click Play to play the video, Loop to repeat it, or drag the playhead to a specific point.
If satisfied with the generated result, you can upscale the output to a higher resolution.
