Color Modification for G3 Characters and Props
No matter in the Stage or Composer mode, for G3 and Free Bone Characters and props, you are free to send the objects to an external image editor that supports PSD files and then do the modifications such as color changing, color balancing, etc.
- Apply a character or a prop.
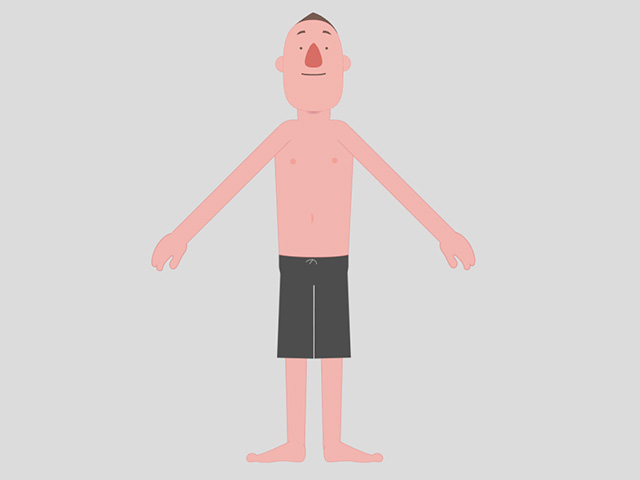
- Launch Bitmap Editor to open the image with the preset Bitmap Editor.
 Note:
Note:- You will encounter the PSD Options panel. Please refer to the Exporting Ratio section for more information. In order to have a better resolution for the head and body, you can choose to export the head and body in different PSD files with larger scale values.
-
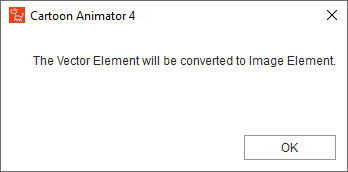
Even if the character initially began as vector, you will
receive a notification indicating that it will be converted to
bitmap.
- Your designated image editor, which is compatible with PSD
format files (such as Photoshop), will be used to open the character
file.
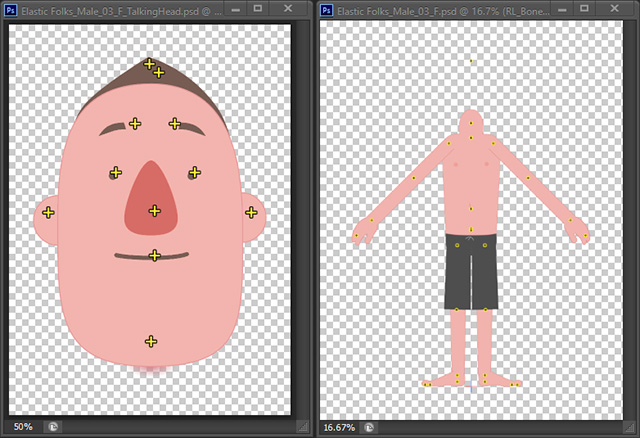
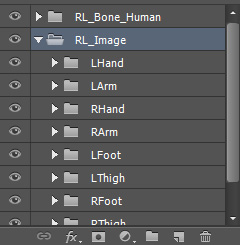
- Select one of the image layers under the Image folder.
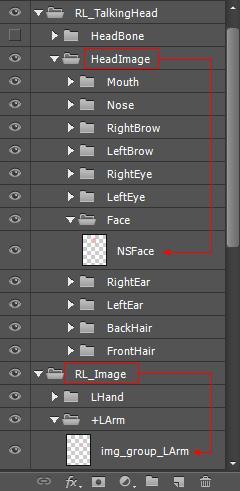
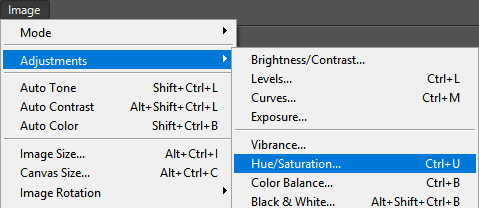
- Modify the image in the editor by simply changing the color of the images in different layers (in this case, the Hue and Saturation feature is applied).
 Note:
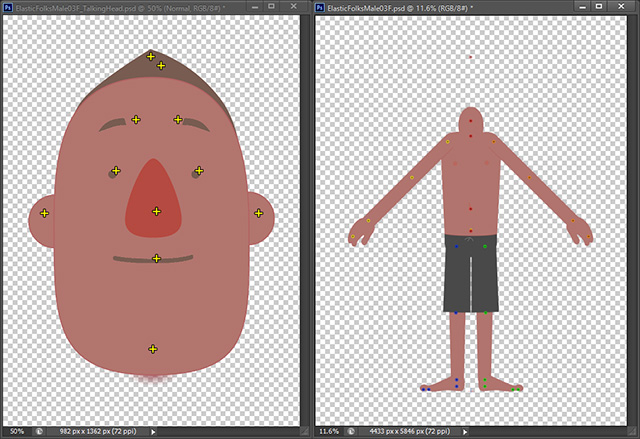
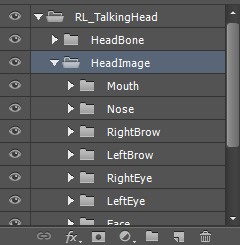
Note:Make sure that you only edit the images under the HeadImage (for character's head) or "RL_Image" folders (for character's body and props). Leave the other items in any other folder untouched.
- Save the files in the image editor.
- The adjustments will automatically be passed to Cartoon Animator to update the object.
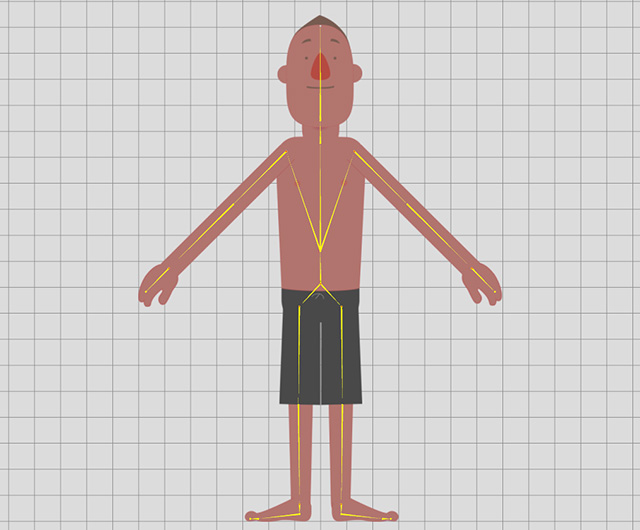
- Go back to the stage to animate the character.

 Note:
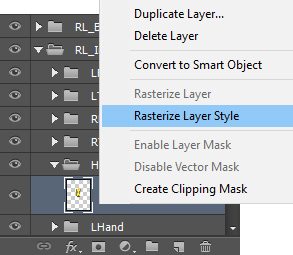
Note:Please make sure that you rasterize the image layer before saving the project to flatten the effects. Otherwise, the they will be ignored in Cartoon Animator.
