Adding Spring Effects to Props
By adding spring effects to specific parts of a prop, the resulting bouncing effects result in a more dynamic and realistic animation. This pipeline is suitable for any bone-skinned model from other 3D tools or merged models constructed in iClone.
* You are allowed to turn off the spring effect of a bone string for key-frame editing.
** Bone-skinned props can only be created via 3rd-party 3D tools, not in Character Creator.
Adding Spring Effects
-
Load a model
with a bone-skinned structure in iProp or FBX formats. The
following model comes from the
Wild Animal Content Pack by Reallusion.
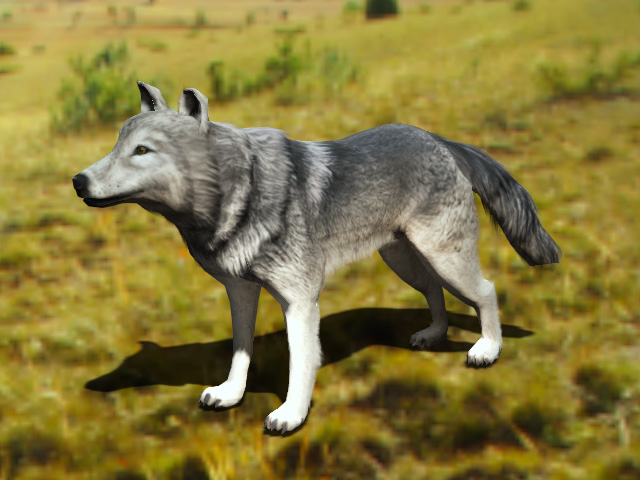
 Note:
Note:If the prop is constructed with multiple props in iClone, then please merge the props before you load it to Character Creator.
Build Structured Props in iClone
-
Attach each transformed (or not transformed) part to
single main root prop.
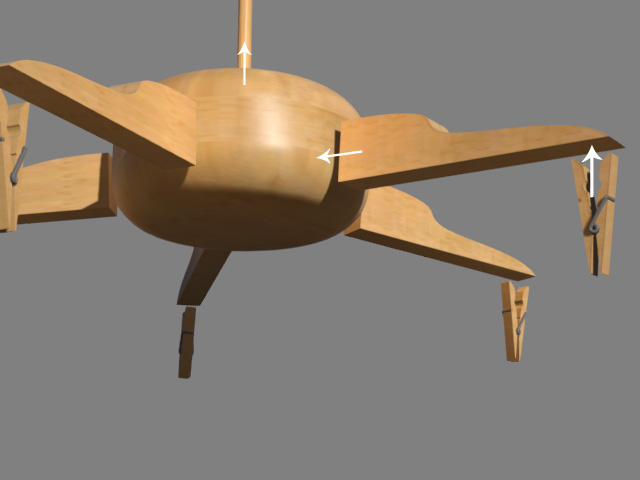
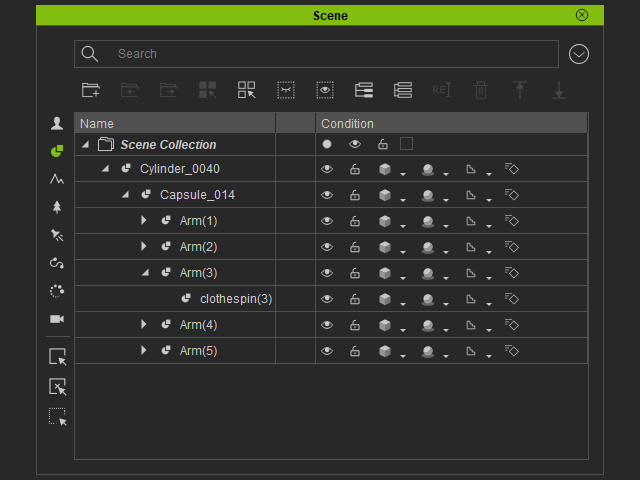
Sequentially attaching.
The structure in the Scene Manager (Single root only).
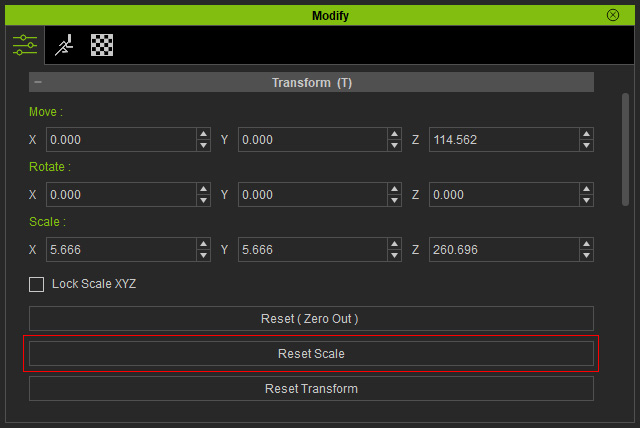
- Select the root prop and scroll to the Transform section in the Modify page.
-
Click the Reset Scale to initialize the size for all sub-nodes to prevent structure distortions.
-
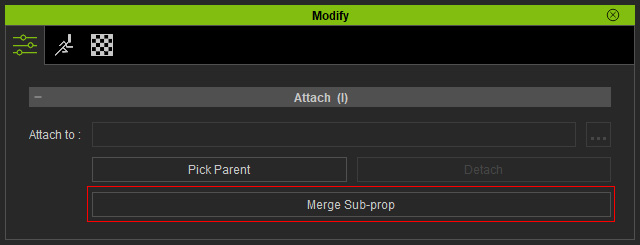
Scroll to the Attach section of the Modify panel. Click the Merge button.

After being given spring effects.
-
Attach each transformed (or not transformed) part to
single main root prop.
-
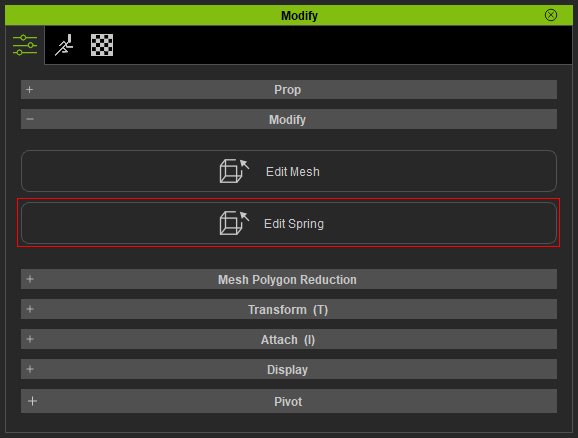
Select the prop, and in the Modify panel, click the Edit Spring
button in the Modify section.
-
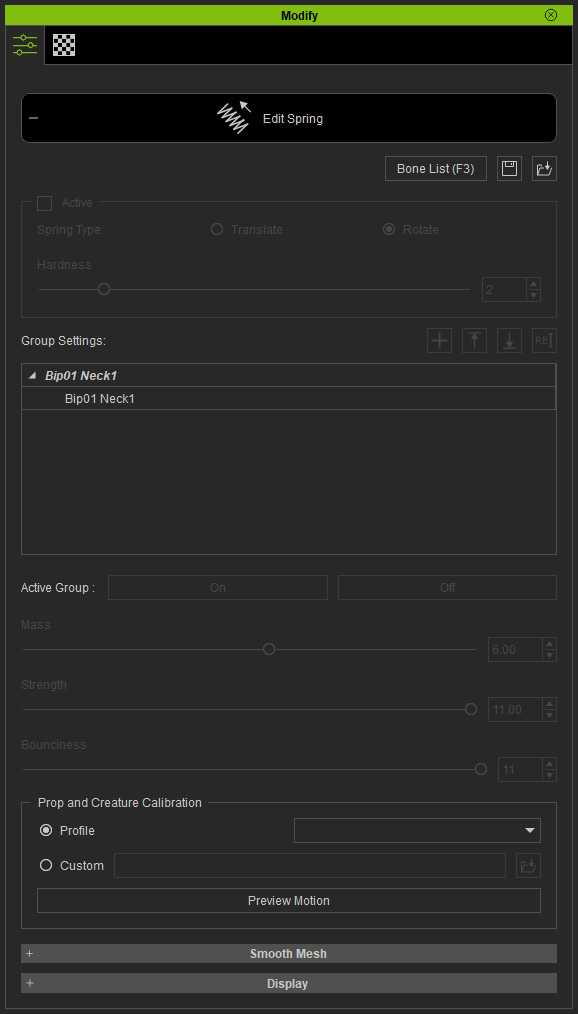
The Modify panel will switch to Spring Editing
mode.
-
Select the bones to which you want to apply spring effects to, then click
the Active checkbox and adjust the
spring parameters.
Please refer to the following sections for more information.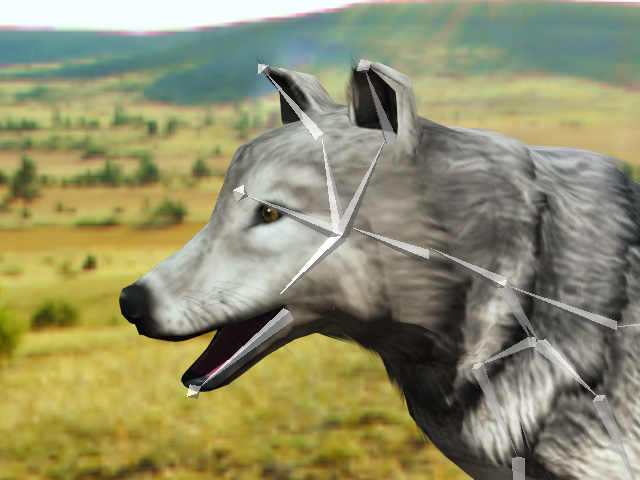
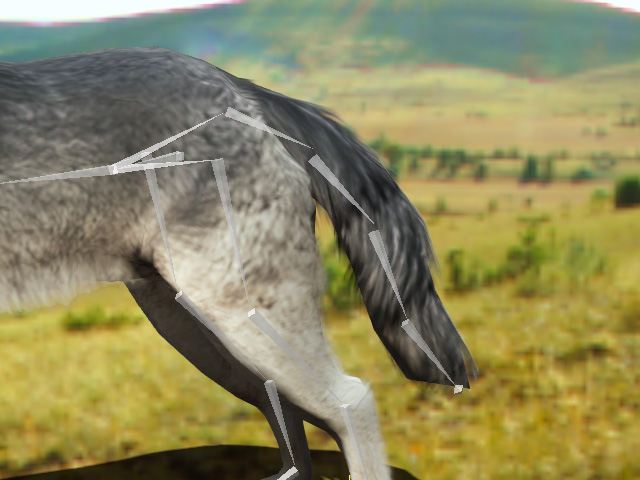
In this example, the head and the tail bones of the prop have been given spring effects.
- Export the entire model as one single prop (.iProp).
-
Load the prop into iClone. Animate the prop to view the spring effects
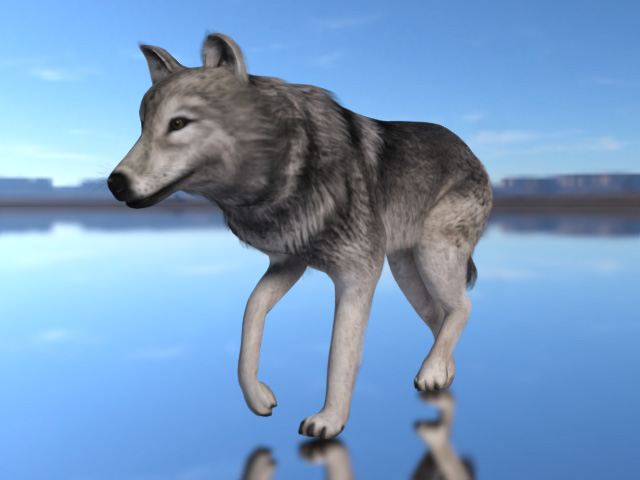

Without spring effects.
With spring effects.


